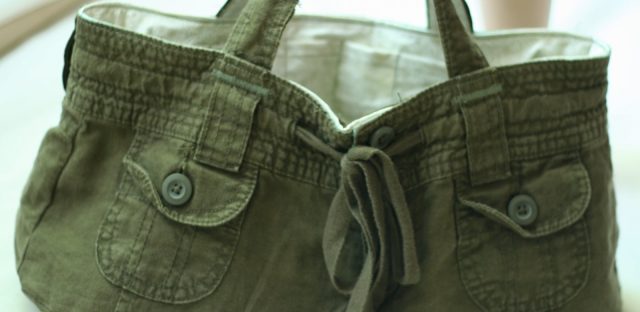
BAG from SHORTS

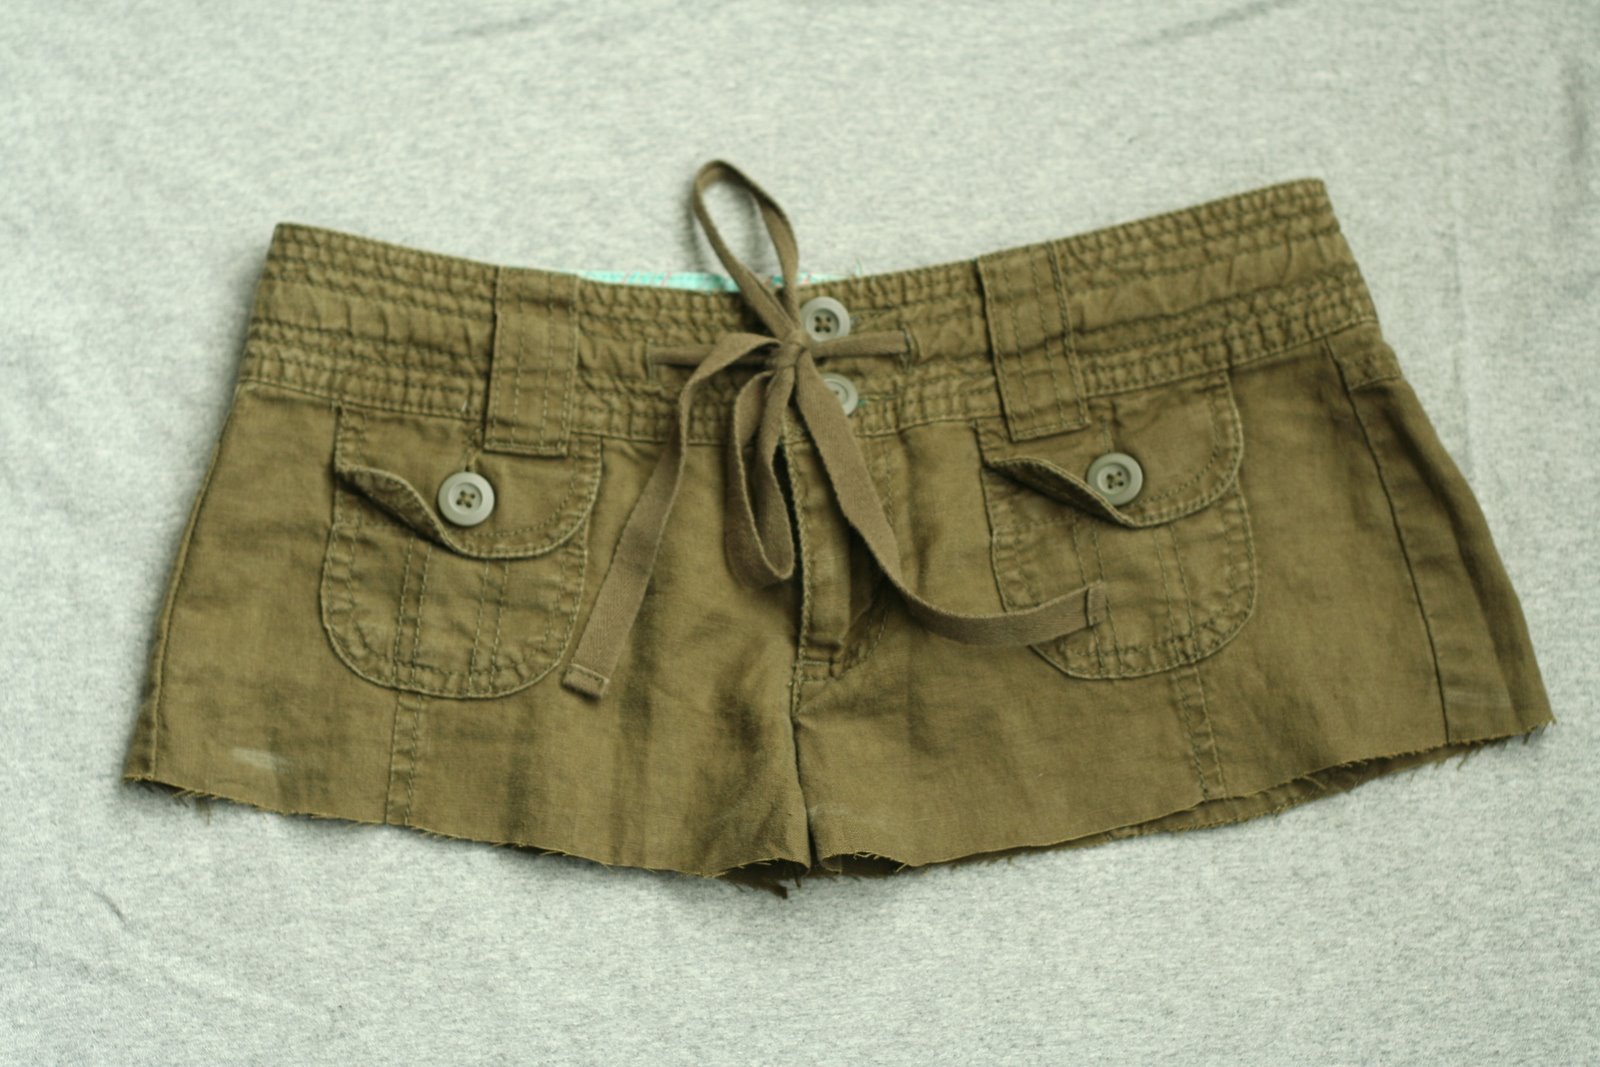
So, these shorts have a story. (Not an interesting one. Sorry. So I’ll make it short at least.) They are too small. I bought them “knowing” they would fit me, but they never did. And thus they were in the giveaway pile. But they are cute. So I randomly decided to make them into a bag for my sister thinking that they looked Anna-ish.
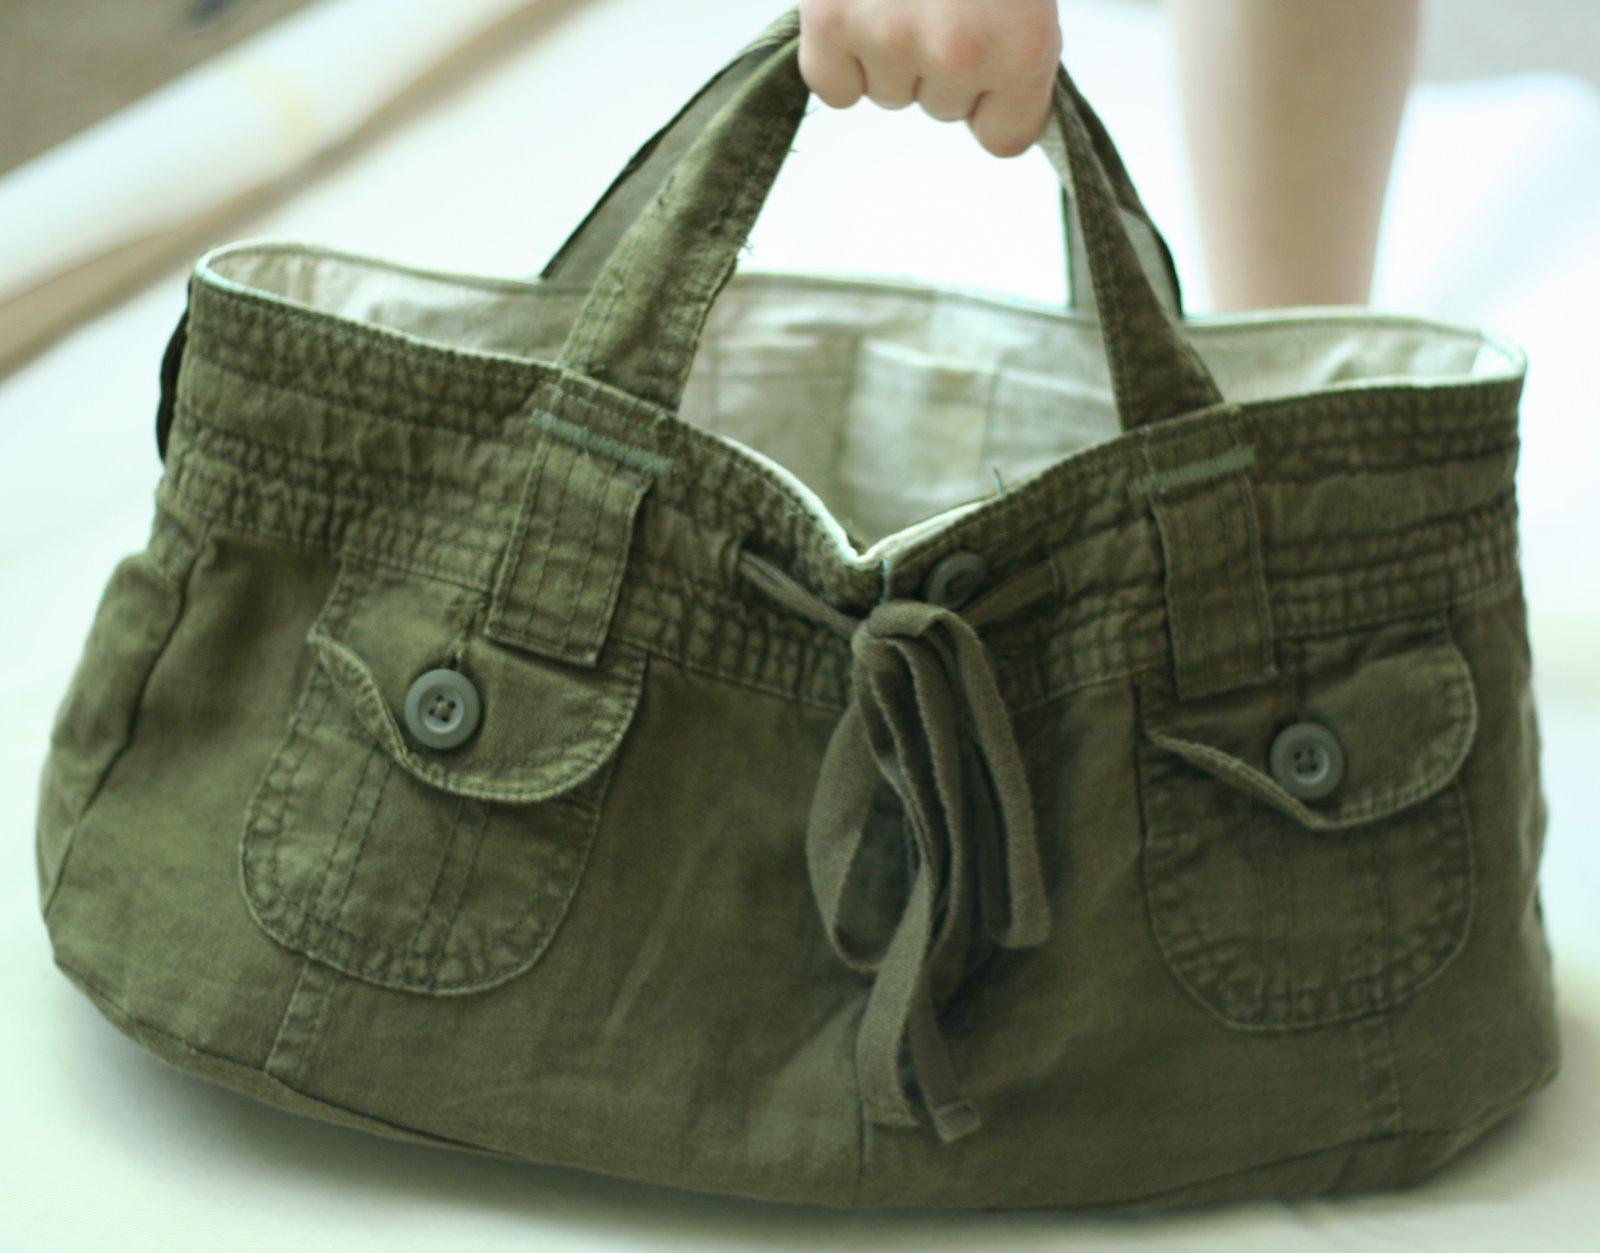
I made them into a project bag that matched the knitting needle organizer I gave her. It is a really great size and shape for some yarn and all the other little things you need when creating. With all the pockets it’s a very handy thing! It could make a great casual purse too.

And here’s about how it went in case you’d like to make a pair into a bag.
Shorts Bag
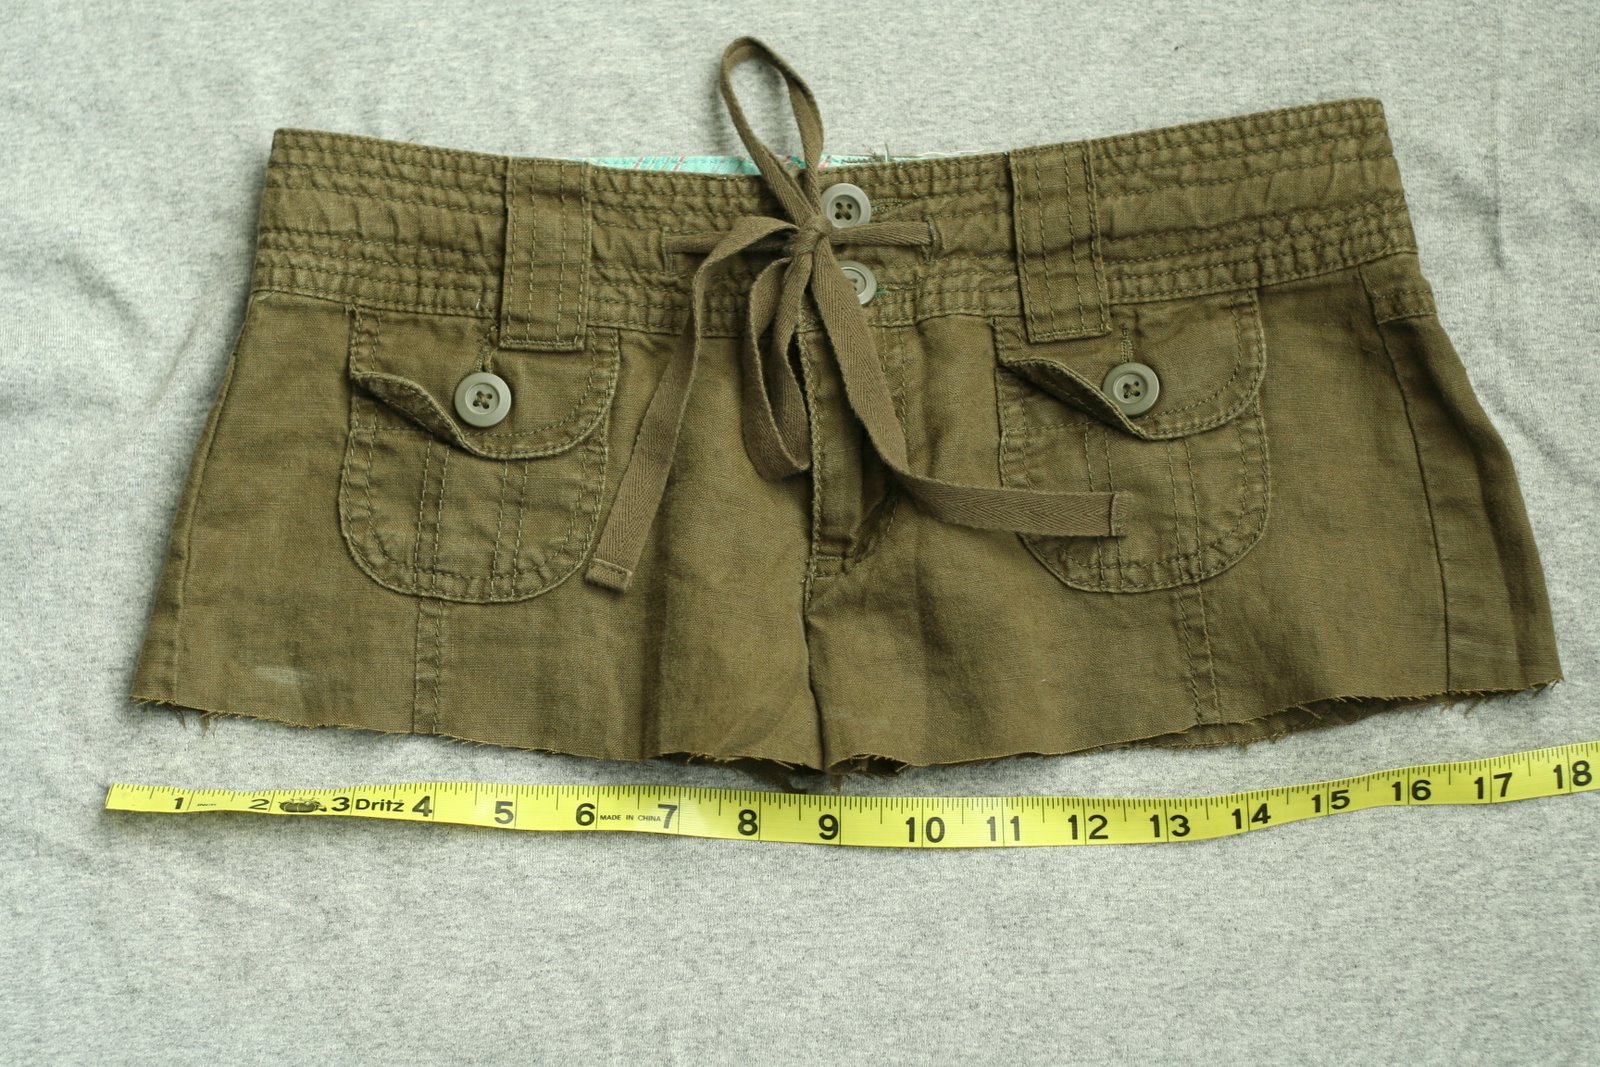
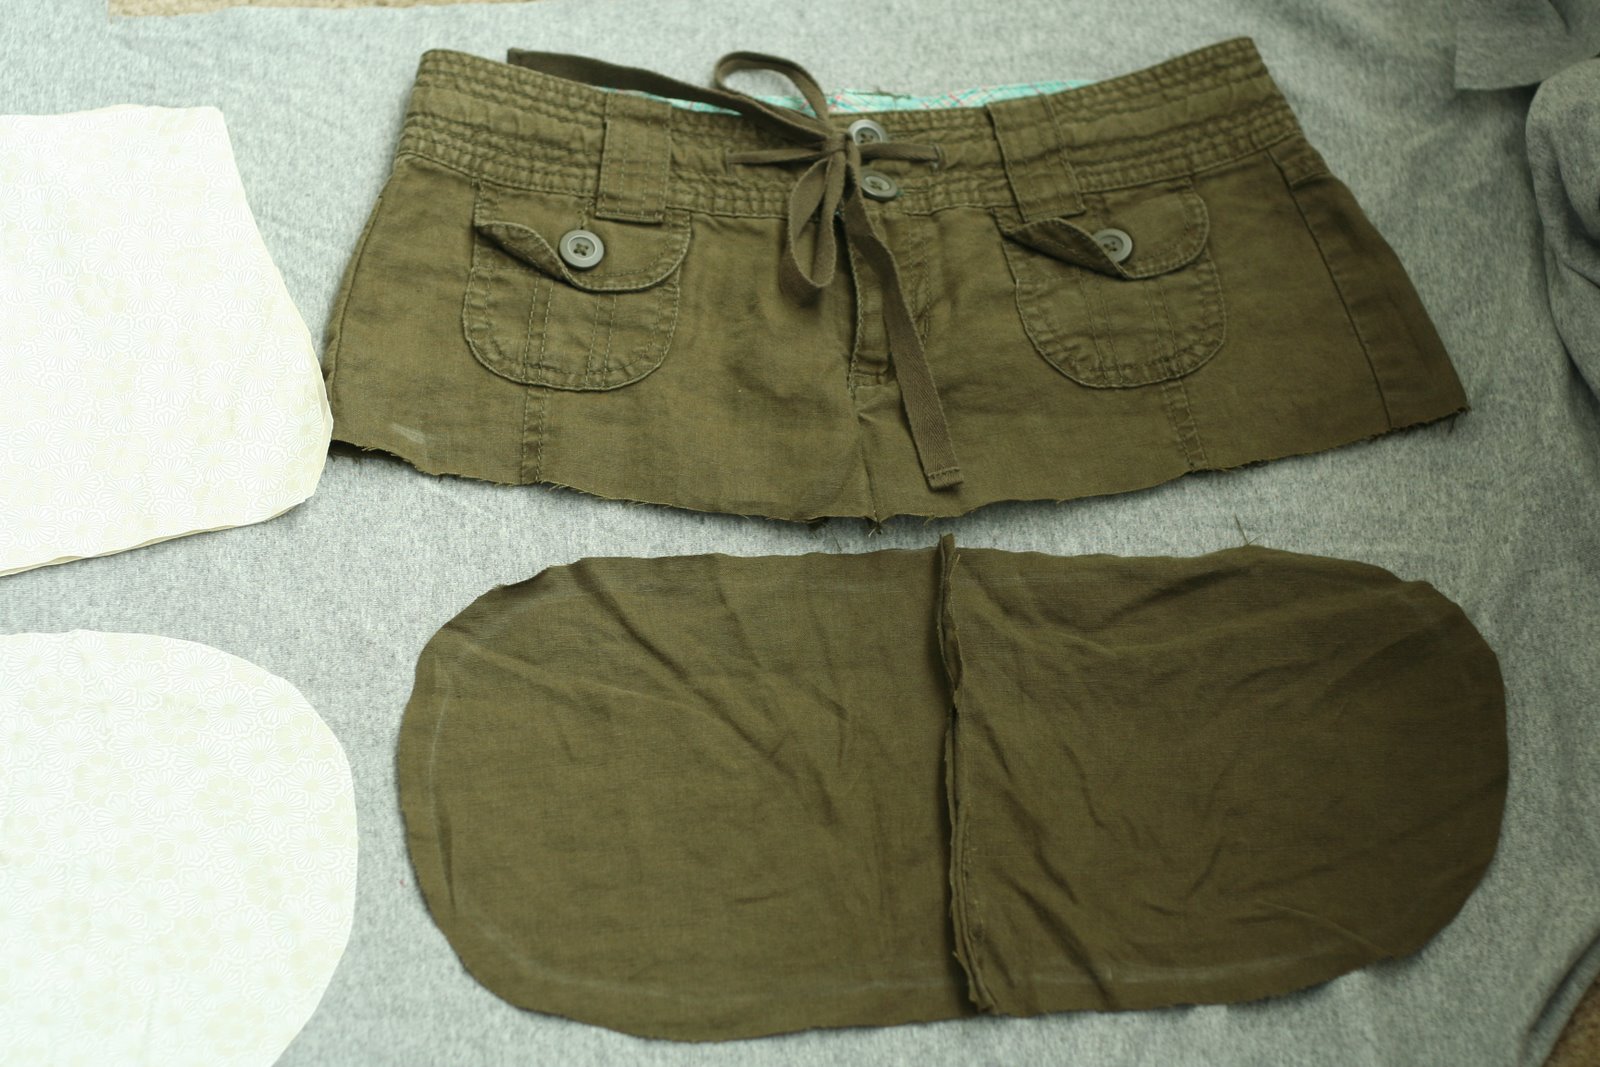
TutorialFirst, I cut off the top of the pants.
I noticed the bit below the fly stuck out so I turned the shorts inside out, pinned the area and sewed it up and trimmed it.
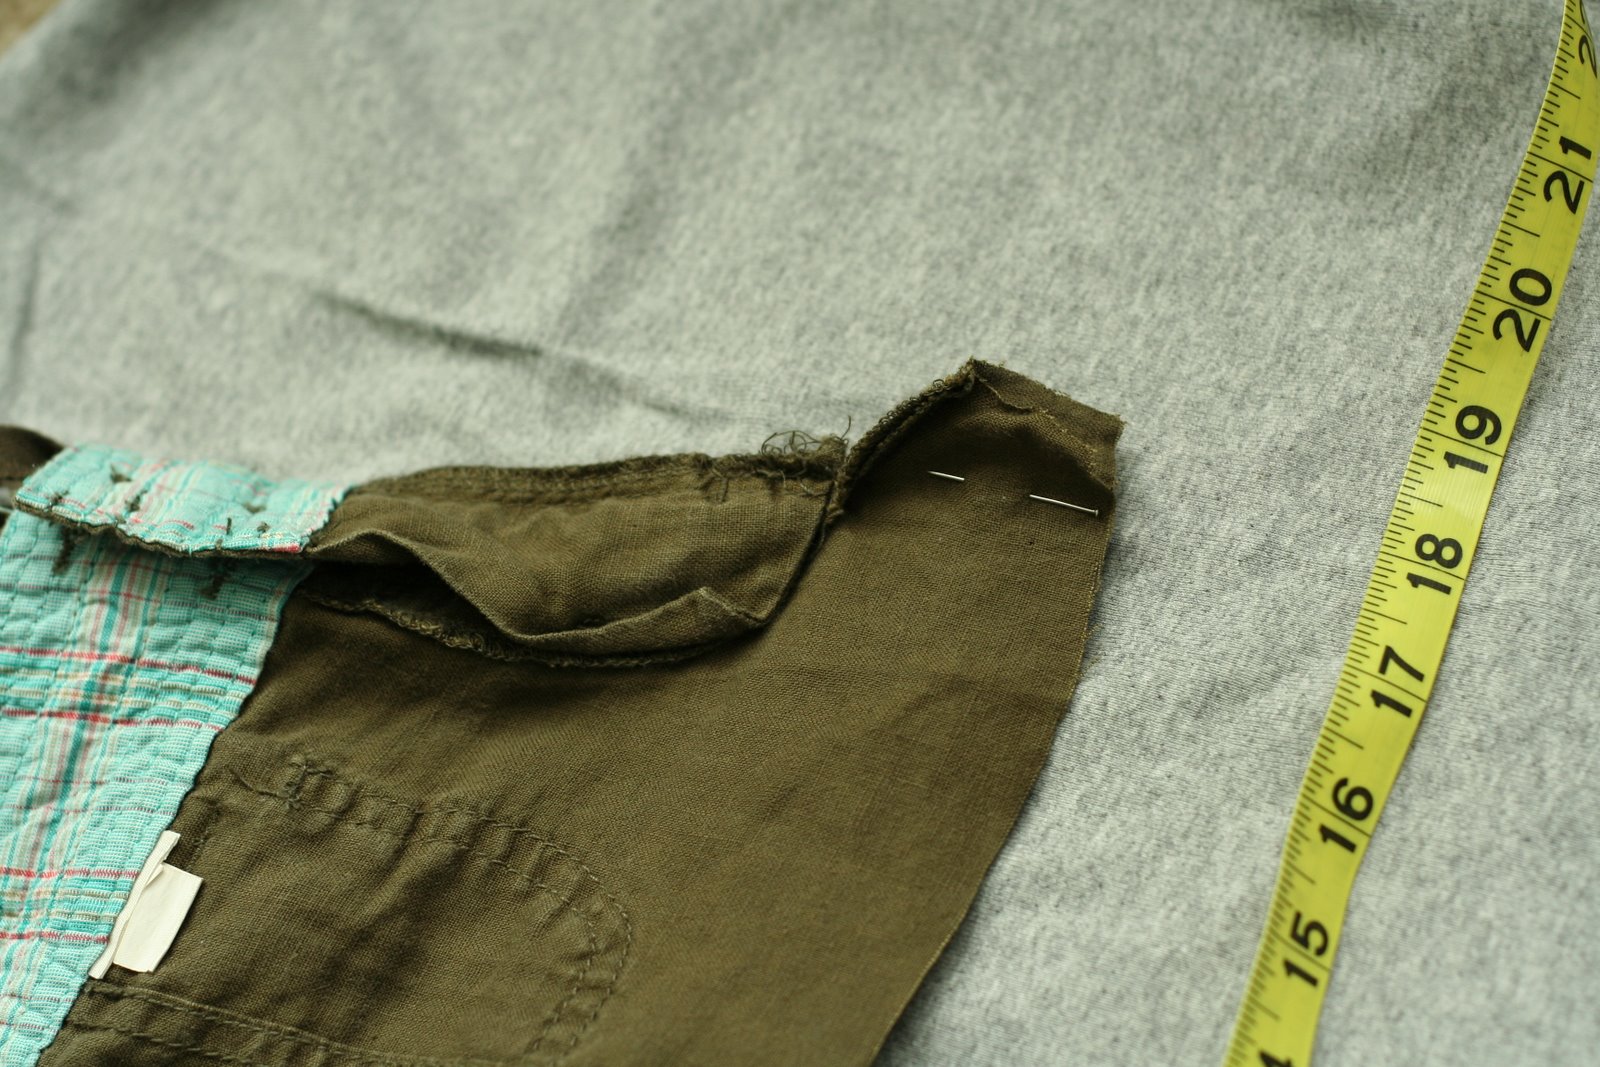
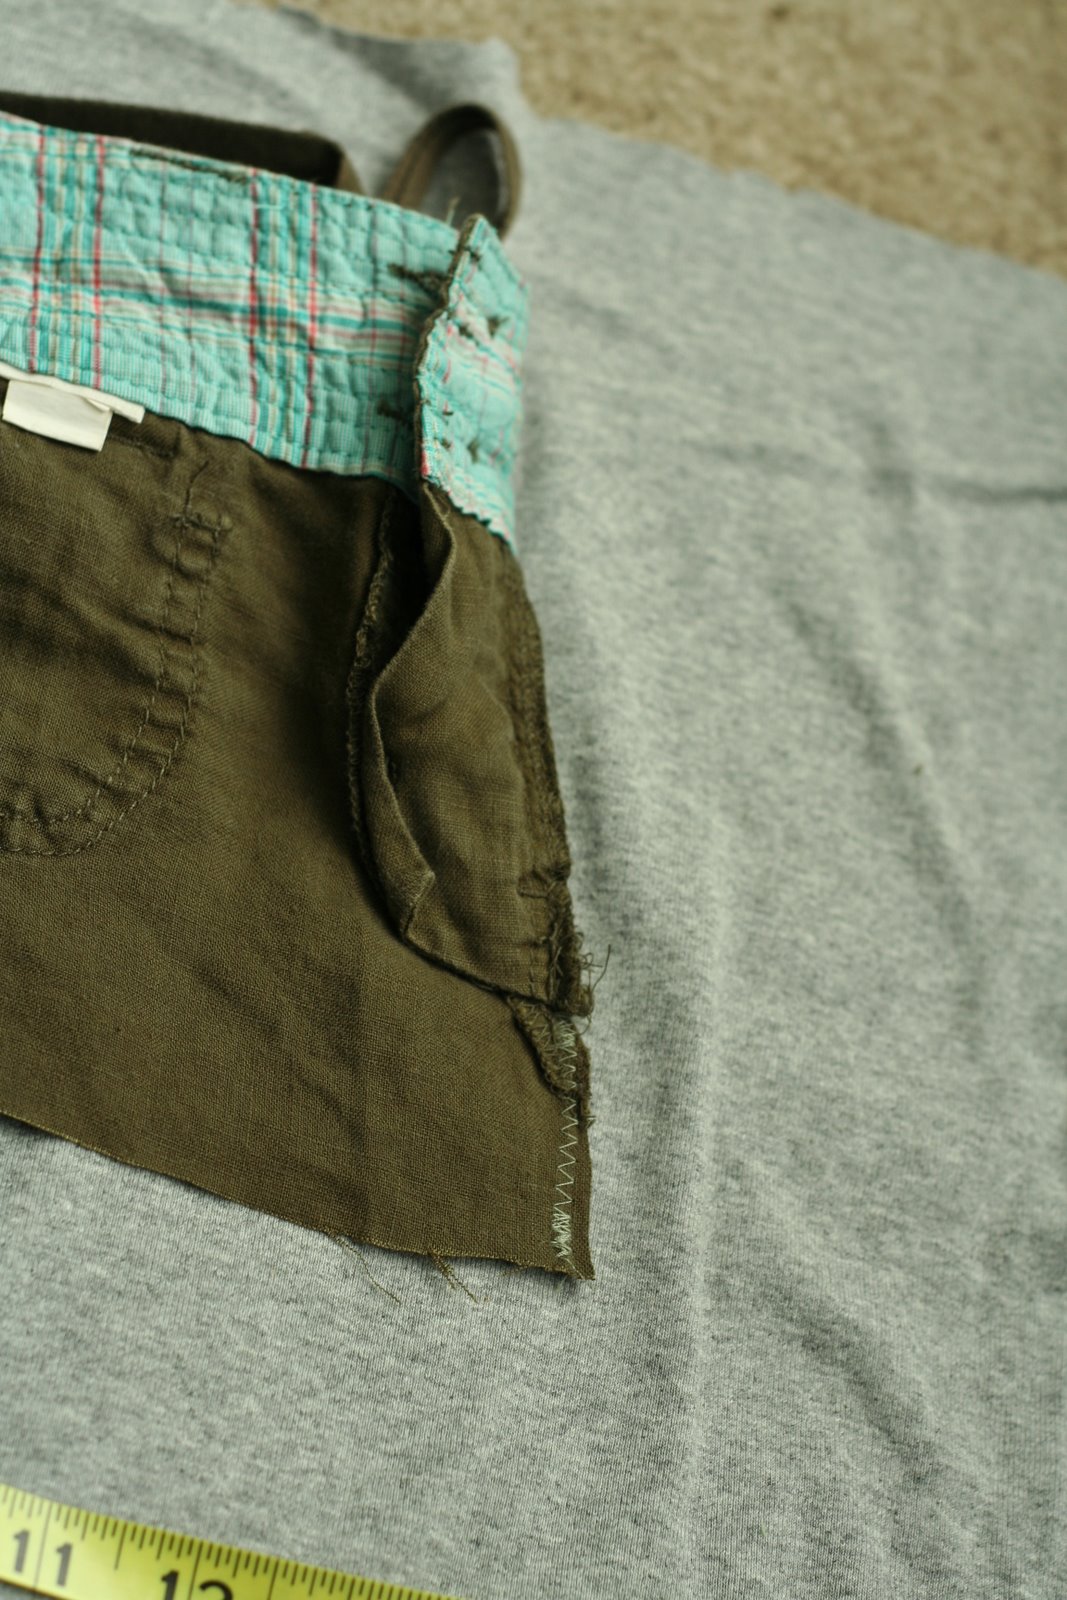
Then I measured how wide the bottom of it was.
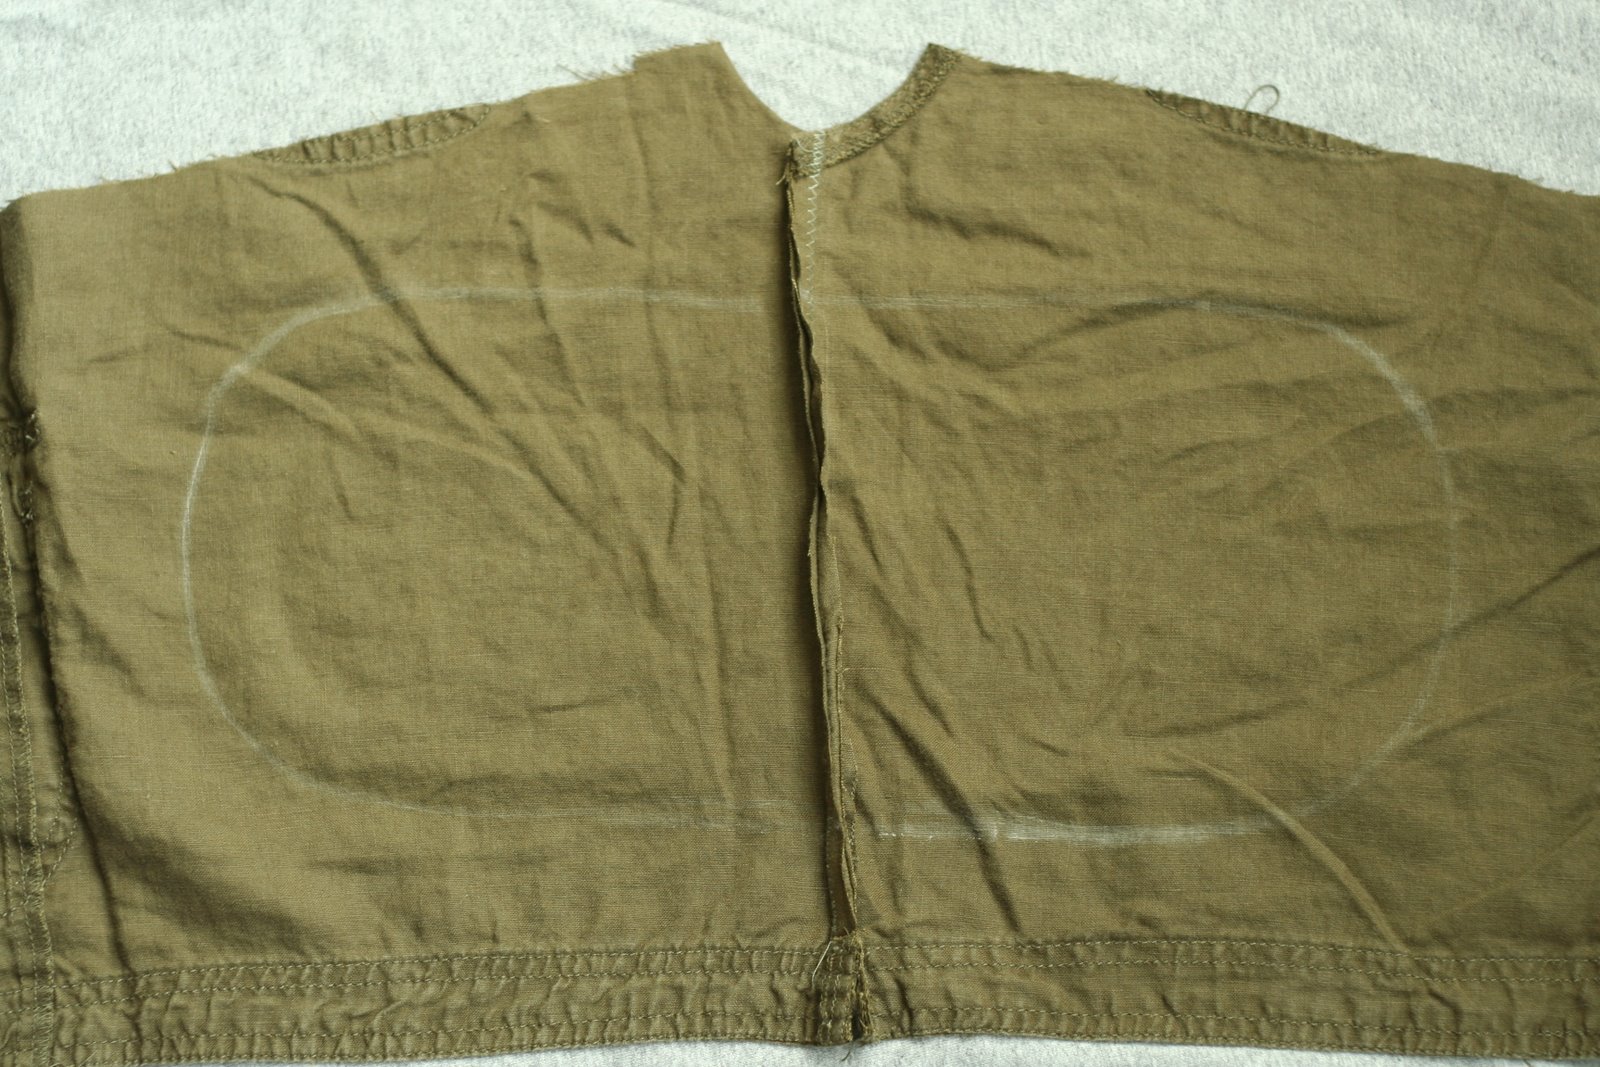
I cut up one seam of each leg, laid the two pieces flat (right sides together) and sewed them together to make one big piece of fabric that I could cut the bottom of the bag out of.

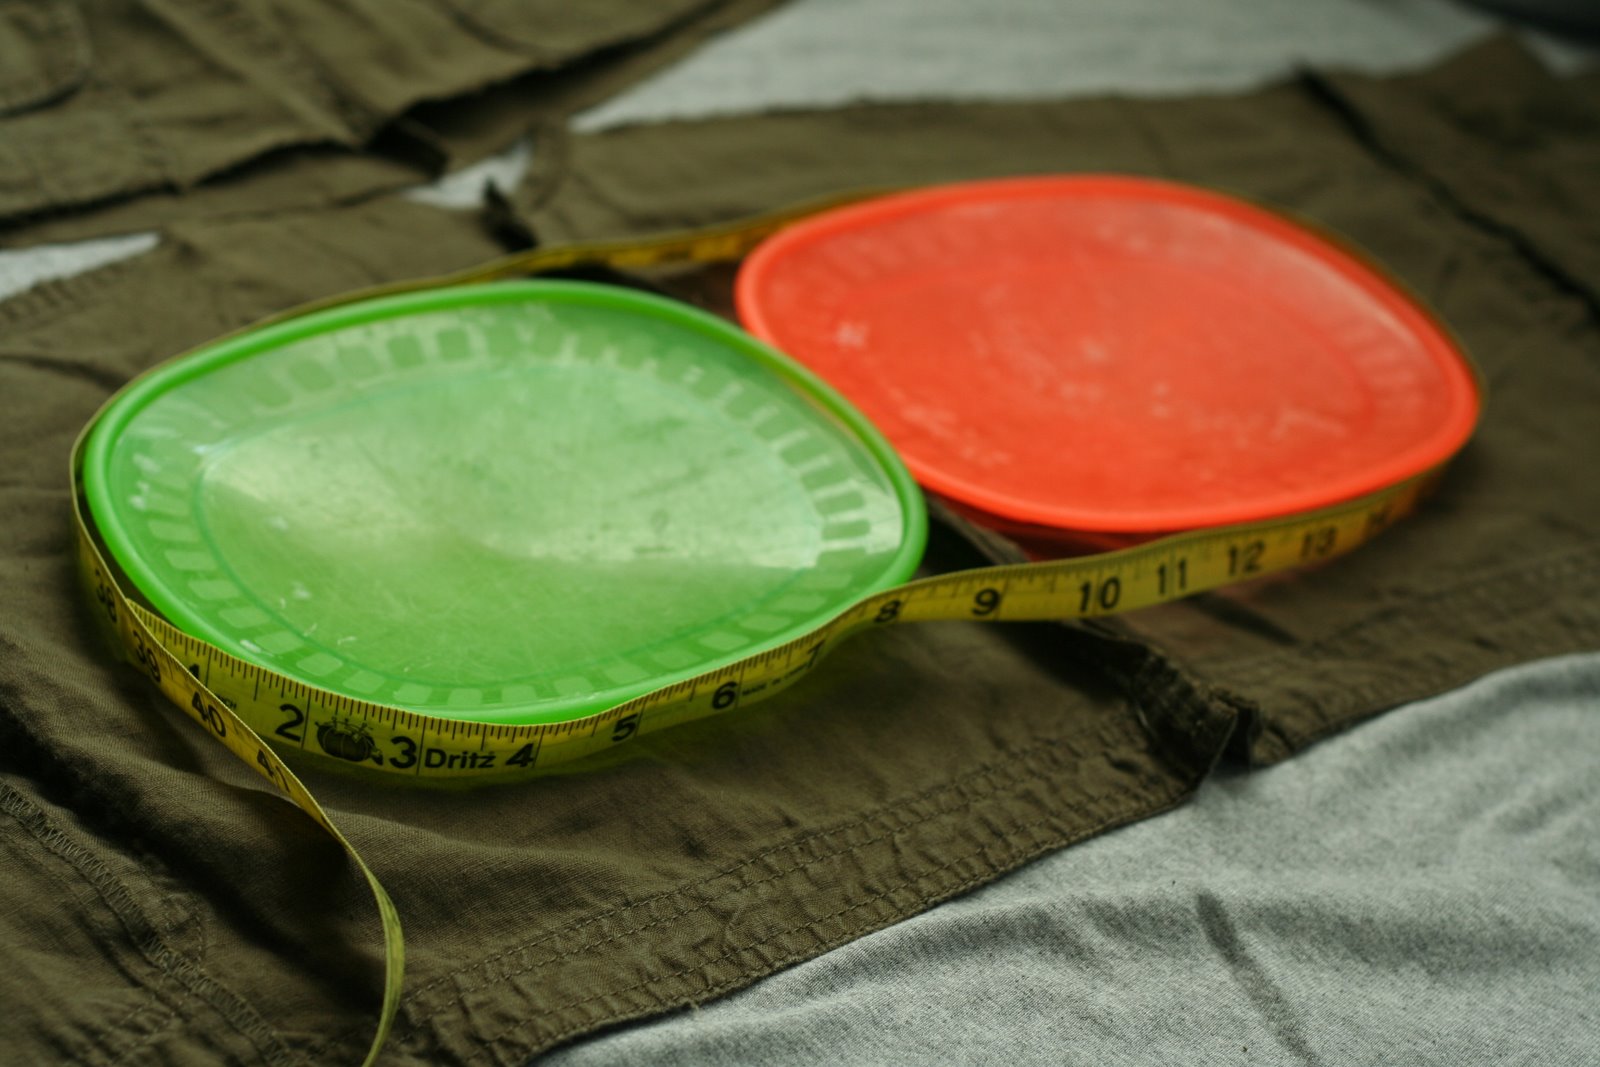
I kinda winged this next part. I wanted a nice shape for the bottom. I used two plates and spaced them until I got the measurement around them the same as the measurement around the bottom of the bag. I’d imagine you could use bowls or anything handy with a nice curve.
I marked out the shape with chalk and cut it out.
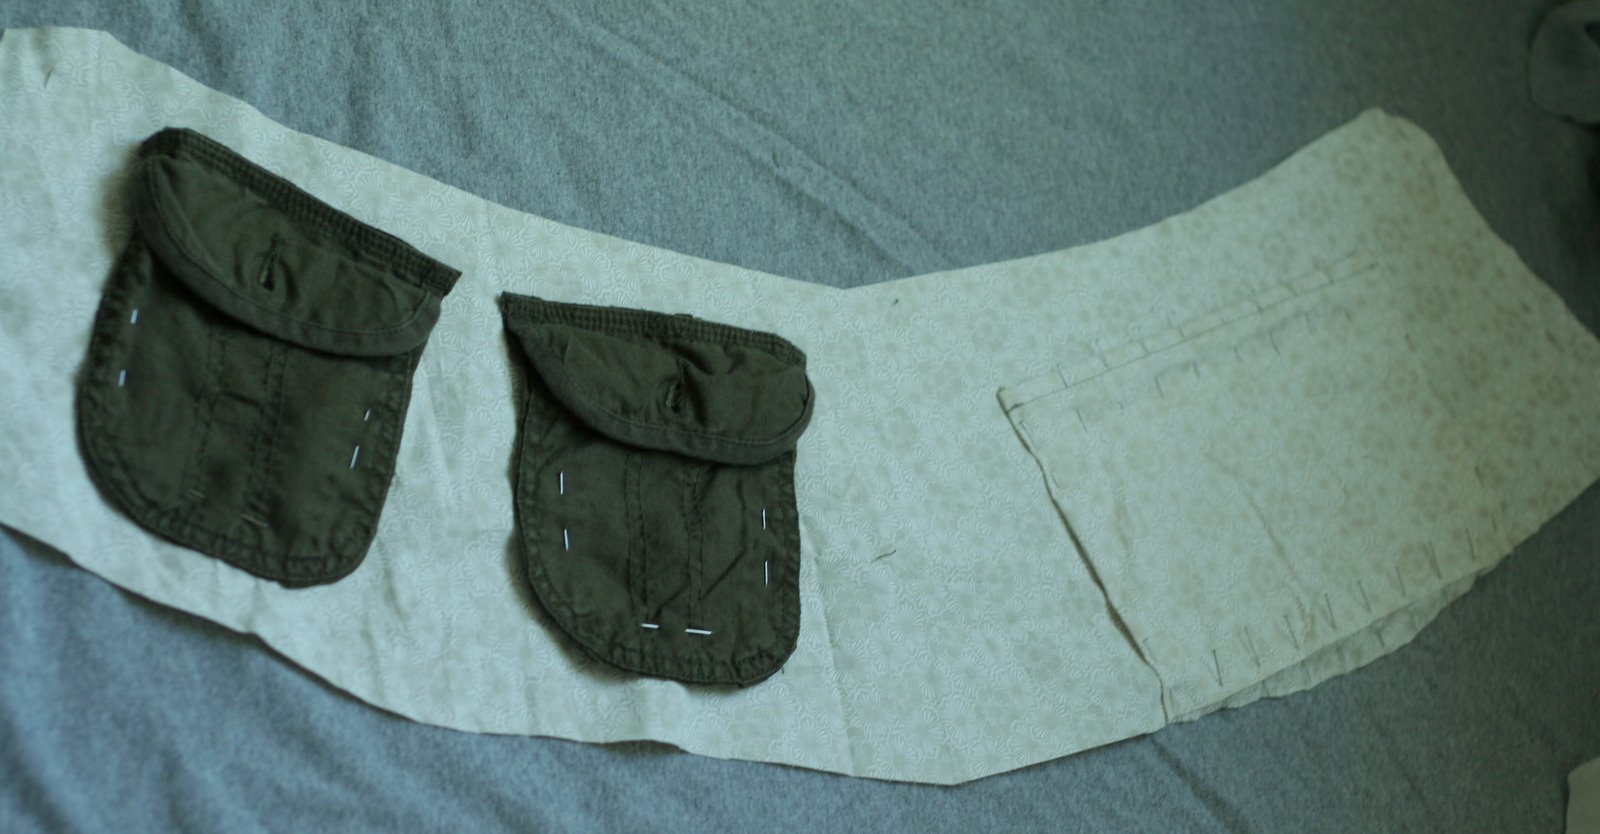
I laid the top part on a double thickness of the liner fabric and cut out, leaving extra for seam allowances. (To the right where you don’t see extra left is the fold of the liner fabric.)

I also used my “bottom of the bag” shape as a template to cut out the same shape in the liner fabric.
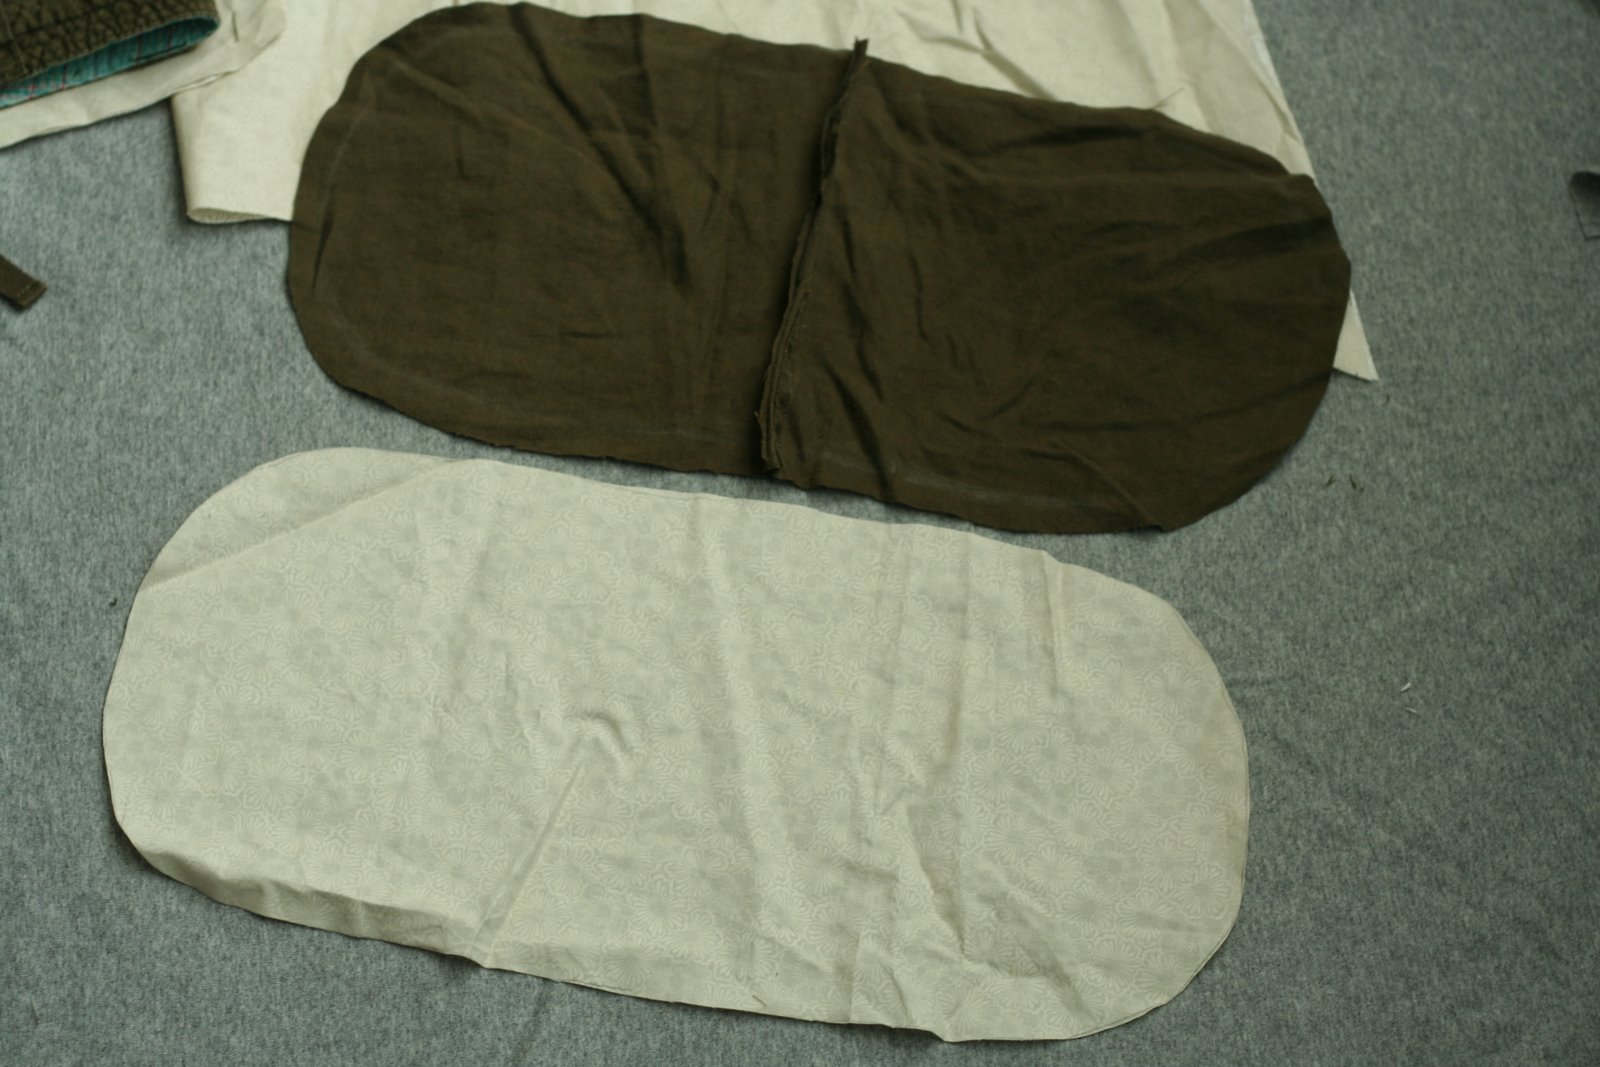
Here’s a random picture of the two pieces next to each other. Nice, eh? I’m in a weird mood… forgive the silly comments if they don’t translate well over the internet. Haha.
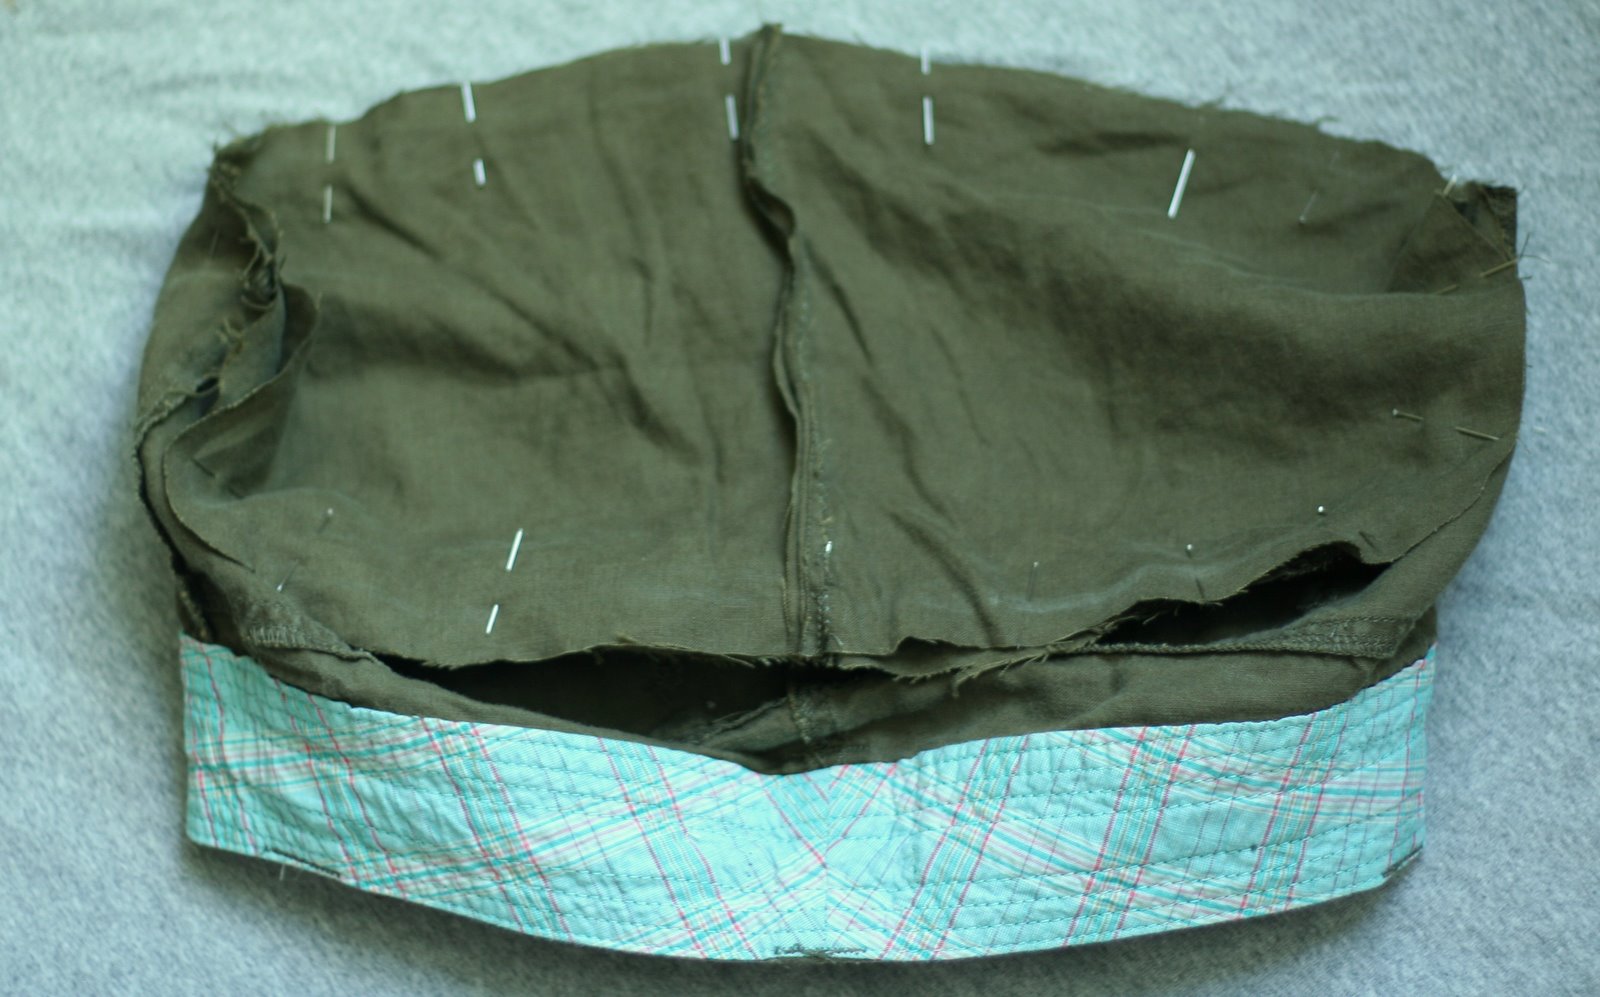
I turned the bag inside out and pinned and sewed right sides together.
I cut off the seams at the bottom of each leg and used them for straps. I cut strips of the liner fabric, folded over the edges of these, pinned them together, and sewed.
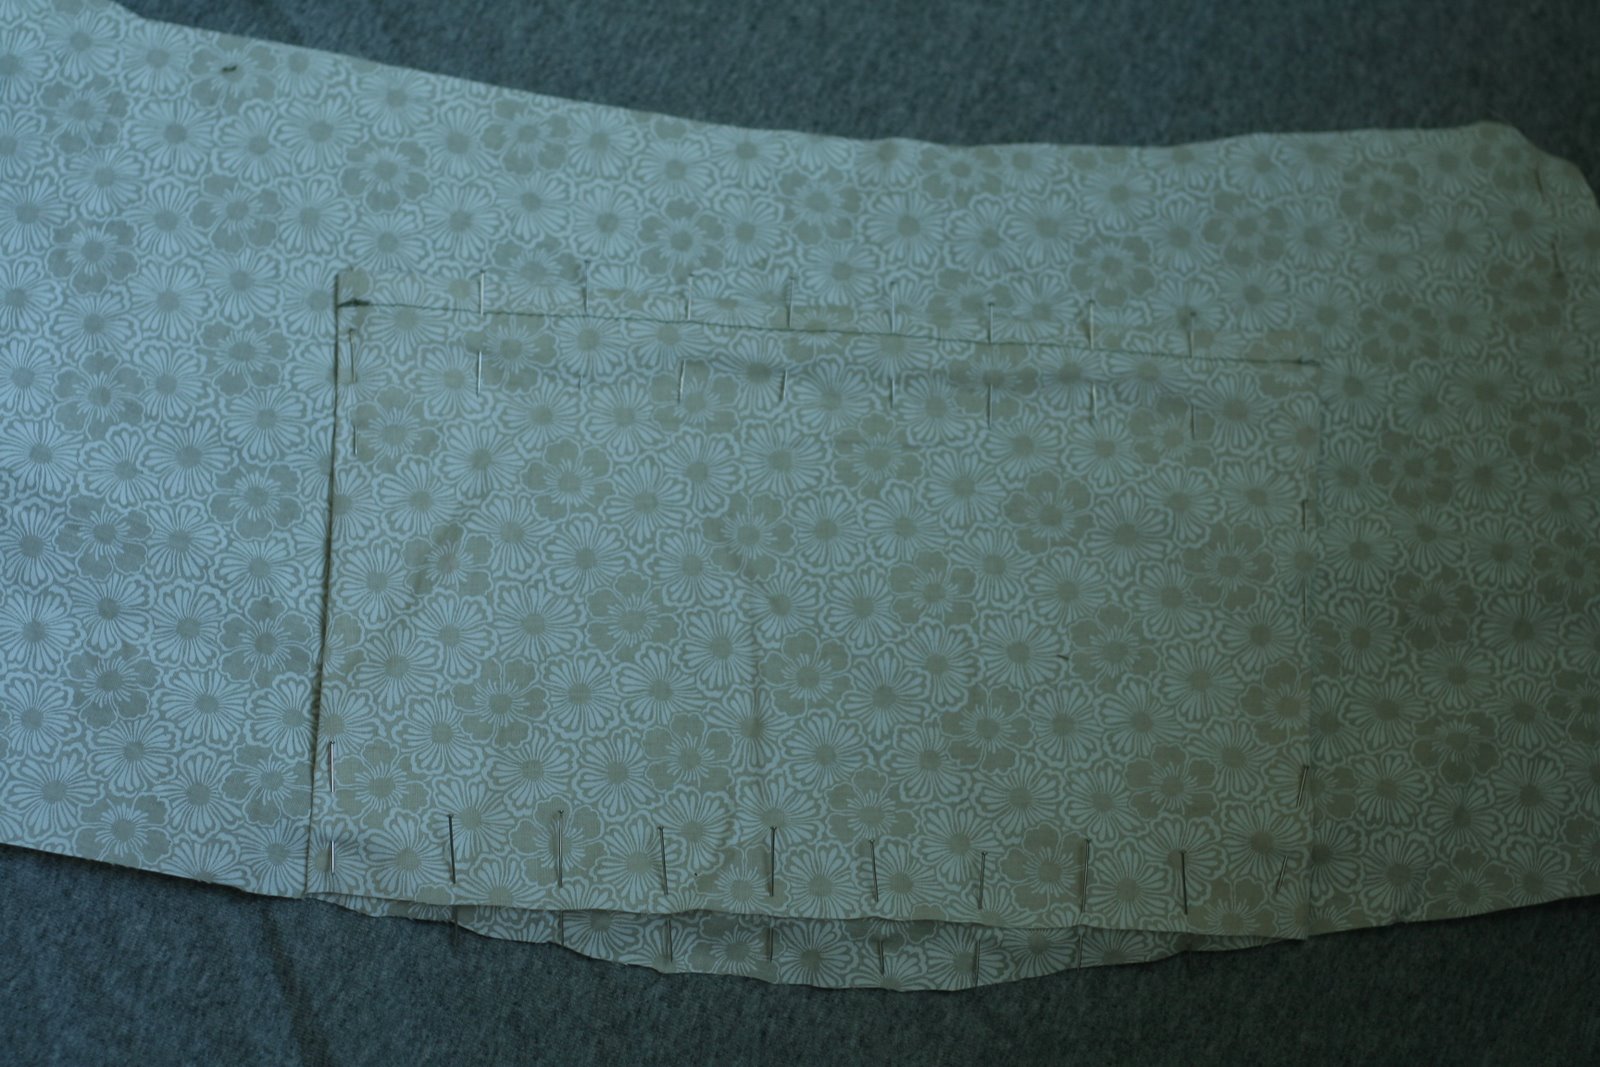
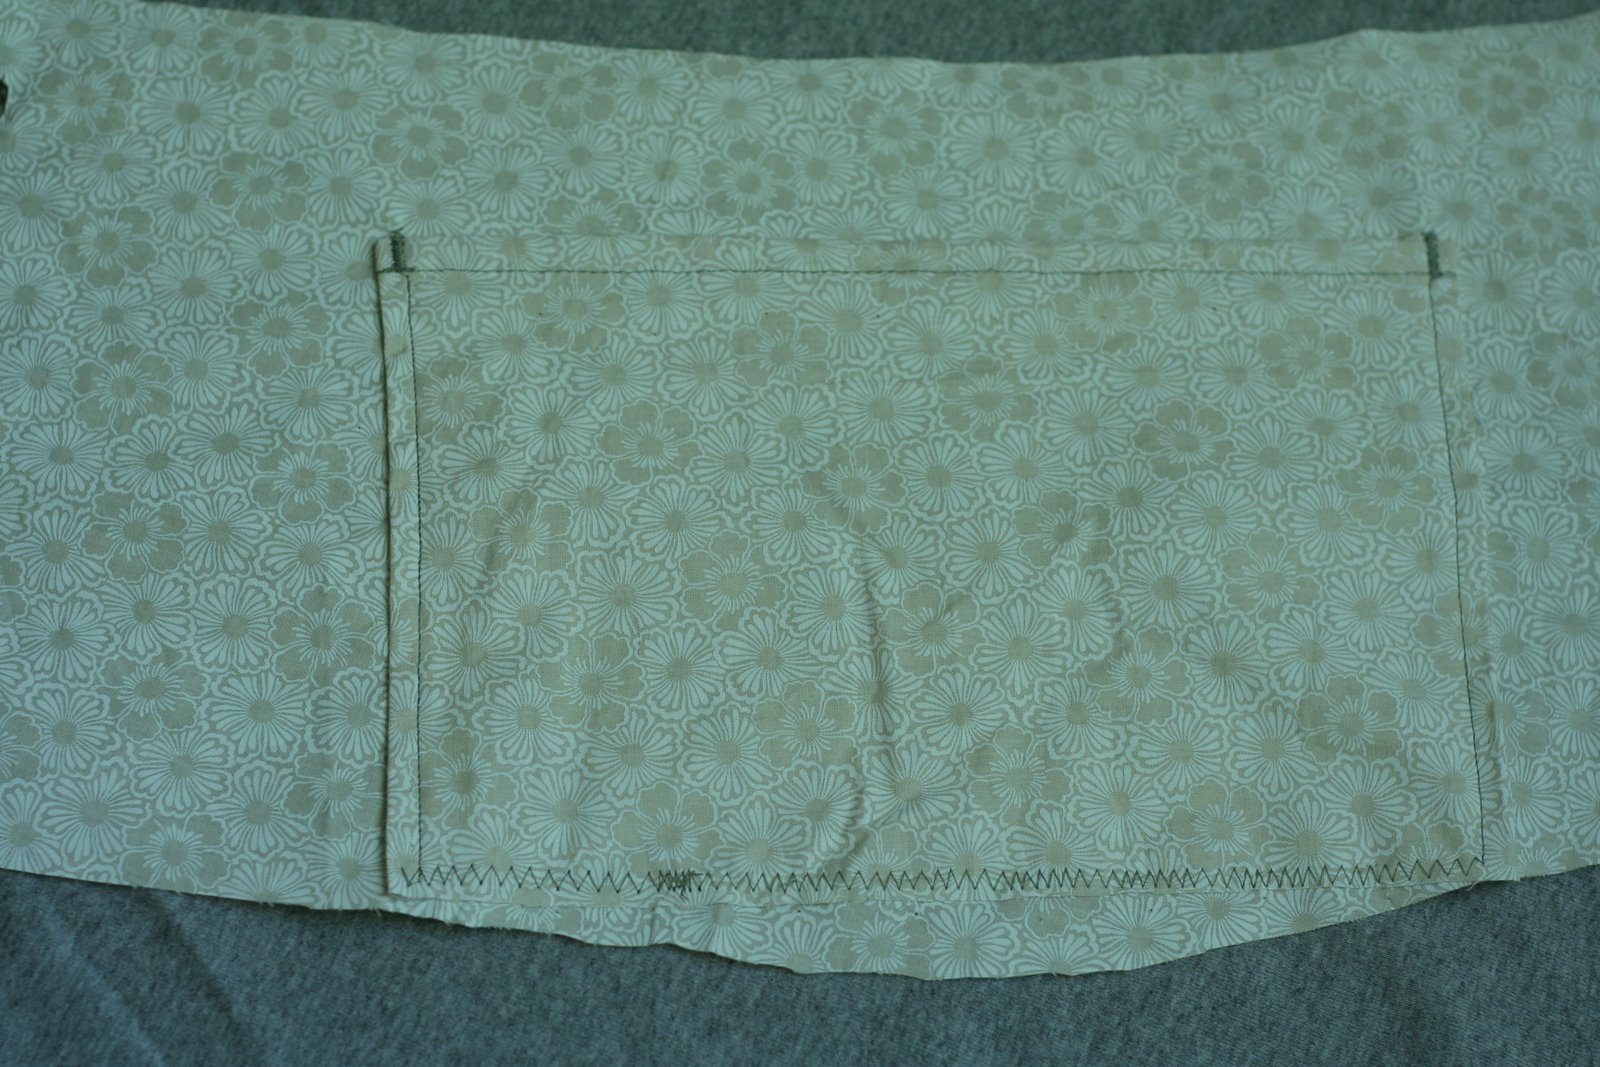
The rectangle is to make some additional pockets that will be great for pencils, pens, crochet hooks, or dpn knitting needles. I folded under and pressed with steam iron 3 sides of it. Sew the top hem. I left the two sides and bottom until I sewed it on the bag.

Then I pinned the straps in place and sewed them on.

Next I pinned that pocket on the liner.
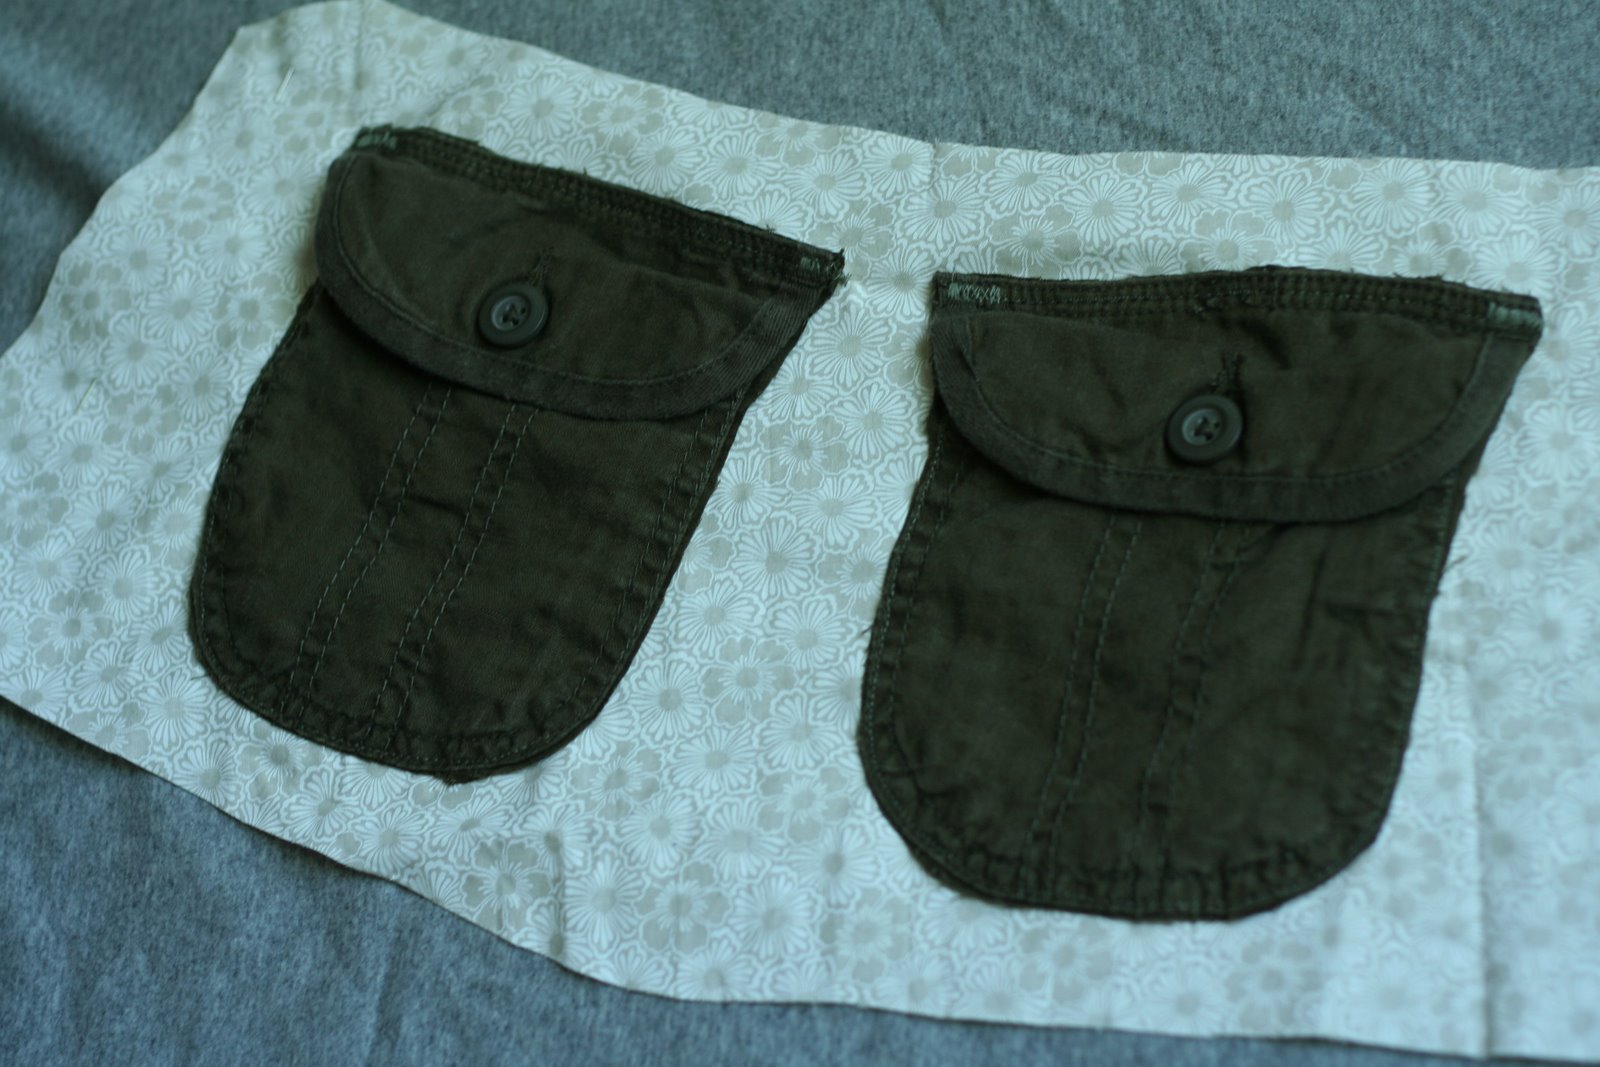
So, while that was on one side of the liner, I pinned the extra pocket from each leg on the other side of the liner. (Who can ever have enough pockets?!) These were basically centered on half of the liner… taking into account the seam allowance.
Sewed in place…
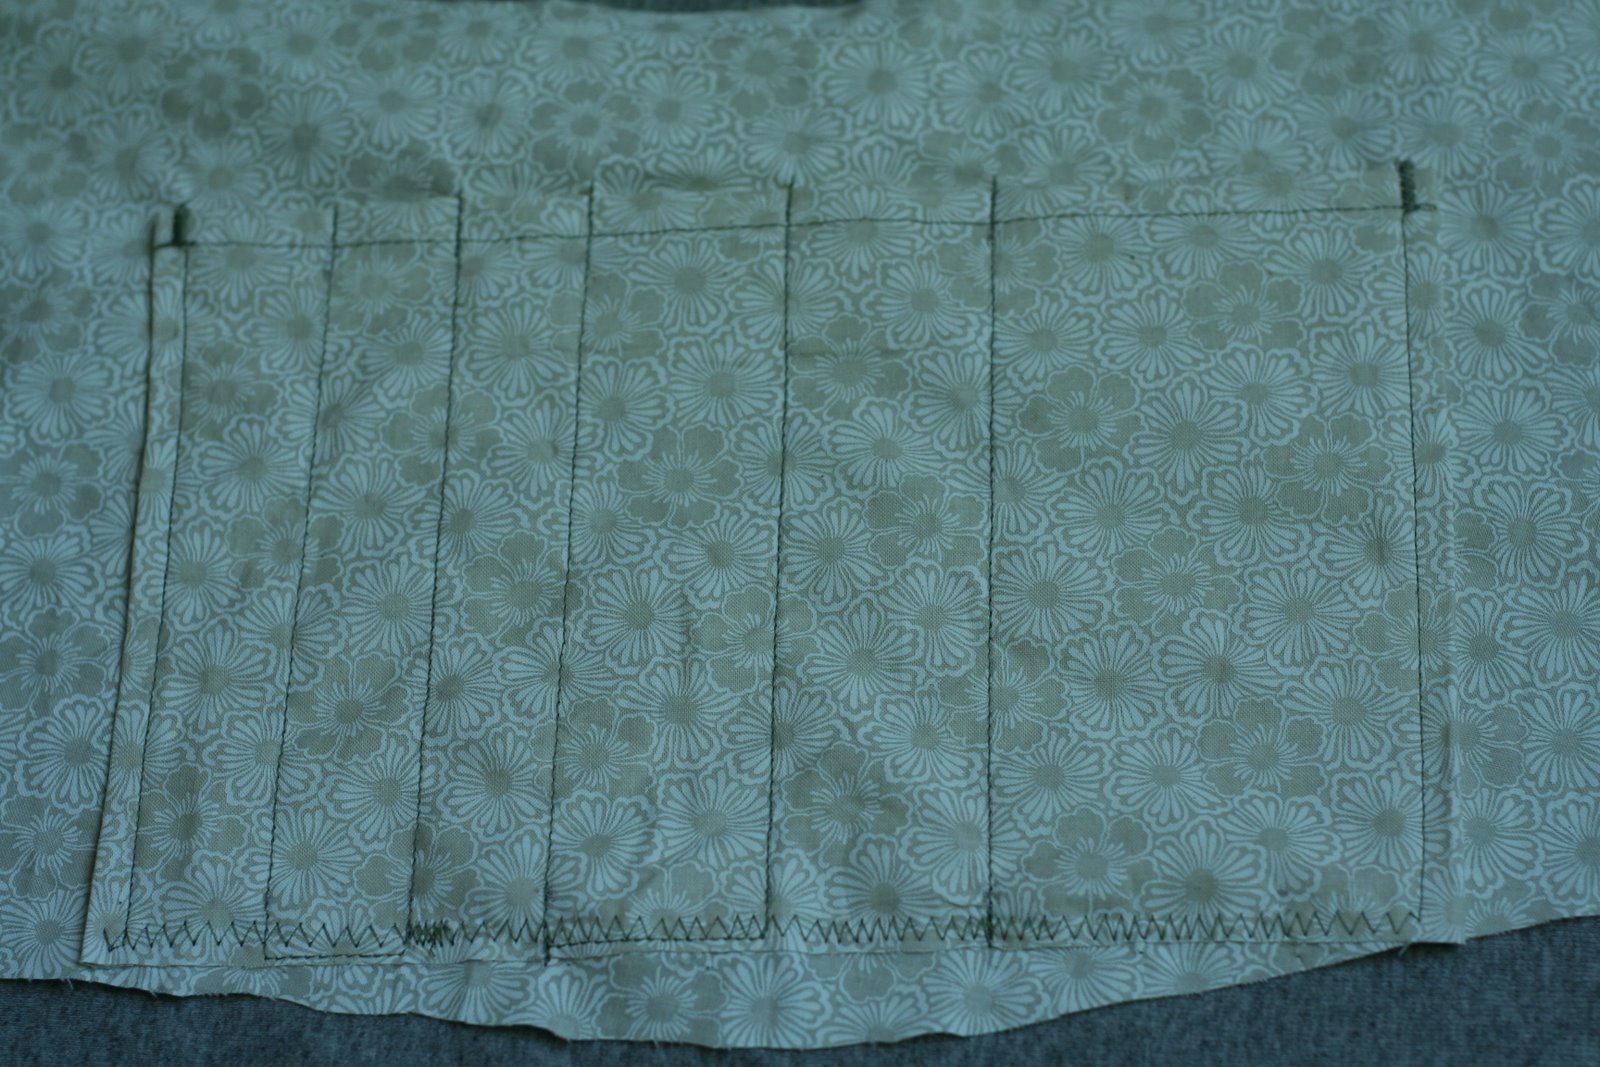
I sewed some straight lines to make these nice pencil, scissor, dpn, hook, whatever else you can think of to put in the pockets.
I hemmed the top of the liner and sewed the two sides of it together. Then I sewed the bottom to the liner the same way I had done with the bag.
Right before sewing the lining into the bag I decided to cut a piece of sturdy cardboard to place in the bottom of the bag to make it less flimsy.

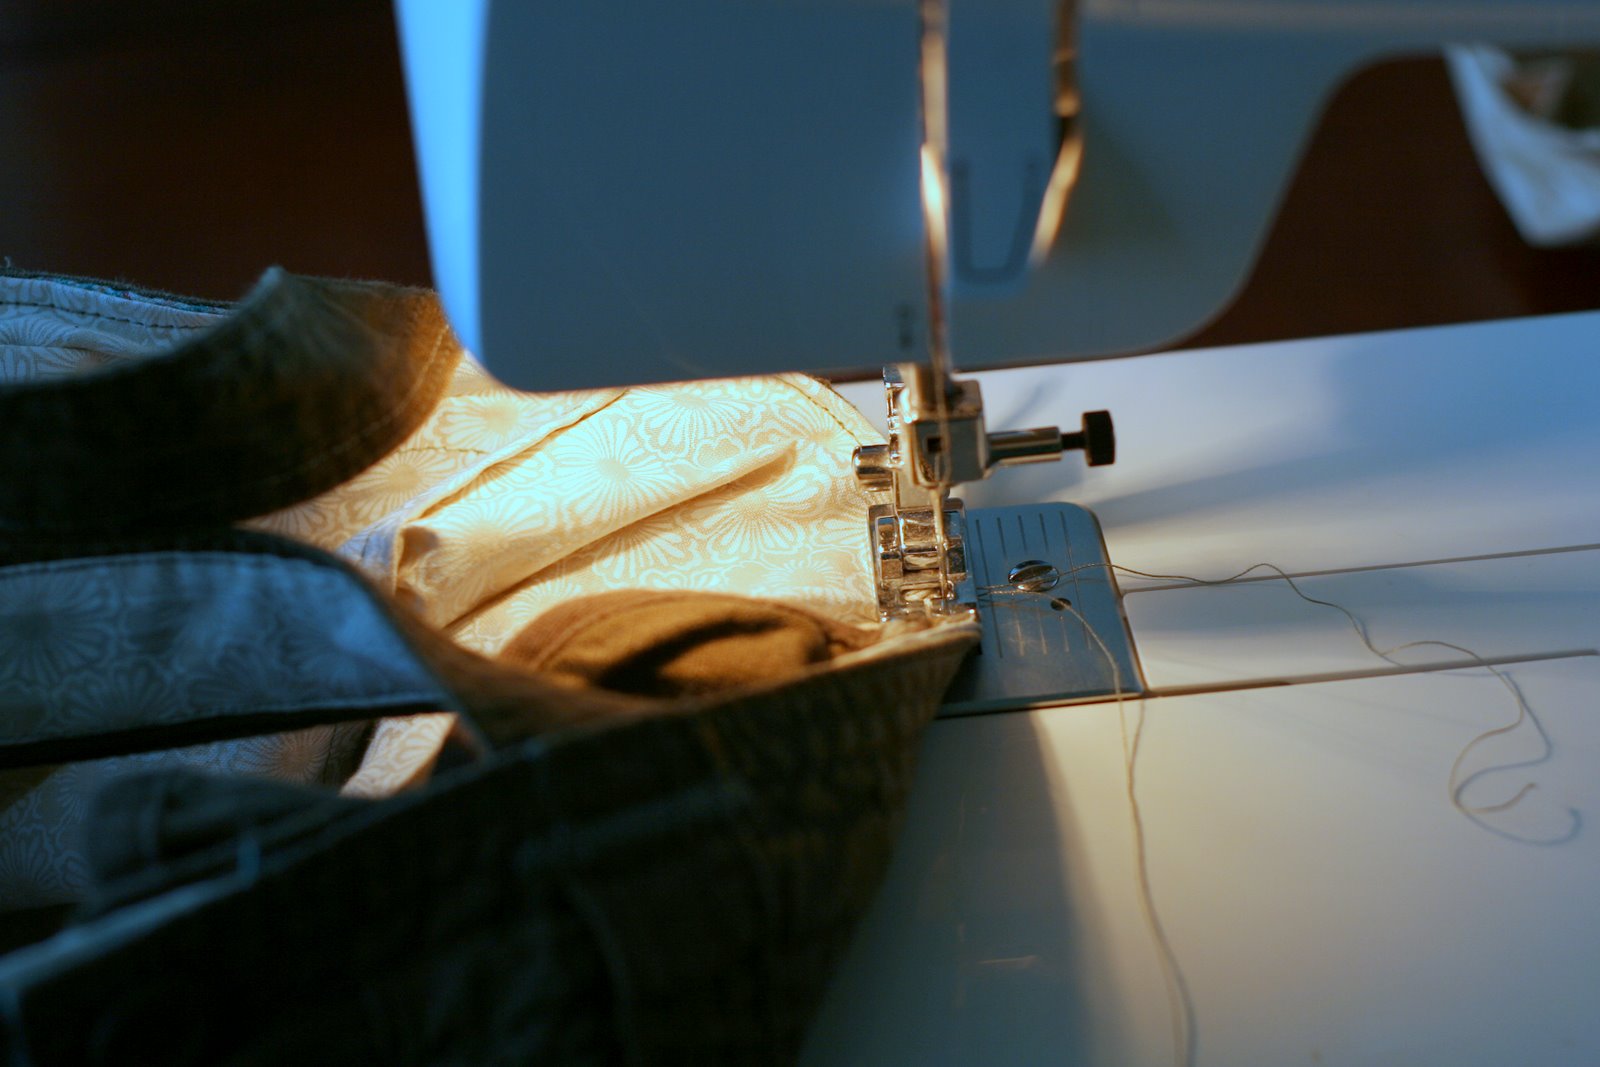
And, very last step, I placed the liner into the bag and sewed around the top of it.
I’m not really saying I did this “THE” way it should be done. There is probably a better way. But I was proud that I got it done in the end. I’d never done a bag with liner before. And I’m happy that those shorts will finally get some use. 🙂
I think that is absoloutely ingenious
great idea. my sister made me a project bag by repurposing a couple old skirts. i love it!
my recent post: some of the random thoughts in my head.
Awesome! What a great refashion! When I first saw it I thought it was your inspiration photo! You did a great job.
This is an INCREDIBLY cute bag… and not just for crafting! I have a cute pair of shorts (same as you, knew that I would fit into and never did) and was soooo inspired, that I am going to make a bag outta them!!! A handbag though, not a craft bag and finally found a use for some adorable scrap fabric I have. Thank you for the inspiration!
I love this, I can’t wait to go on the hunt for the perfect shorts or pants. And great tutorial, thanks.
Just finished this bag as a belated gift. I had the top of a pair of cargo pants used in another project ( made a messenger bag out of the leg! ) and wondered what I could do with them, when I saw this and viola! I now have made 2 bags out of 1 pair of thrift store cargo pants! Thank You so much!
Wonderful!!! 🙂
Great job… 😉
And thanks a lot for this tutorial
ciao ciao
Chiara
eine tolle Idee ,eine tolle tasche .lg marita
This is a fantastic tutorial, thank you. I will be looking for a pair of shorts in my family’s wardrobe soon 🙂
BOA IDÉA FICO LEGAL
My 18 year old son has some pants and shorts that don’t fit him…guess my 11 year old daughter will be getting a purse made from them. I just won’t tell her they were his or she’ll say “gross” LOL
I will make these from an old skirt, looks great!
That’s a great idea, Celia! Should be a little bit easier too!
good idea!
I just finished making a bag following your tutorial, the bag turned out adorable, I love it. I used an old jean’s skirt instead of shorts and it worked just fine. Thank you so much for sharing your fantastic idea.
Very Cute Idea!! I think I would of sewed some of the liner material around the cardboard and just placed it in the bottom of bag ( instead of sewed it in) that way it can easily be taken out and the bag can be washed without ruining the cardboard.
I love it, it is adorable, I have bought these kind of pants, and loved the pockets, even better as a bag! Thanks, you did a great job!
I made a heap of these but a bit deeper for shopping bags. No more plastic bags!