
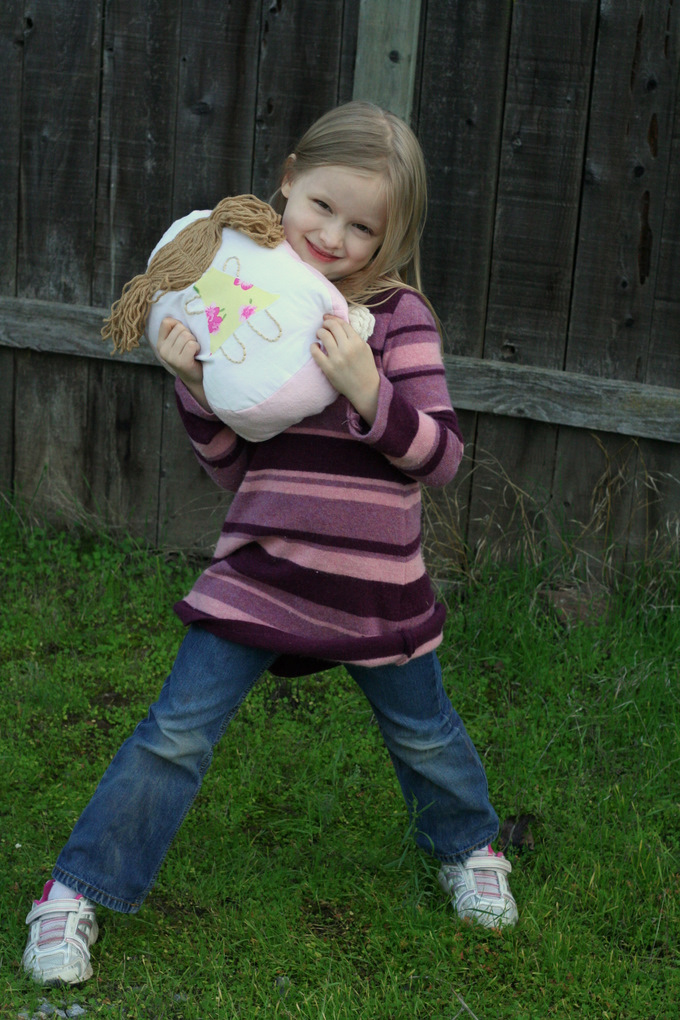
This is a part two from yesterday’s post on how to make your kid’s art huggable. So today, I’ll tell you how I put the hair on the little girl Drew wanted to make from her picture.
When Drew said her Little Lady needed pigtails I was totally intimidated! Sewing hair on a doll just seemed completely over my head. So I researched it, did my best, and was actually pleased with the process and result. Because the doll is on a pillow it is not the traditional doll hair and oddly enough it ended up with four pigtails. Two for the front; two for the back. A little weird but it worked out.
It really wasn’t hard. So don’t be intimidated yourself if you want to make pigtails/braids! I’ve illustrated every step of the process for you. And I loved how cute it came out… Drew did too!
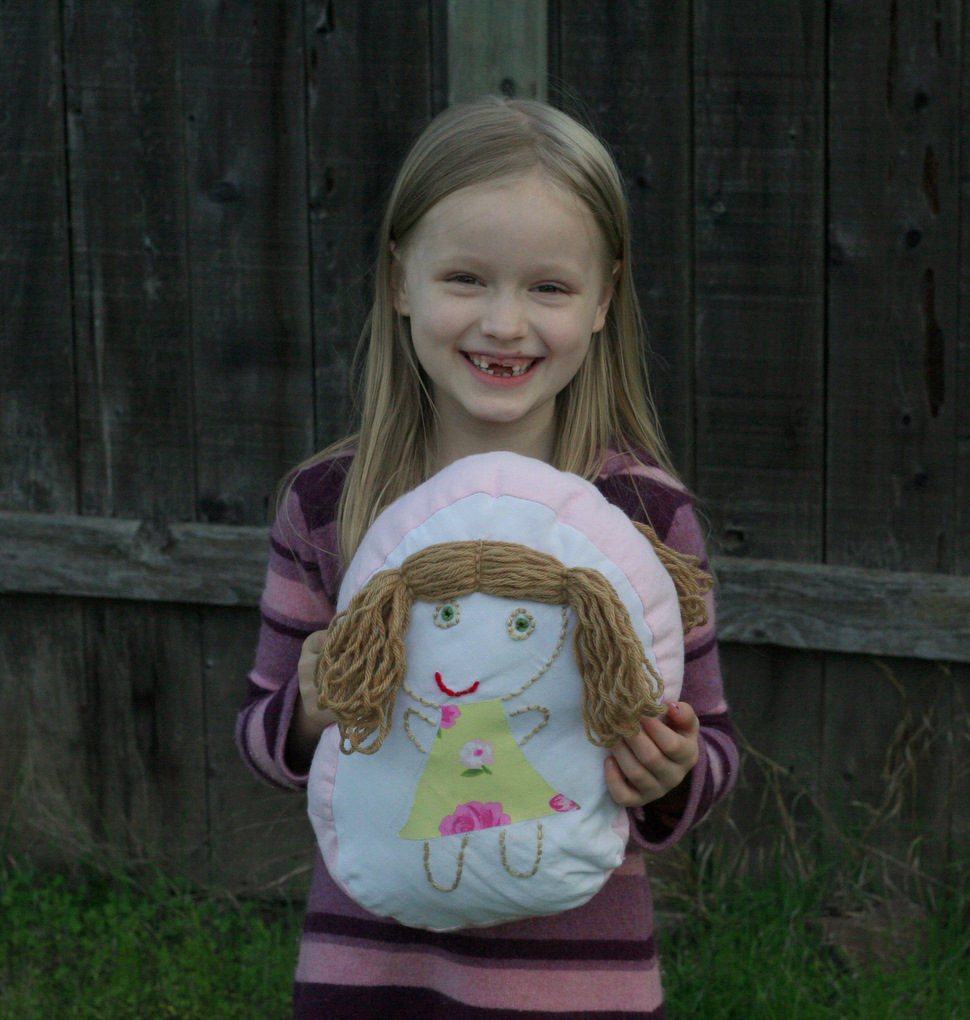
Huggable Art Part 2
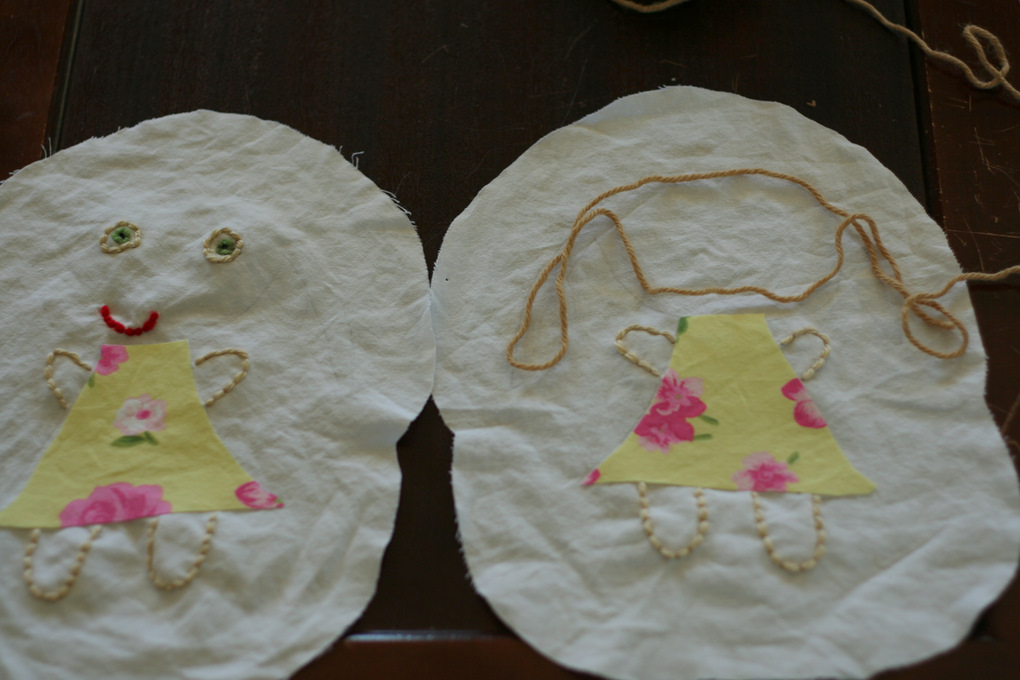
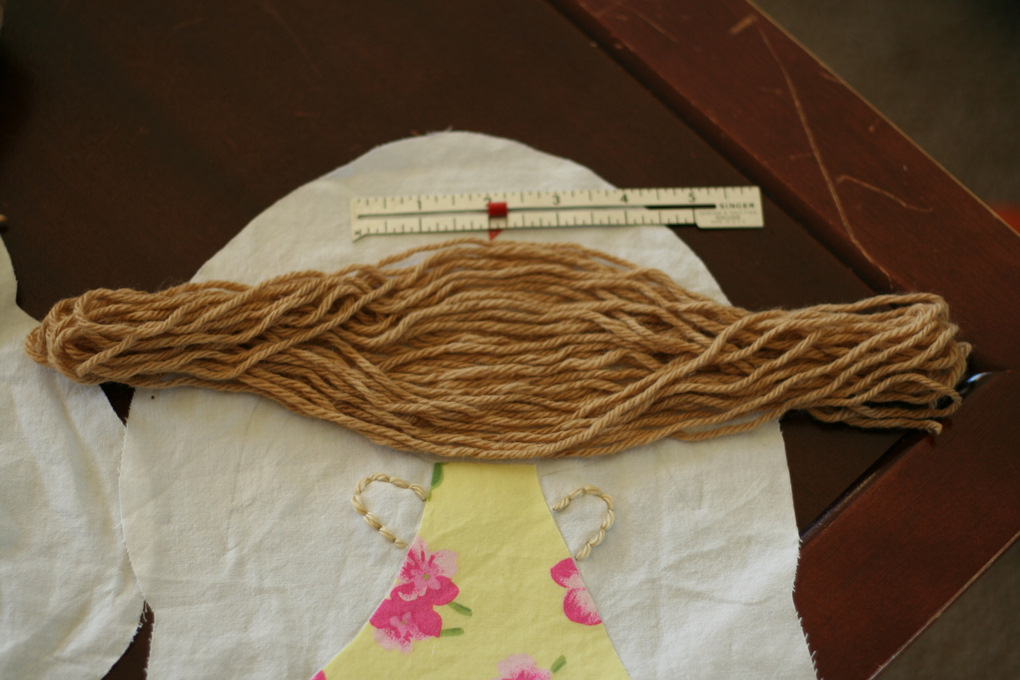
TutorialThe hair needs to be put on before the pieces are sewn together. First, I laid out the yarn to find out how long it needed to be at the longest.
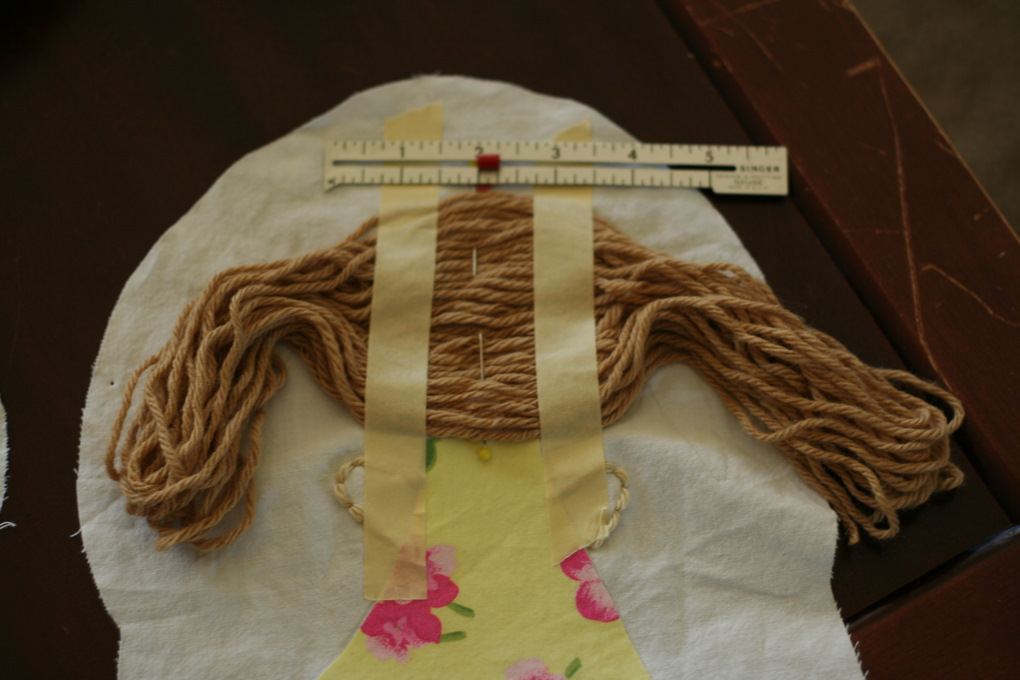
Then I straightened up the yarn and looped it back and forth until there was enough to cover the back of the head. Repeat. You’ll need pigtails for the front so loop yarn back and forth again, same length, same number of times so that the front and back will match.
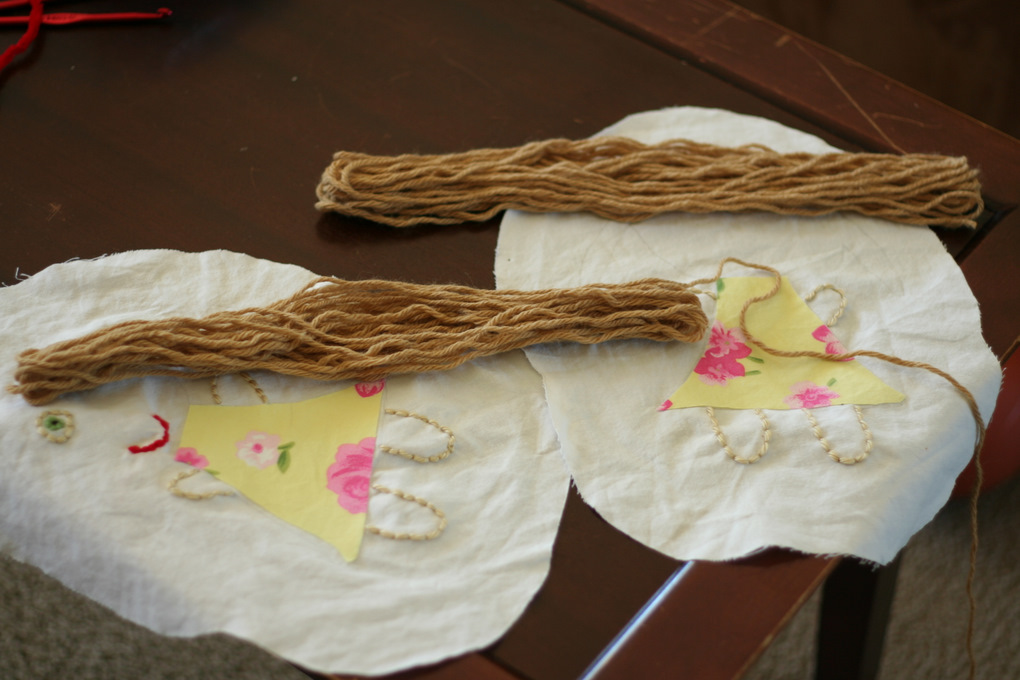
Then I spread out the hair… measuring with a ruler to be sure it’s centered on the head.
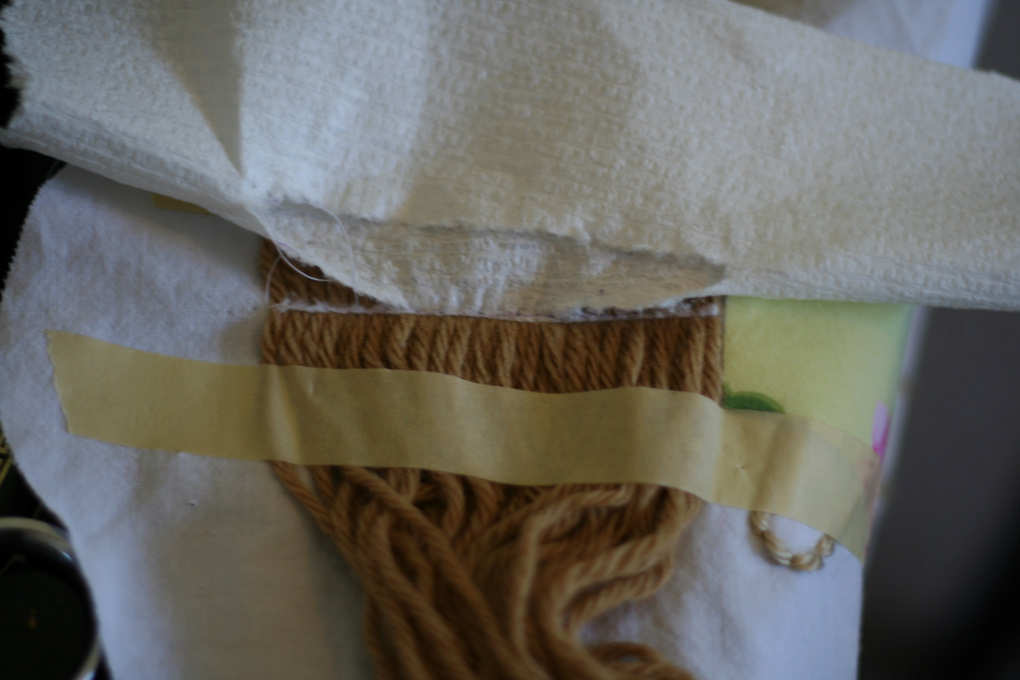
To secure the hair in place I taped the hair down with masking tape (I’ll try painters tape if I do it again so it’s less sticky) and marked the center line with pins so I knew where to sew. If I were you I’d just sew it up now. I ended up regretting my next step. 🙂
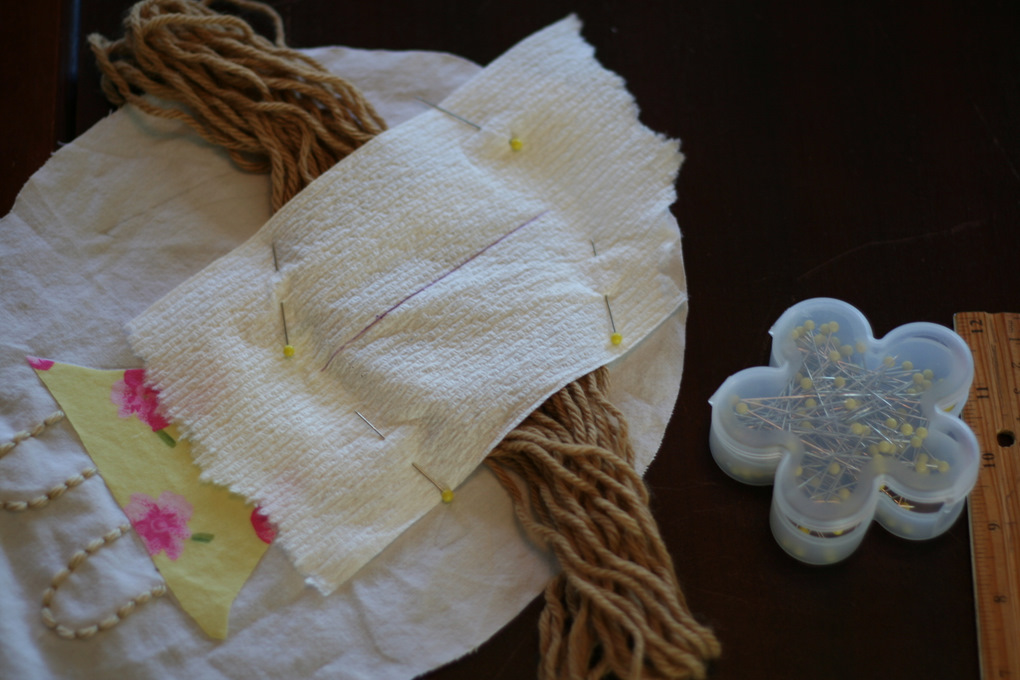
I read that tissue was a good idea so I took out those pins marking the center line and instead pinned some tissue (ahem… toilet tissue… but in my defense I also read that worked fine) over the hair. The only thing good about this idea was I got a nice straight line because I drew one on the tissue.
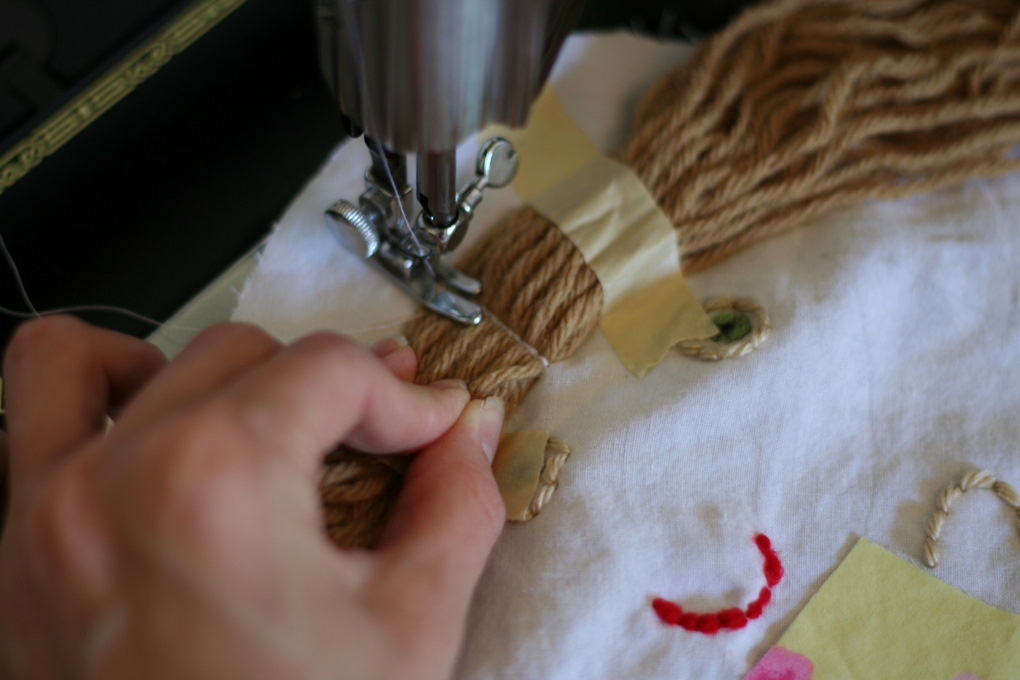
Then I sewed it back and forth a few times.
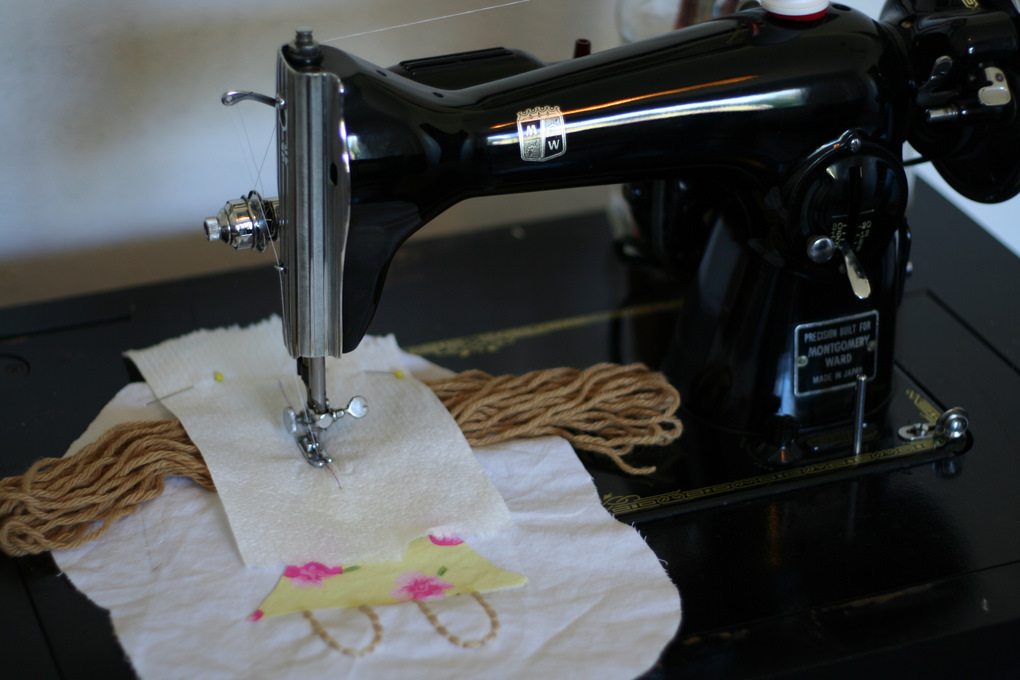
This is where the regret came into play. When I pulled the tissue up it left fuzz under the stitches. I picked at it for a while and then did what I was going to anyway and stitched over the thread with the same yarn I used for the hair. It was fine in the end.
But when I sewed the front I just held the hair in place with my fingers and it worked very well. Especially because the hair was bunched up instead of spread out I held it together while sewing.
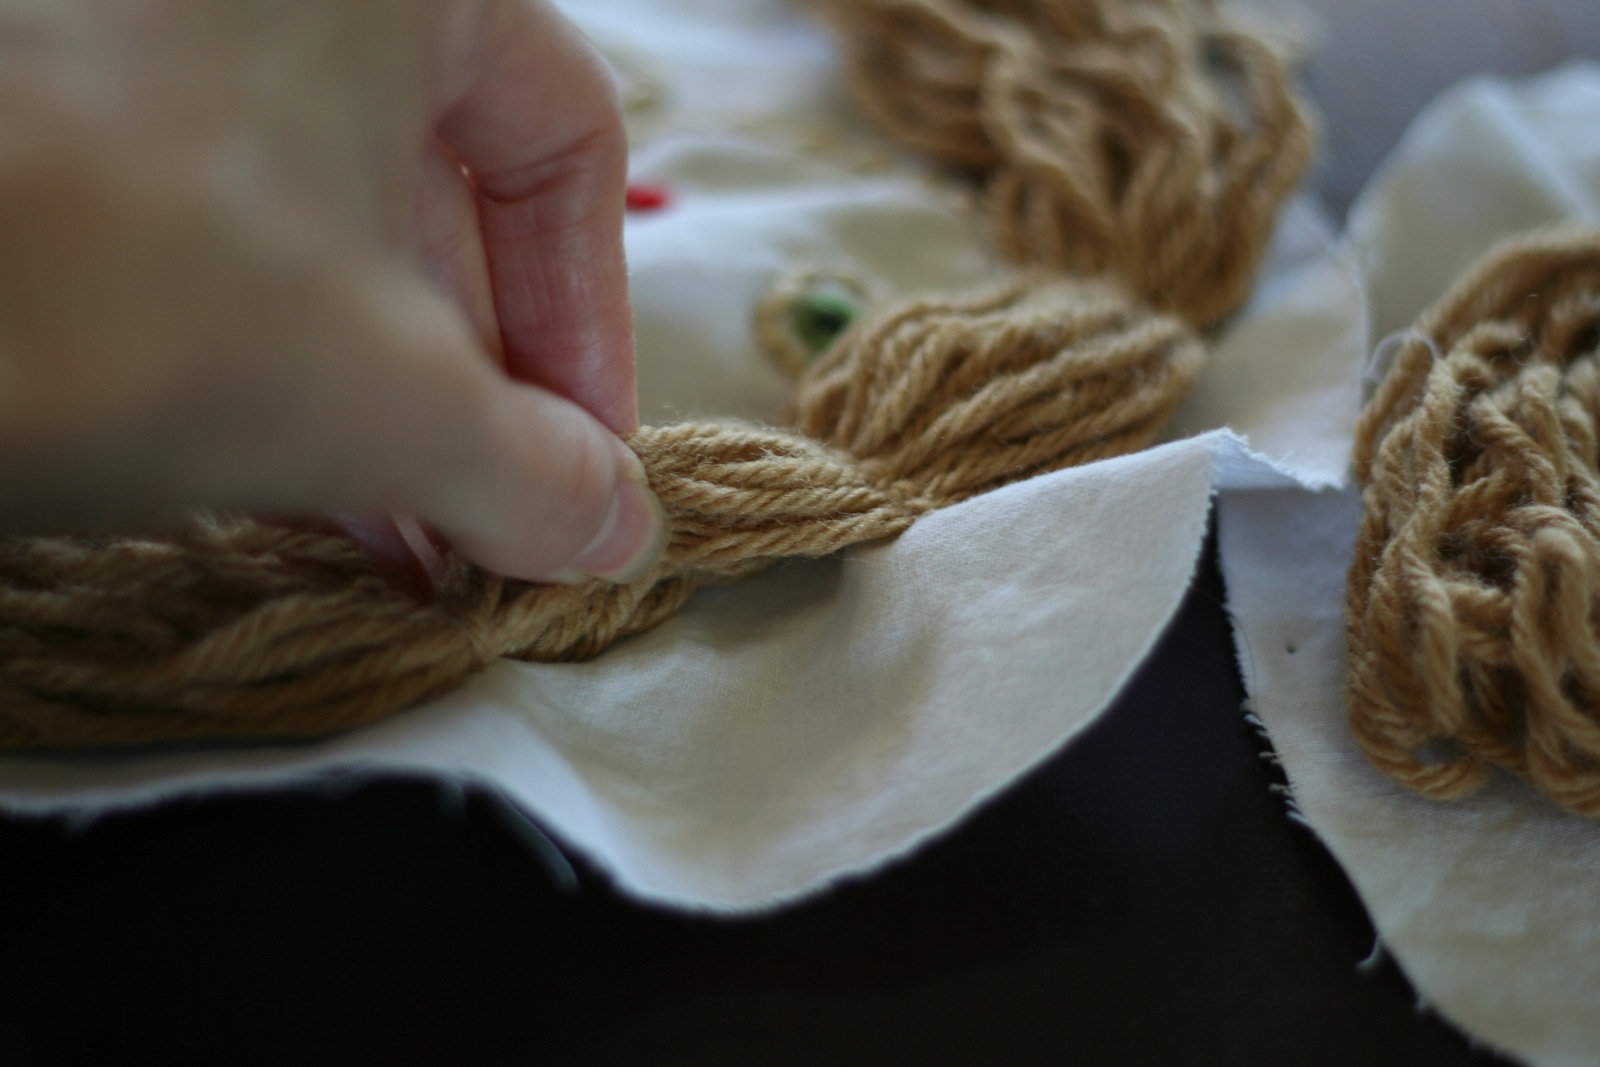
I pulled up the masking tape very carefully. It didn’t mess up the yarn really but next time I’d be more careful to not put it on embroidered parts… like the eyes above… Like I said I stitched with yarn over the parts and drew the yarn together at the top of the pigtails and stitched them there with yarn.
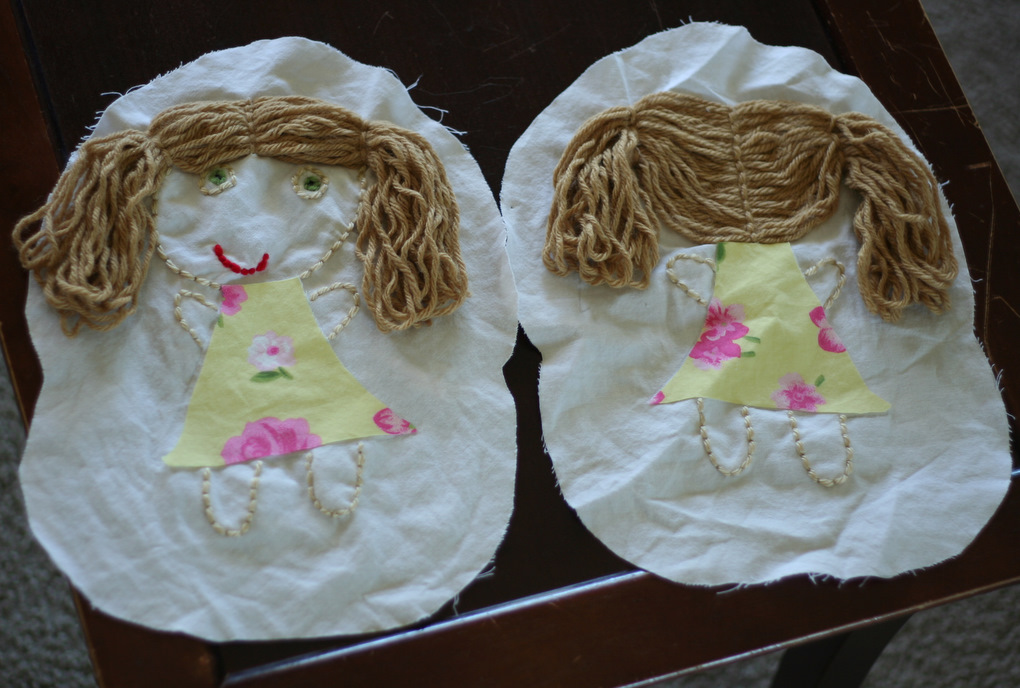
Lastly, I gently pulled up the hair and used my glue gun to secure it to the head. I left the pigtails free.
That’s it! I sewed her together then! So, go back to yesterday’s post if you’re following along how to make! 🙂