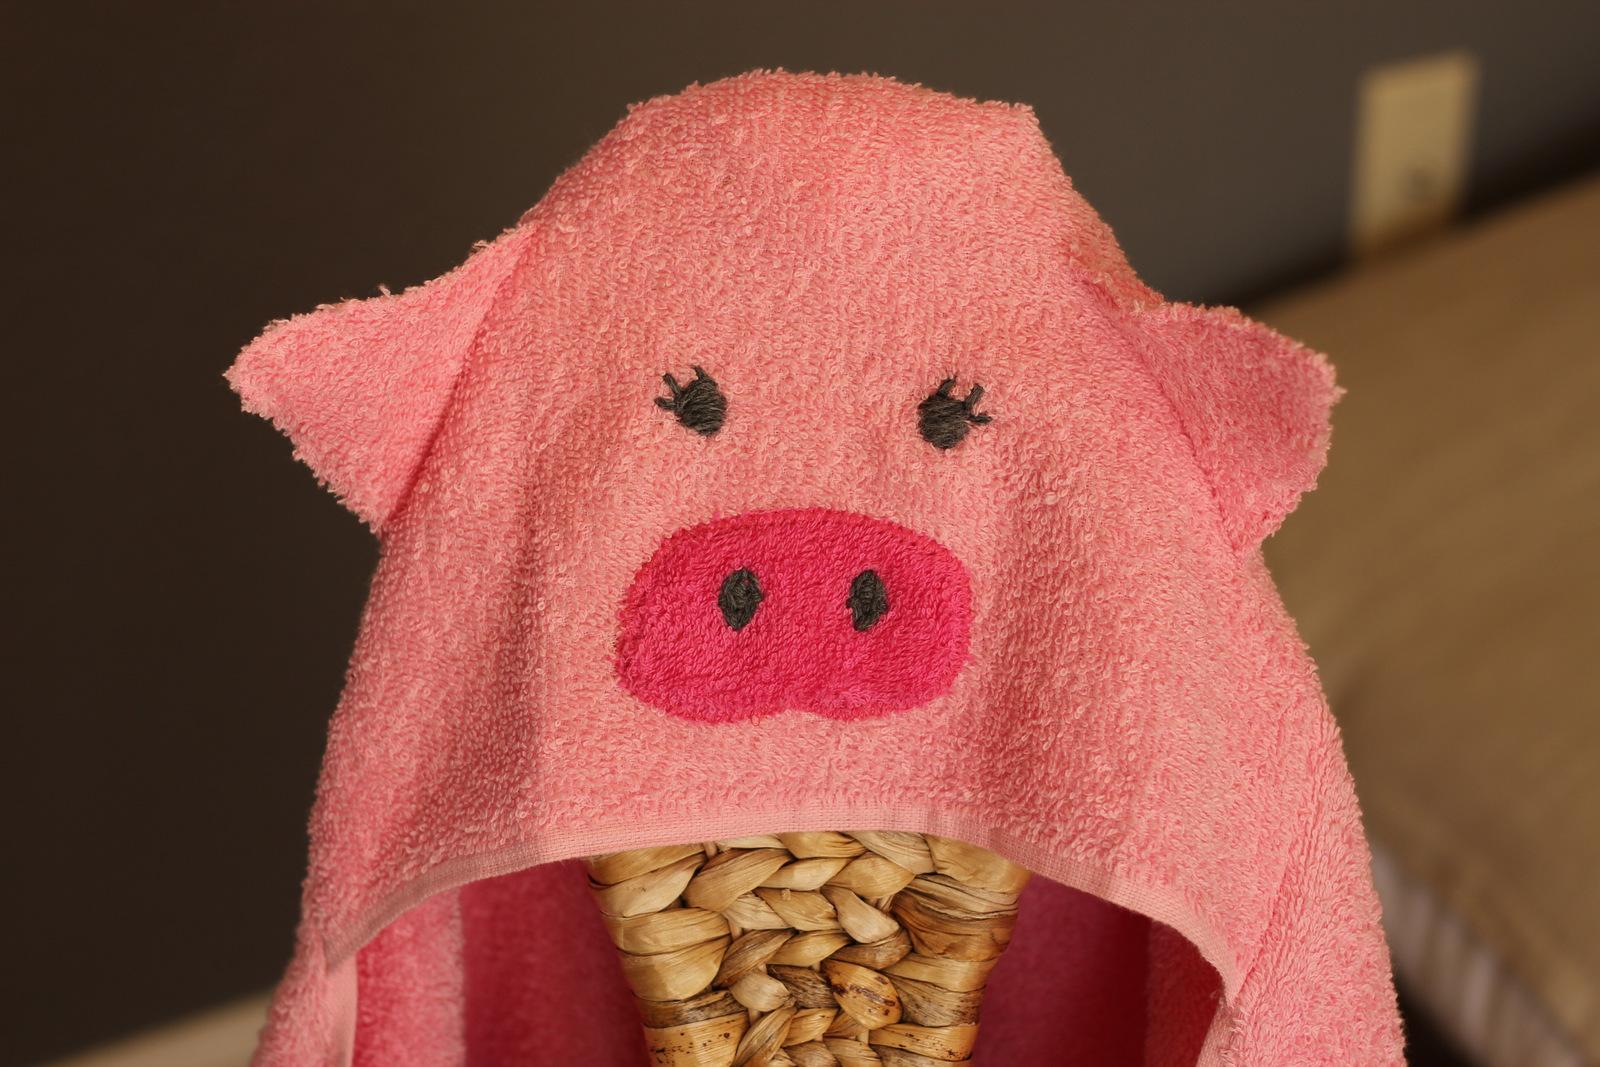
My friend thought a pig towel for her baby would be hilarious. I concurred. And thus, the hooded pig towel was born.

My little model loved this towel a lot and I’ll tell you how I made it just in case you love it too. Now, just in case you don’t want to make it yourself but you still love it, you can buy one from me at my store.
Hooded Pig Towel
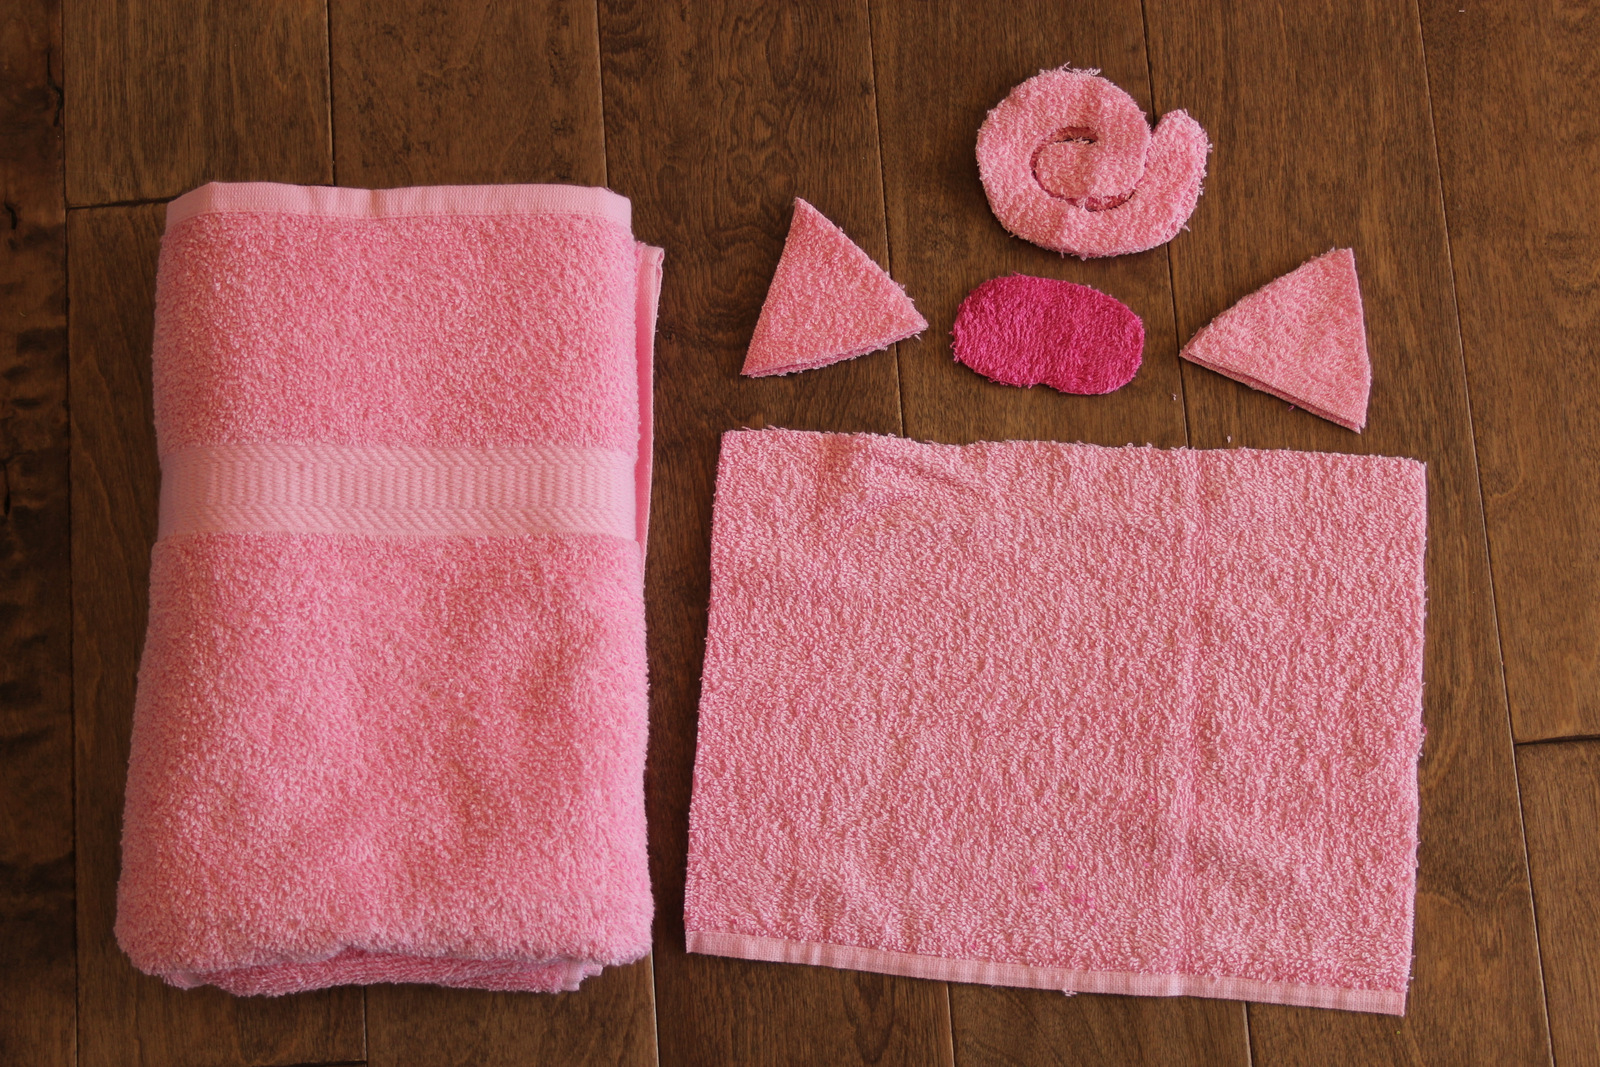
TutorialAll you need to make this hooded pig towel is one light pink towel, one light pink hand towel, one dark pink washcloths.
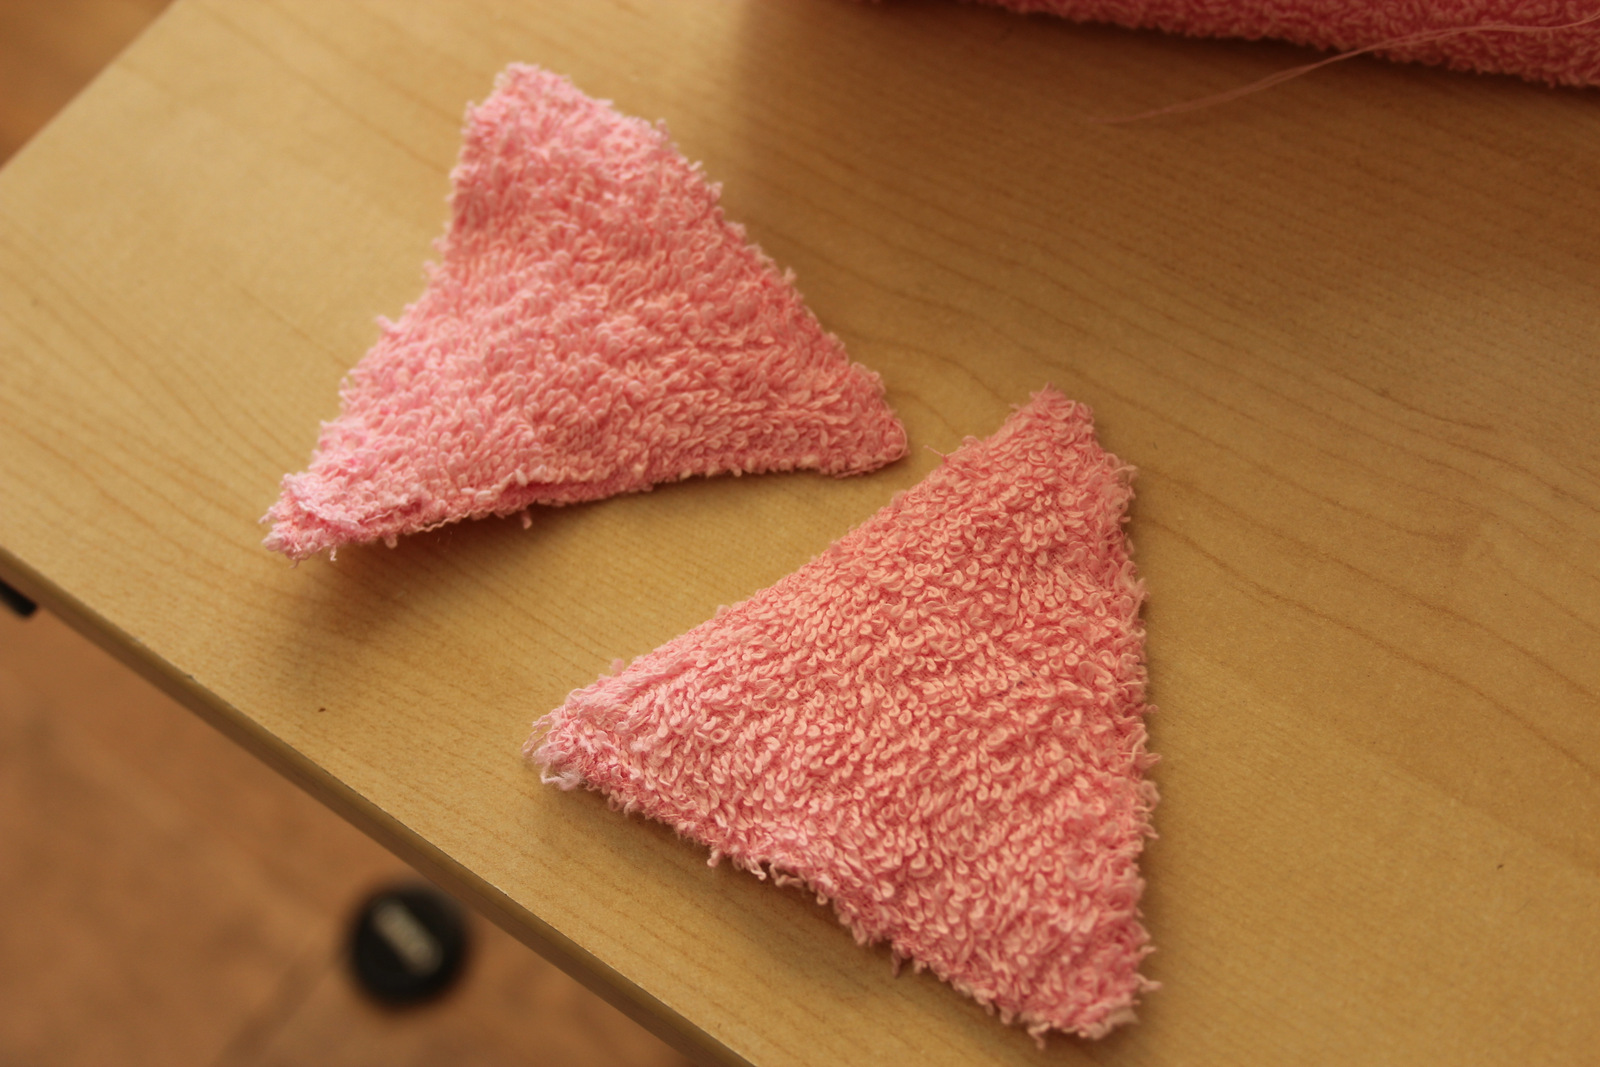
First cut out, from the light pink hand towel, 1-12 x 9 inch rectangle. Then, using the template here, cut out a double thickness of the spiral shape for the tail, two double thicknesses of the triangle shape for the ears (so four triangles total). Cut out a single thickness of the snout shape from the dark pink washcloth.
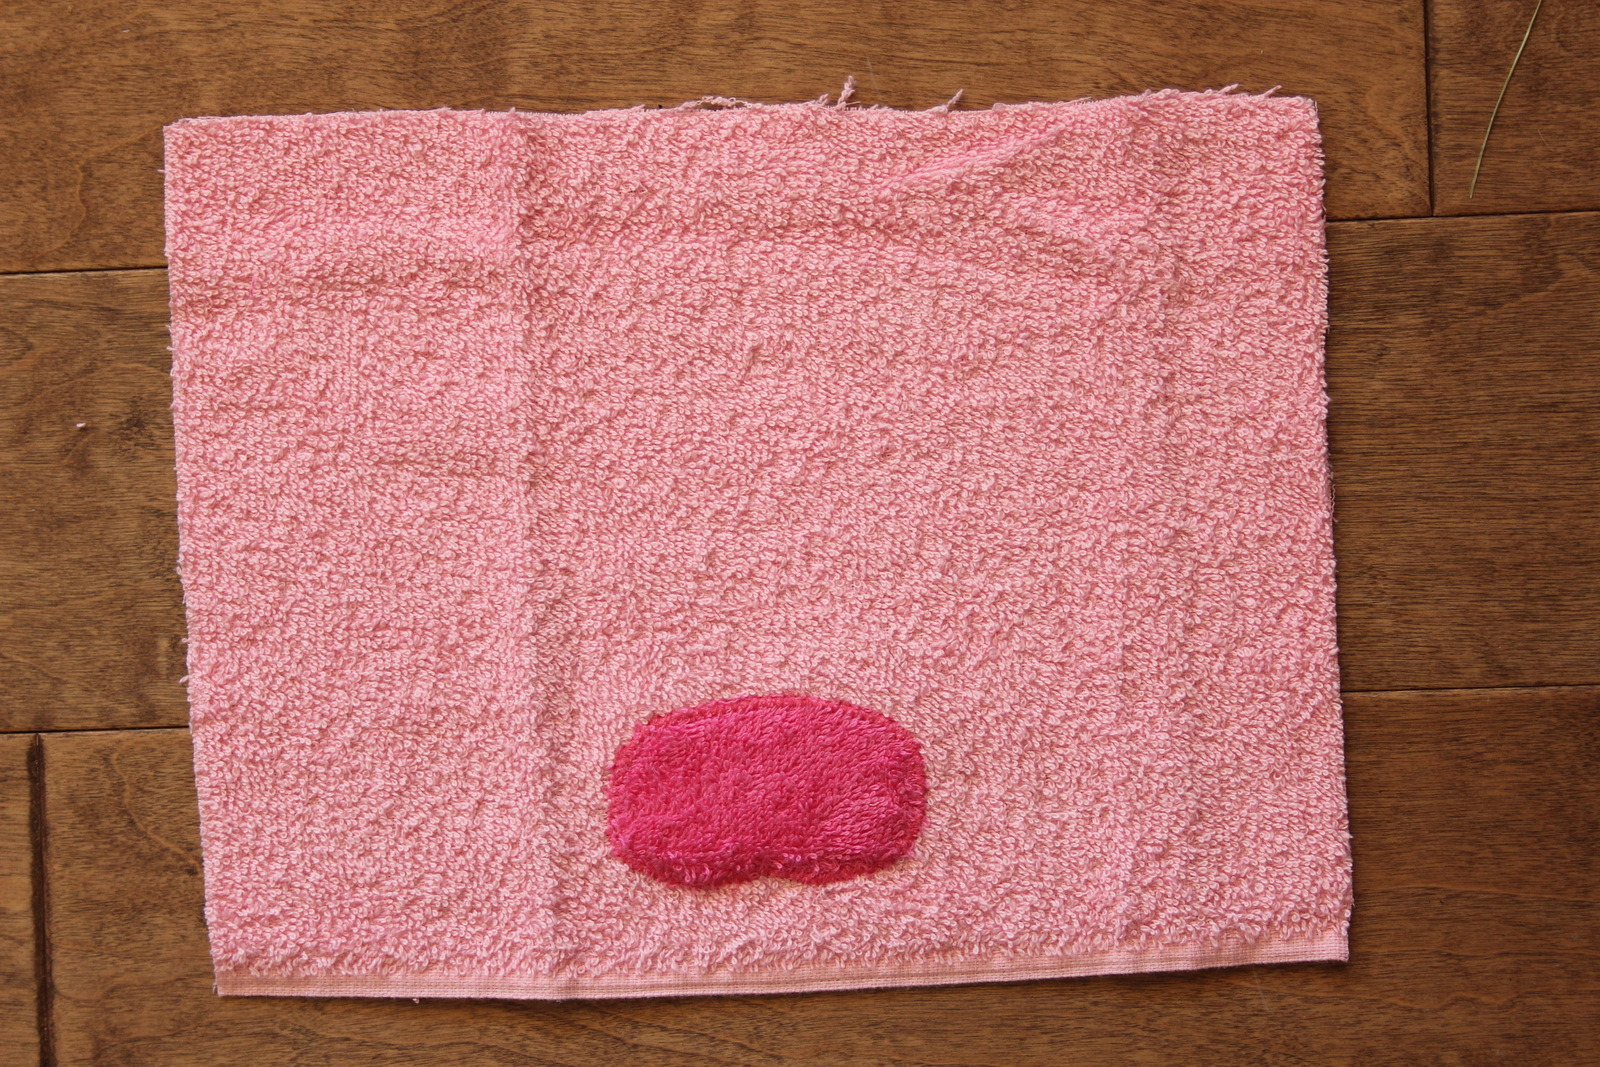
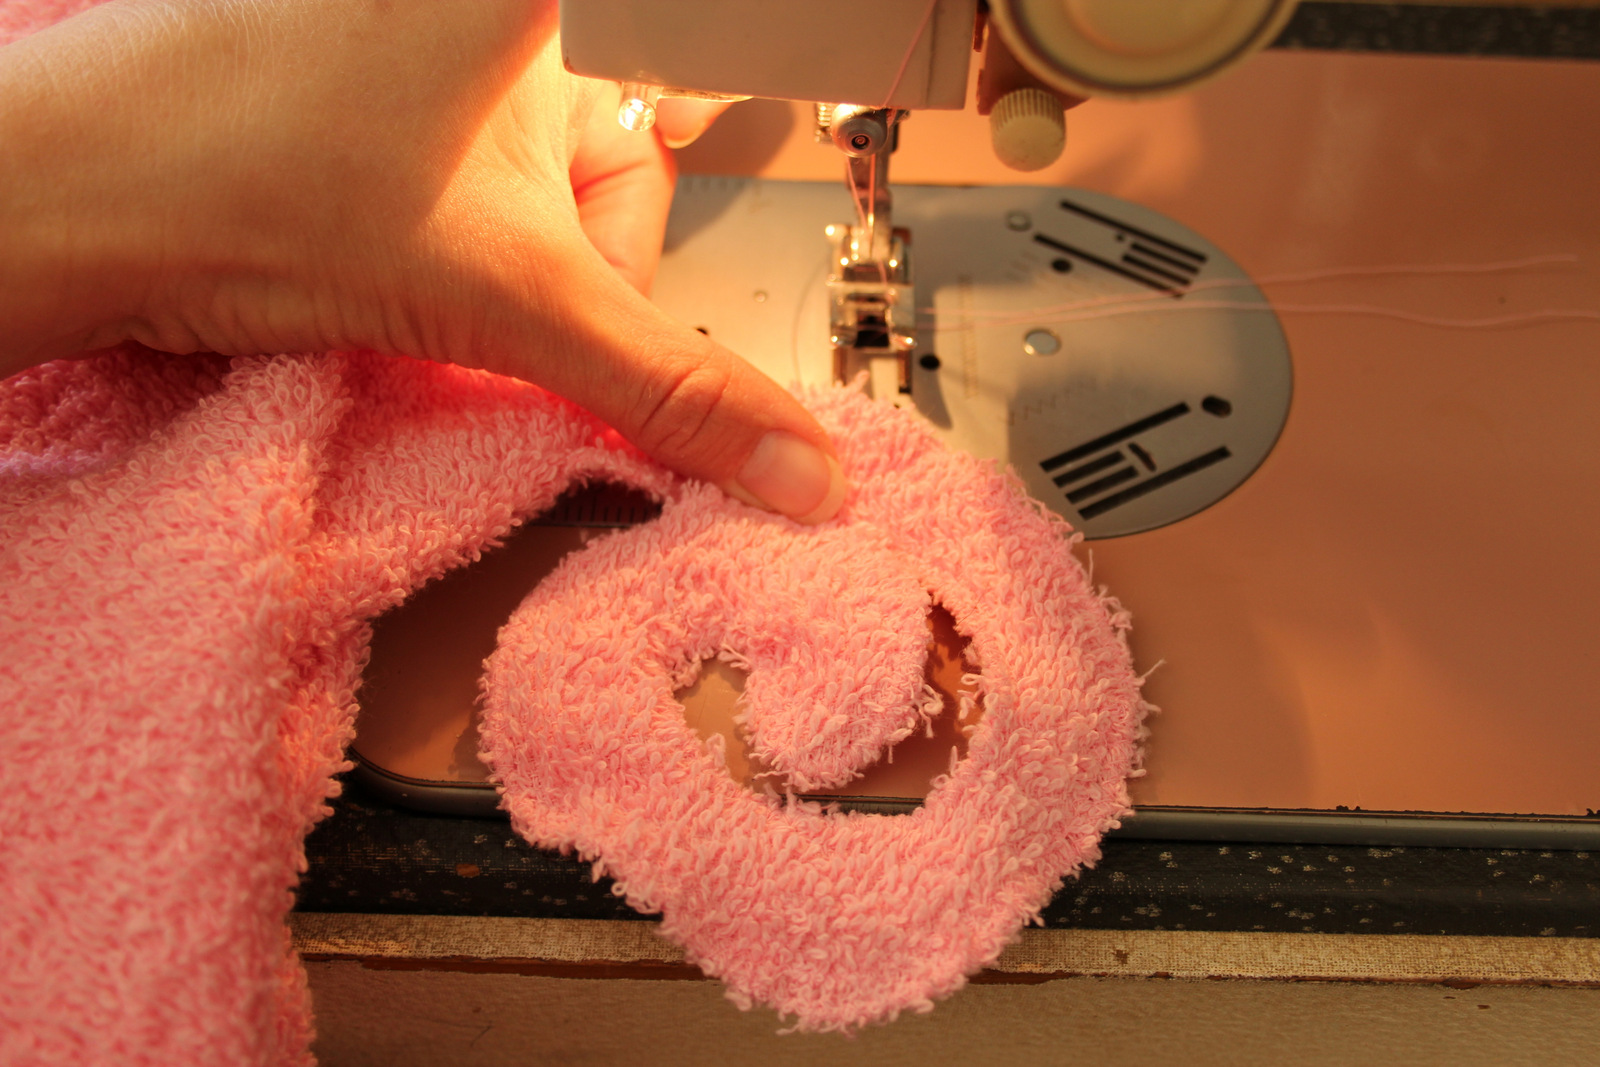
Sew the snout shape into place centered about 1 1/2 inches over the finished side of the right side of the rectangle. Sew around the edge a few times with straight stitch or a couple times with zigzag to prevent the raw edges from fraying.

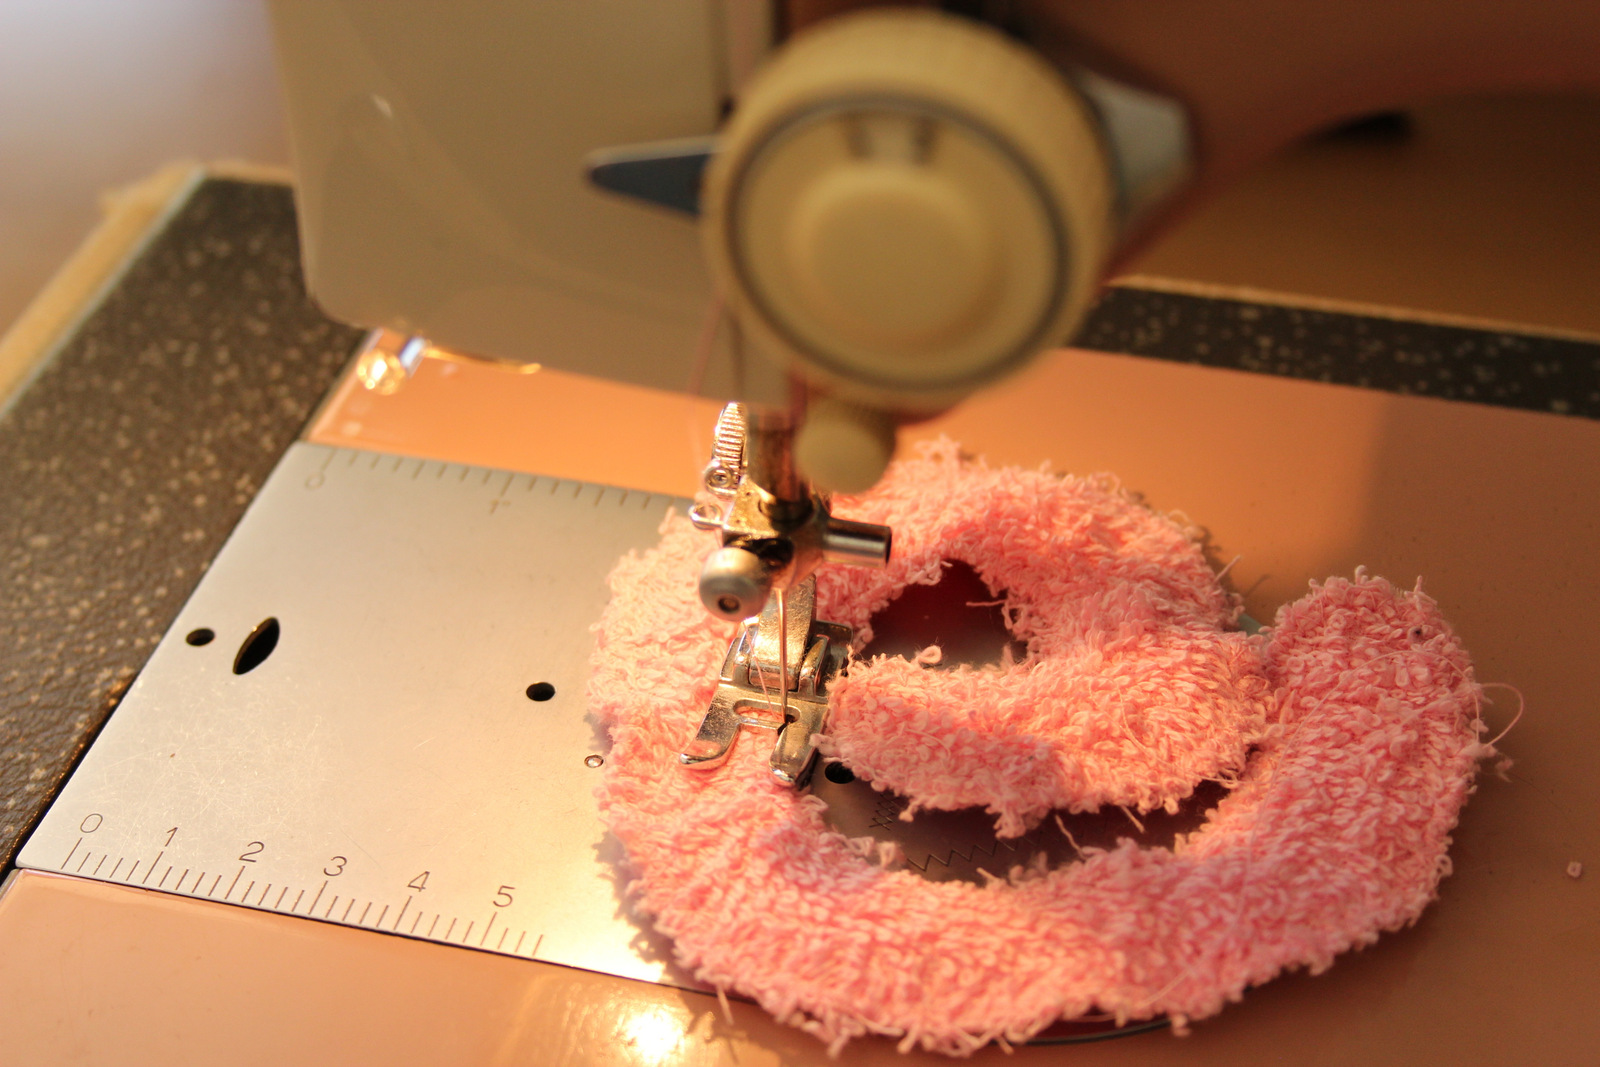
Sew around the edges of each ear (double thickness) and the spiral tail (double thickness). Again, make sure the edges are sewn well enough that they won’t fray much.
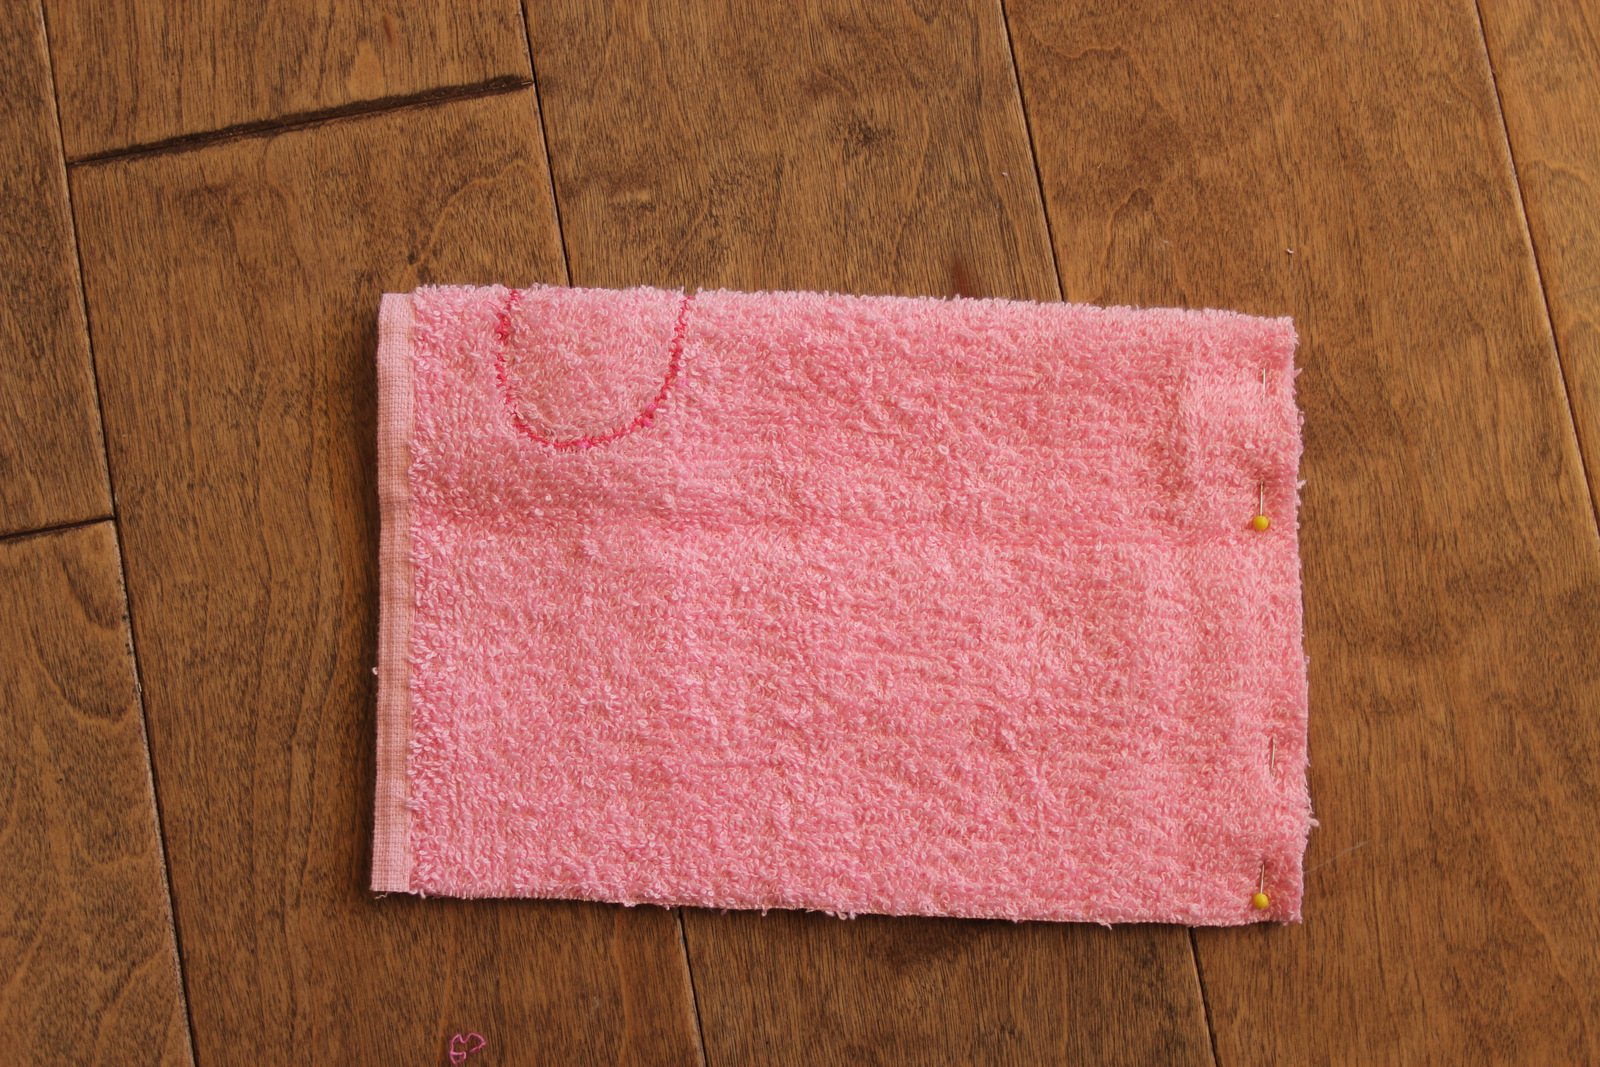
Fold the rectangle in half as shown, right sides together, and sew the side pinned together in the below picture. Finish edges of seam with zigzag stitch or a few passes of straight stitch then trim any extra. This forms the hood.
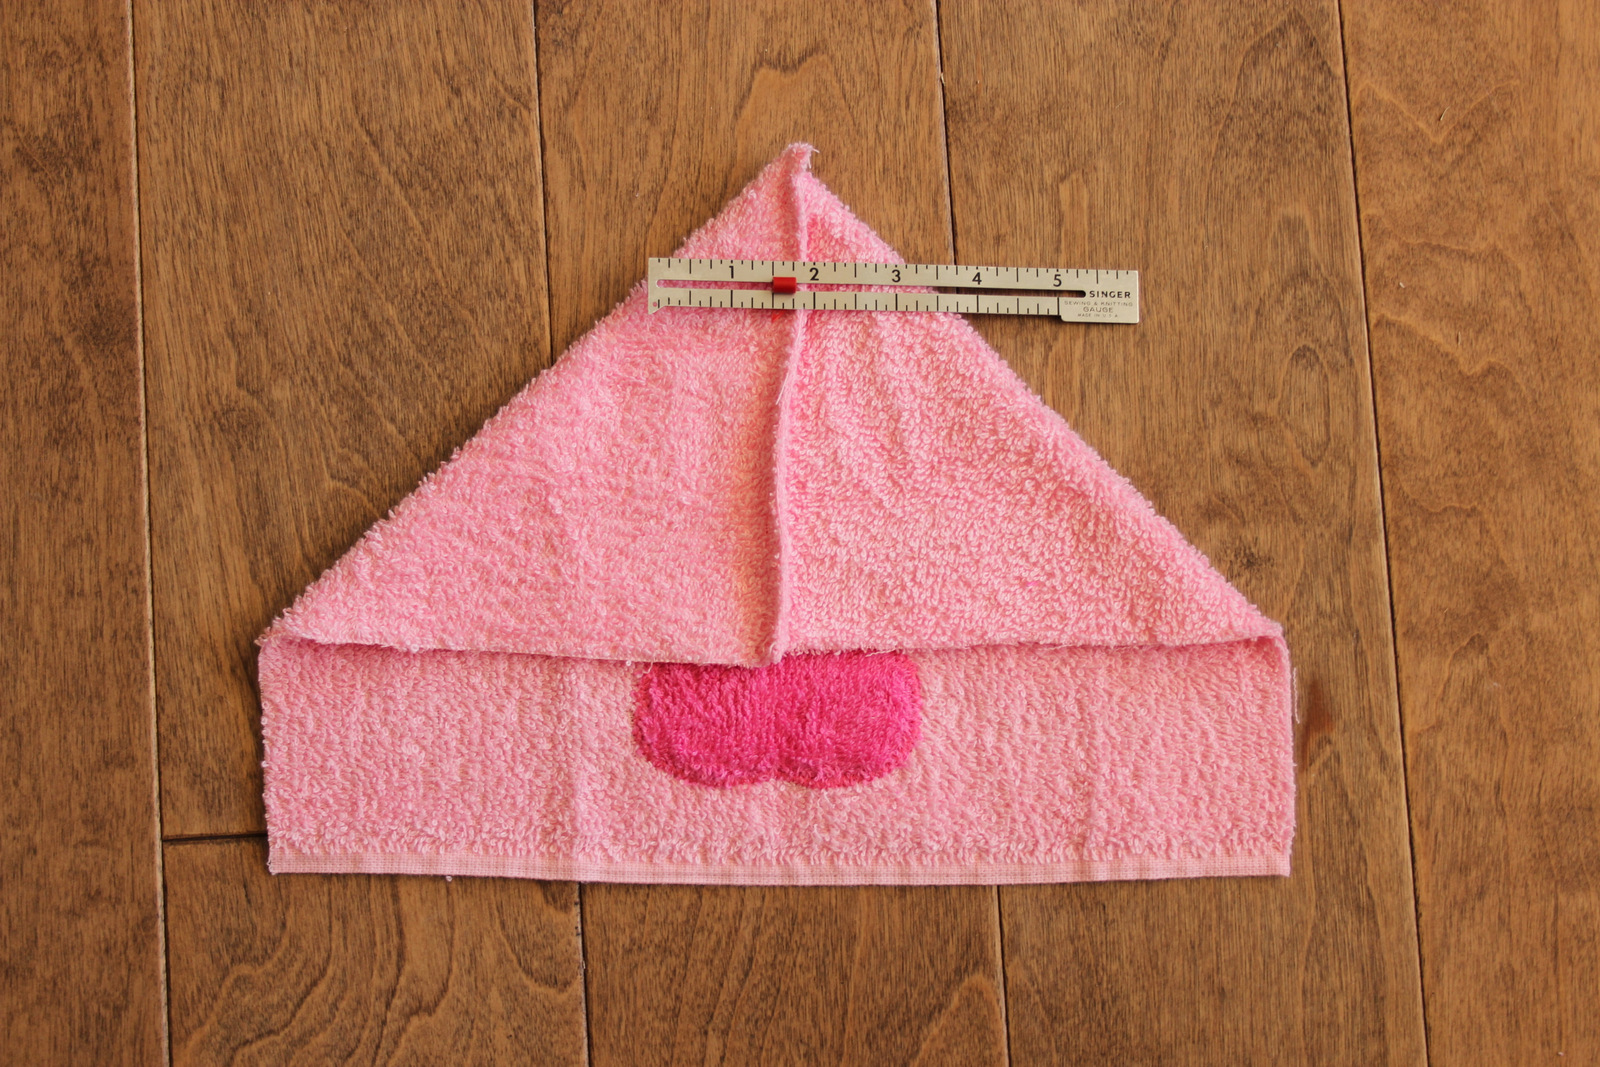
Turn the hood inside out as shown in the picture below and sew straight across the top (where the ruler is in the picture). Or you sew it in more of a curved line, to make the hood more rounded.
Match the center of the hood to the center of the towel, right sides together, as shown below and pin in place.

Pin the sides in place along the edge of the towel. And sew the hood to the towel.
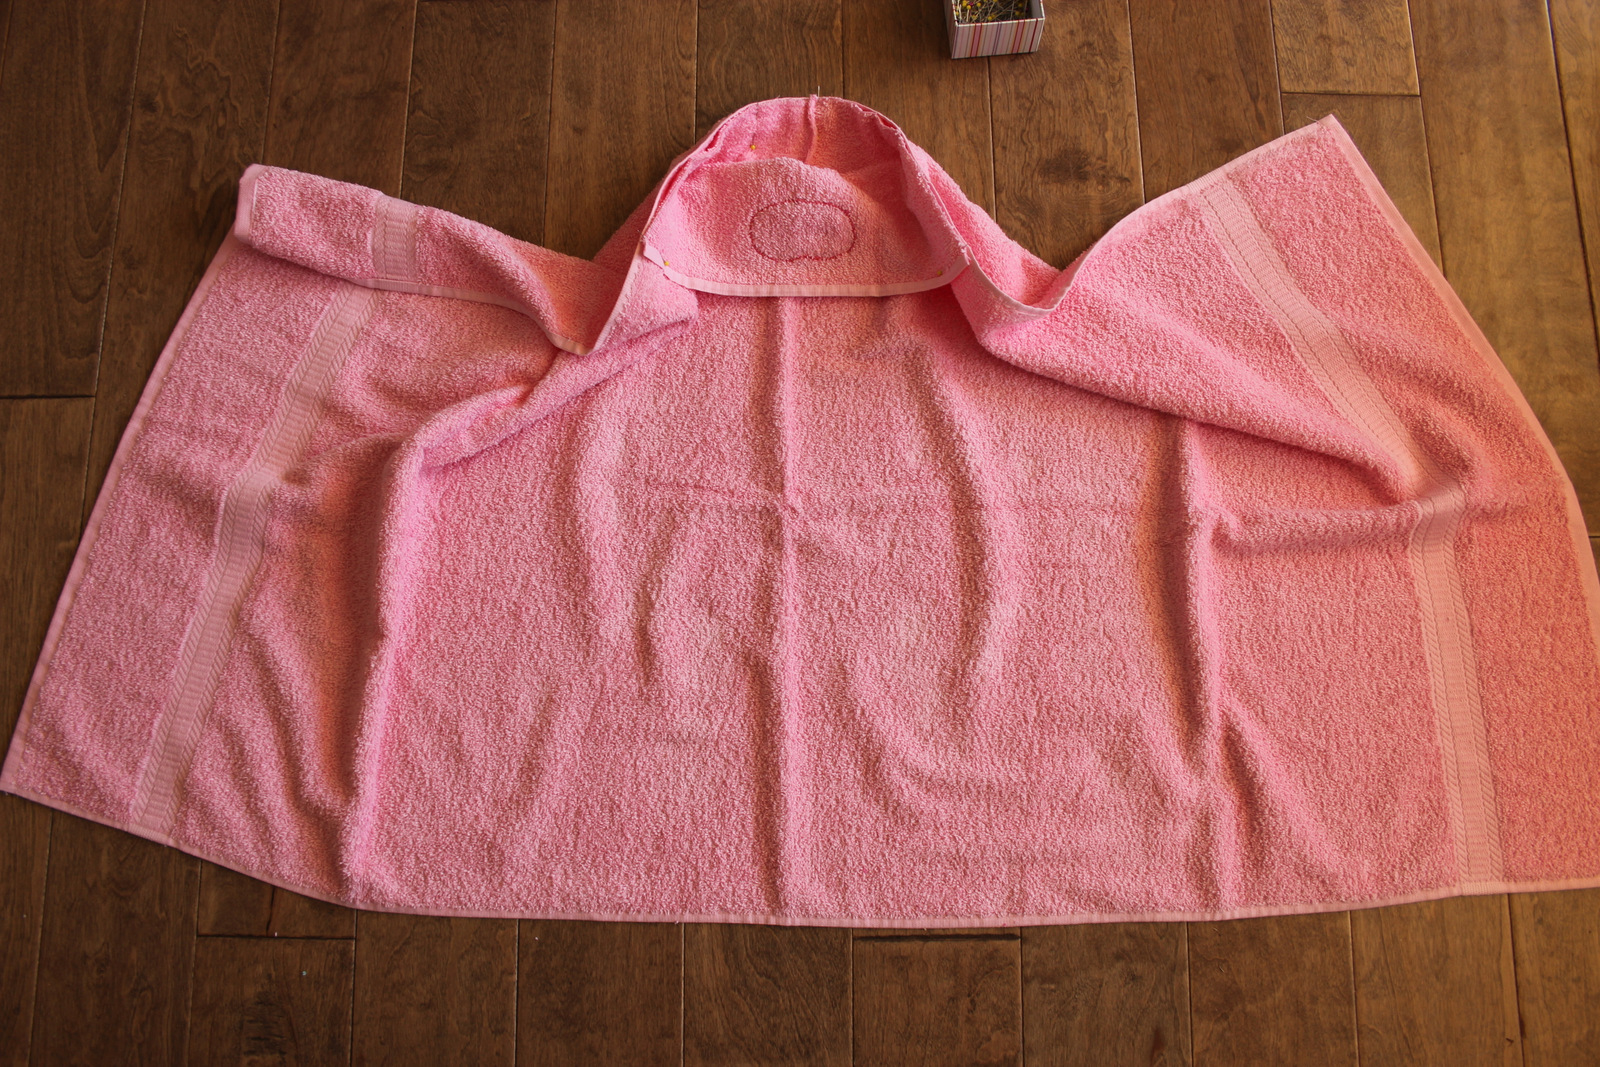
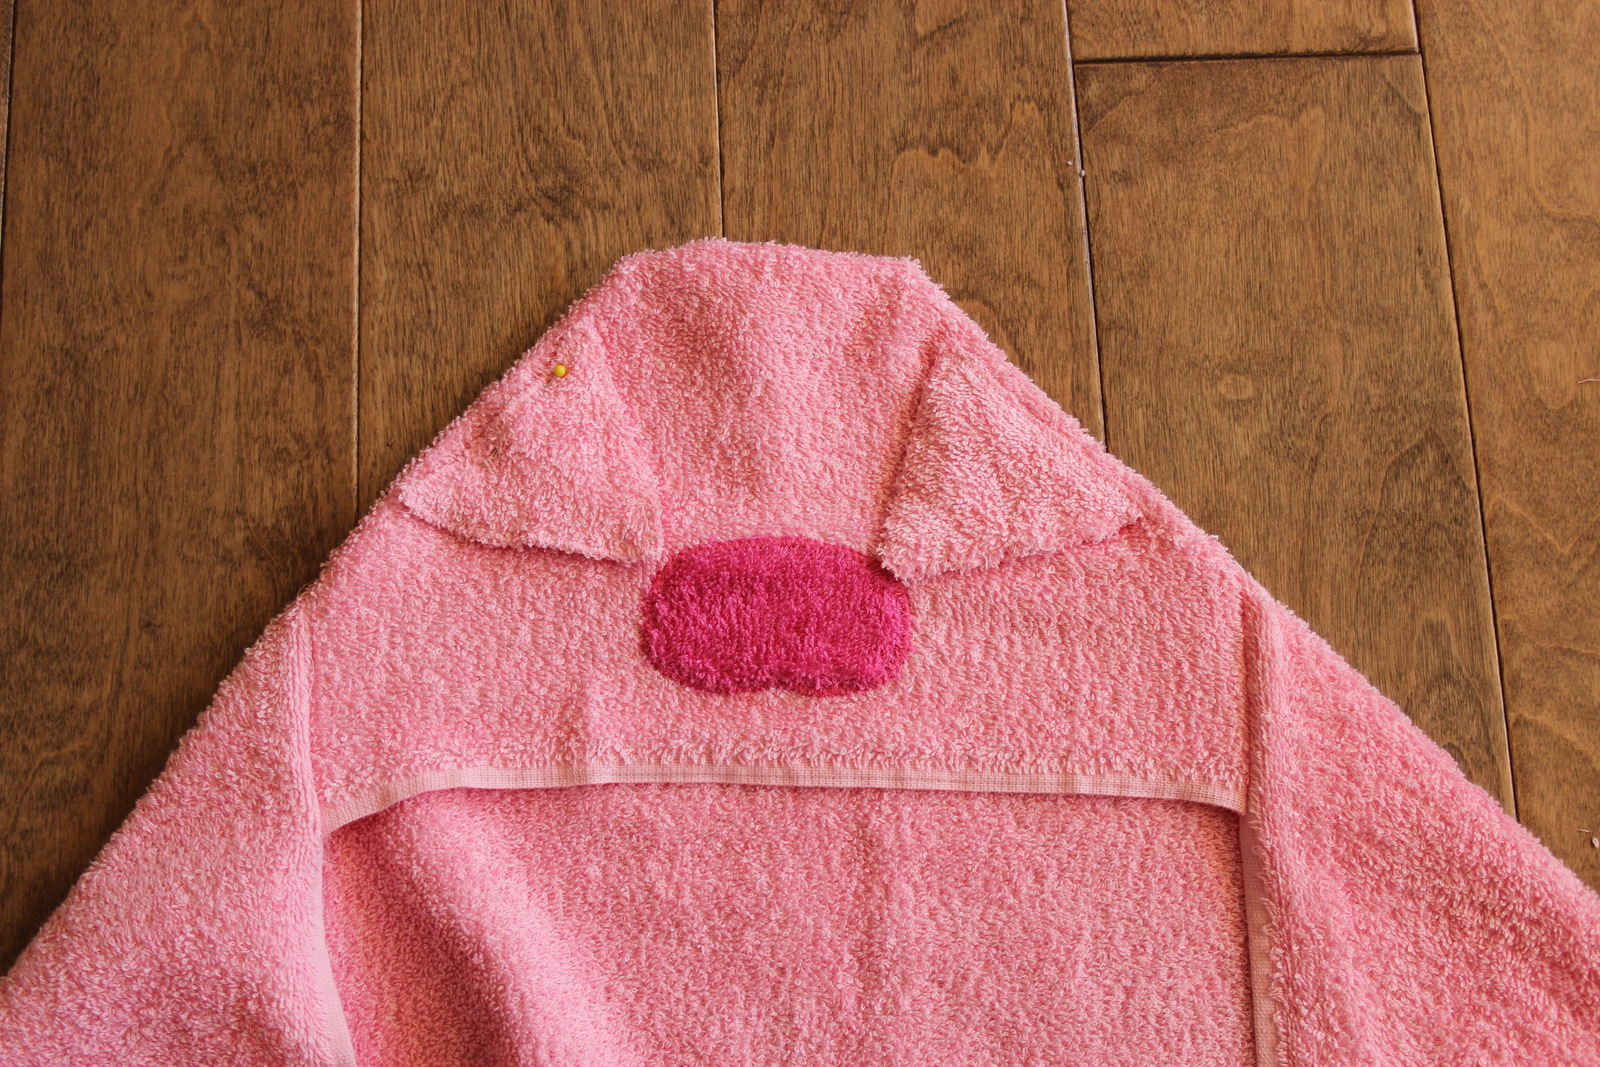
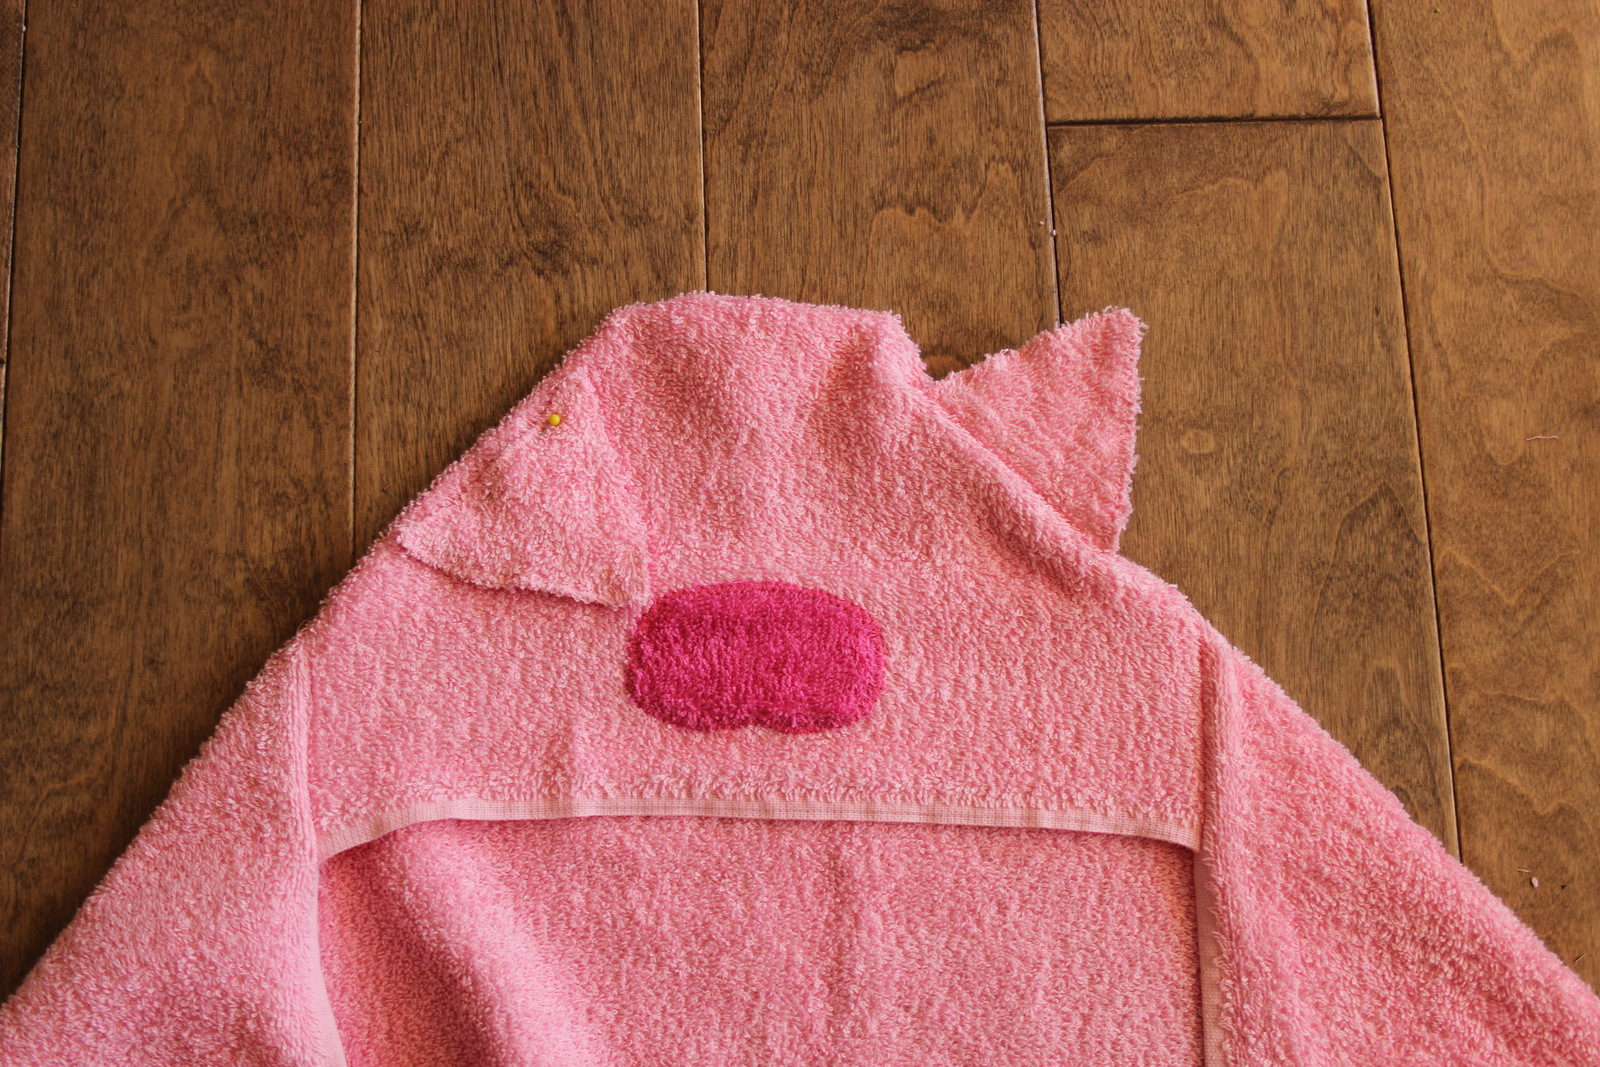
Sew the ears and tail in place. Embroider the eyes and nostrils.

 |
| I wanted the tail to stay in this shape so I tacked it in place with a few stitches where my thumb is at in this picture… |
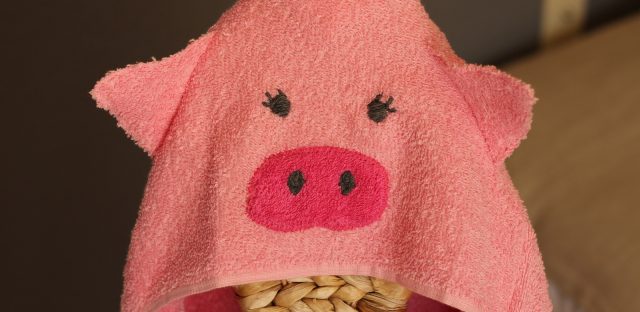
Oink. Couldn’t resist.