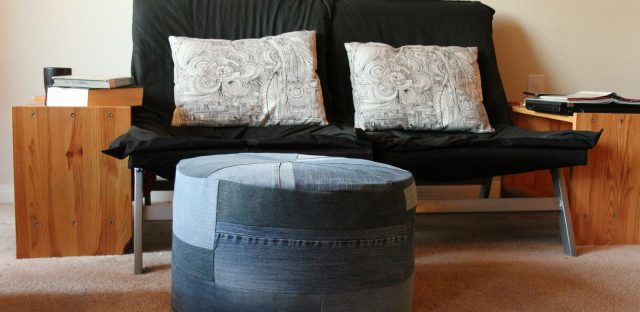
At our apartments we have discovered that there is a little unofficial free giveaway. It consists of an clean enclosed space next to the dumpster. Old stuff with great potential is left there frequently. When I saw a ottoman that needed a little love, I couldn’t resist. It was sound structurally and just needed to be recovered. Some material salvaged from jeans that had holes did the trick and I love my made-new-from-old footstool.


Just in case you’re curious or inspired, I’ll tell you how I made someone’s junk into my free treasure.
Recovering an Ottoman
Tutorial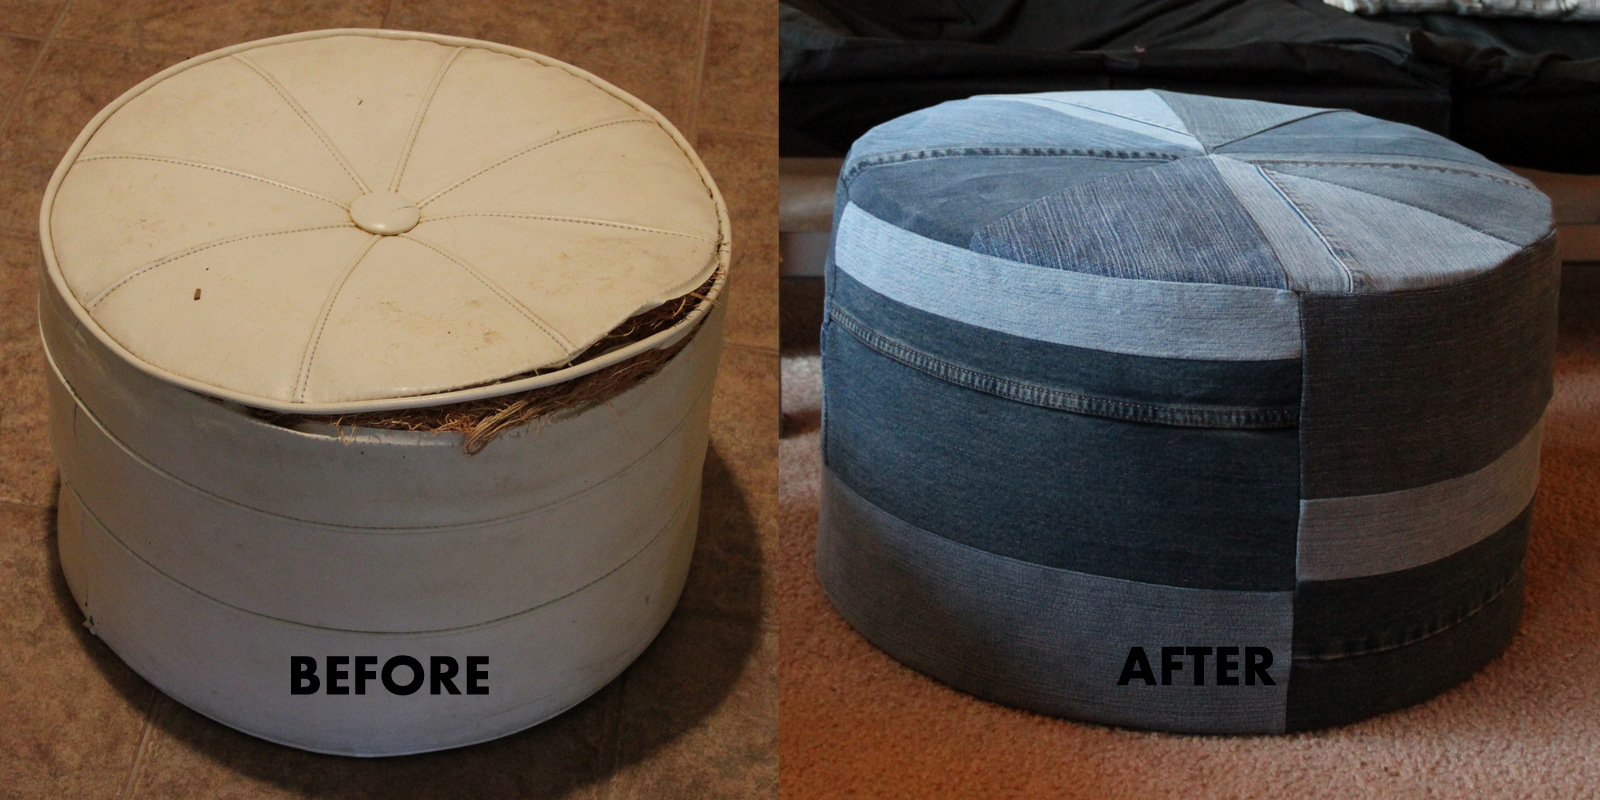
First, I cleaned it and sewed up the holes in the ottoman fabric. I also took out the button in the top.
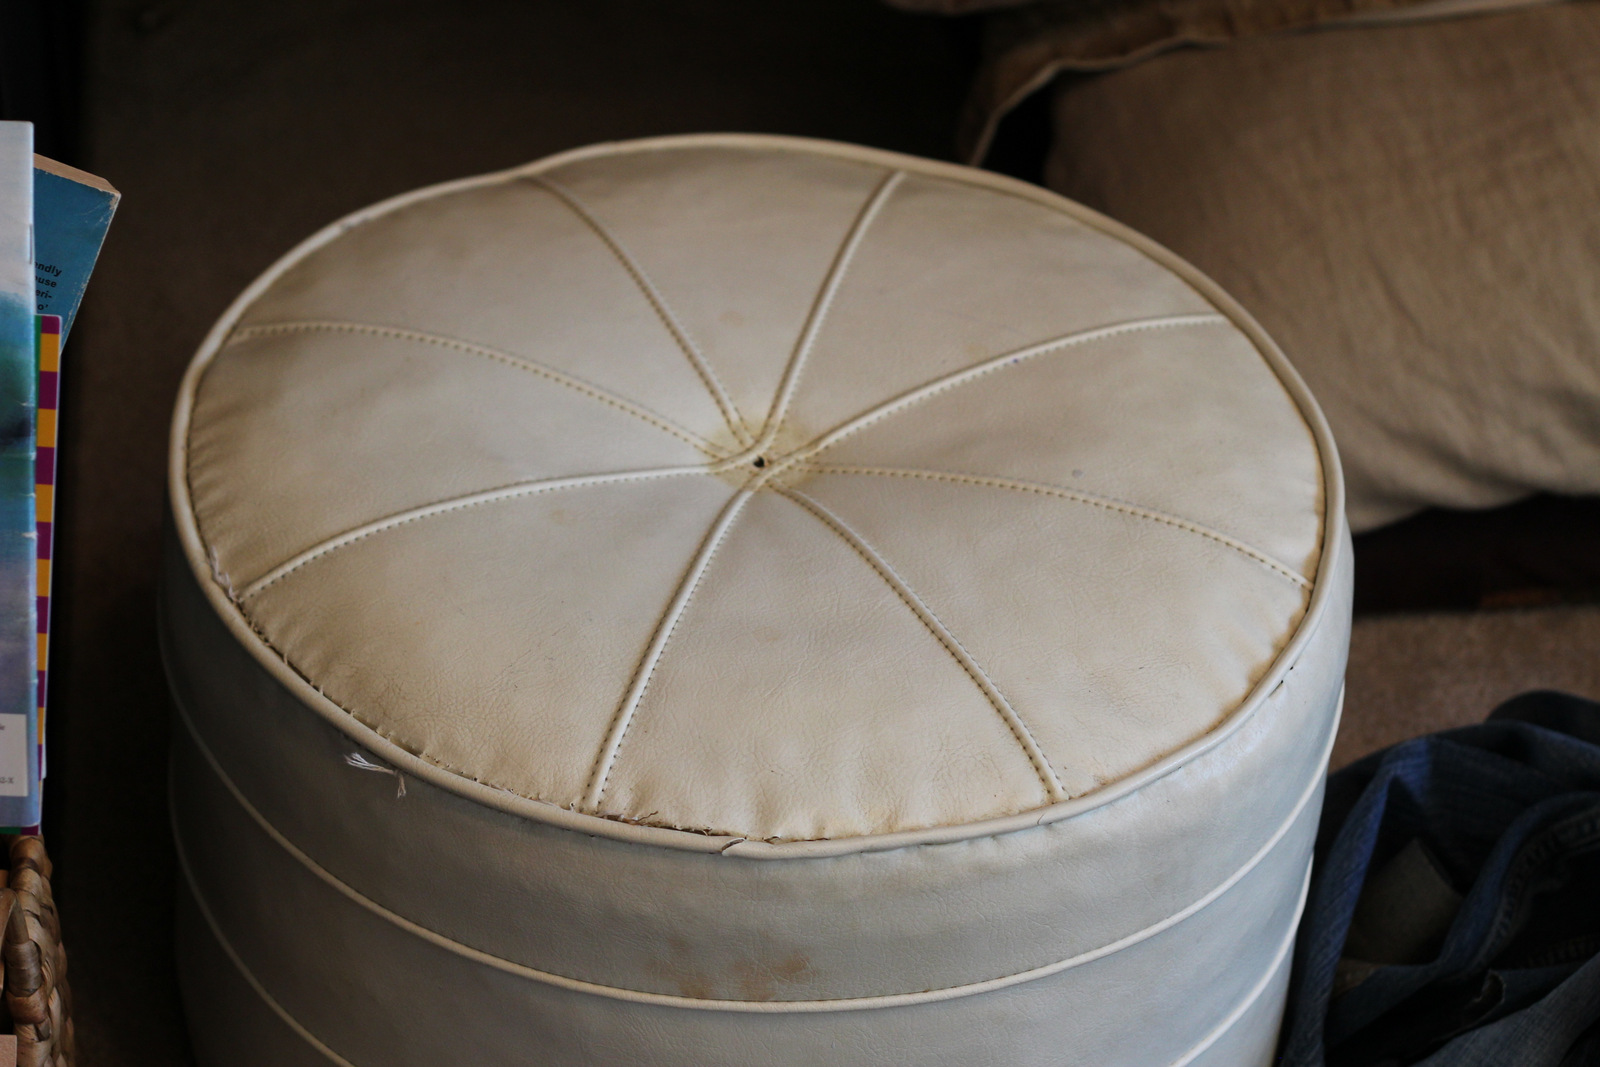
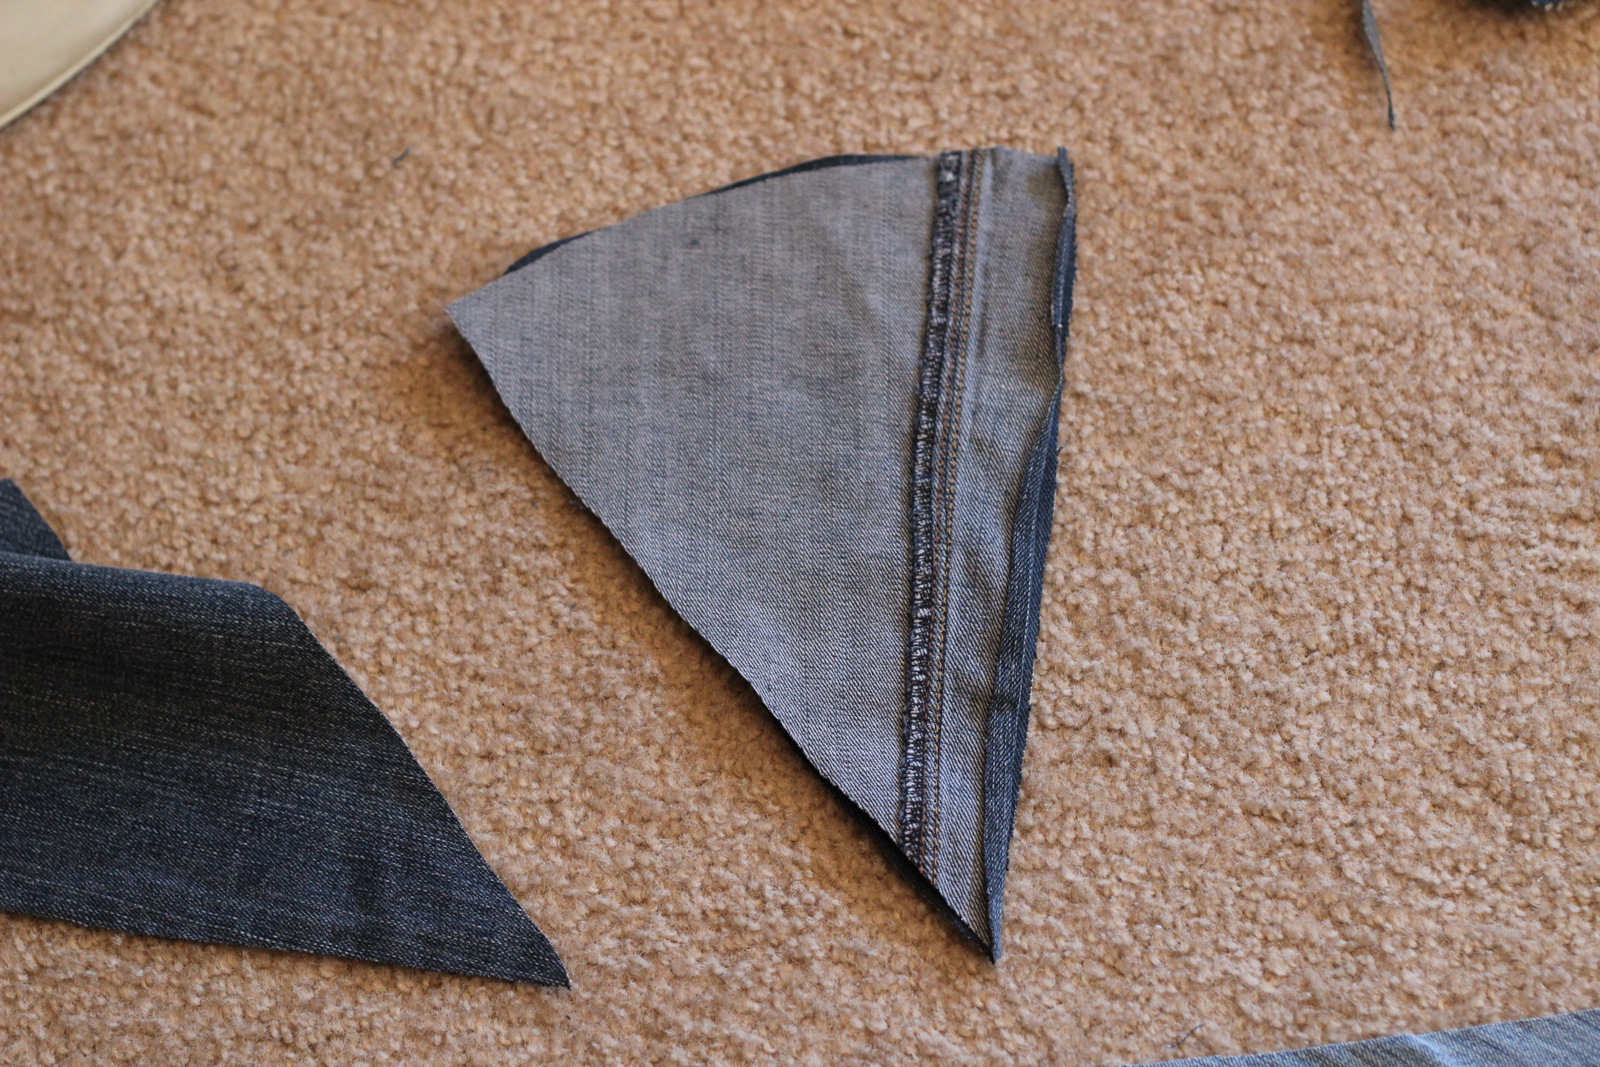
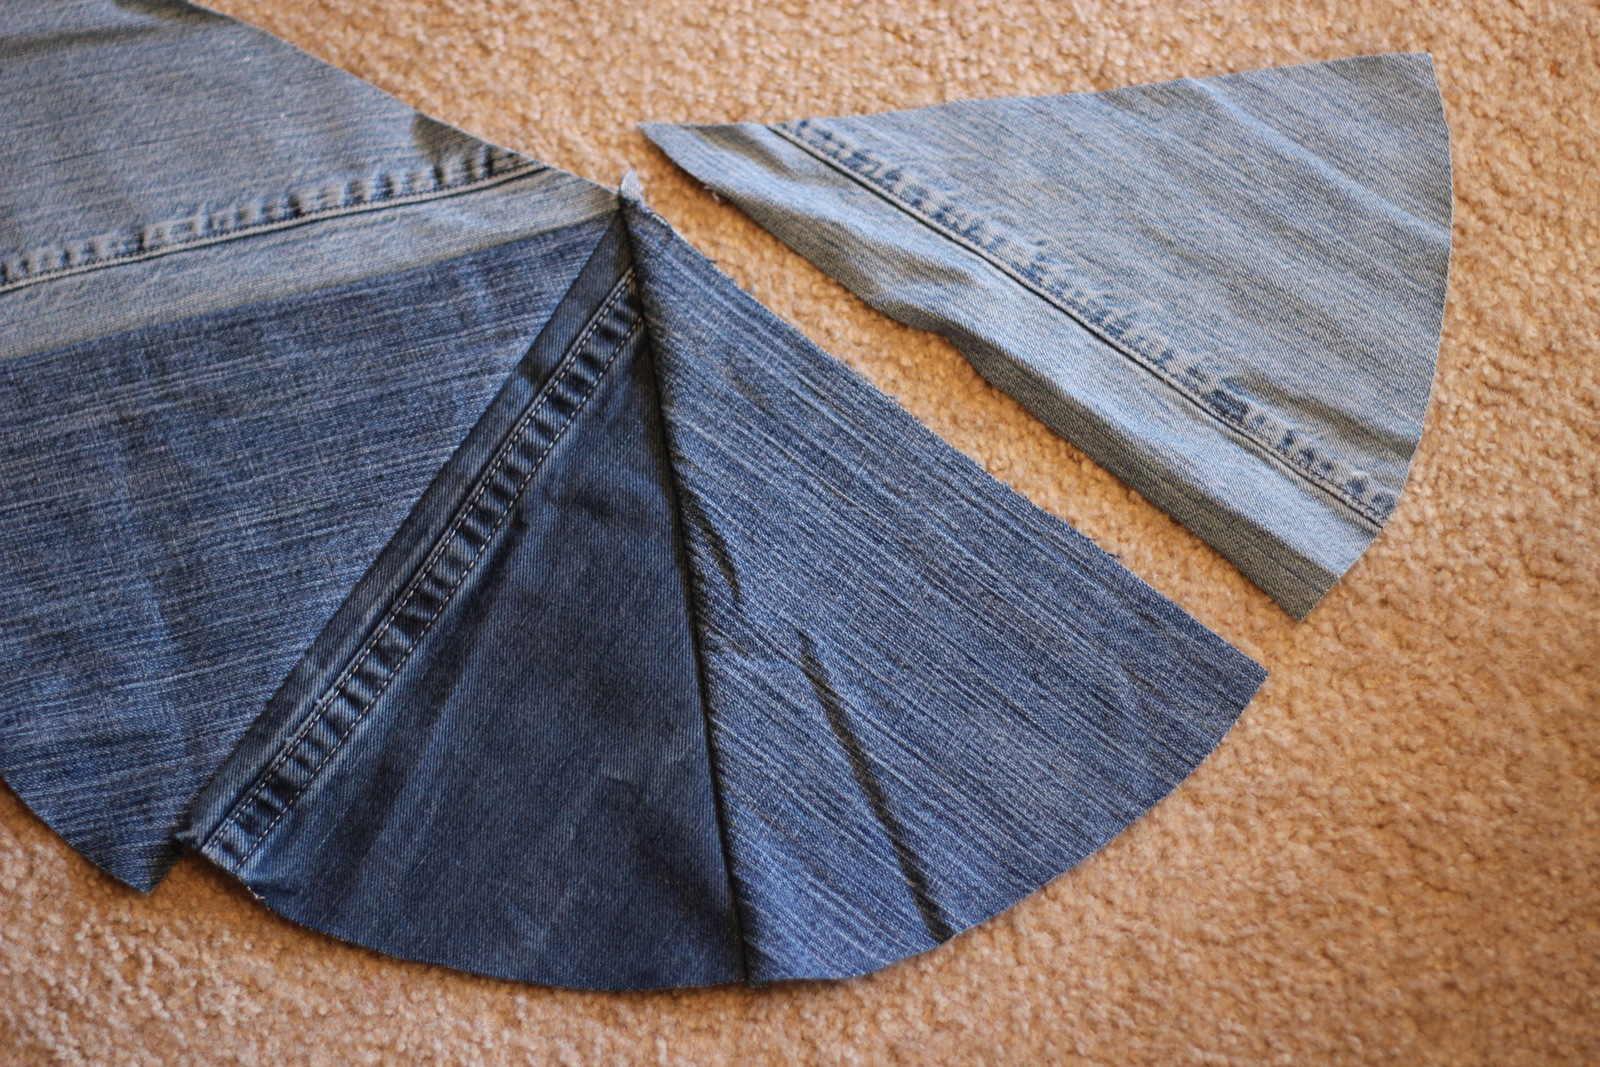
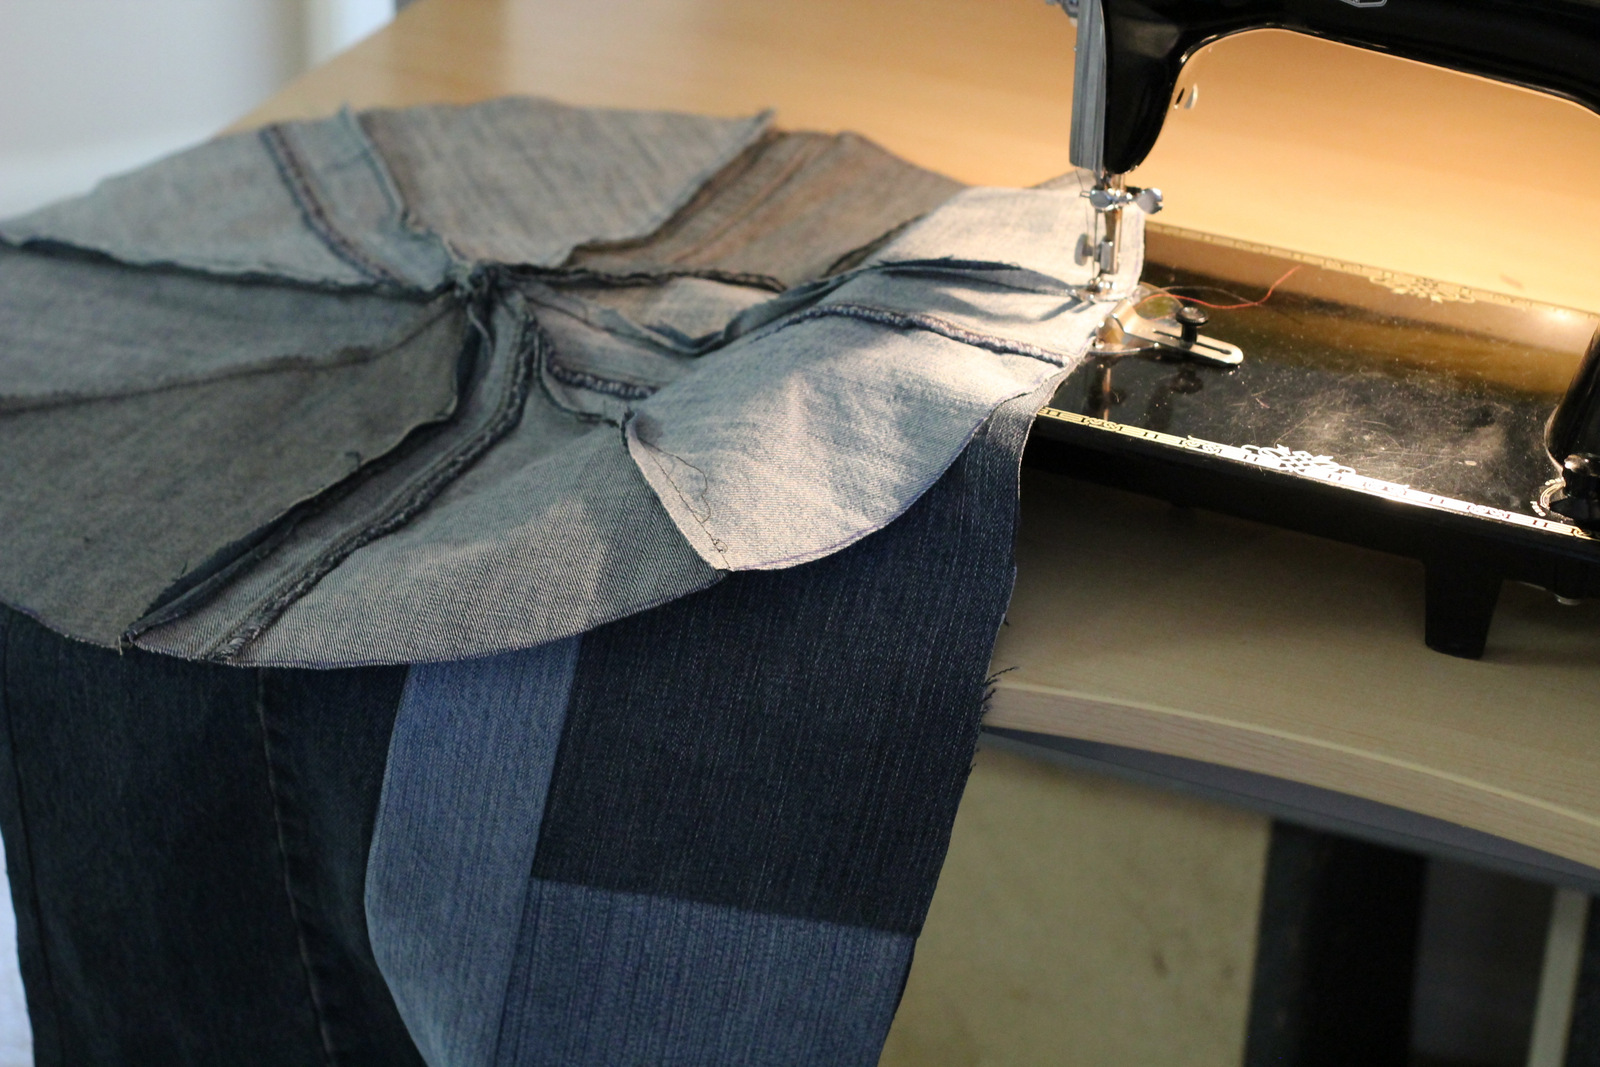
I took inspiration from the existing fabric shapes on the ottoman, so I traced one of the shapes on the top, on paper to make a template. I just added 3/8 inch on each side for a seam allowance. Then I cut out the shapes from my fabric.
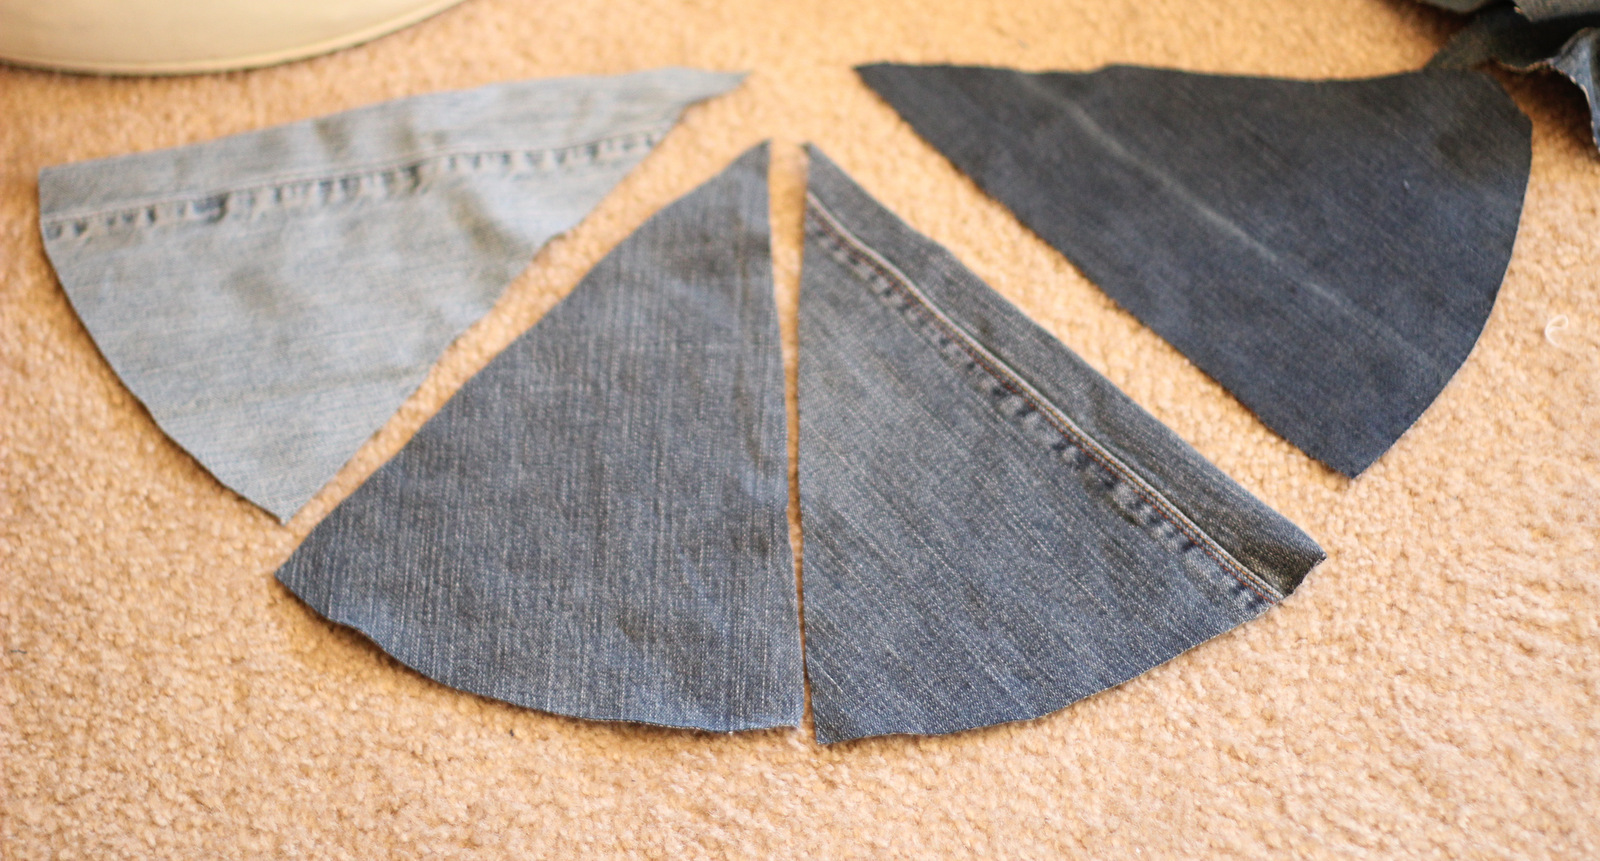
I sewed the pieces together (right sides together) leaving extra space in the very center that I later hand sewed to get the straight and even points.

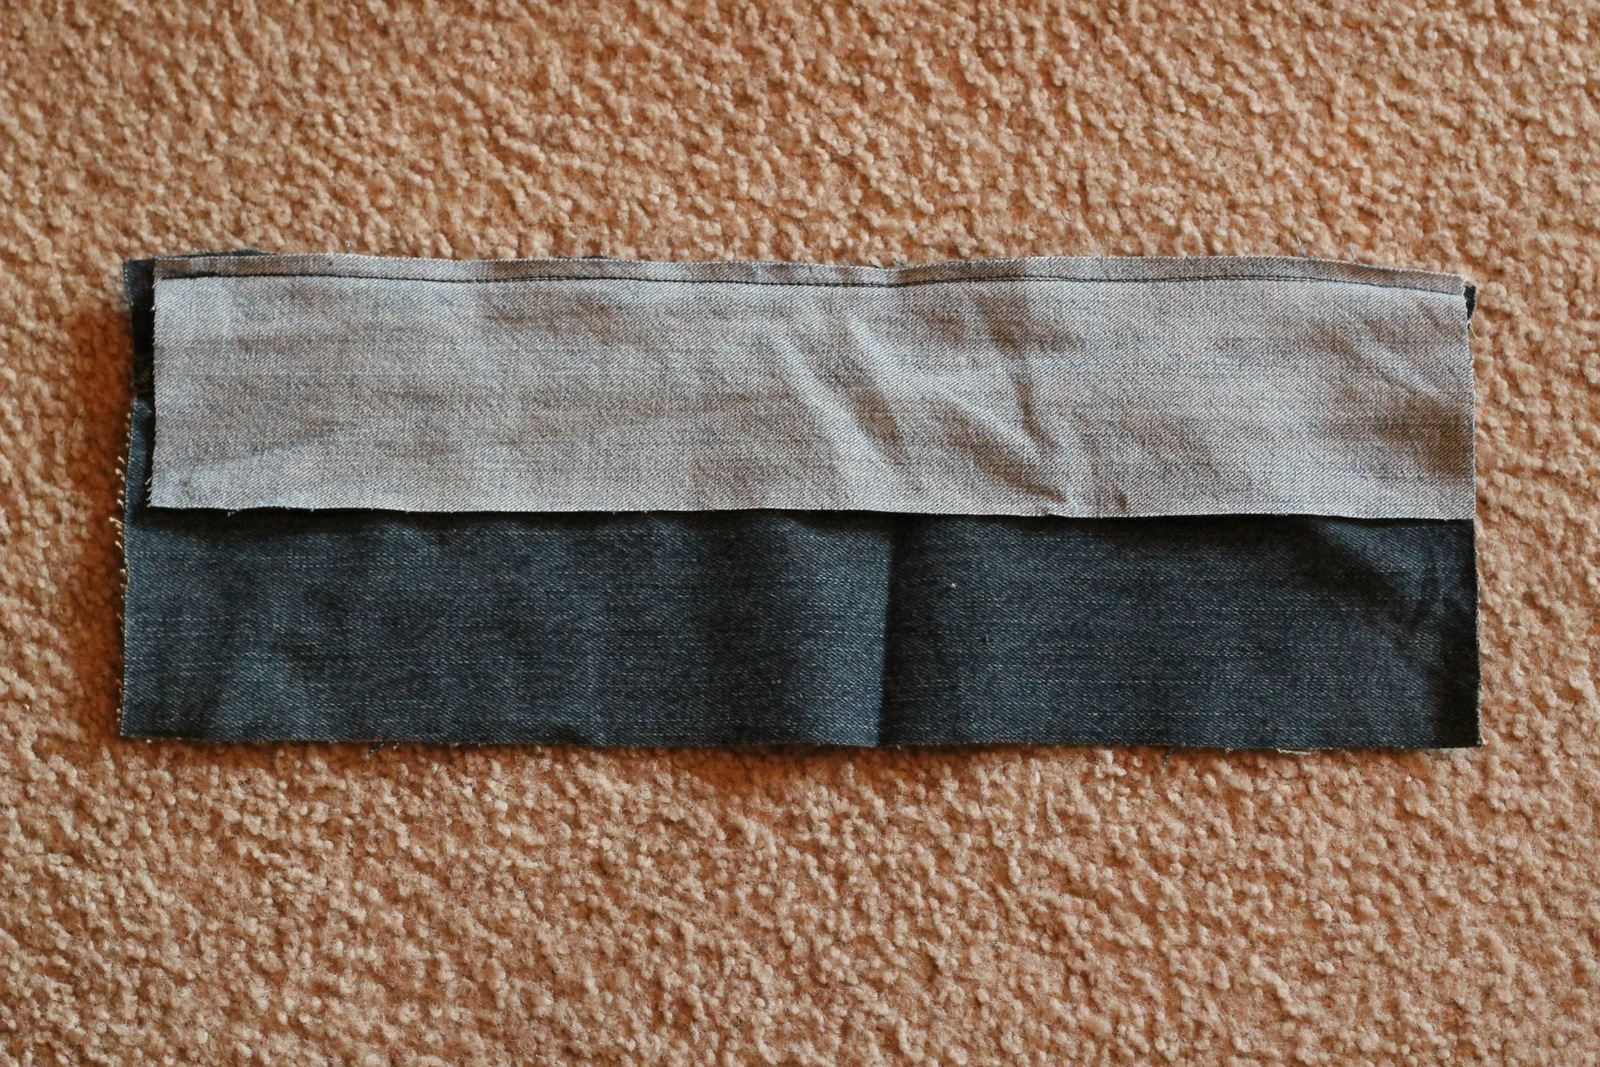
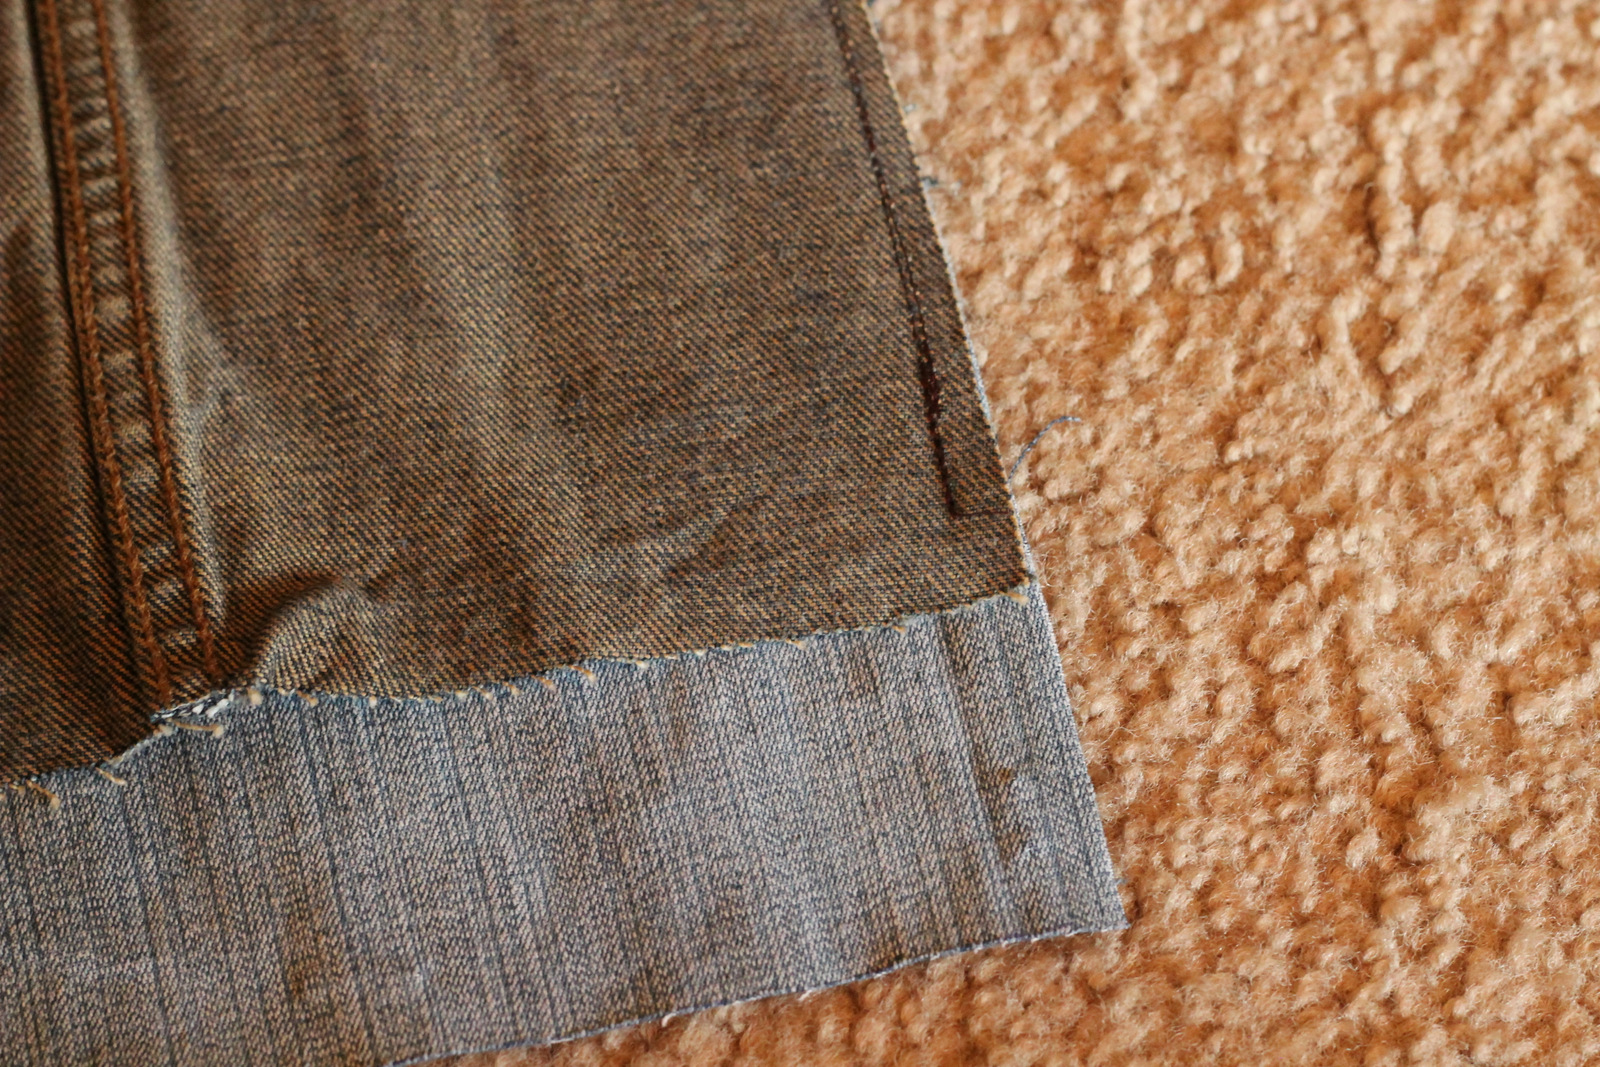
For the sides I cut long strips of various widths and lengths, and laid them out making sure there was enough fabric to cover the sides plus seam allowance.
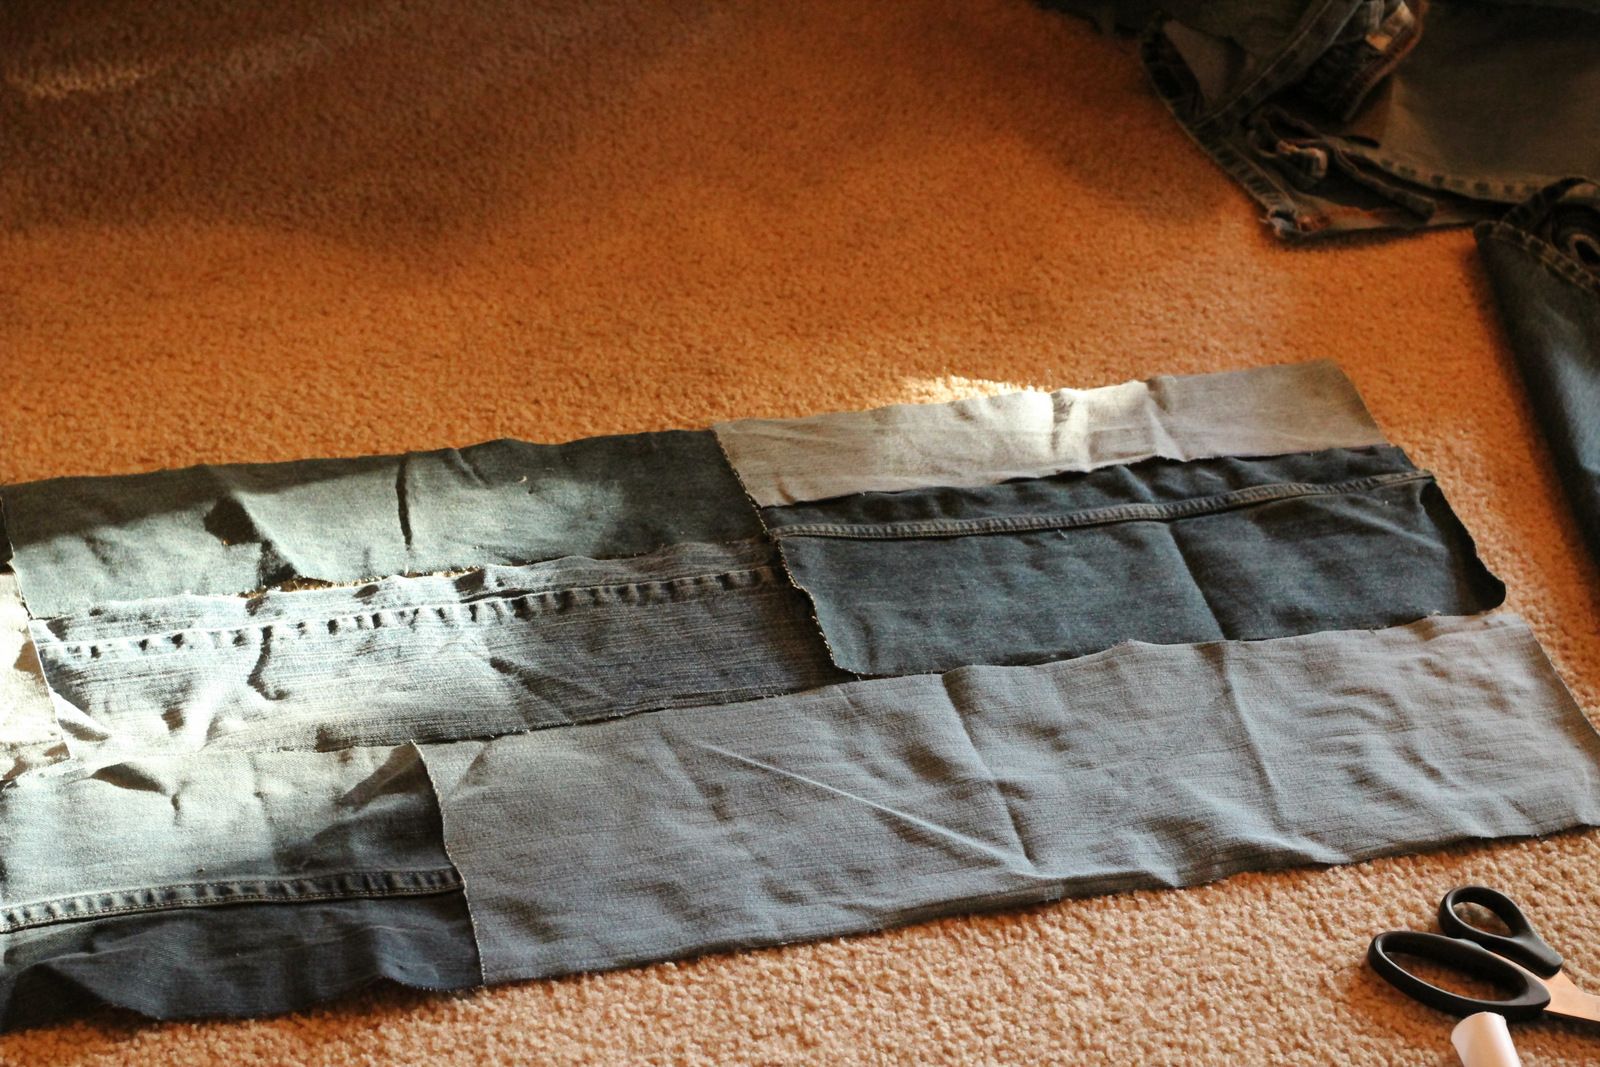
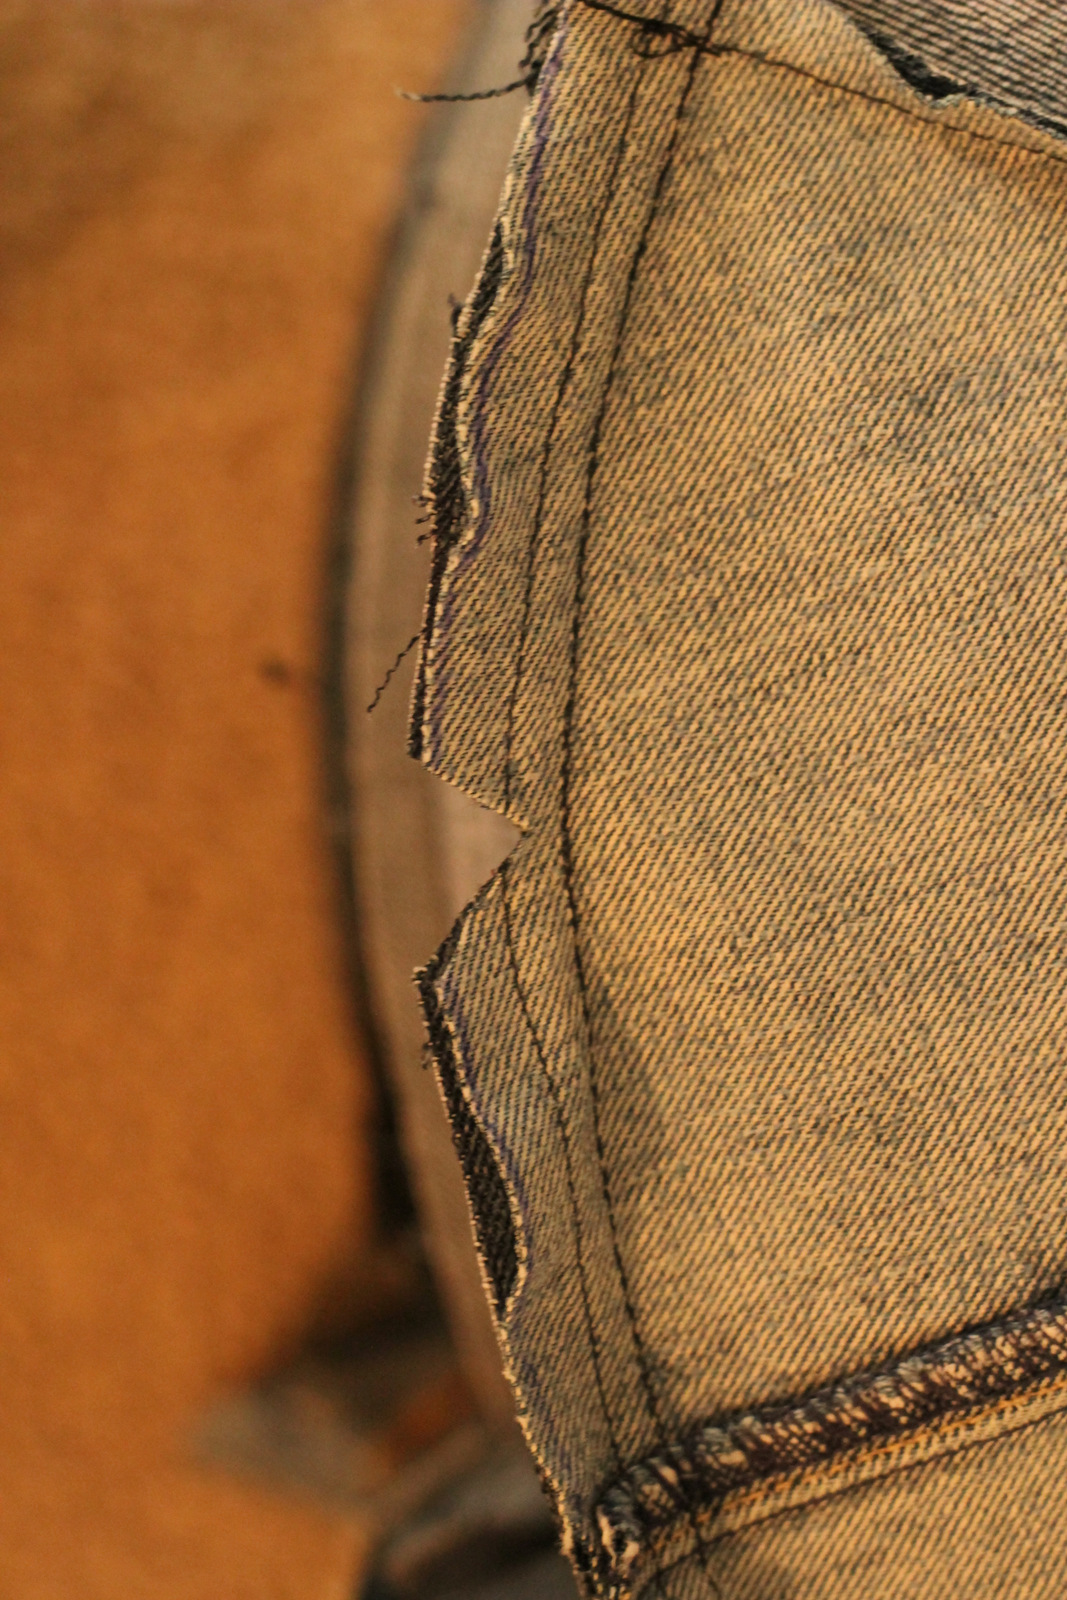
To sew them together, I placed two pieces right sides together. I stopped sewing 3/8 inch from each edge to leave space to tuck the next strip in to sew.

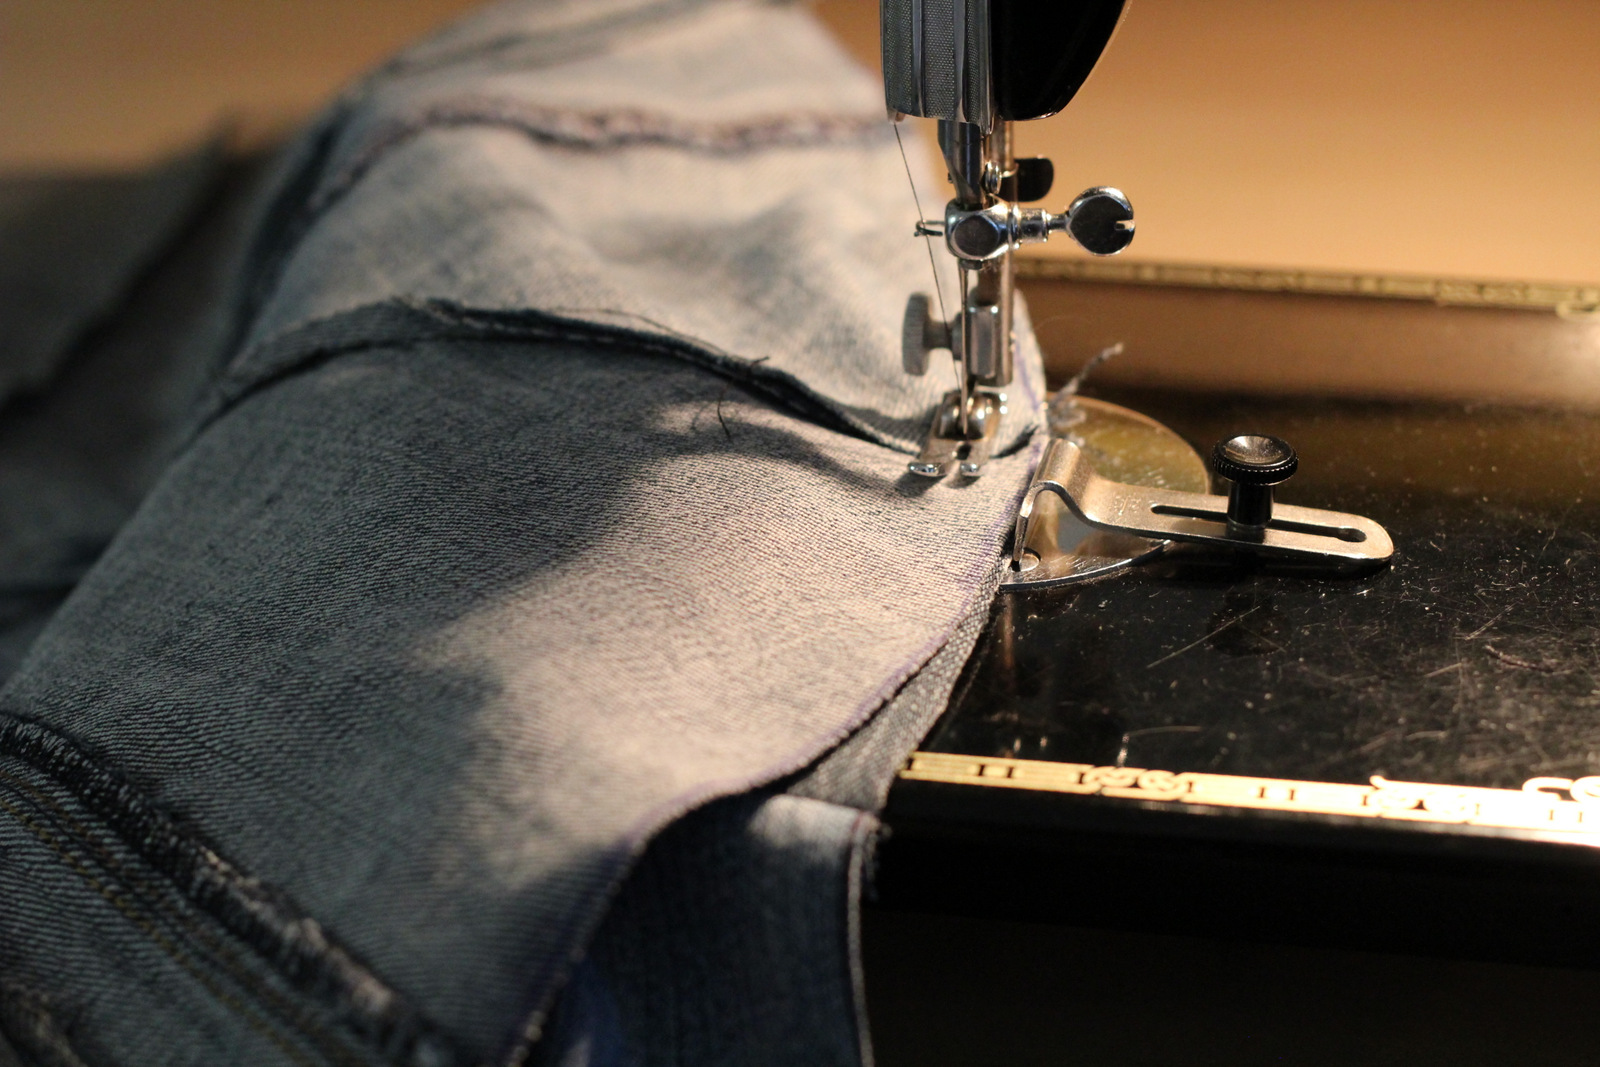
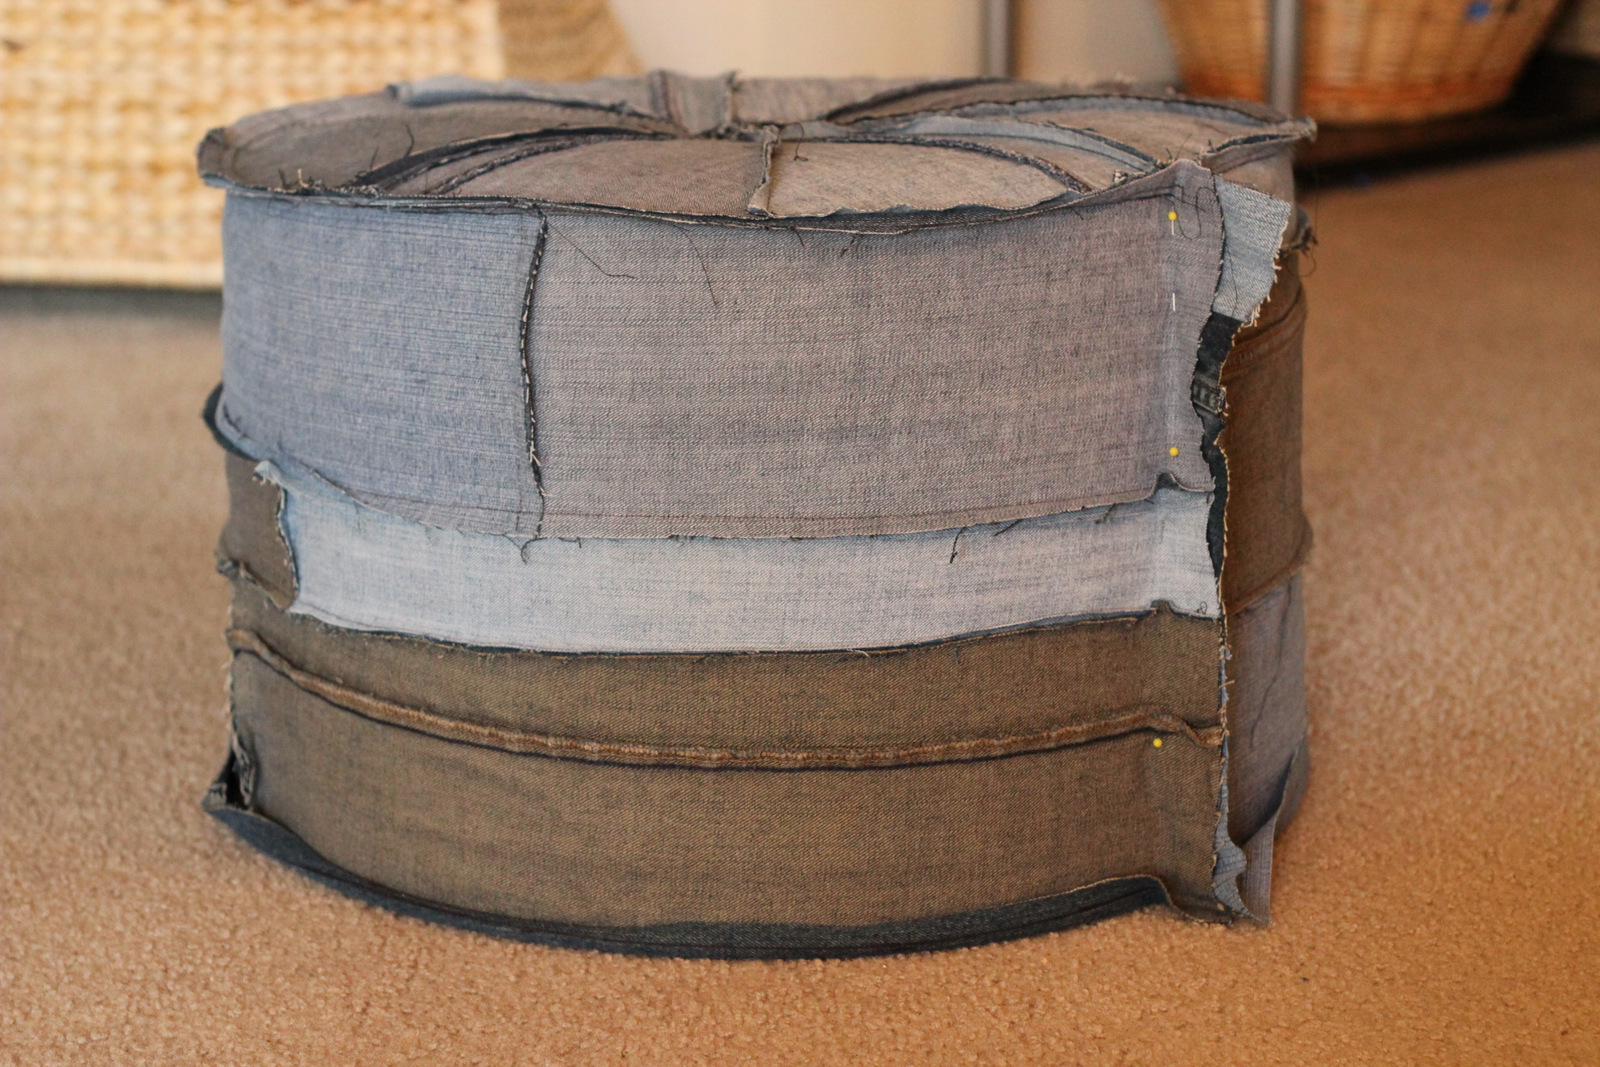
When the top circle and side rectangle were complete, it was time to sew them together. I put them right sides together and sewed away.
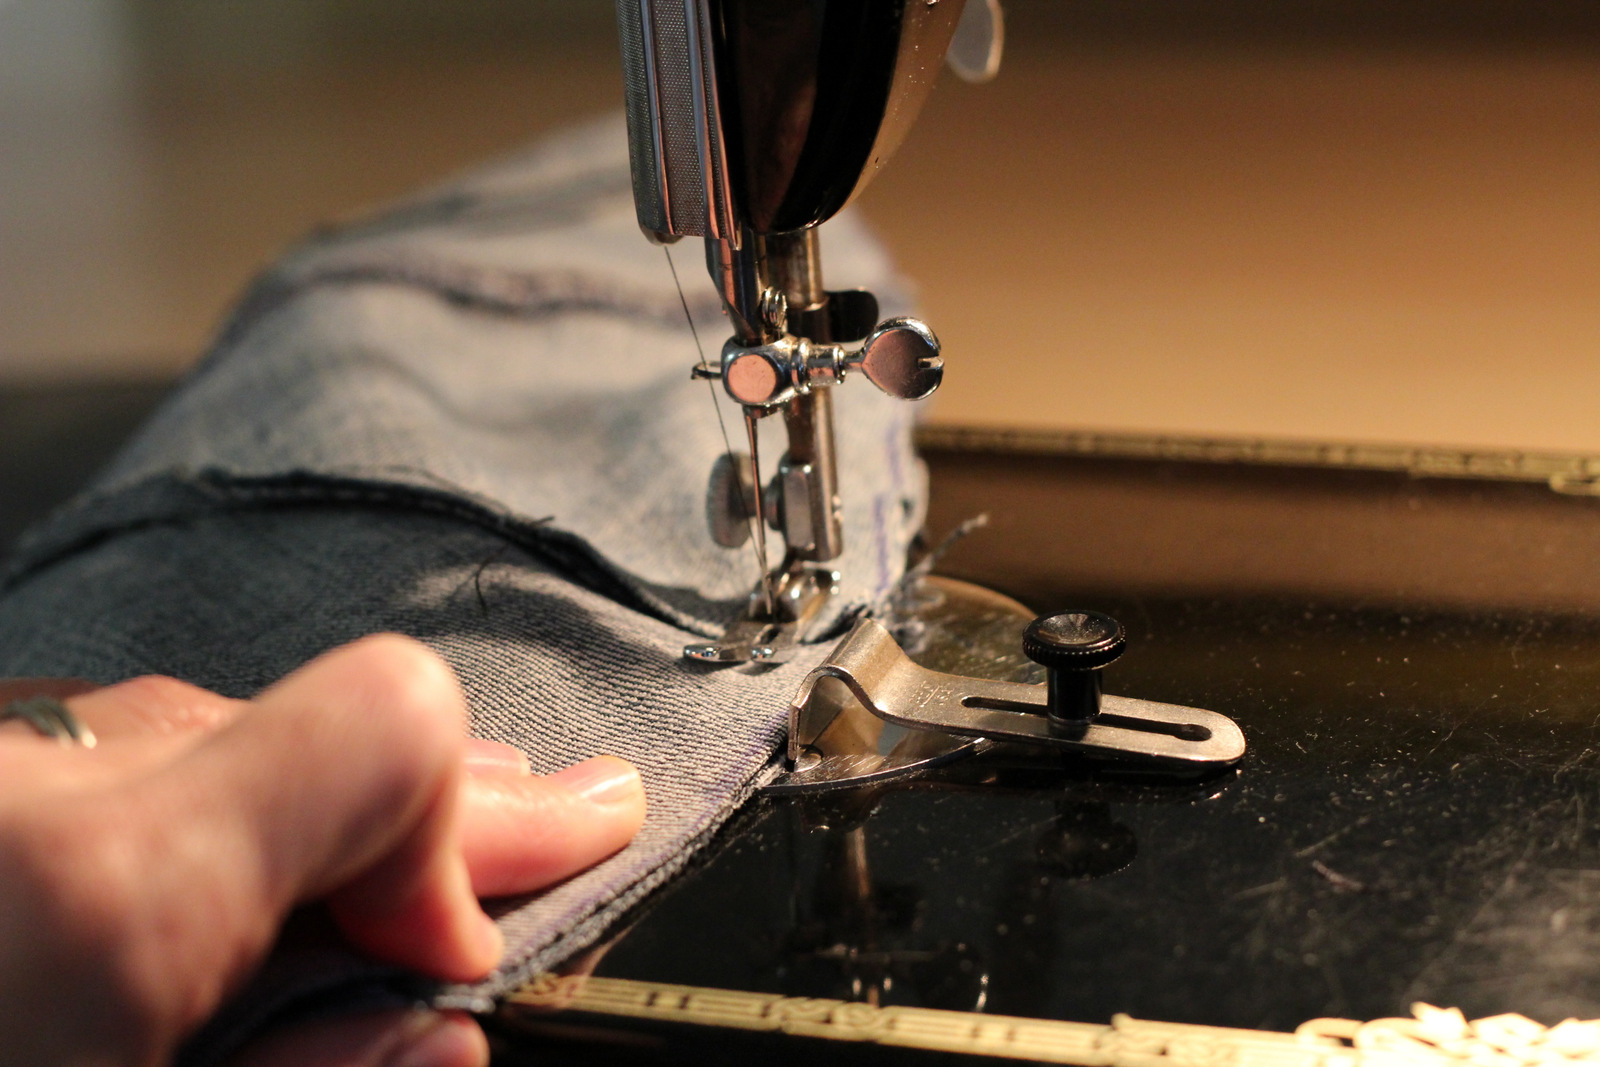
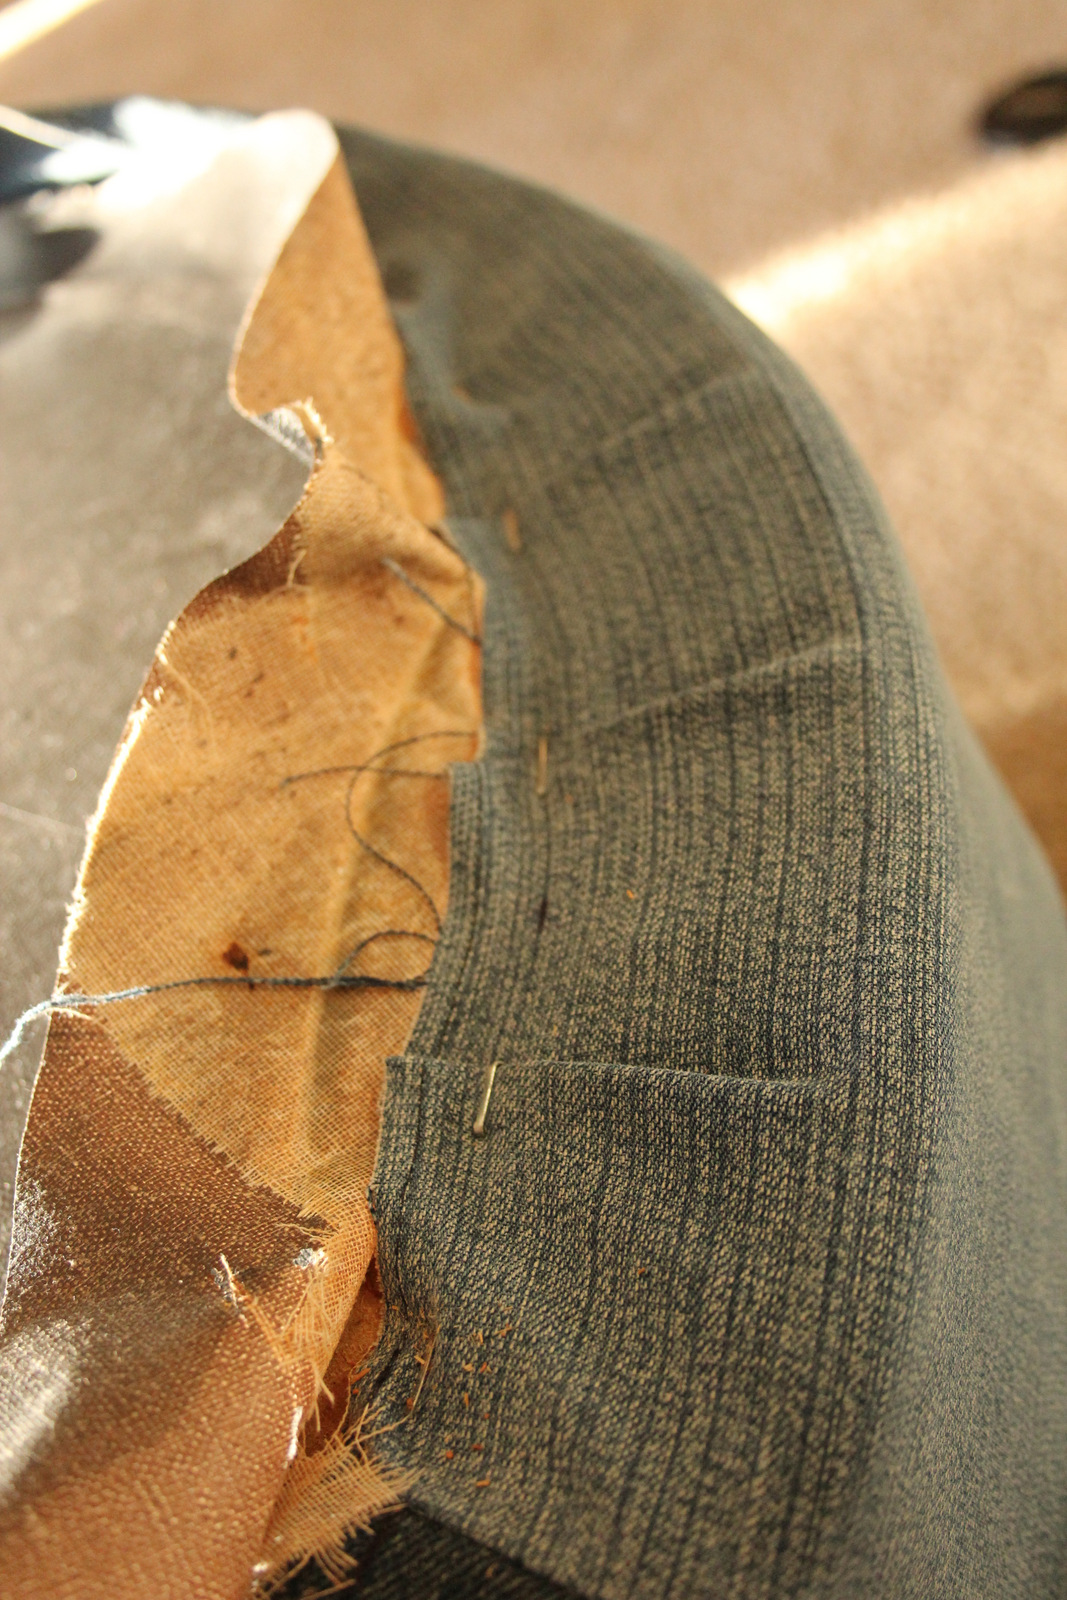
Then I tried it on the ottoman and ended up taking it in a little more. This is preferable to letting it out… or not having enough material in the end, so I was generous and didn’t mind fitting it a bit in the end and trimming the extra. Once the top seam was right, I put the cover on inside out and pinned the side seam and sewed it. I also cut notches in the top edge seam allowance to make it sit better.
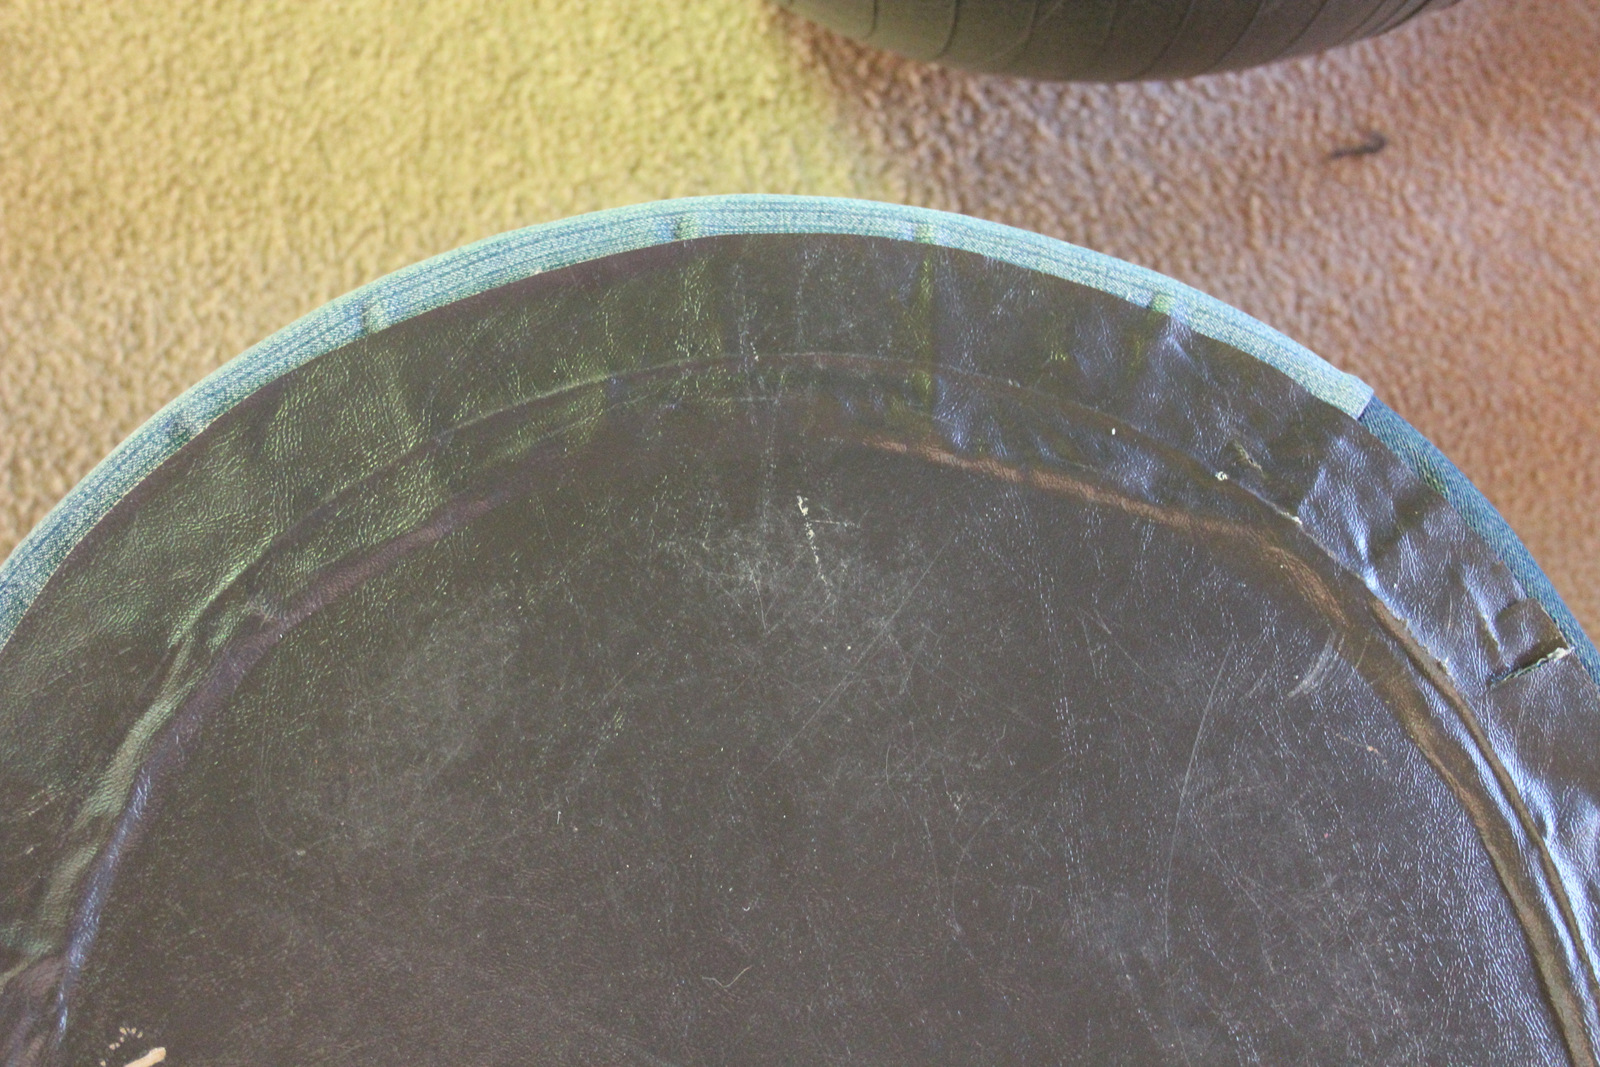
I wanted the fabric to be stretched taut, so I used my staple gun to secure the fabric to the bottom of the footstool. I made sure the cover was placed straight and stapled it down with one staple on 4 sides.

Then I stapled in between these first staples, working in gathers all along.
I used the fabric that was already on the bottom of the ottoman to cover the stapled edges. I just pulled it up, stapled the jean fabric down, then used my glue gun to glue the bottom fabric down again. You could use another fabric to cover it if needed.
Of course, if you didn’t want to use a staple gun, you could make a seam at the bottom edge of the cover and have a slipcover that removes for easy cleaning and everything. This was my first time using a staple gun though, and I have to admit it was fun.
I hope you enjoyed this project. I’m going to go put my feet up. 😉
You are amazing! I loved seeing all the pictures here after talking to you about it recently!
Thanks! It was a very fun project.