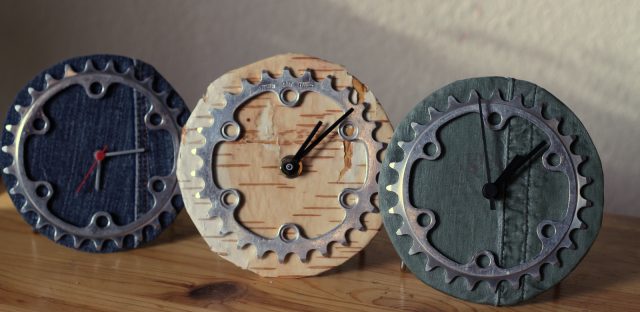
Yesterday, I posted about how I used old clocks to make new ones. Here today I’ll show you how I made these bike sprocket clocks.
Sprocket Clocks
TutorialMaterials
-clock kit or clock parts from an old clock
-bike sprocket, I got mine from a used parts section at a bike shop.
-stiff cardboard or thin wood shape for a background
-fabric, paper, birch bark, or other material to cover background if desired
-glue. I used E-6000 because it worked well with plastic, metal, wood, fabric, and paper
-mod podge if covering a background with fabric, paper, or bark
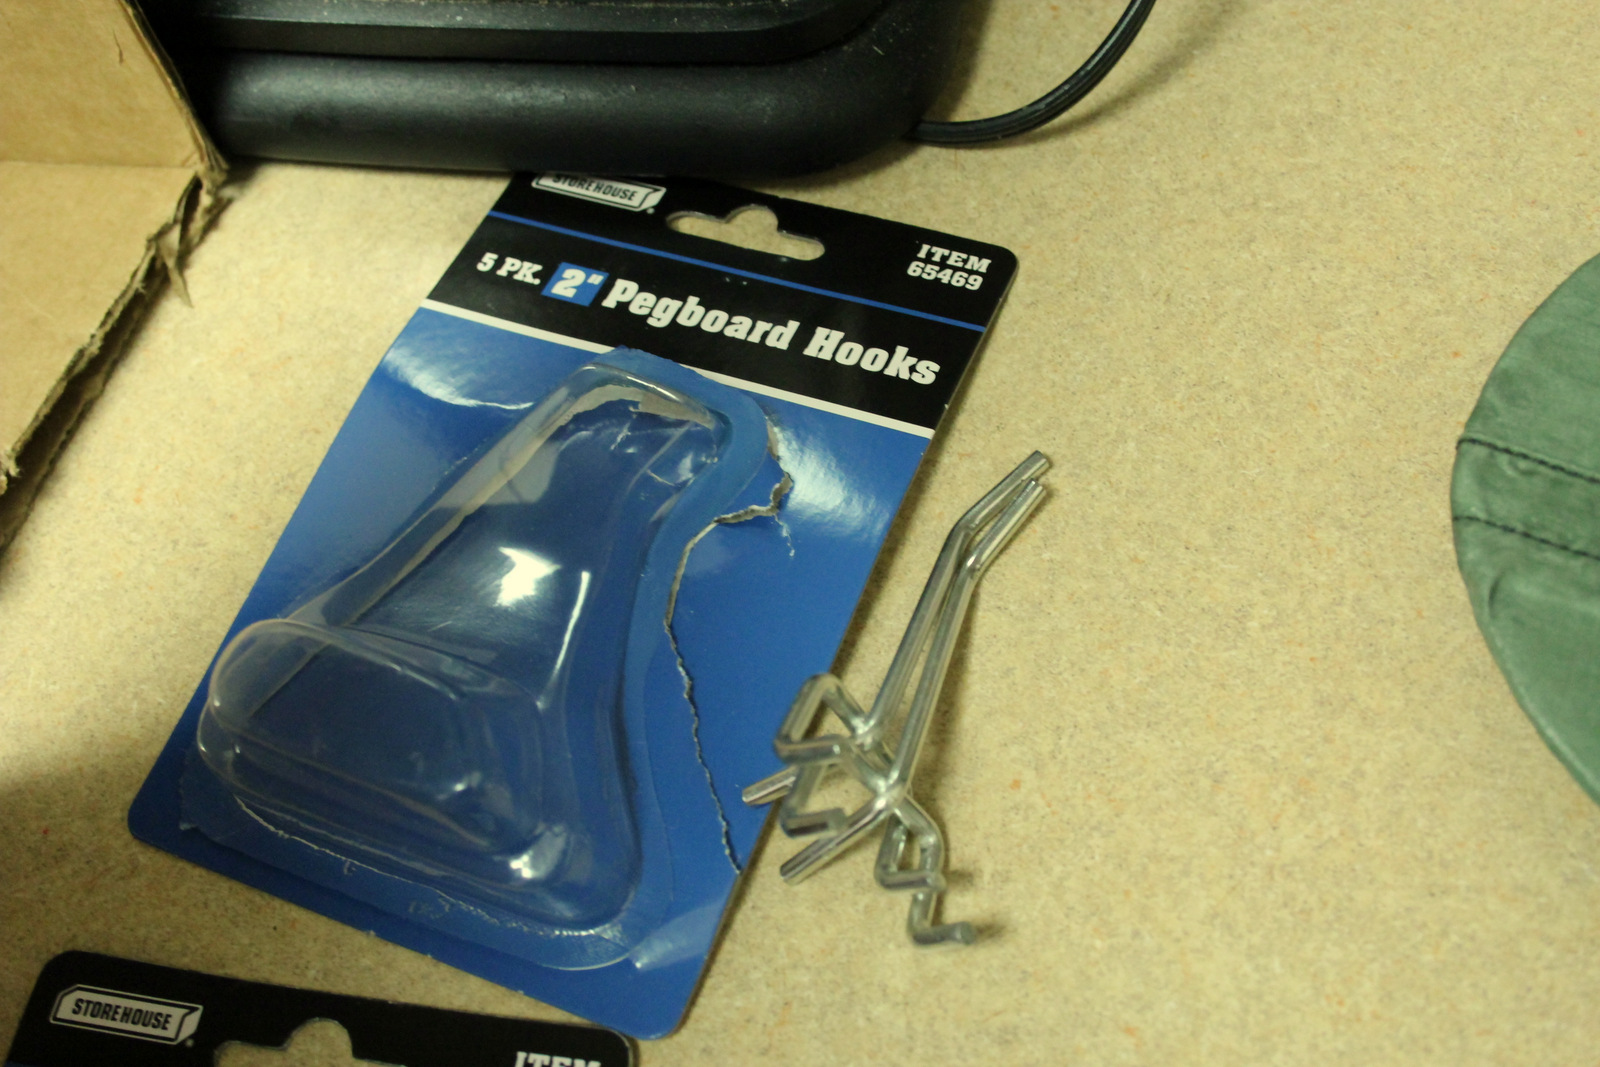
-picture hanger (for a wall clock) or pegboard hooks to make a stand up clock
-clamps
When planning your clock, take into account the length of the shaft on the clock parts. These come in different heights and you just need to make sure your background isn’t too thick to work with the shaft.
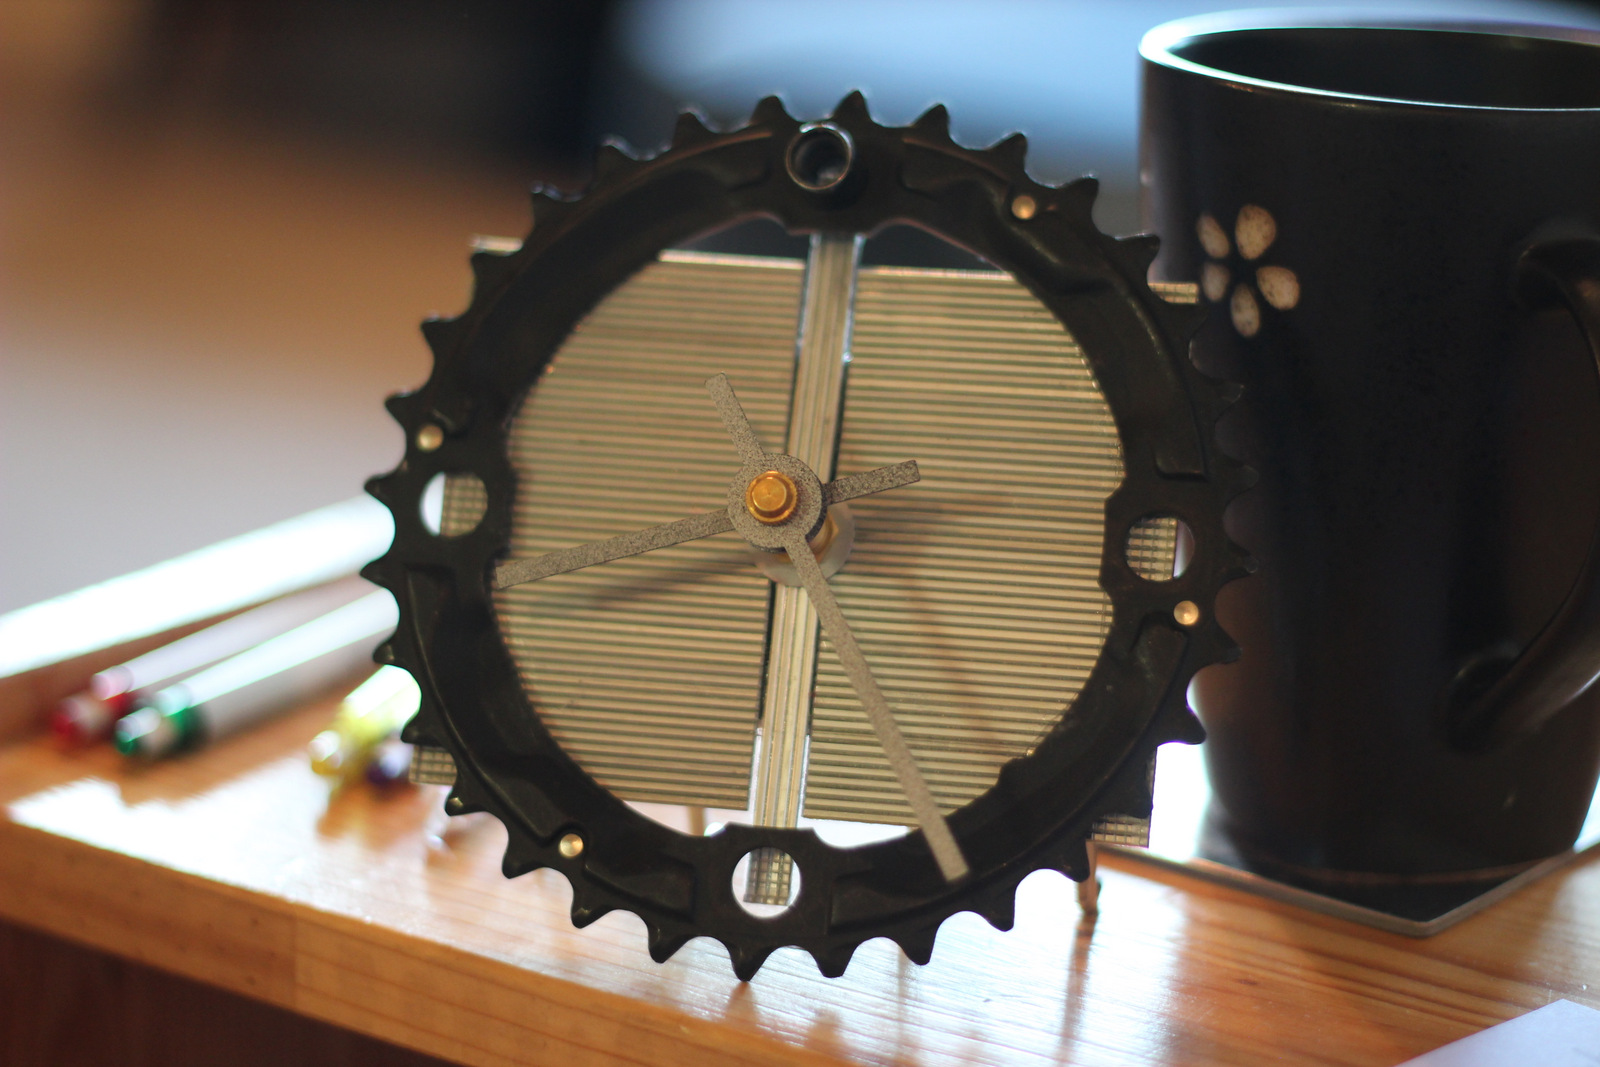
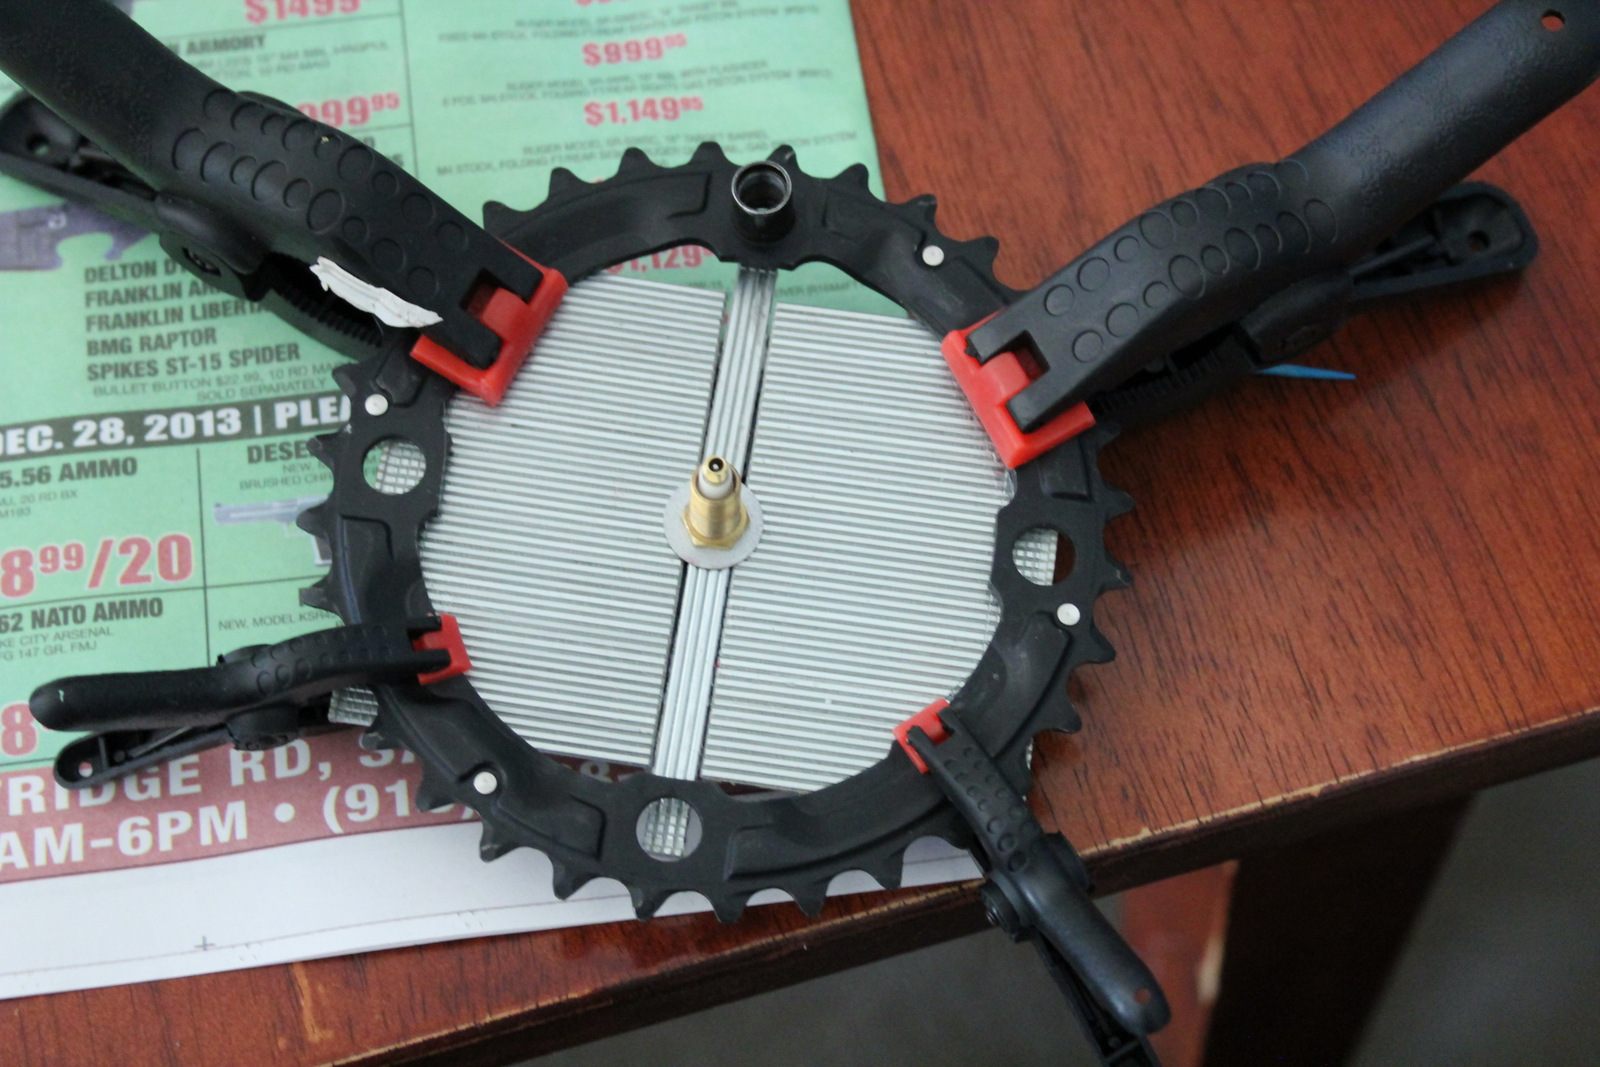
Next, assemble your background. If you are working with wood, drill a hole in the center the exact thickness to accommodate the shaft. If your working with cardboard cut a circle the size you desire and cut a hole in the center to fit the shaft. When I worked with the sheets of nails from a nail gun I glued the nails straight to the clock part around the shaft. (pictured below)

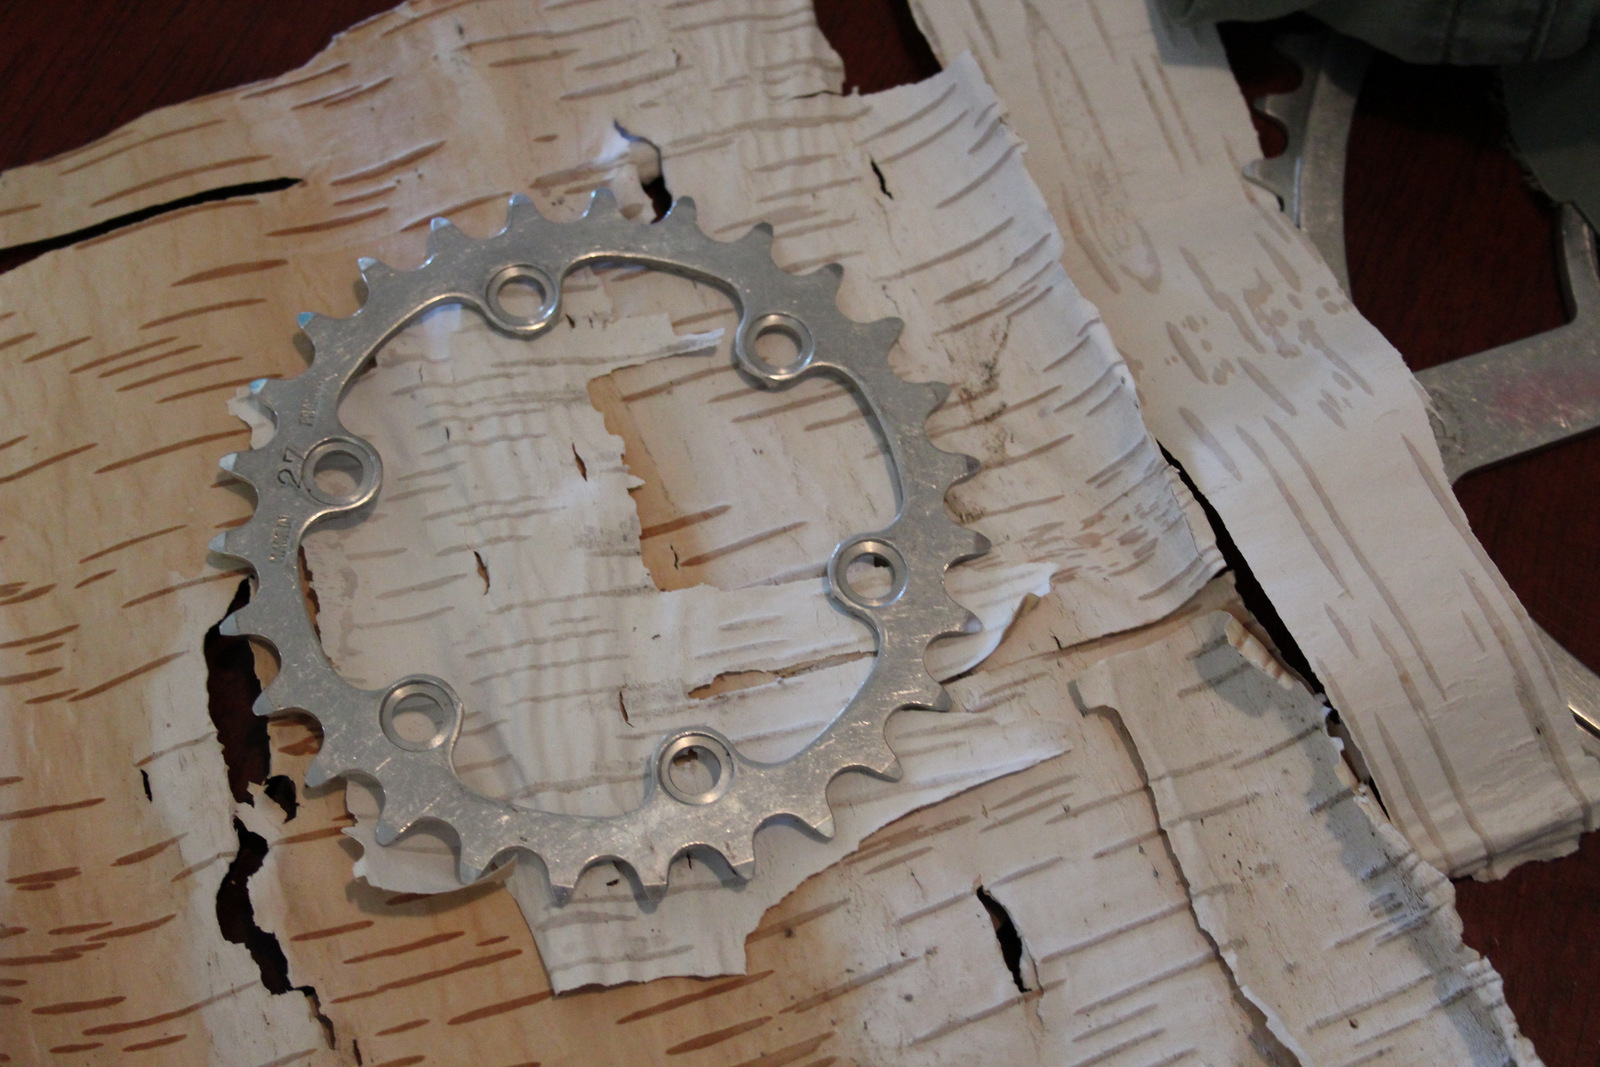
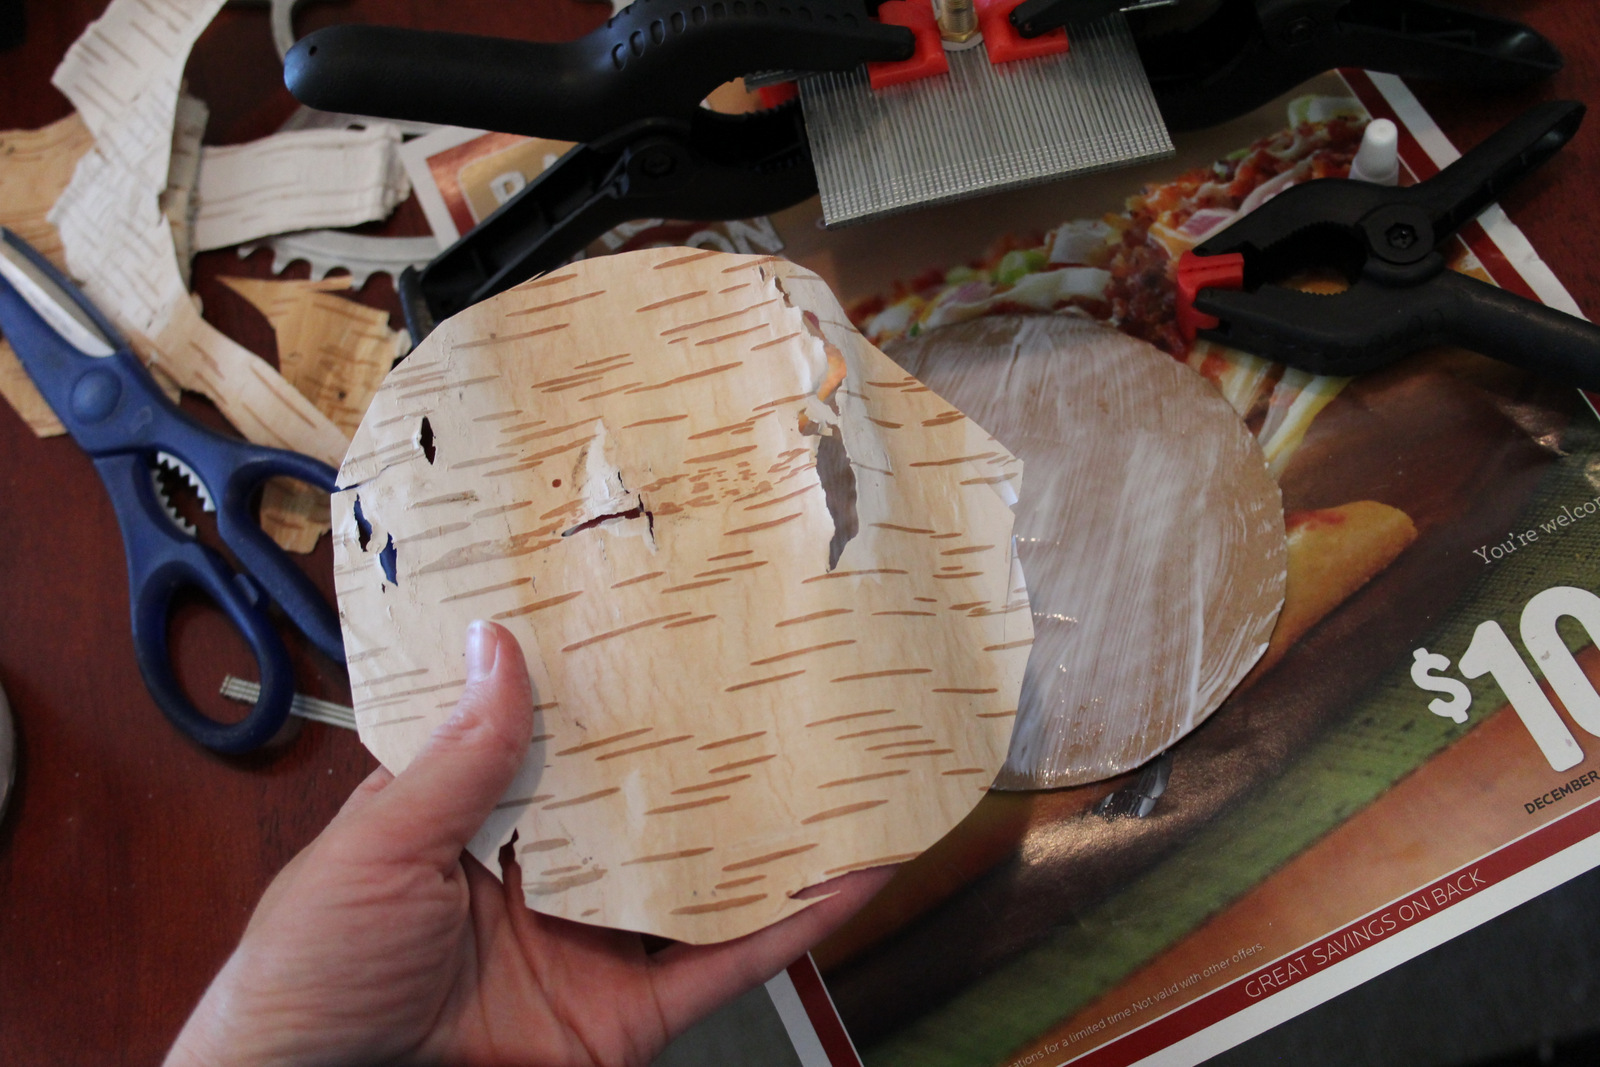
If your background needs to be covered, cut a circle larger than the cardboard or wood, and use mod podge to adhere fabric, paper, or birch park to the stiff background. At the edges, fold the extra around to the back. I put a layer of mod podge over the material also to protect it. I covered the back of the cardboard or wood with black paper for a more finished look. Again cut a hole the right size in the center of the material for the shaft.
Put the shaft through the holes you made, glue the plastic clock part to the background and clamp until dry.
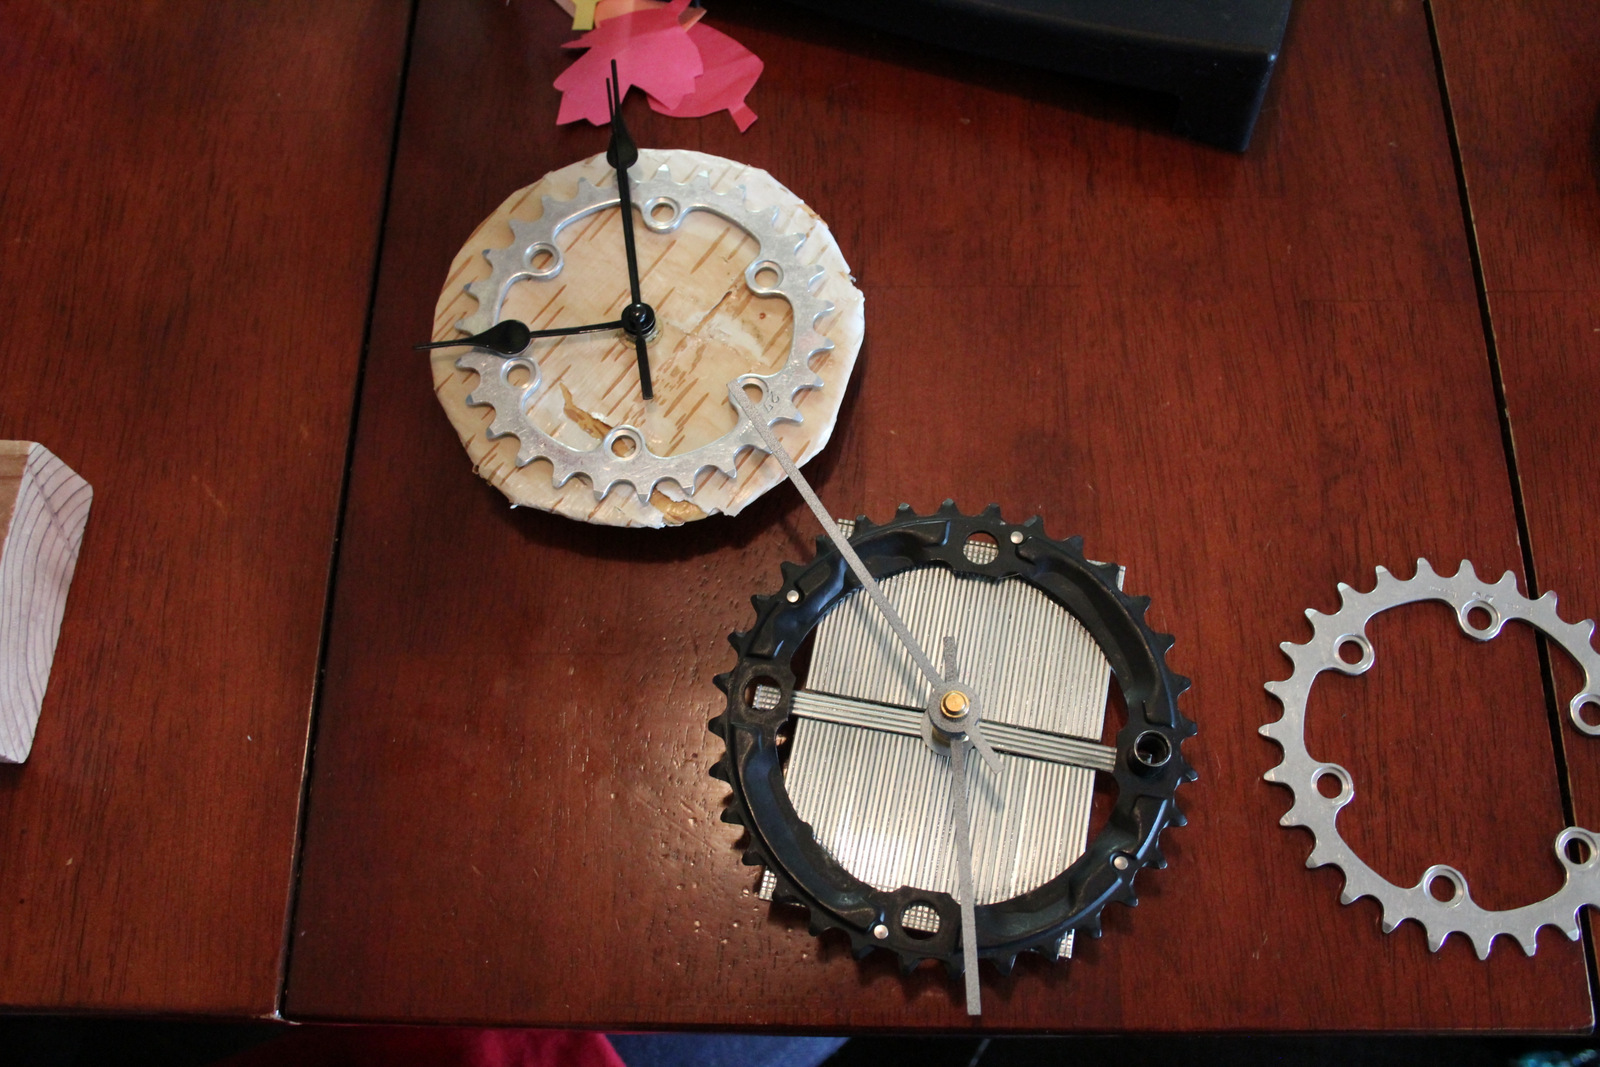
If adding a sprocket, glue it in place and clamp until dry.
If the clock hands are too long, you can clip them with fingernail clippers to a good length.
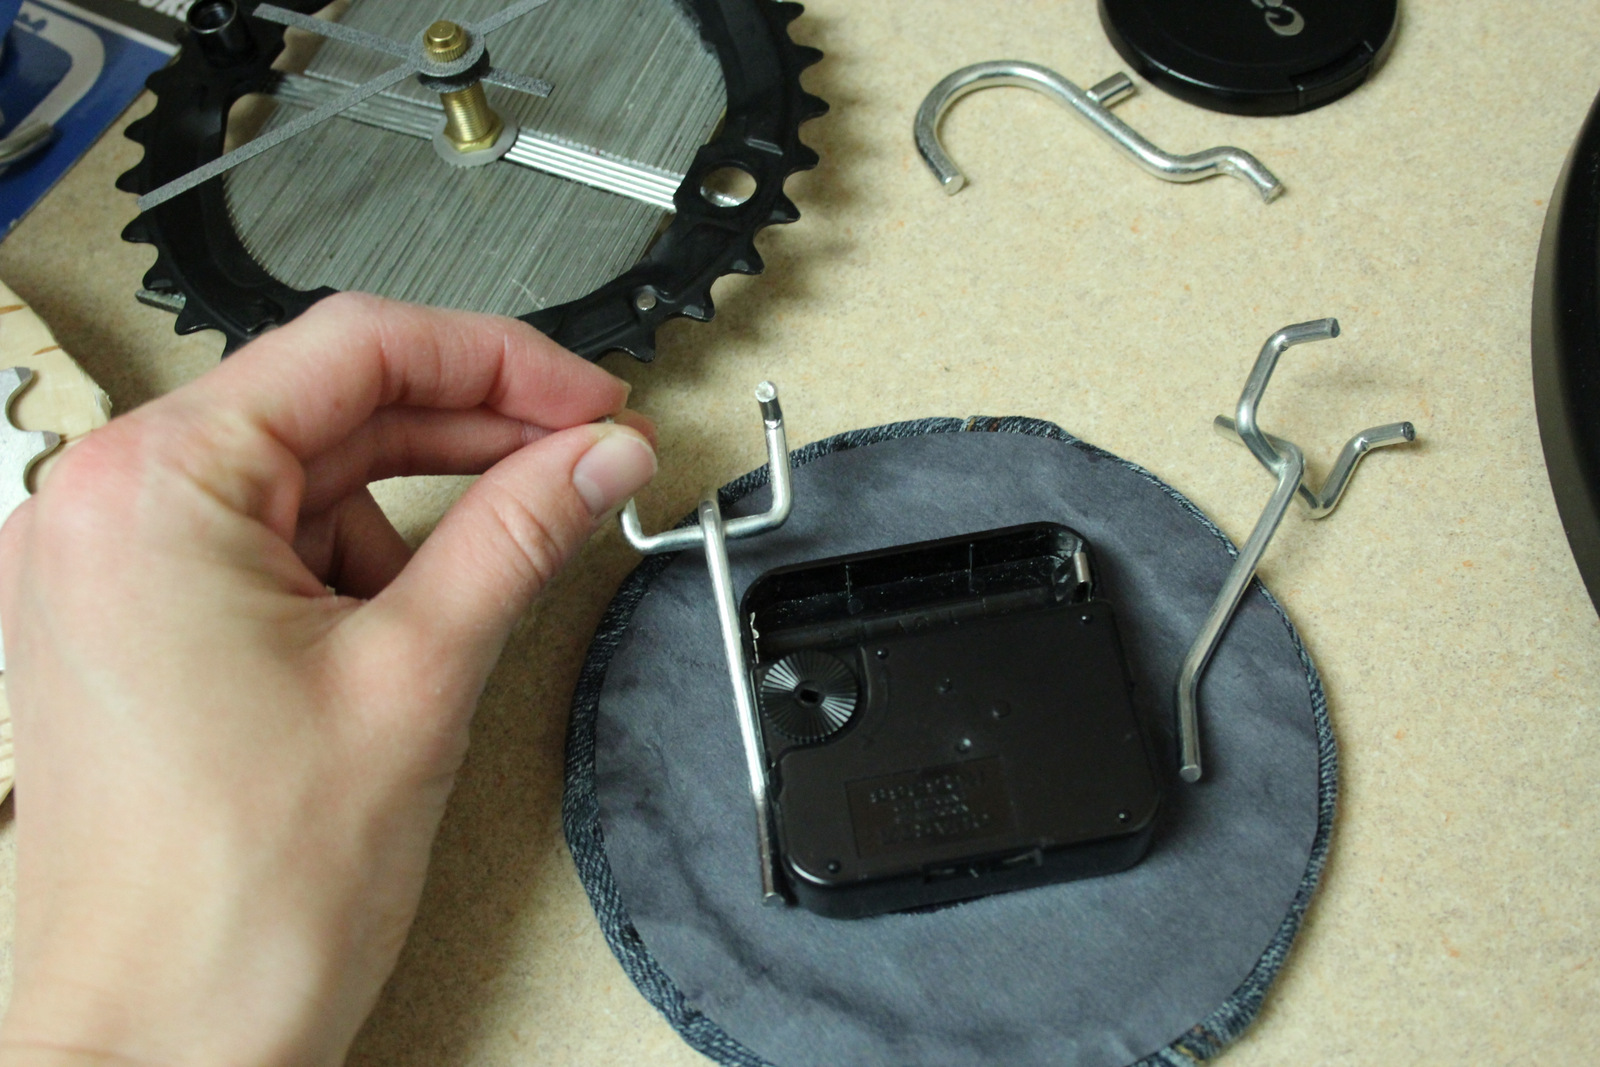
To make the clock stand up you can use some of these pegboard hooks I found at the hardware store. Glue them in place at the sides of the plastic part and clamp until dry. Otherwise you can attach a picture hanger to the back. And they are done.
This was a really fun project. I love clocks.

I saw the nail one in person last week and really like it! Fantastic idea. Thanks for the instructions too.
Glad you liked it… and you are welcome. 🙂