
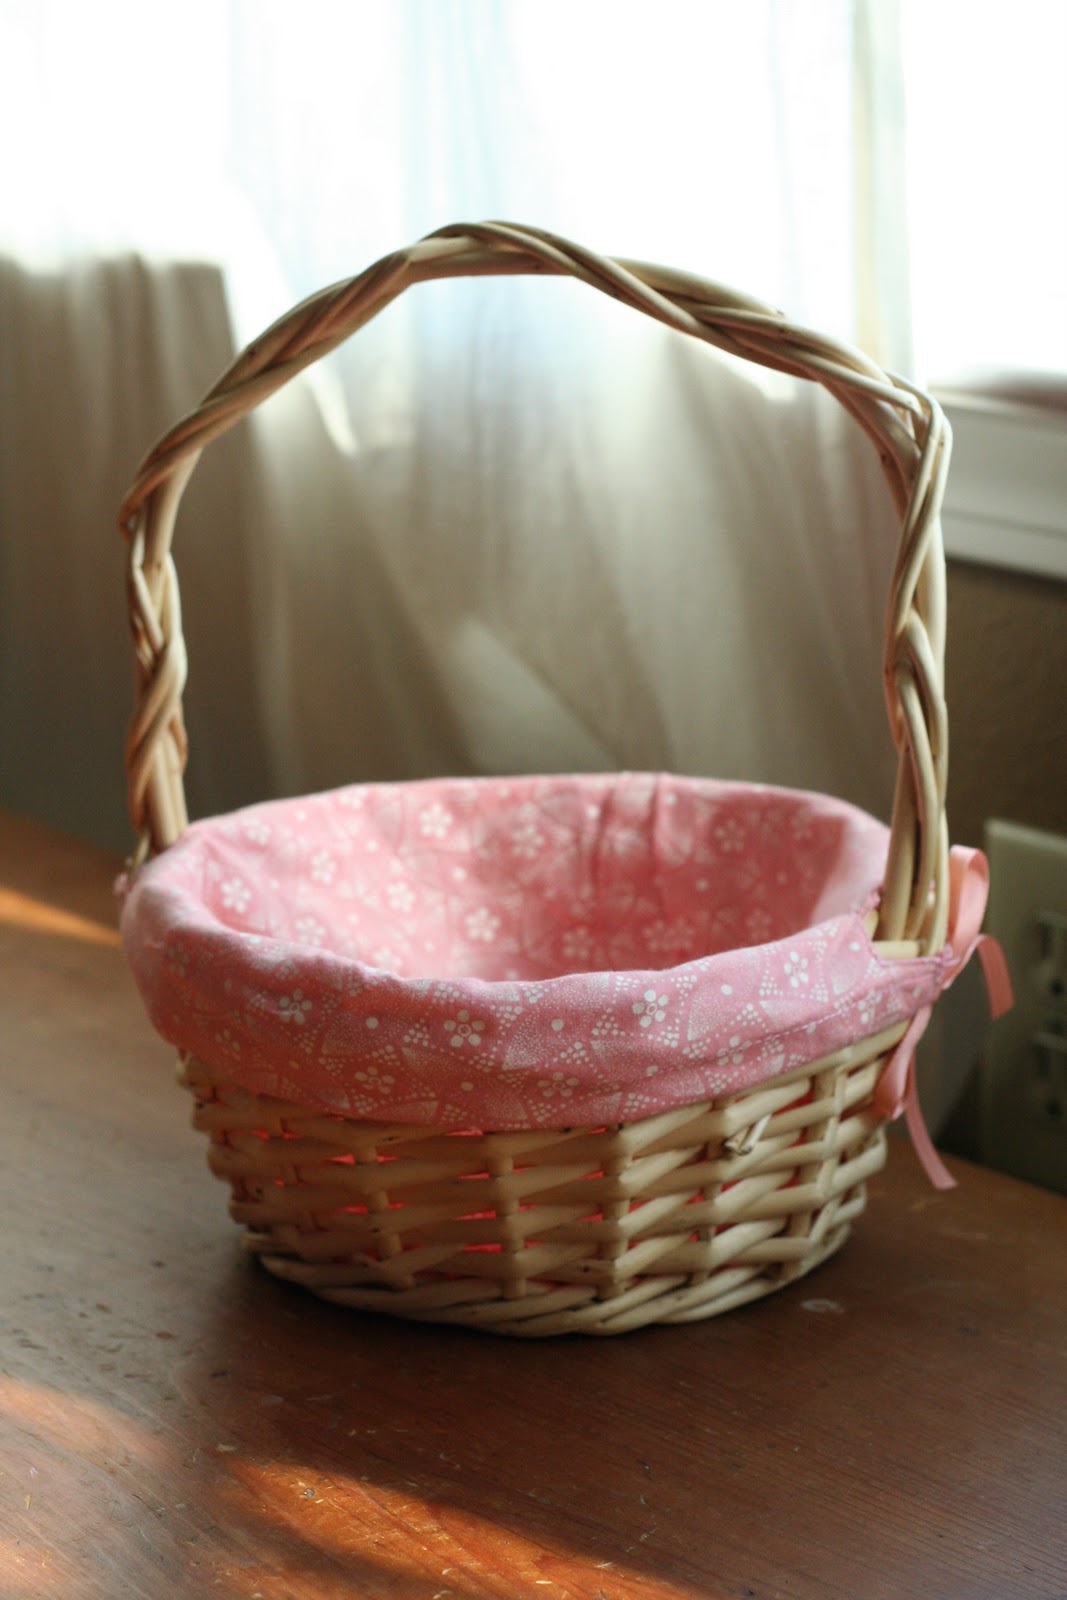
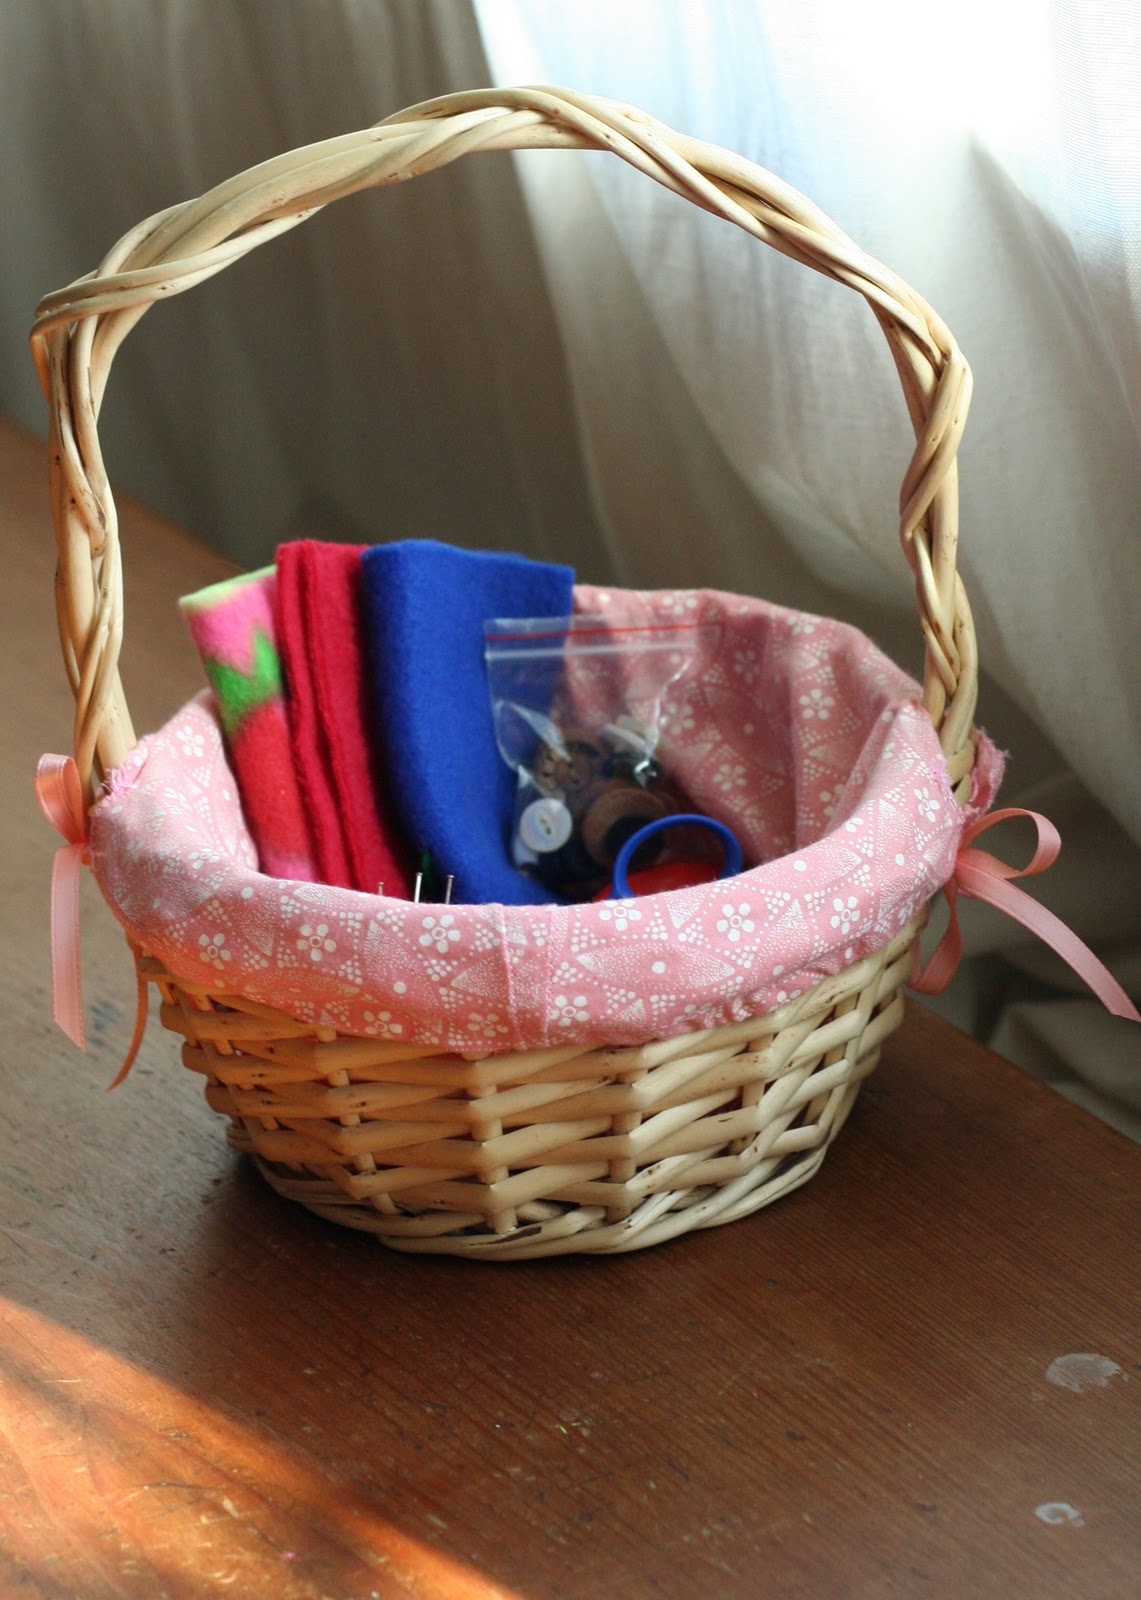
For a while I had been wanting to give my 6 year old her own sewing basket. I thought she would love it and it would inspire her all the more. But I have to be honest that one motivation was to keep her from getting into my sewing stuff all the time. I got a little basket at the thrift store for a dollar and cleaned it up but wanted it to look nicer. So I decided to make a liner for it. I thought it would be very simple. I learned an important lesson. You have to have a lot of patience when working with a basket. It’s probably not a true circle/square. It’s probably not the same height all around. The handles are likely not attached symmetrically. I found you have to measure much, be generous, and make it to fit. I’ll show you how I (finally) succeeded. This project could have all kinds of applications- baby baskets, gift baskets, a lovely basket for the bathroom to keep towels/soap etc in, all kinds of pretty storage opportunities!
Basket Liner
tutorialAll you need to make a basket and liner are the basket, fabric, and ribbon.
Ideas for a child’s first sewing basket contents:
-Metal safety scissors, or thread scissors
-Pincushion, pins, needles, yarn needles
-Thimble
-Needle threader
-Seam ripper
-Thread/yarn/embroidery floss
-Small bag of buttons
-Water soluble fabric pencil/pen
-Measuring tape
-Fabrics- I used squares of fleece that she can cut to any shape and sew together without fear of fraying. Felt might work well too.
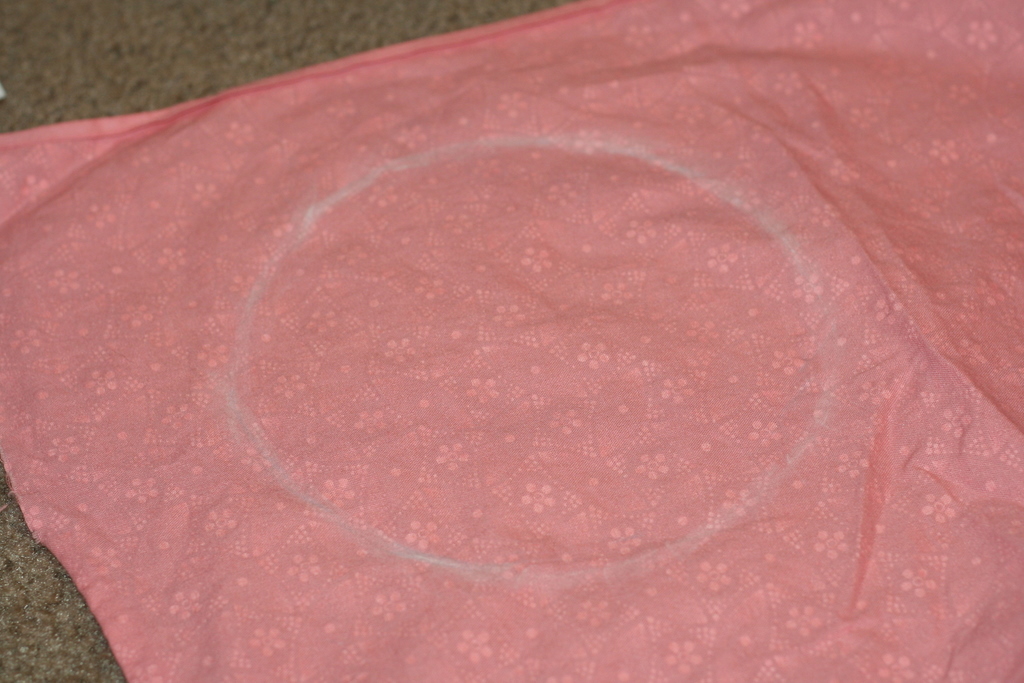
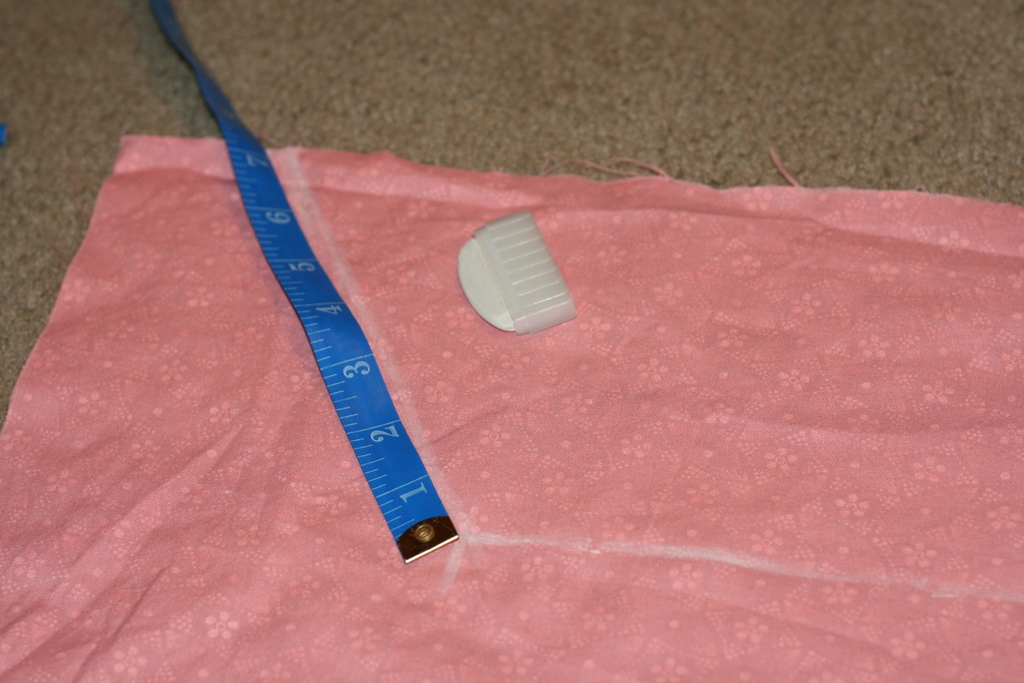
Step 1- Measure, measure, and measure some more. Measure the diameter of the bottom of the basket (above left.) Don’t just measure one way! Even if it looks circle it’s not likely perfect. You want to use the biggest measurement and add 1 inch for seam allowances. I found that the diameter of the bottom of my basket was an inch larger than the inside of the basket so I just traced around the basket on my fabric and cut out the circle (above.)
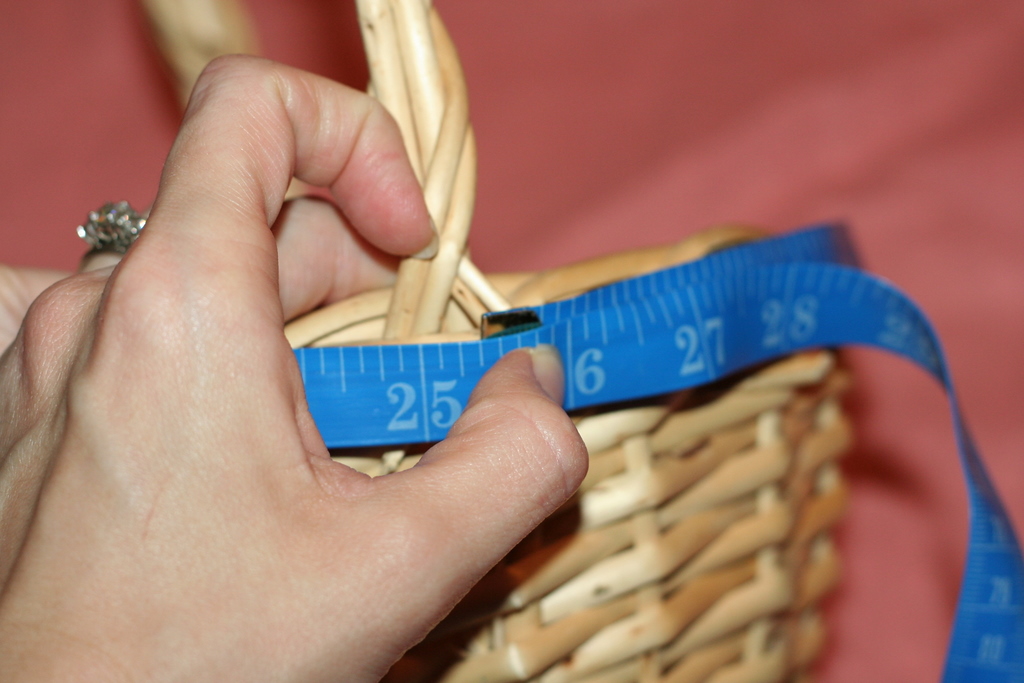

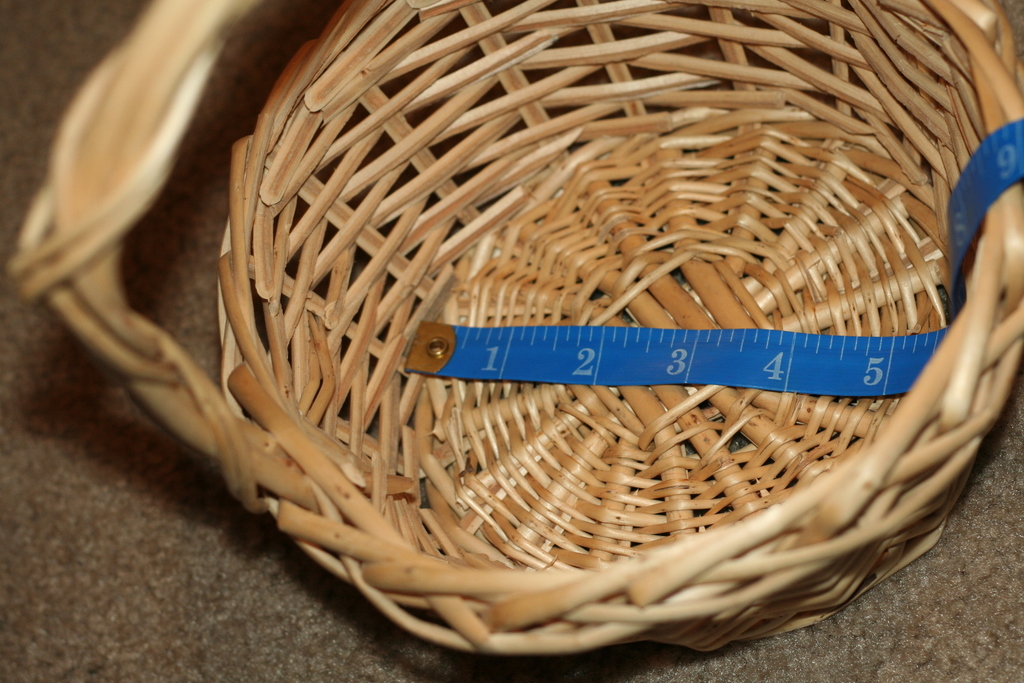
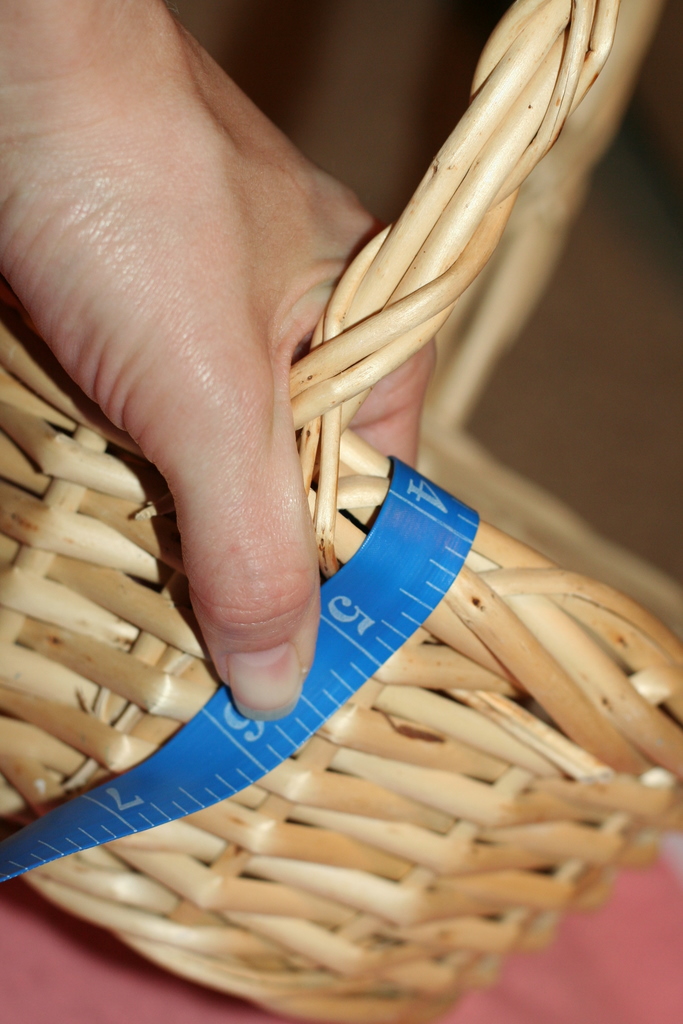
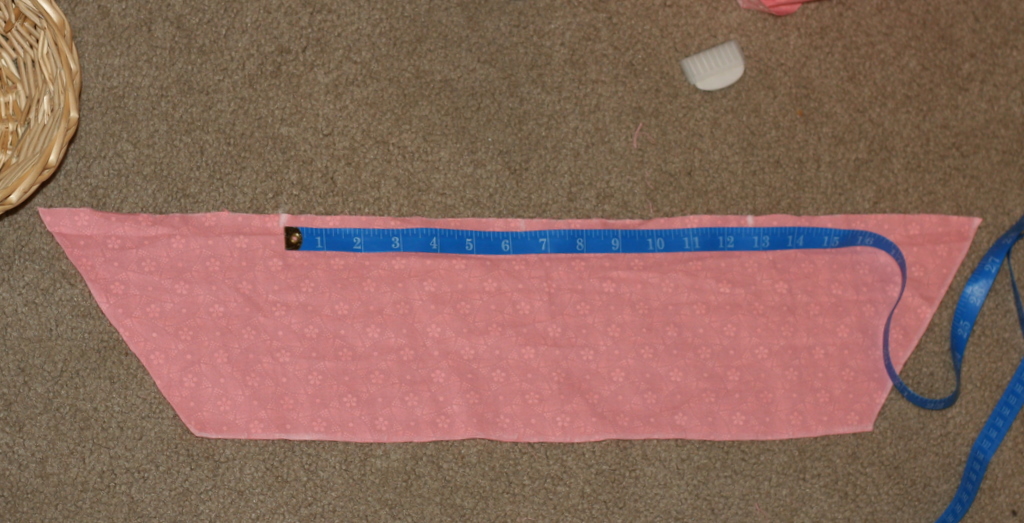
Step 2- Measure more. Measure the circumference of the bottom and outside top of the basket (left) and add 1 inch for seams. Measure the height of the basket plus the amount you will want your liner to go over the side of the basket (below) plus 1 inch. Write down these measurements as you will need them for the next step.
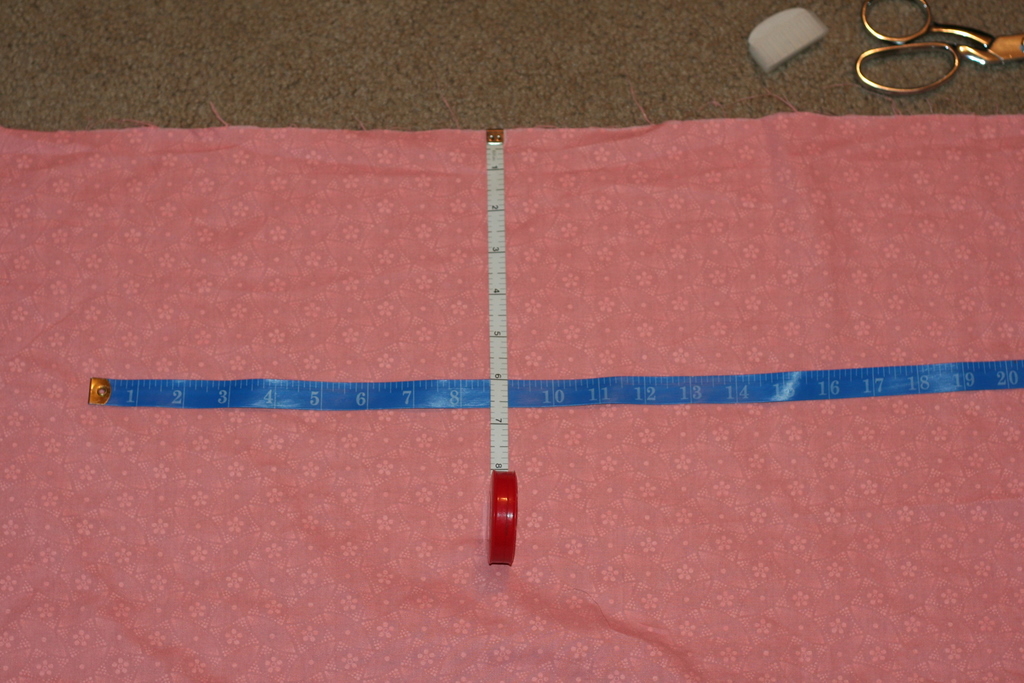
Step 3- Mark out and cut out the fabric for the sides of the basket. The circumference of the bottom of my basket plus 1 inch was 18 inches. The height of my basket, plus overhang, plus one inch was 6 inches. So measure out an 18 inch line 6 inches away from the straight edge of the fabric and trace this line (right). The circumference of the outside top of my basket plus one inch was 26 1/2 inches. Measure 26 1/2 inches along the straight edge of the fabric. Make sure to center this line above the 18 inch line. Then use a straight edge to make lines (below) to join the edges of the top and bottom lines. The shape should be about what you see below… depending on the shape of your basket. (Hint: When in doubt, be more generous, you will fit it to the basket later.)
Step 4- Pin the circle piece to t5e 18 inch side of the 2nd piece, right sides together, and sew with a half inch seam (below.)
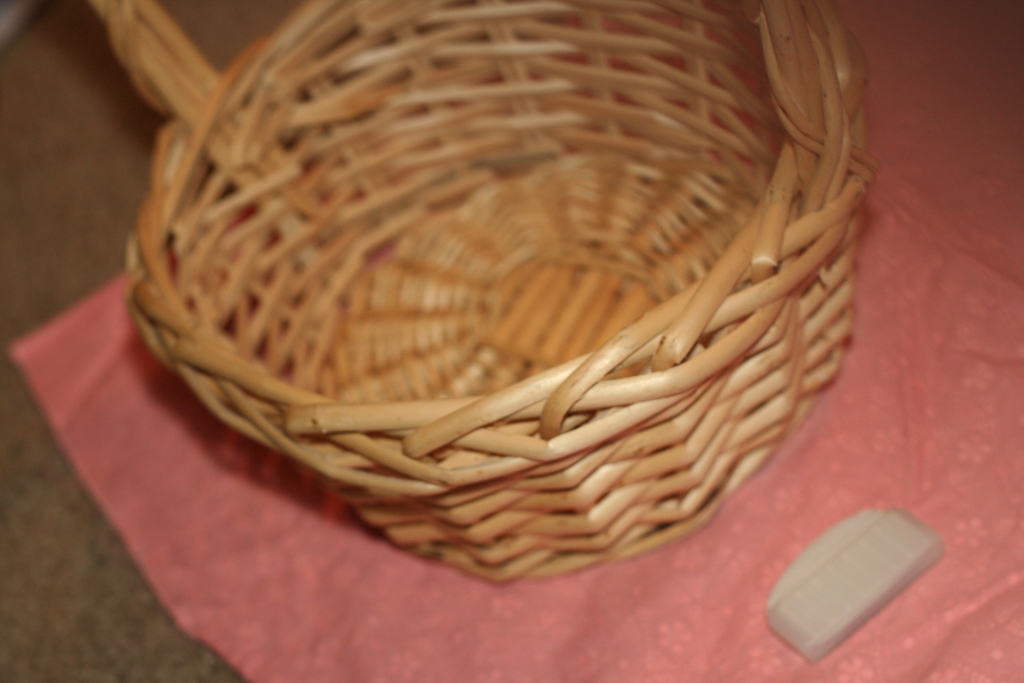
Step 5- Place the liner inside out into the basket and pull together the edges of the sides and pin them and sew.
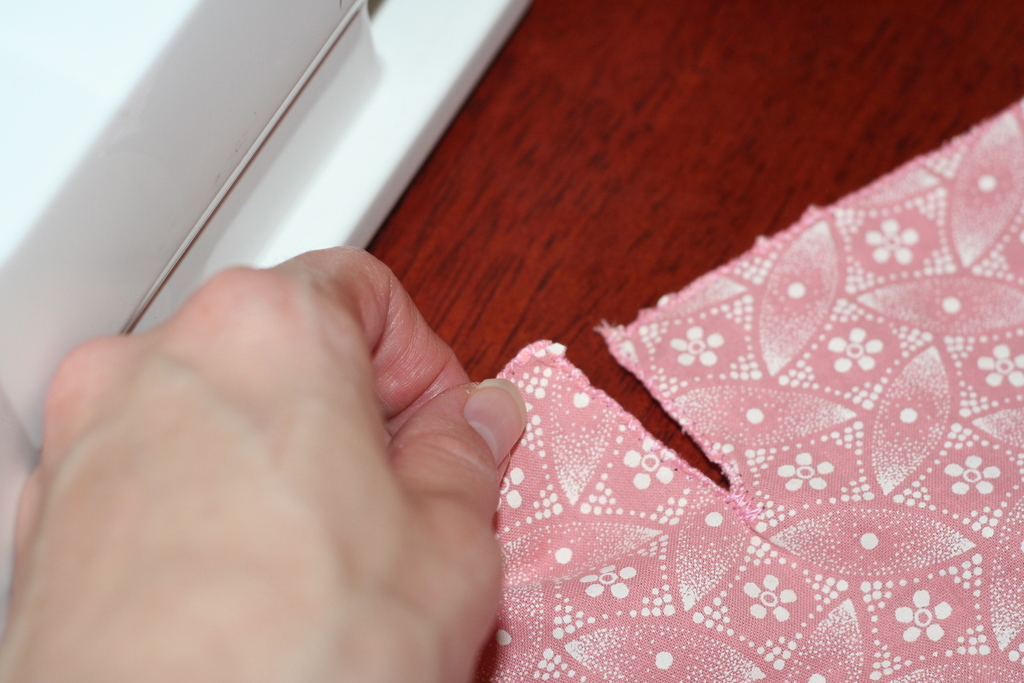
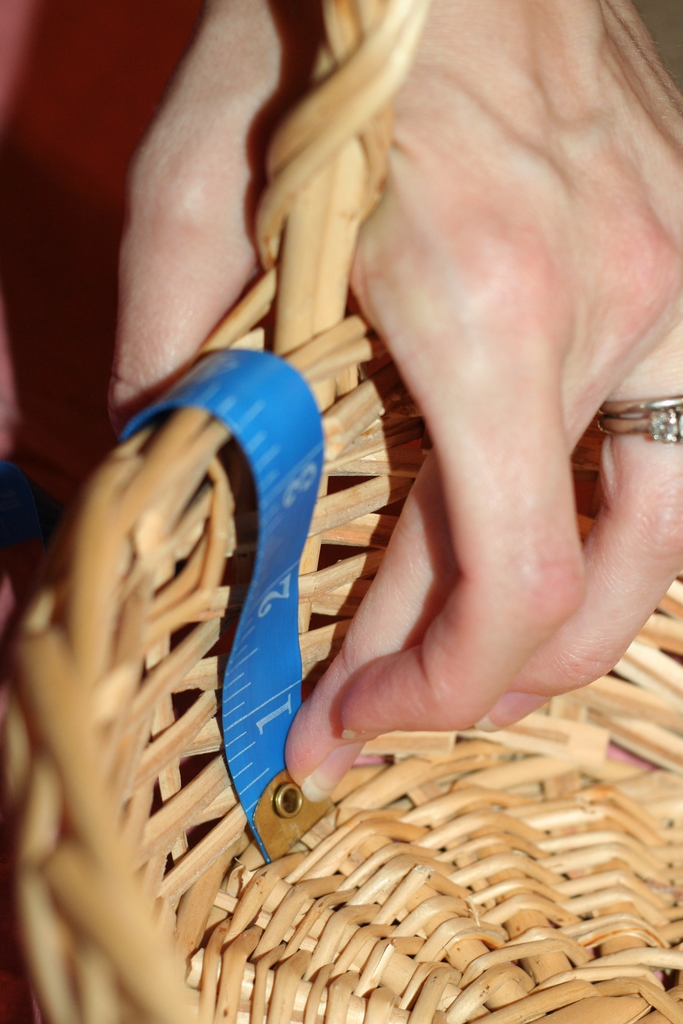
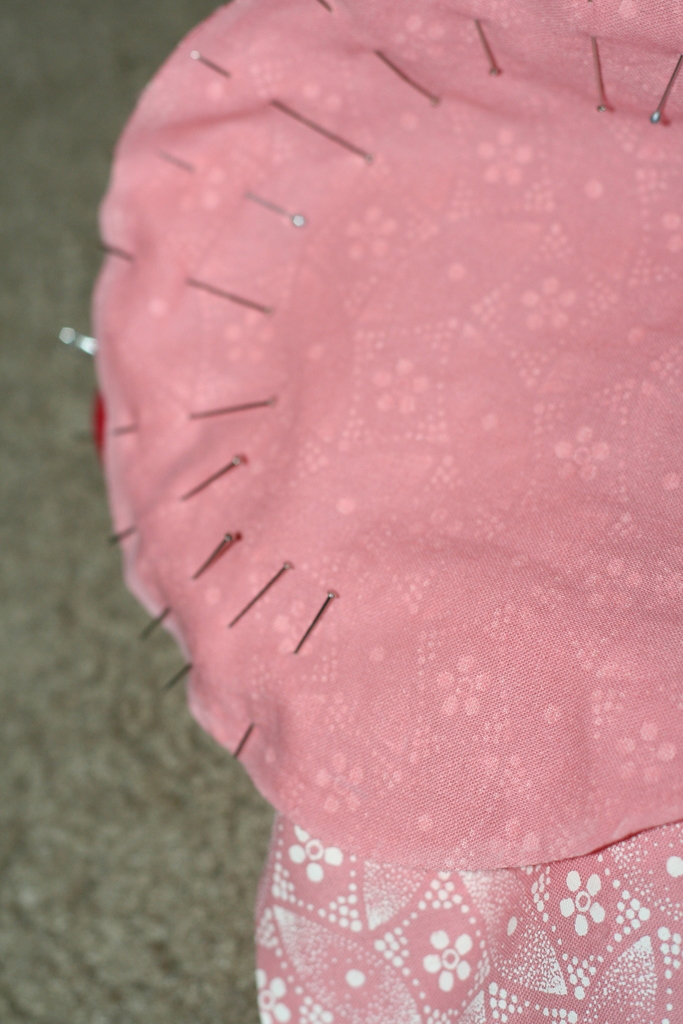
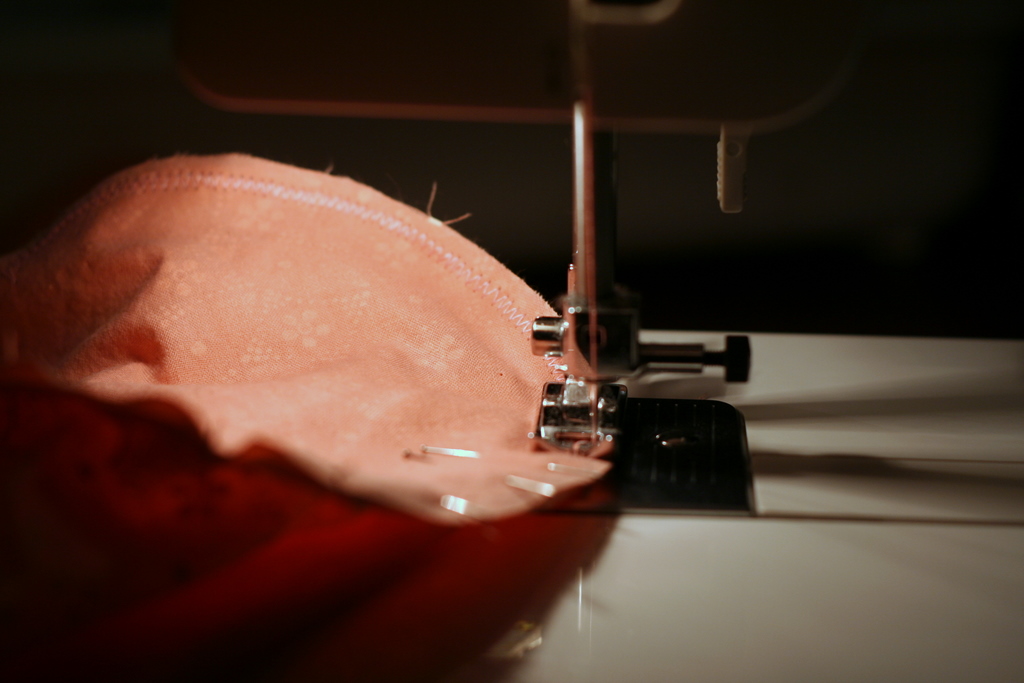
Step 6- Make slits to accommodate the basket handles. Place the liner in the basket again and mark the appropriate place and depth for the slits. Cut and then sew the edges of the slits with a zigzag stitch to keep from fraying (above.) At this point I also trimmed some extra edge at the top to make it more even and left enough for an even seam.
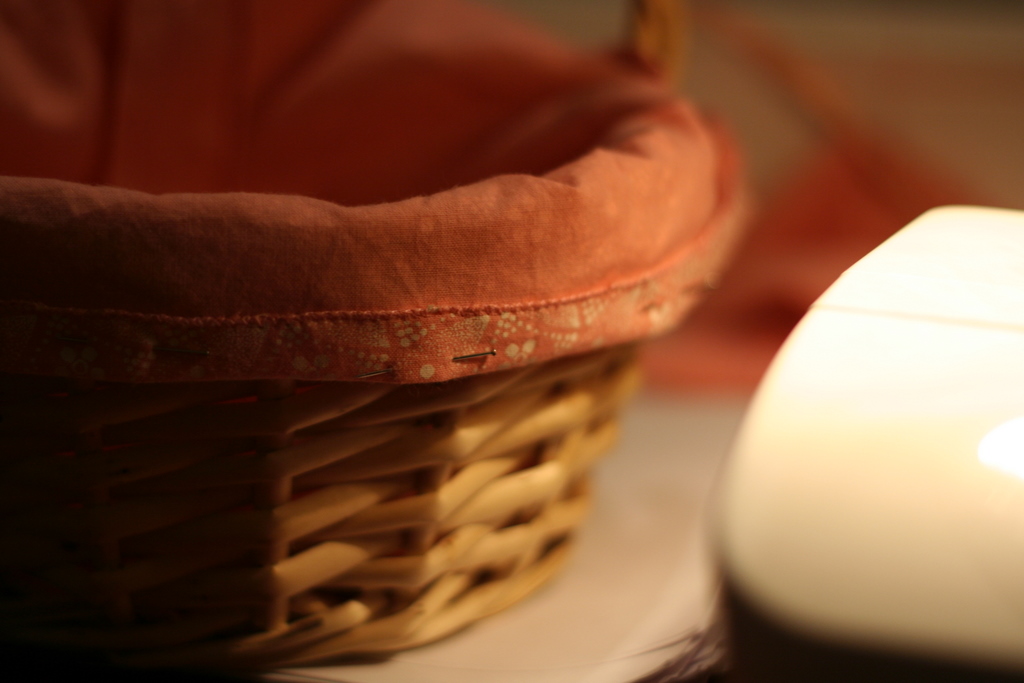
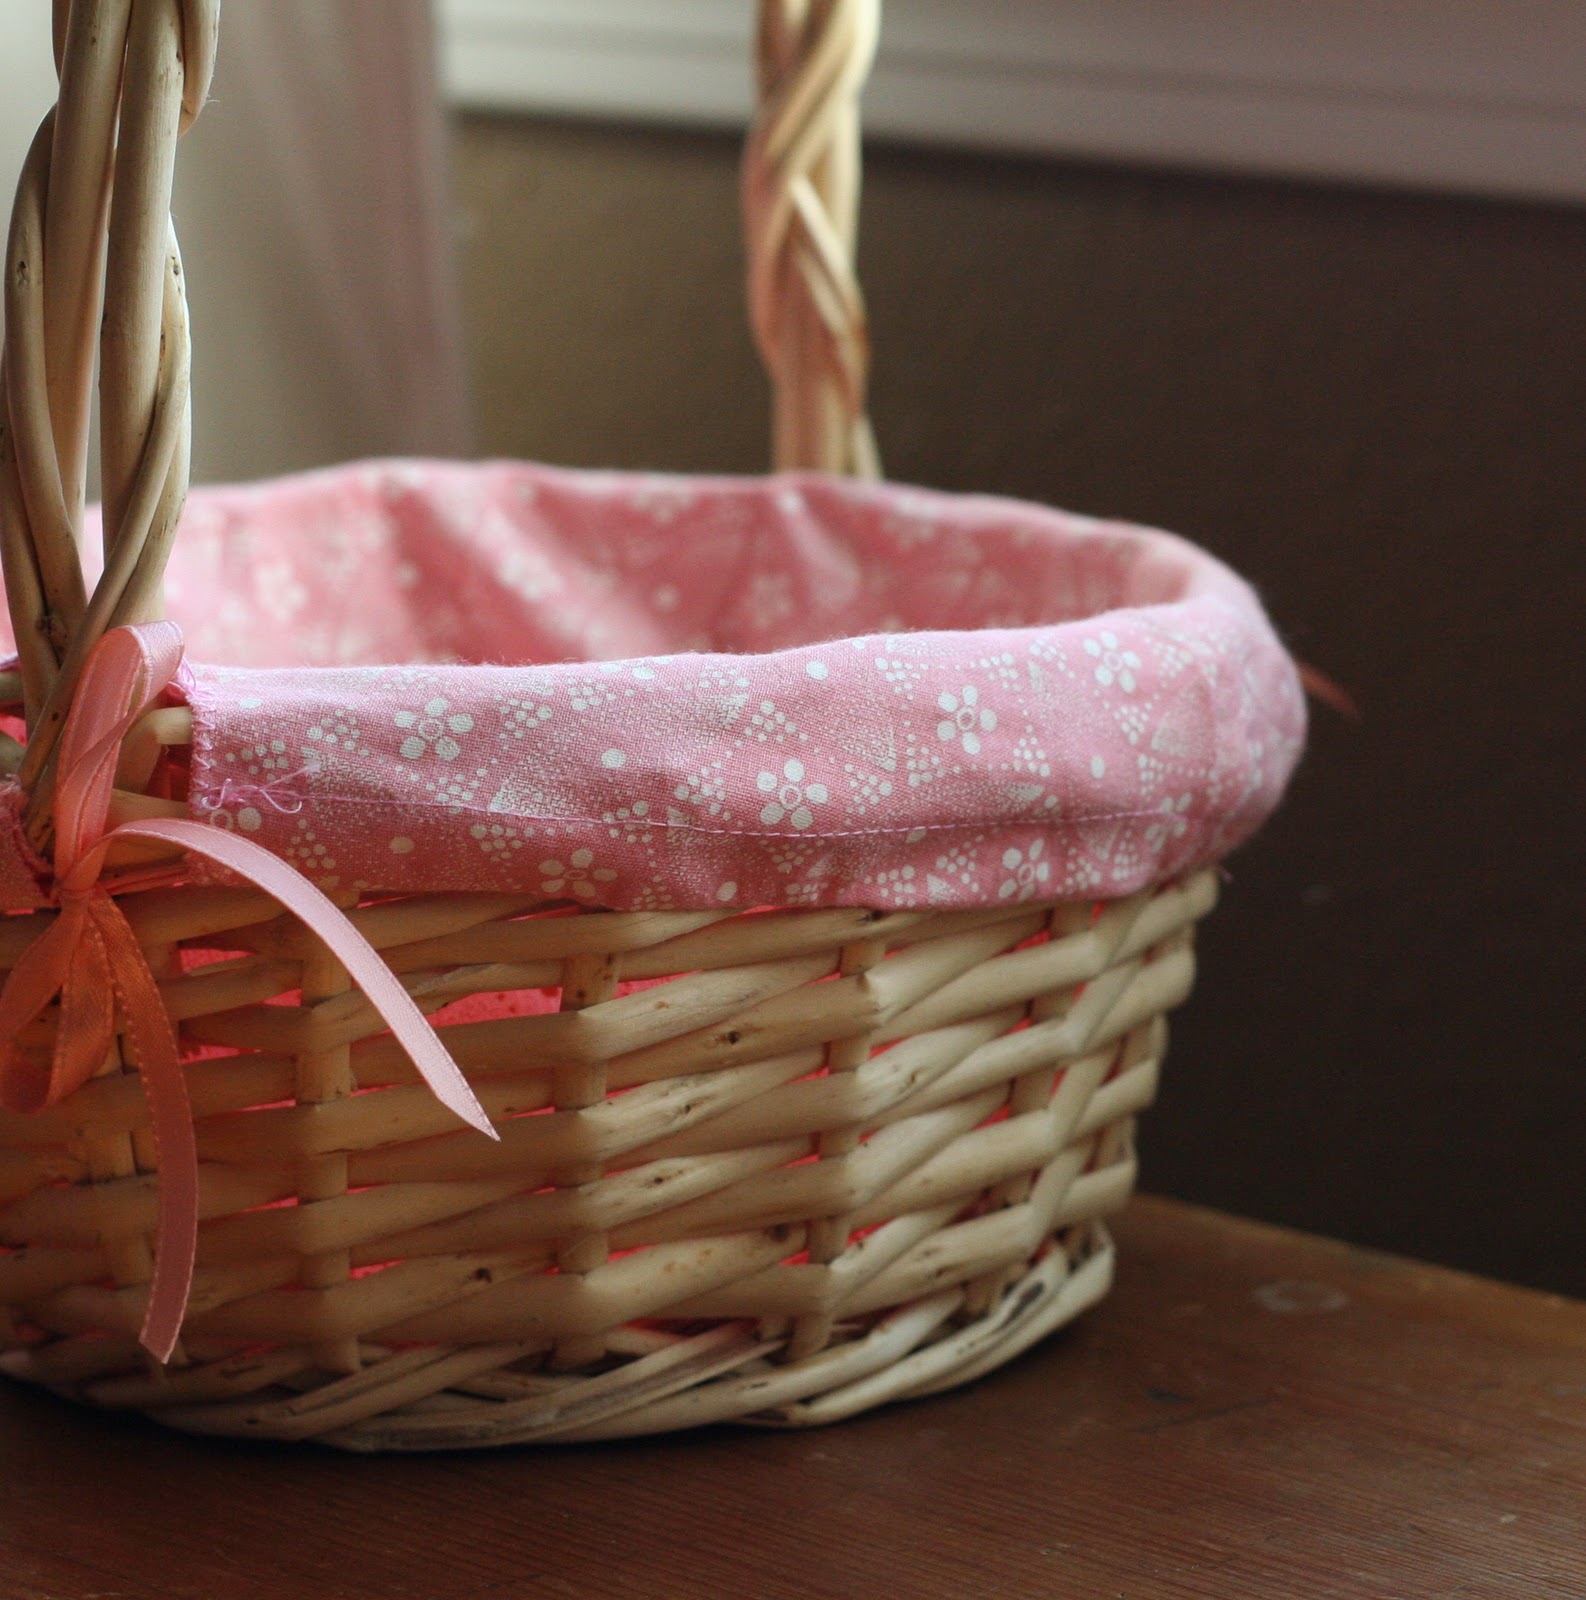
Step 7- Put the liner into the basket again and turn over the upper sides and pin. Make sure your seam is folded over far enough that you’ll be able to thread the ribbon through it. And sew.
Step 8- I put a safety pin on the end of the ribbons to pull them through the top seam of the liner. Then insert the liner into the basket, tie the ribbons below the handles and you’re done.
I gave this to her for her birthday and, of course, right away she started sewing things for Christmas.
great, as usual!