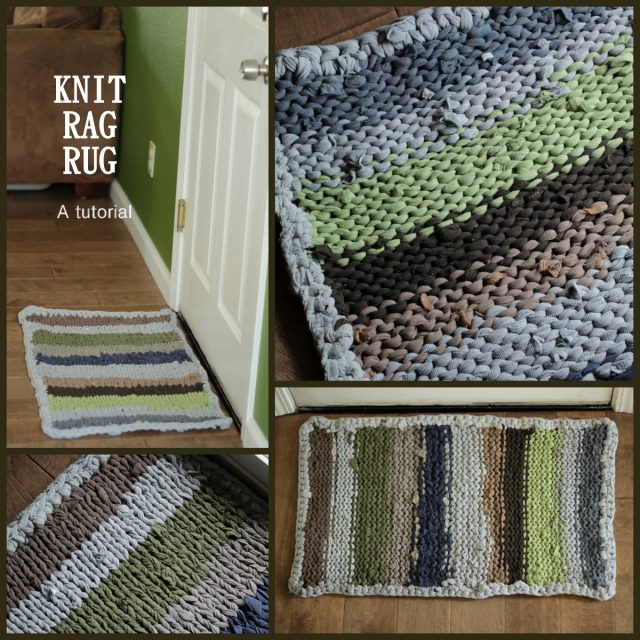
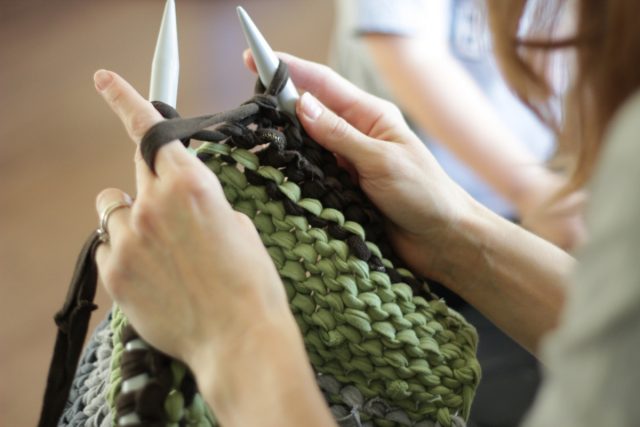
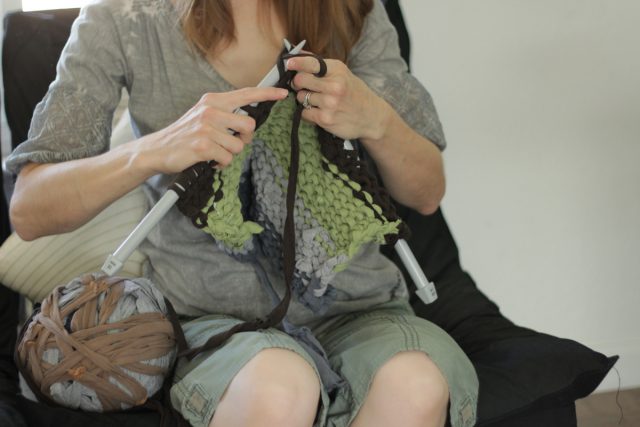
Knitting is slowly growing on me. But this kind of knitting I will go for any day! The monster size knitting needles and humongous ball of rag yarn are just incredibly fun! I absolutely love the result and I could mention it is reusing at its finest when you can take a pile of old holey t-shirts and make them into a beautiful needed entry rug. Because, you see, my kids love to play in dirt. It’s got to be their favorite past time! But this involves 3 different sizes of little dirt tracks running across my wood floors nearly every day. This rug has made a great place for them to wipe their really cute dirt magnet feet on their way in. It’s also a very washable rug (being made mostly of t-shirts) and this is plus in my mind any day!
First I’ll tell you what I did with the rag yarn, then at the bottom I’ll give instructions for making rag yarn from old clothes.
Knit Rag Rug
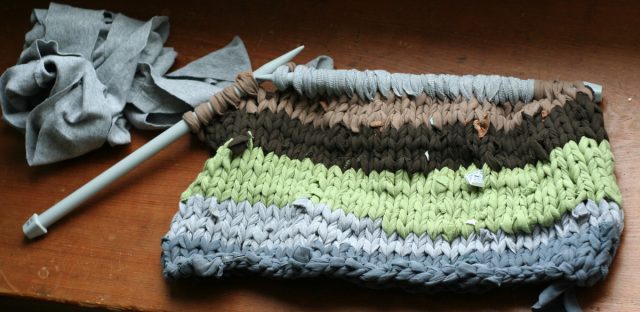
PatternThe knitting needles here are size US 19 or 15mm. I cast on about 25 and knit one row, purl the next. After about 60 rows I bound off and single crocheted around the entire edge of the rug with the biggest crochet hook I have. This keeps the edges from rolling up like this stitch pattern tends to do.
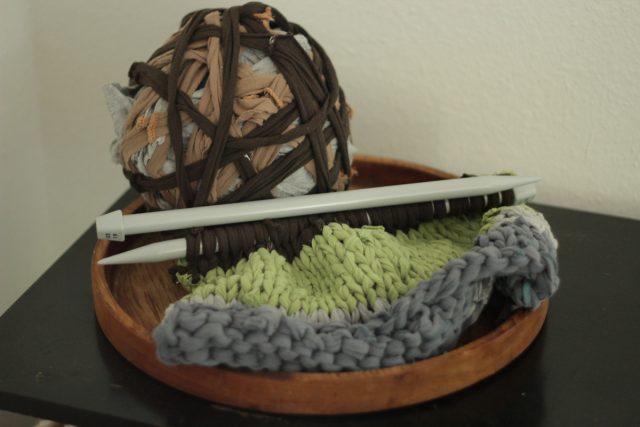 |
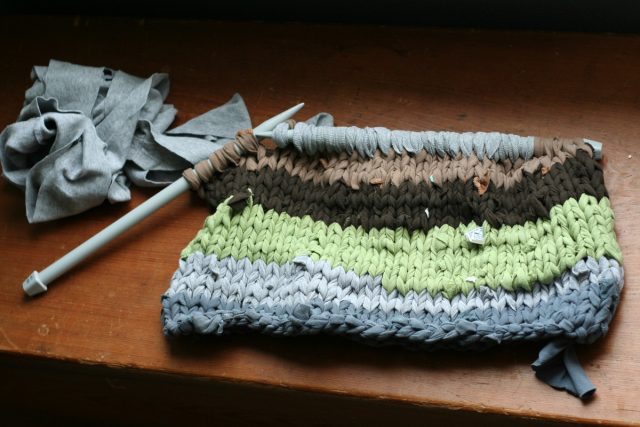
| This is one knitting project in progress that I never put away. I kept it sitting on this wooden tray at the end of my sewing cabinet. It was so pretty to look at. |
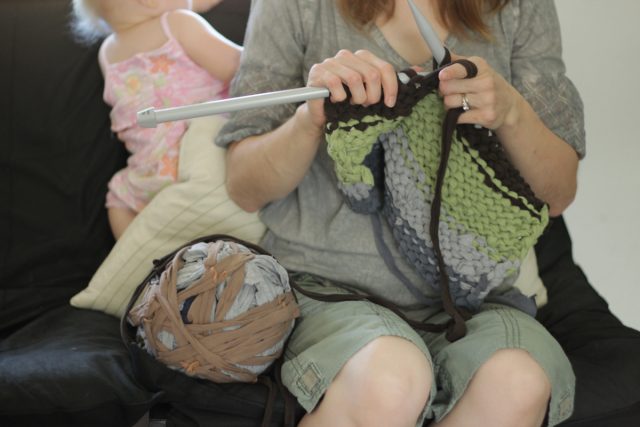 |
| It takes more skill to knit with a baby climbing on you… |
So, if you haven’t tried converting cloth to yarn yet, and if you haven’t seen any of the myriad of online tutorials on how to do it, and if you you want to… (Anyone still left after all those ifs?) then I’ll show you how. It’s easy to make a shirt into one long continuous piece of rag yarn so you can just knit away without needing to join much. My rug was made from about 12 t-shirts and 1 pair of old scrub pants.
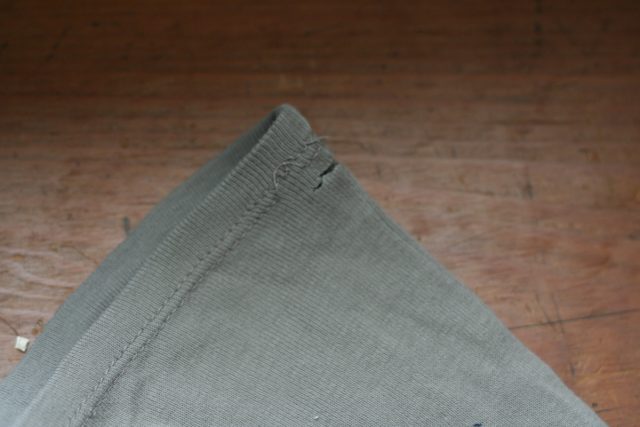
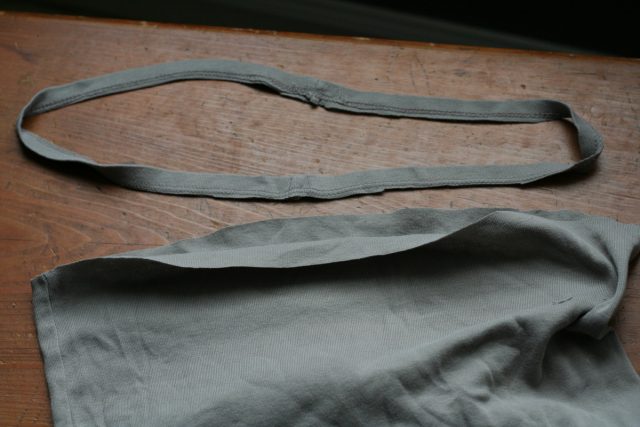
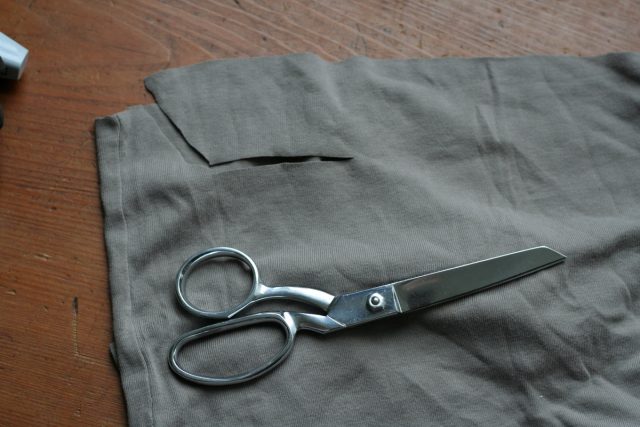
First, cut the hem off the bottom of the shirt (or the pant leg). I cut it off in one piece by snipping the edge of the shirt above the hem then putting my scissors into this hole and chopping away. I kept the hem intact because I’m sure I’ll come up with something to do with the hems later. 🙂
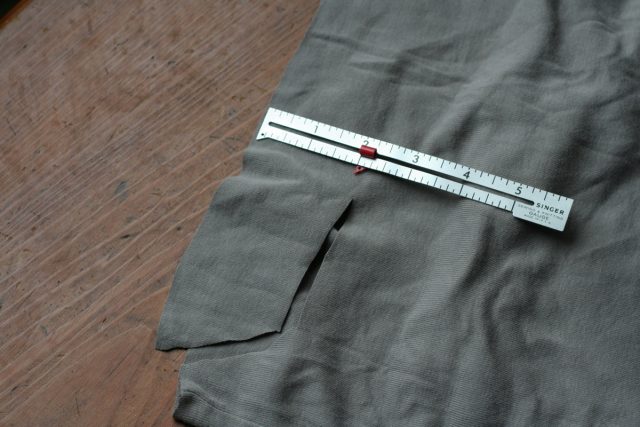
Then cut up at a diagonal from the bottom. I cut up about 2 inches and then turned and began to cut parallel to the bottom of the shirt.
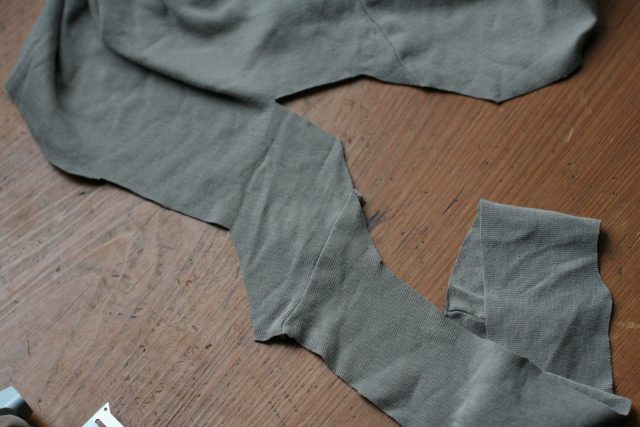
When you get around to about 2 inches before your beginning diagonal cut begin to cut parallel to the diagonal cut.
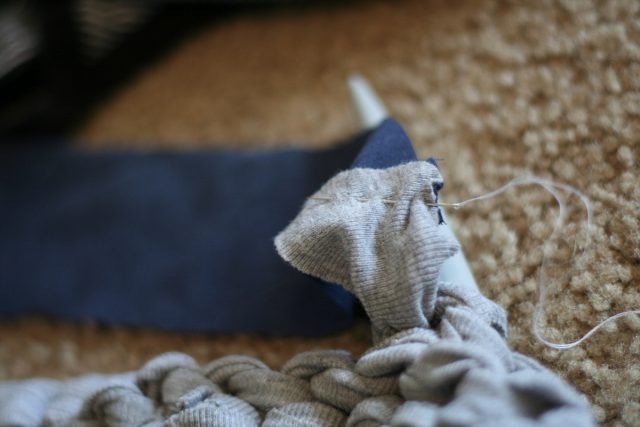
Then turn and straighten out again. Keep going around like this until you run out of shirt. I just hand stitched the end of each rag yarn piece to the beginning of the next.
I hope you give rag knitting a chance. It’s incredibly fun!
Cool! I really need to do this with some of my kids ratty tshirts!
i love this idea, i had some old tshirts in a bag somewhere so i started to do this today, will let u know how i went!