Today it’s going to be just a bit like an infomercial, but that’s just because I have the answer to all your problems! No, really. Just listen:
Are you tired of having ugly cords and cables all over your house?
Do your cords get all tangled?
Do you have a hard time telling which charger is yours?
Do your kids fight over chargers and earphones?
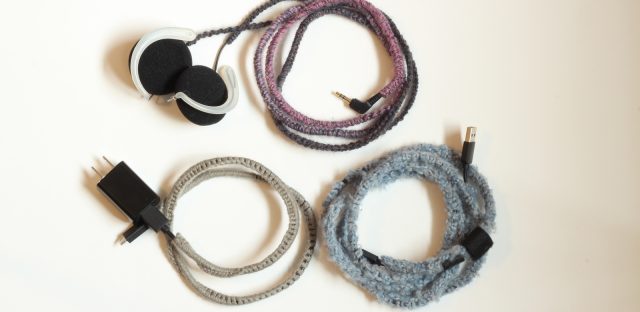
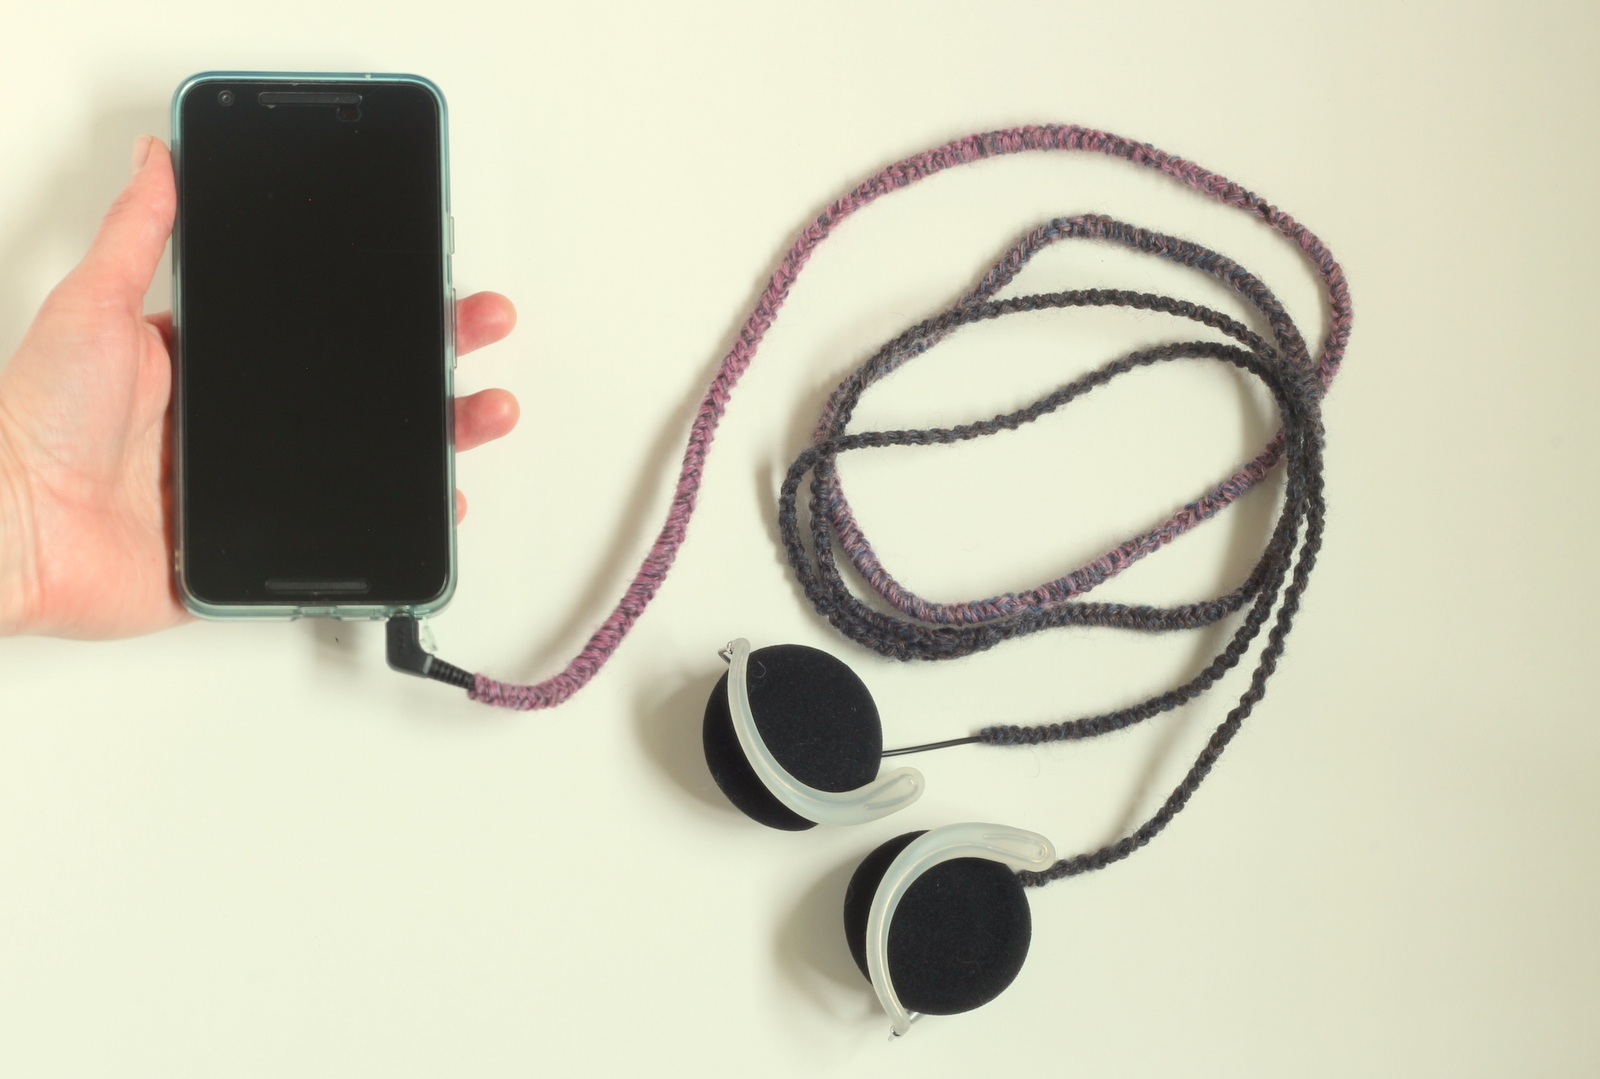
Seriously though, I love this project. The kids picked out what yarn they wanted for their chargers and so did I. Plus, no one can steal my charger anymore without it being painfully obvious.
Here’s how you can do it. Because you’re sold, right? And just in case you weren’t… it’s super easy and quick and good at busting yarn scrap stashes. DONE! Sold, yeah?
Crochet Cord Cover
PatternYou can use any yarn and a hook appropriately sized to the yarn. (A thicker cord may need a larger gauge yarn and hook, or your cord may show through the yarn some.)
Tip: You will be working your stitches around the cord, so when you would usually “go under” just go under the cord.
- Make a slip knot, join to the cord (right at one end of the cord) with a sl st.
- sc all the way down the cord
OR *sl st, ch 1* repeat between *s all the way down the cord
OR use a combo of these stitches if you want a different look.
(A sl st pattern will give an almost fishtail braid look and a sc will be a more solid crochet stitch look. Experiment and see what you like with your cord and yarn.) - When you reach the end of your cord, finish, and carefully weave in the ends.
(Don’t puncture your cord with a needle when you are weaving in the ends! That would make you not like this whole project, and me because I made you do it.
The end.