I’m really a minimalist at heart. I love to get rid of all the excess things that clutter up life. We usually have a give-away box that doesn’t stay empty for long. But this aspect of my nature comes in conflict with my creative side, as I do happen to have a chest of yarn, a big box of fabrics, and container upon container full of arts and crafts supplies. The box of fabric has yet to find storage in our house and actually sits at the end of my bed. Thank goodness my husband is a very tolerant one!
The box is full of clothes that need to be taken in, like jeans with holes that have a destiny to become shorts, materials destined to be pillow, and, of course, many items to be born again as more functional or completely different articles of clothing.
My latest project was inspired by my expanding bump and the decreasing temperatures outside, but, to be honest, I’m gonna be using this long after my baby bump is gone.
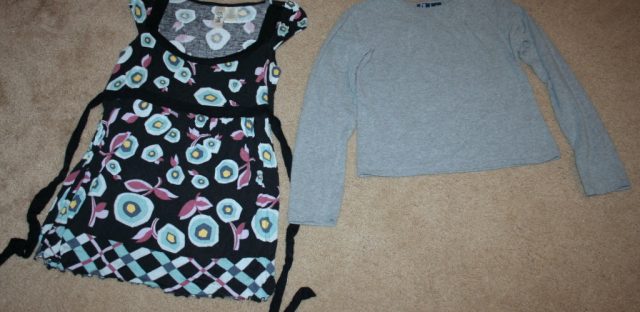
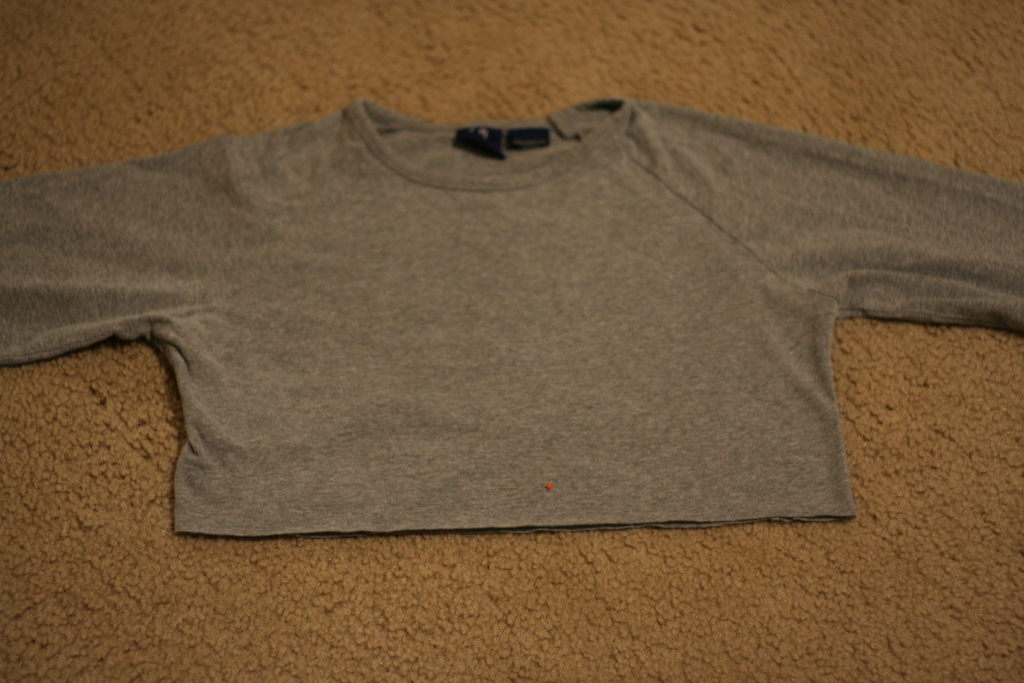
Enter, my old gray shirt. It’s ridiculously short. Think hobbit short. I don’t know why I ever got it, except that I had plans to wear it under shirts. When I’m not pregnant it still doesn’t reach my waist. And, stage left, a shirt with fabric I love, but I don’t love the style of the neck and sleeves so much. So I thought I’d mix and match.
A Shirt Transformation
Tutorial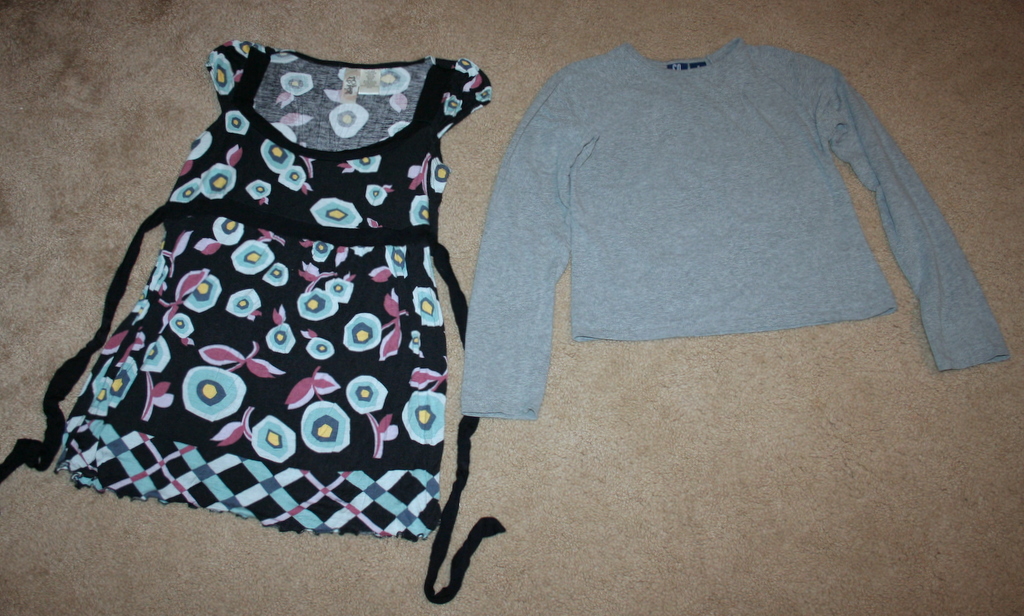
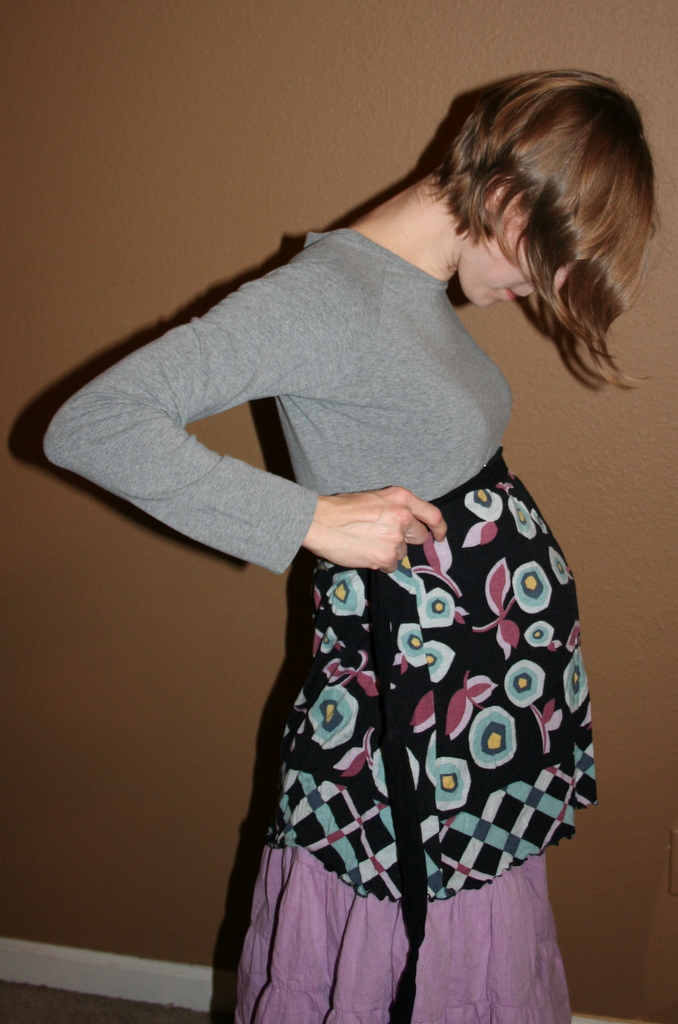
1. Try it on and mark. I folded the top of the black flowered shirt down inside the shirt and held it where I wanted it. I marked this spot, on the gray shirt, with a pin. I didn’t have to mark the shirt I’m using for the bottom half because it has the black line. Otherwise mark both pieces.
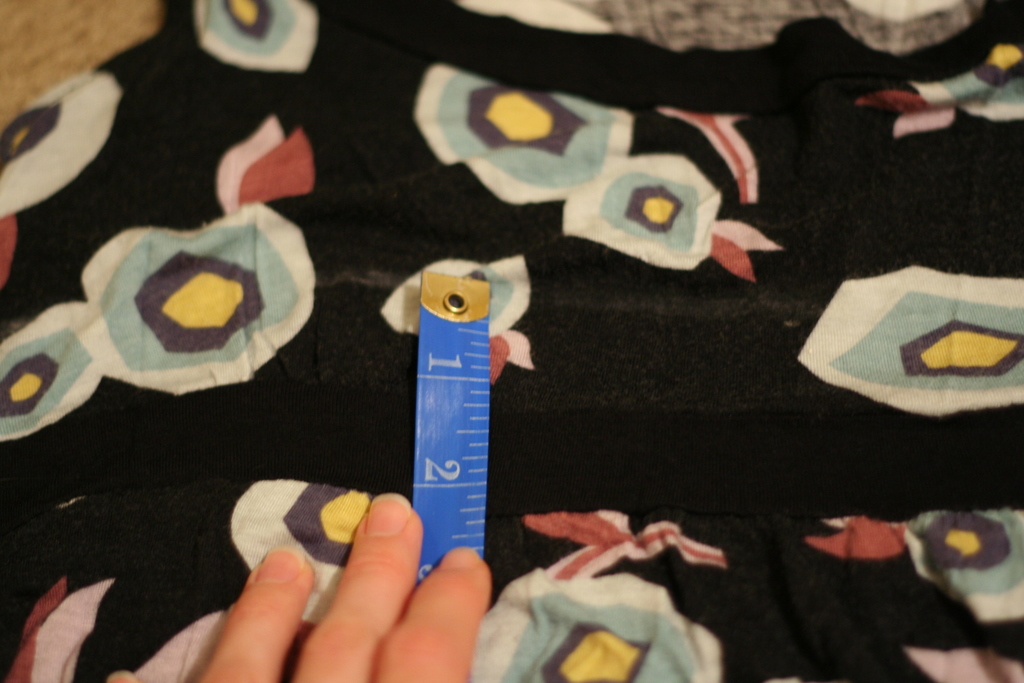
2. Measure from your mark for seam allowance, usually 5/8 inch and cut. (I left 1 inch for the seams. You don’t have to do this, but I don’t have a serger and I’ve found French seams help with fraying and making a seam that lies nicely. So I’ll do my first sewing at 3/8 inches, and the second at 5/8 inches.)
3. When I had both pieces cut I laid them together to check that the width was the same. It was in this case, but if not, just take in the difference at the seams of the larger article, or ease it in while pinning and sewing.
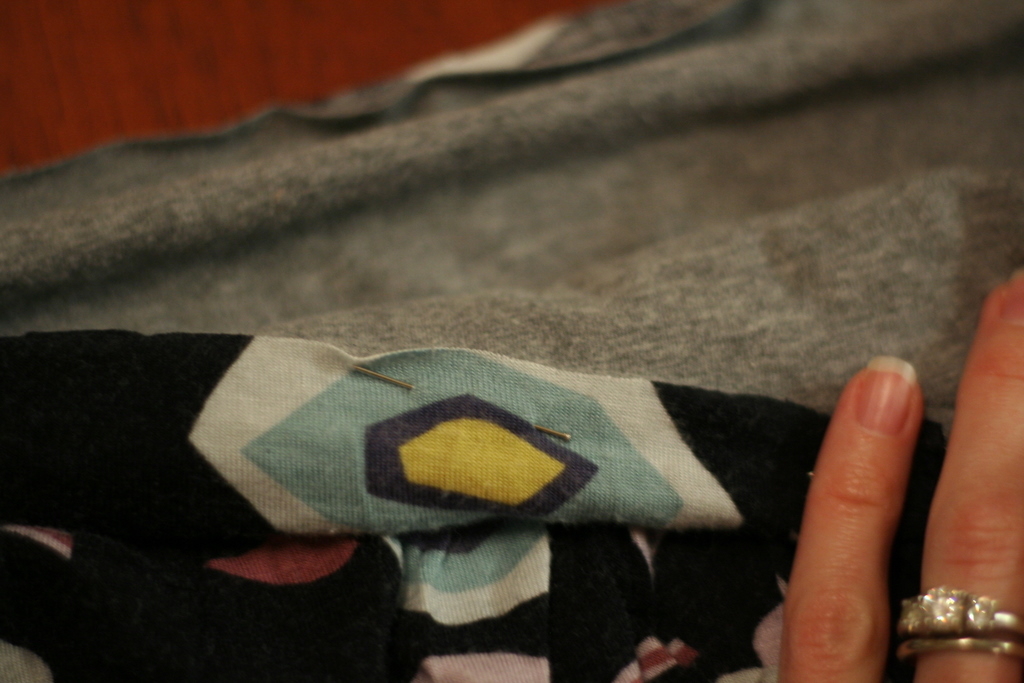
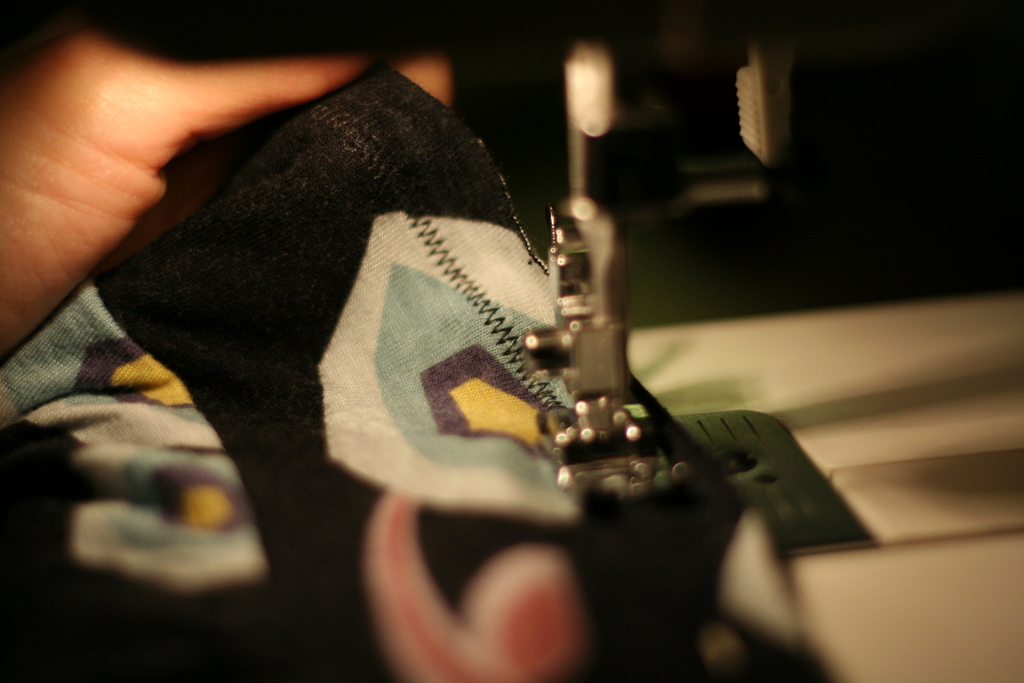
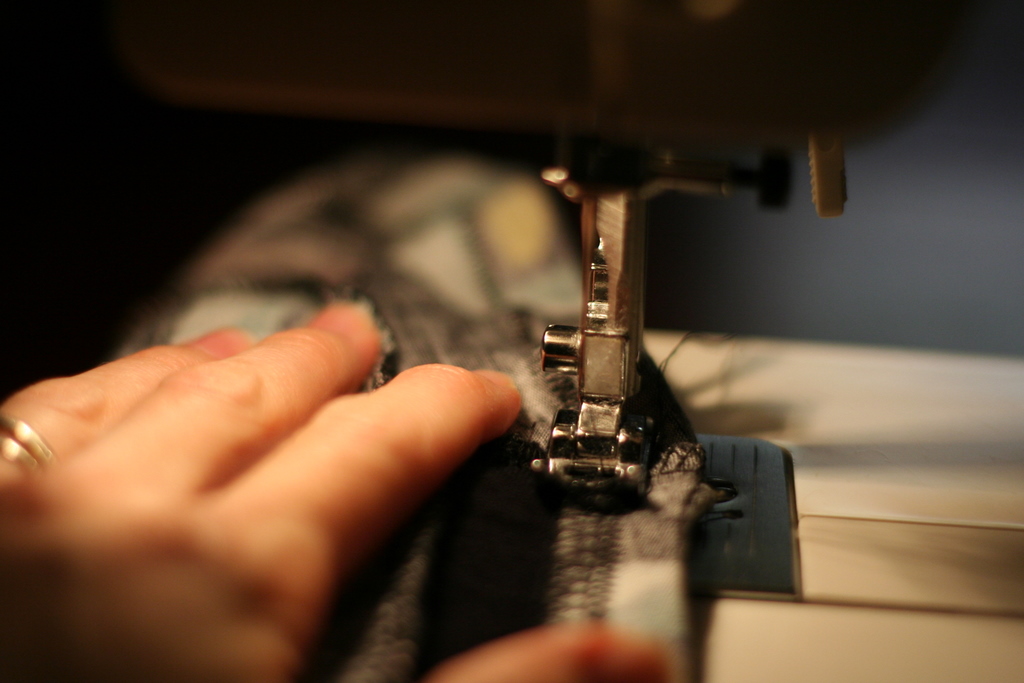
4. Pin together (right). If you’ve got a serger or want to do a simple seam, pin right sides together and sew. {If you’d like to try French seams, pin wrong sides together and sew at 3/8 inch (below left). I used zig zag stitch to retain some stretch at the seam. Then I turned the fabric around, ironed the seam flat and with right sides together pinned again and sewed again at 5/8 inch (below right). This is a French seam in a nutshell.}
5. Press your seam down. My seam was pretty bulky so I actually hand stitched it down.
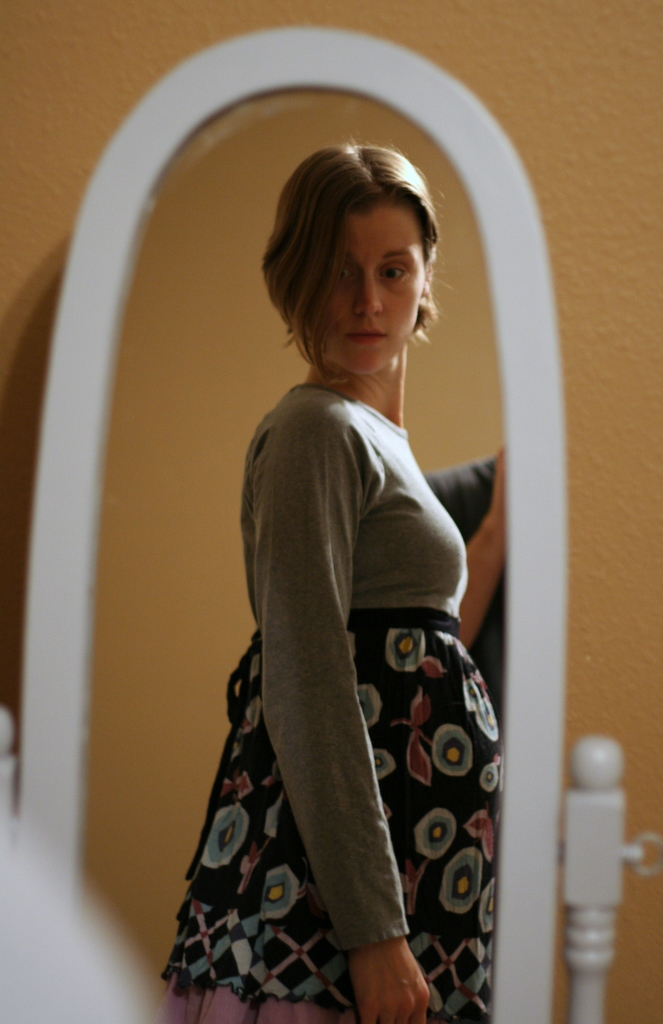
I like my new shirt a lot. The bump is covered! It was super easy and quick! And I got a project out of my box. Yay! Stay tuned as I empty more things from my big ugly box and transform them.
Loved the top, loved the creativity, loved seeing the baby bump!! Will show Grandpa today.
awww you have a bump!!! and I remember that shirt 🙂 You are SO creative… Love you and miss you