After what seems like a long time (but was really only 2 weeks) I’m back to crafting! The wood floors are done… ish. We still must put on the trim and figure out thresholds. But, I dug out my sewing machine yesterday and here’s one of the things I’m so happy to get back to!
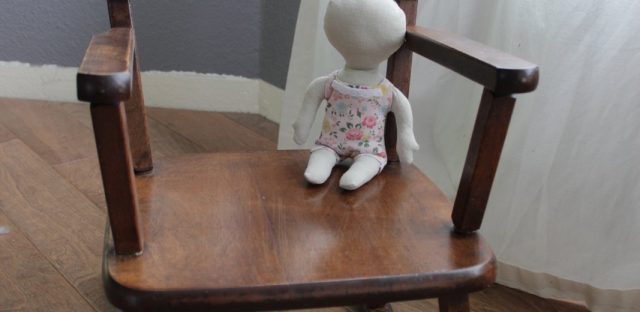
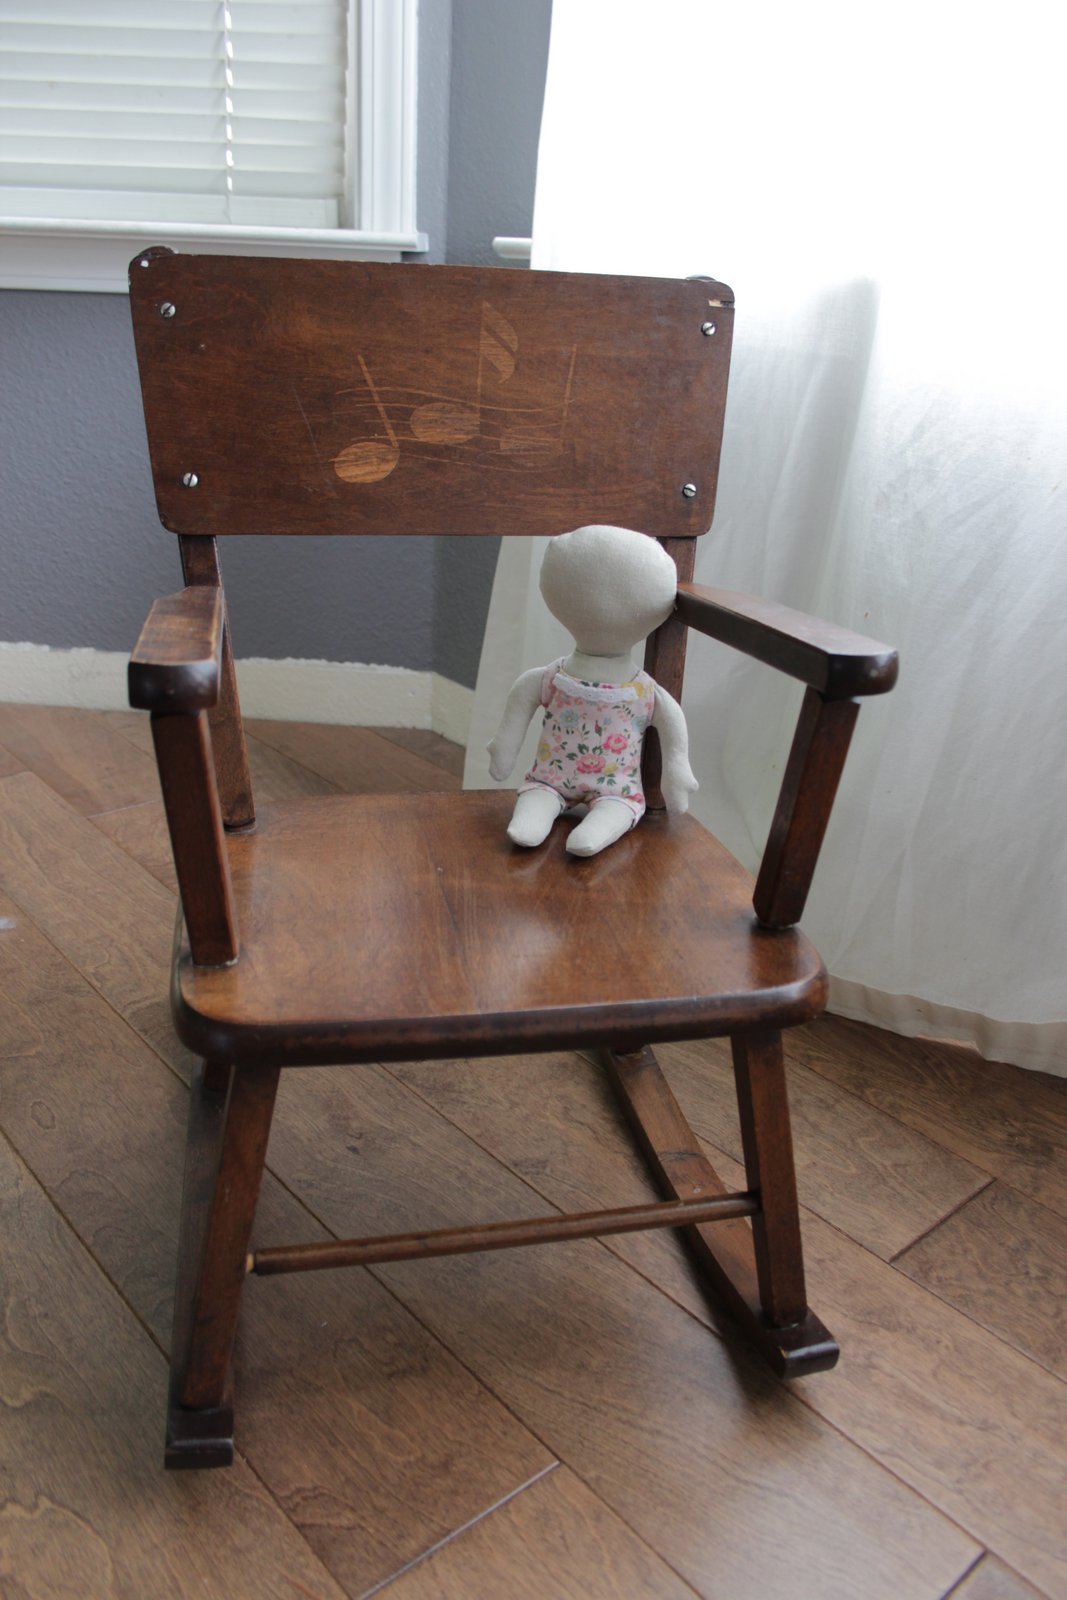
My littlest one turns 1 year old in 4 days! I’ve been working on a very special present for her. I have very little time to make hair and a sweet face for it. I actually like her as is though and think she’s very cute faceless. What do you think? Are faceless dolls creepy or sweet? Oh, and I love the dolly’s little turned up thumbs, because Serenity always goes around holding her arms out palms forward and thumbs up daintily like a princess.
If you want to make one of your own, here’s how I did it.
Sweet Dolly
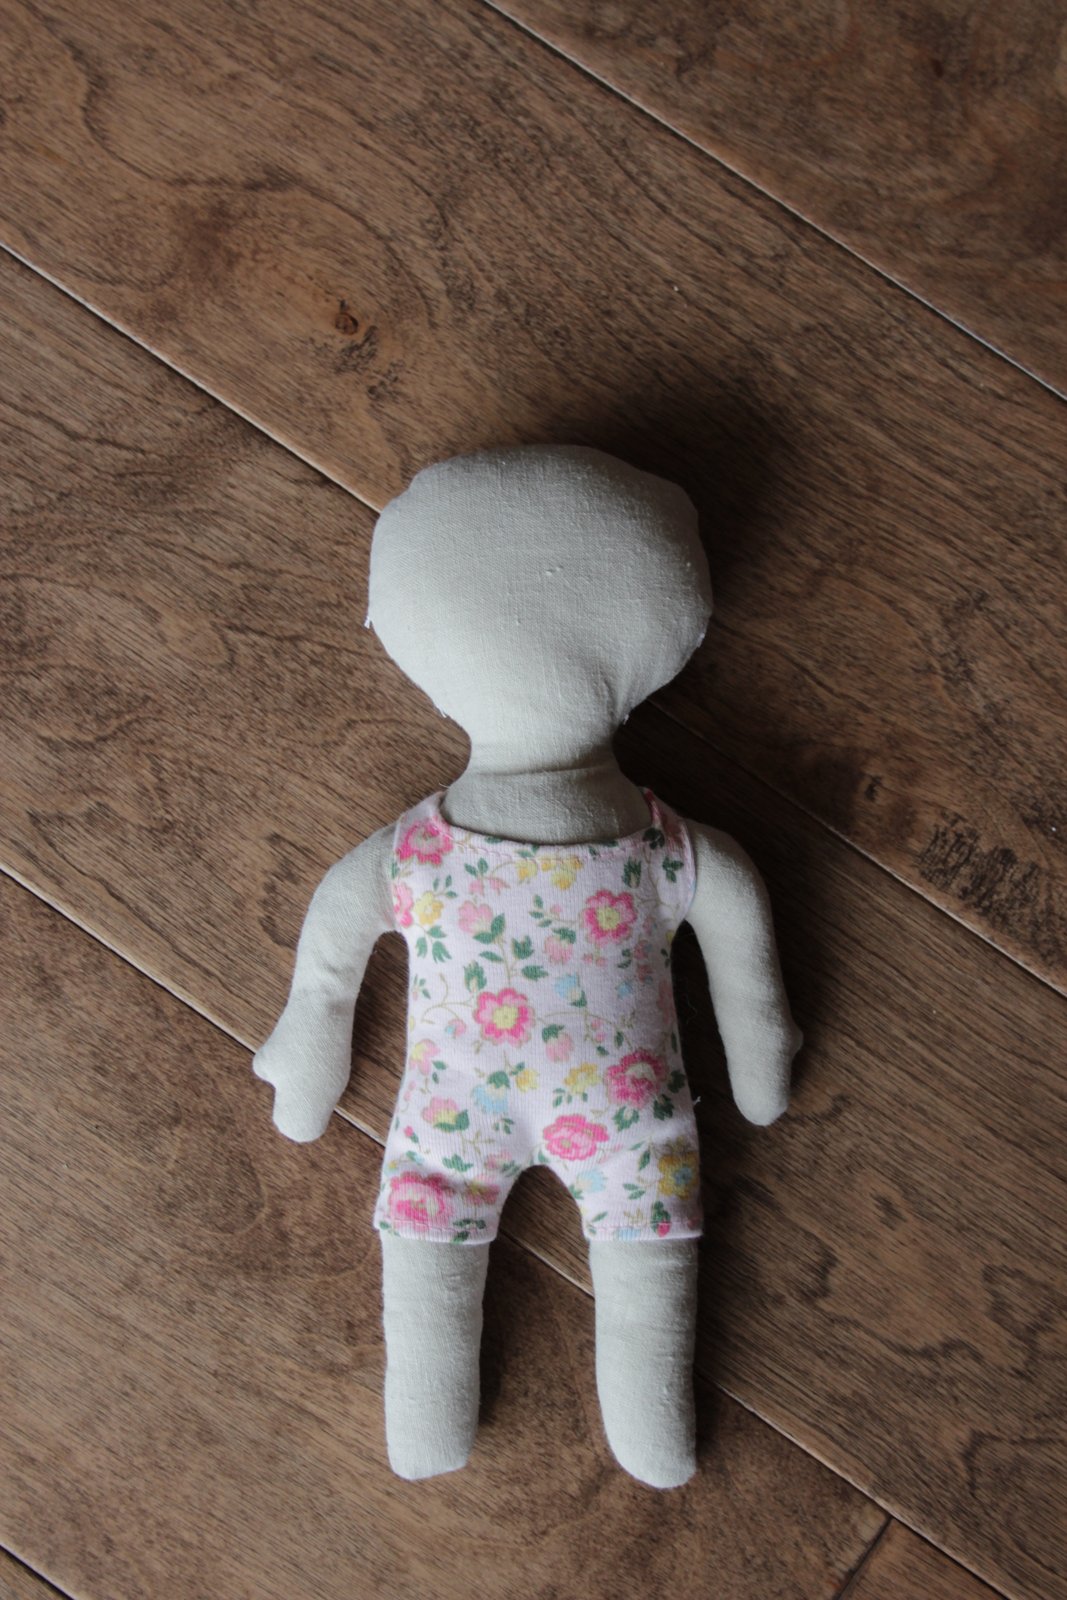
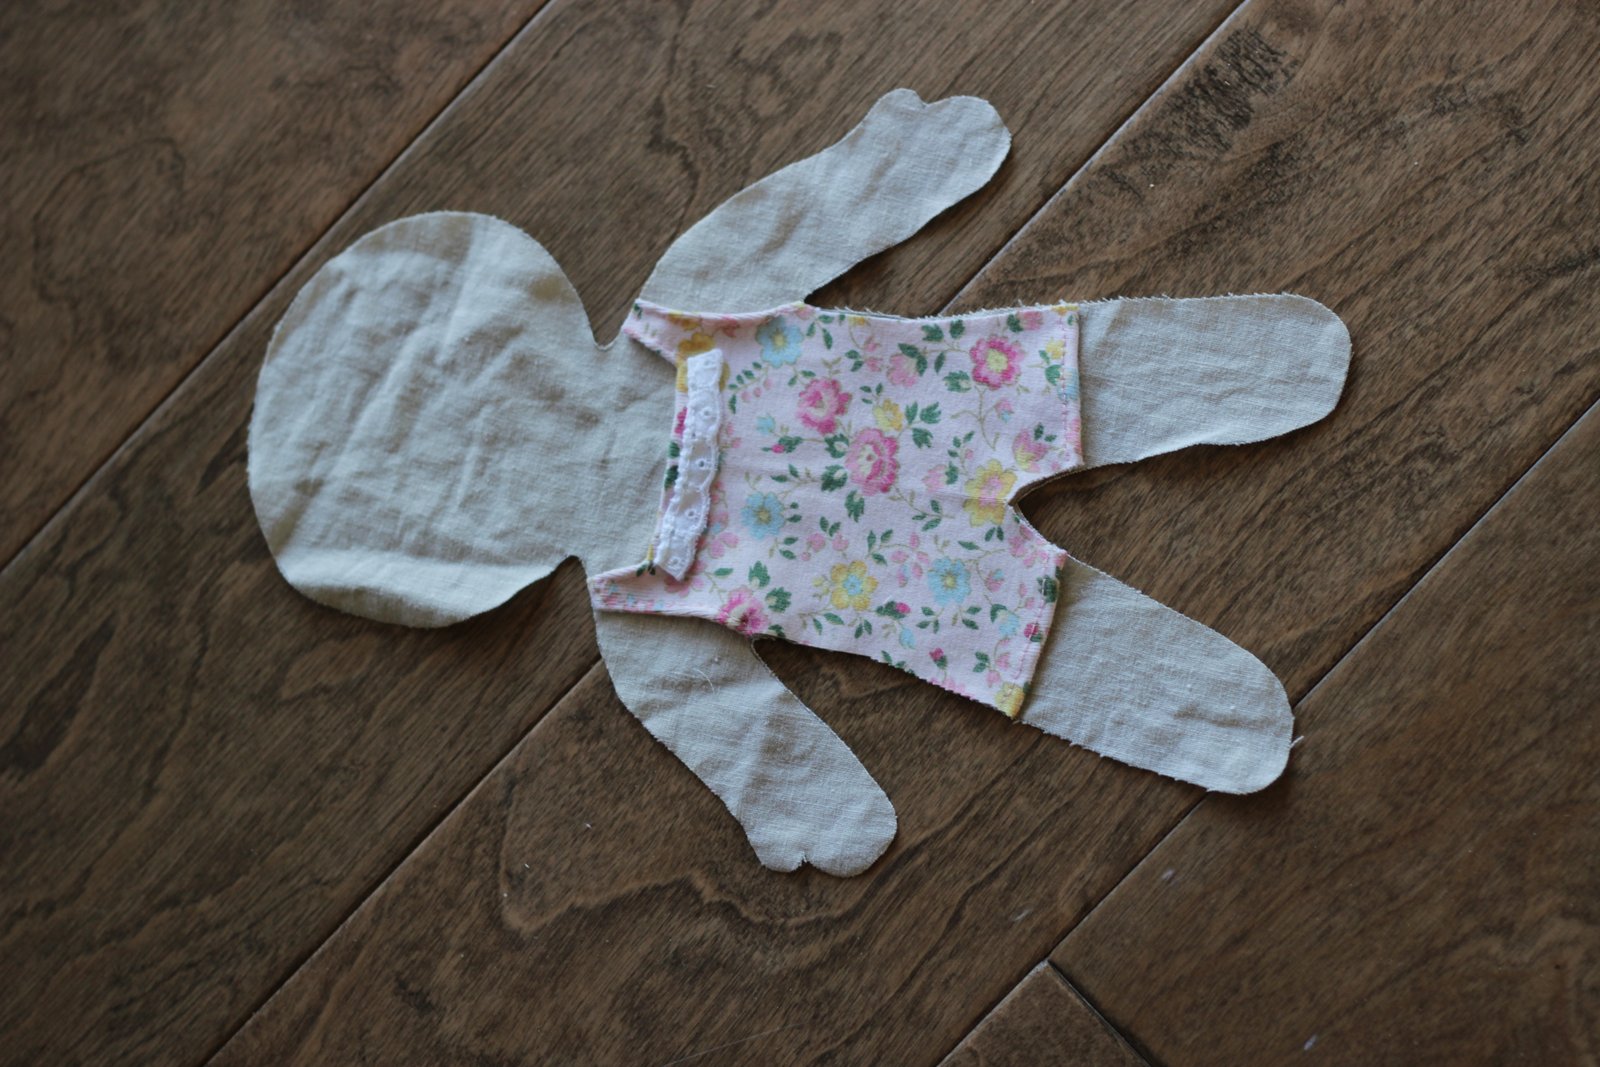
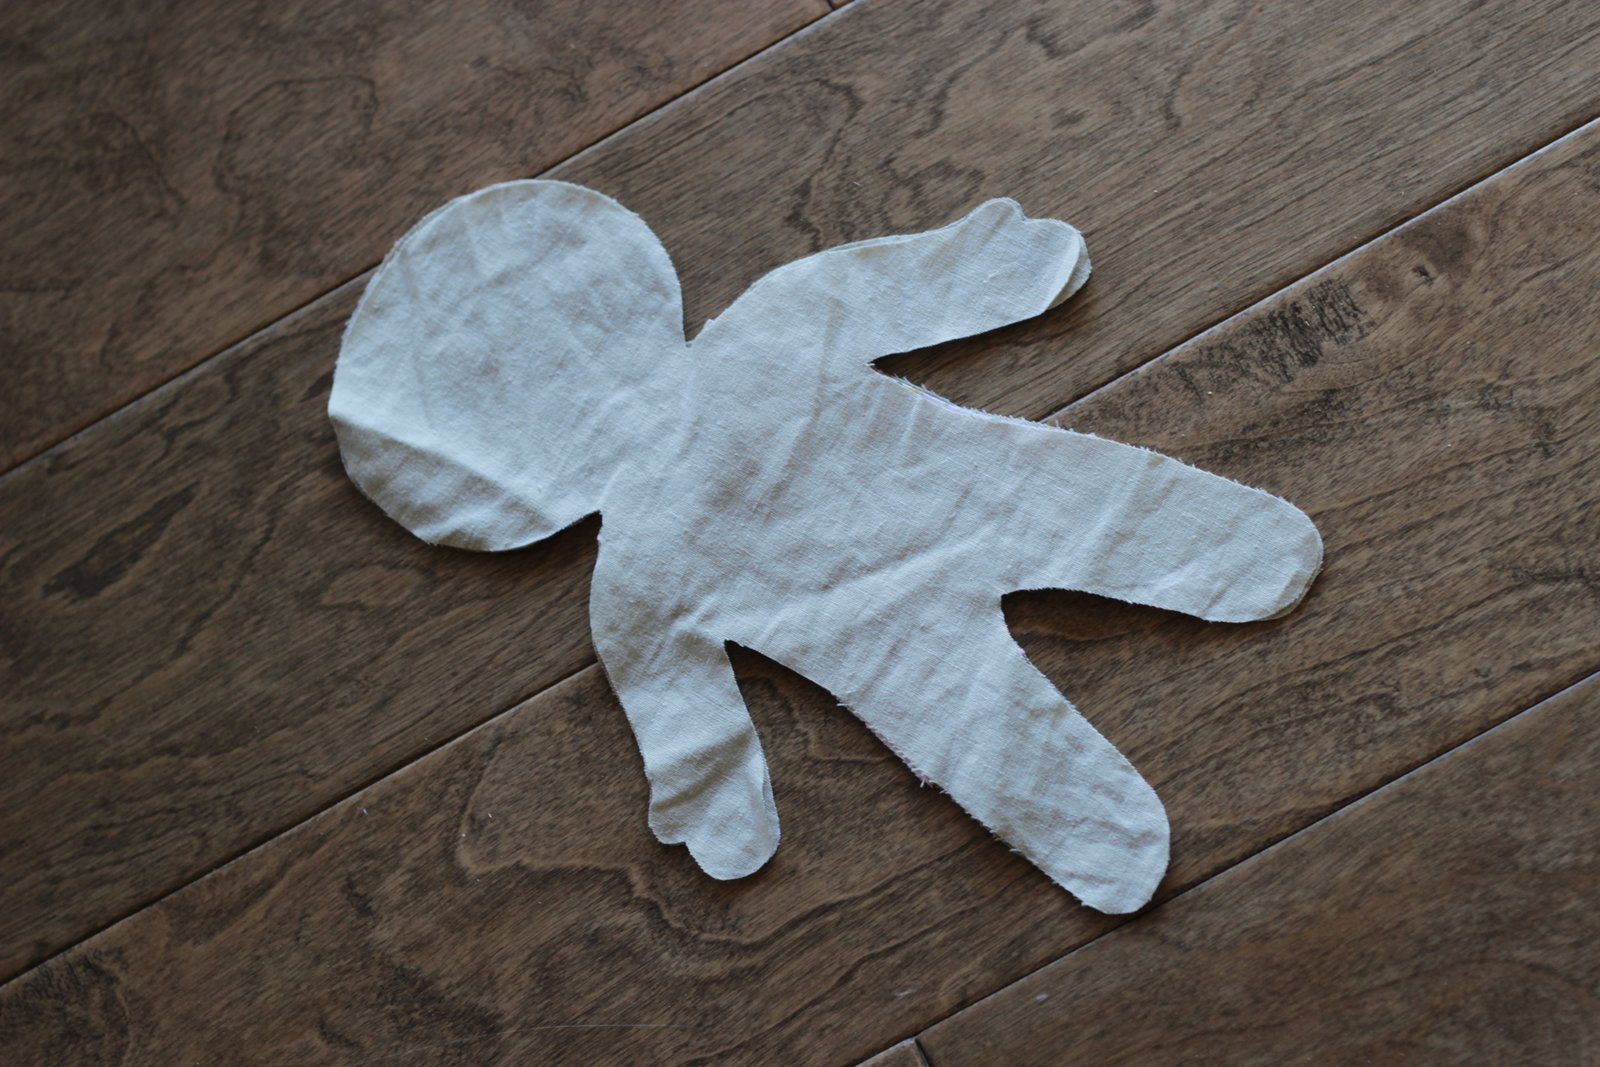
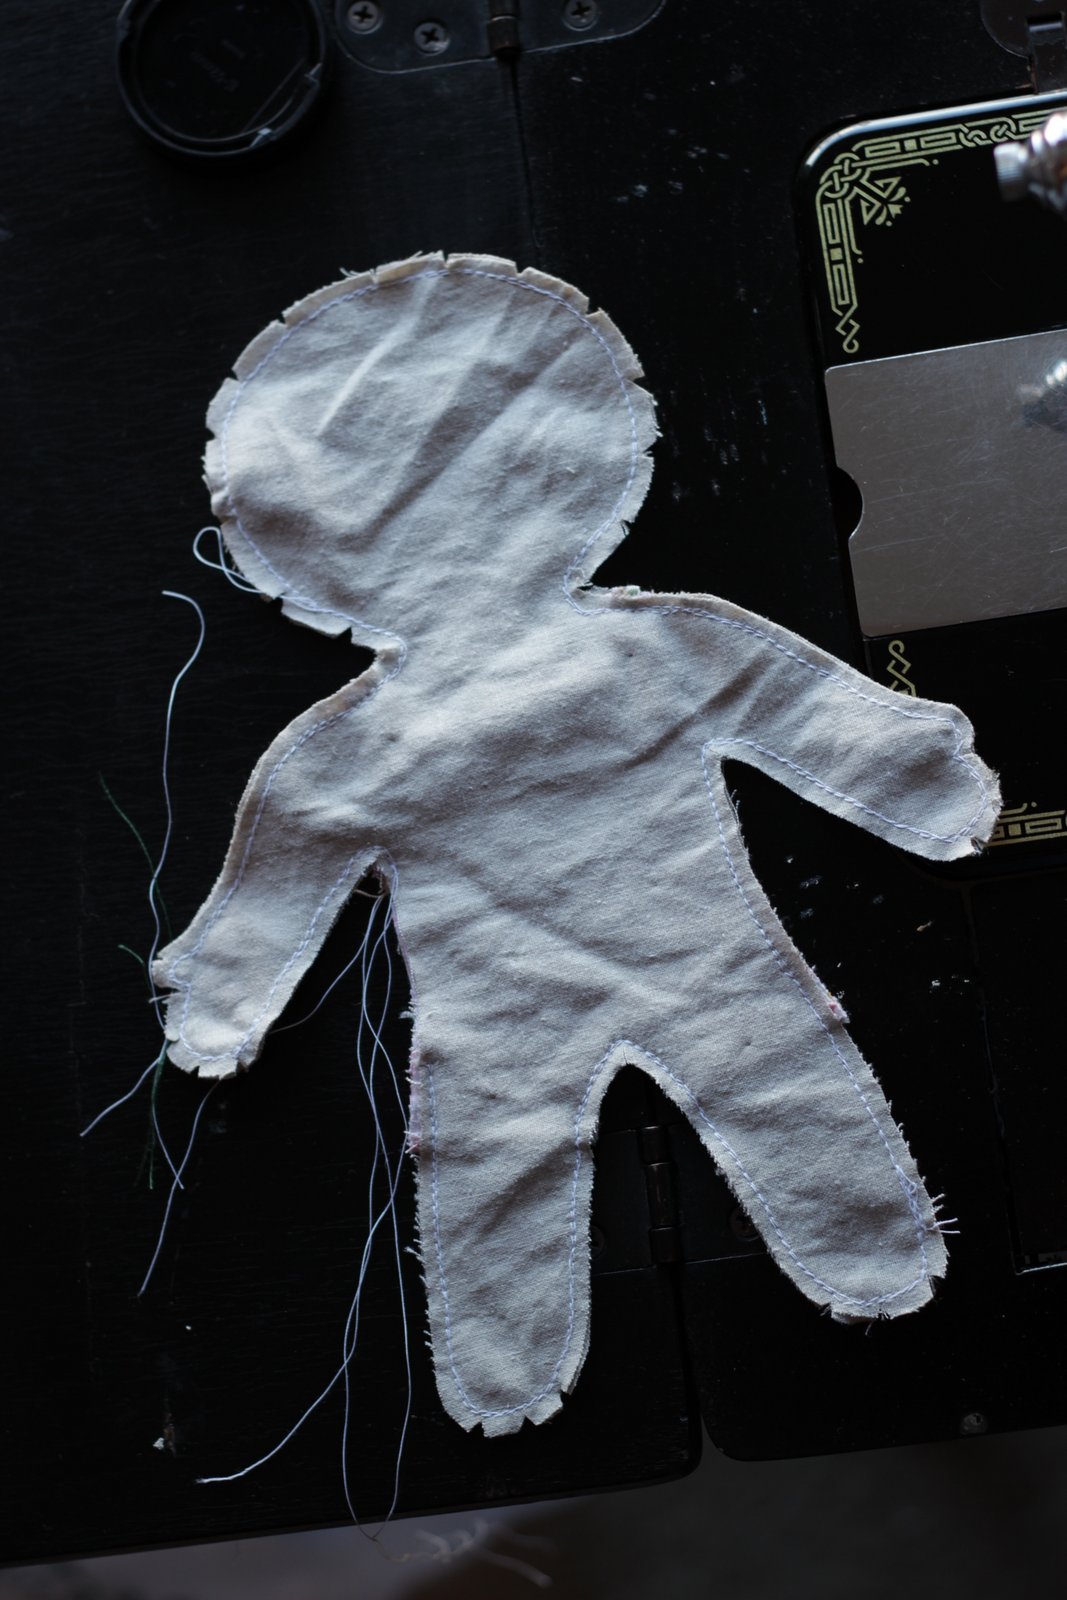
TutorialI traced a doll shape making it much wider and more bubbly than I wanted it to turn out. You have to compensate for the stuffing and the seam allowances. Here’s my shape by the finished product so you can get an idea of how sewing and stuffing changes it. (Do you like my new go-to background?) 🙂
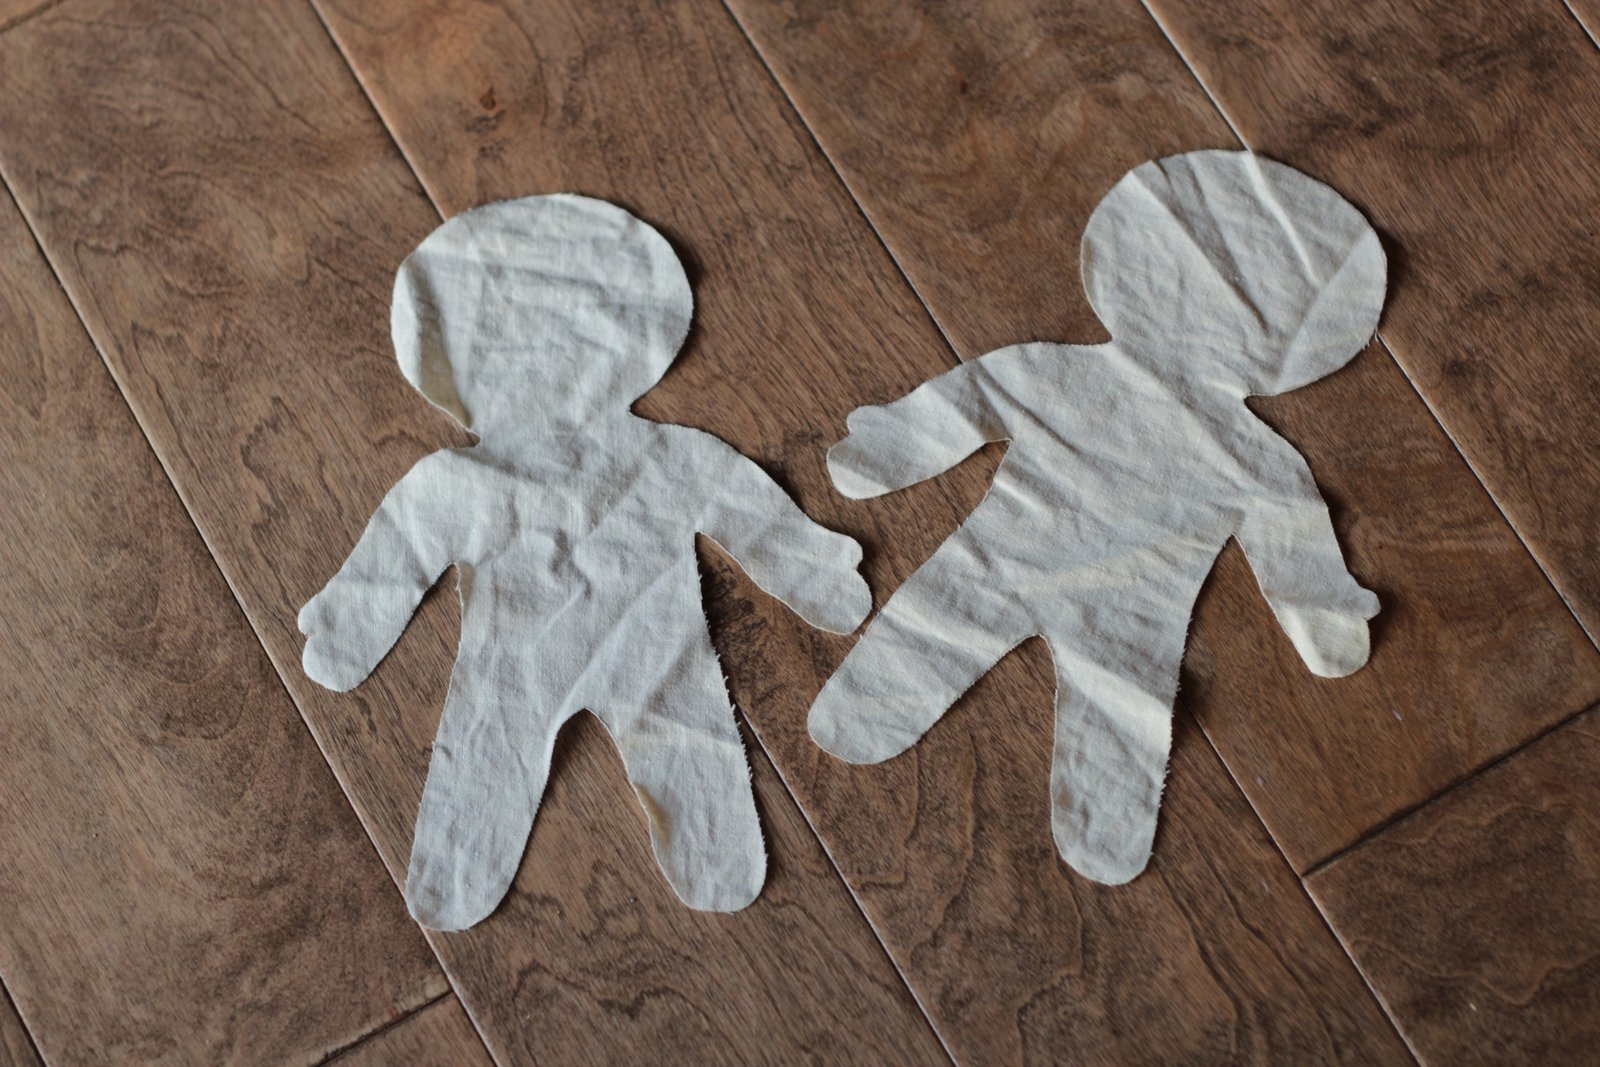
So cut out two dolly shapes from the fabric of your chose. I chose a soft linen from an old shirt that was in the giveaway pile.
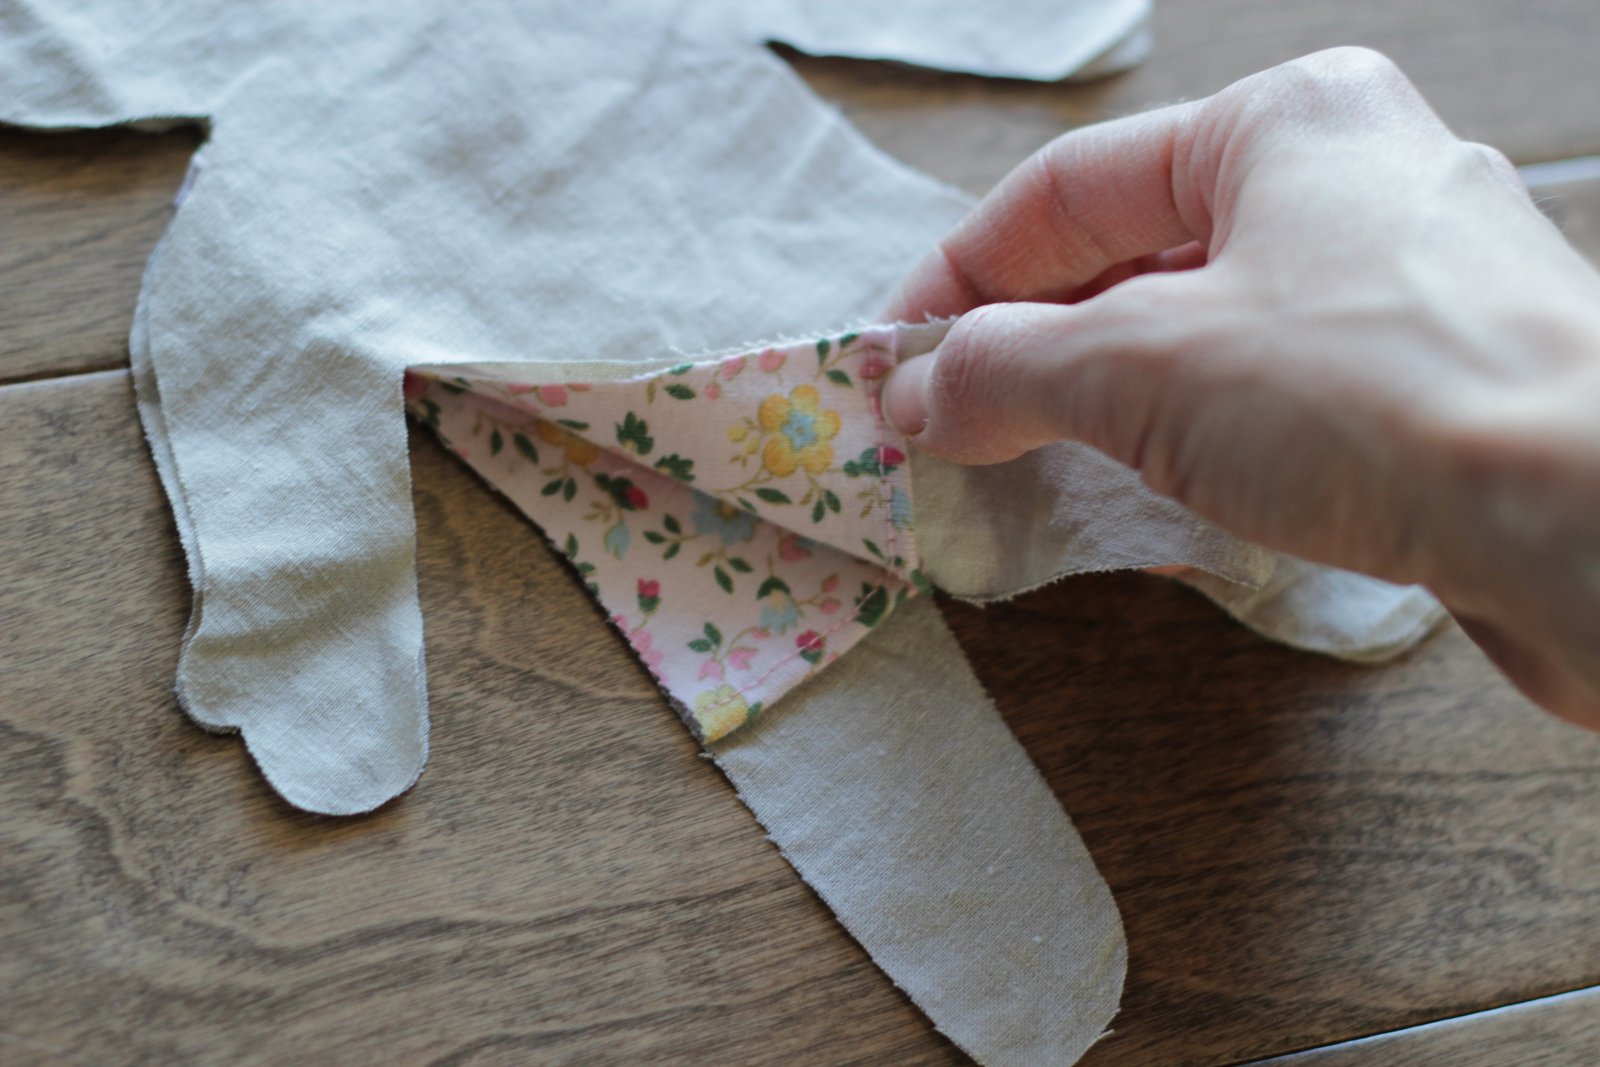
Then, I cut up my pattern to make a little romper. I wanted to attach the clothes permanently to the doll. Nothing worse than a naked doll. No I take that back. There are many things worse. But a naked doll is inconvenient. So I cut the arms off the pattern leaving a curve, cut part of each leg off, and cut a neckline. I traced this onto two scraps of fabric and cut them out.
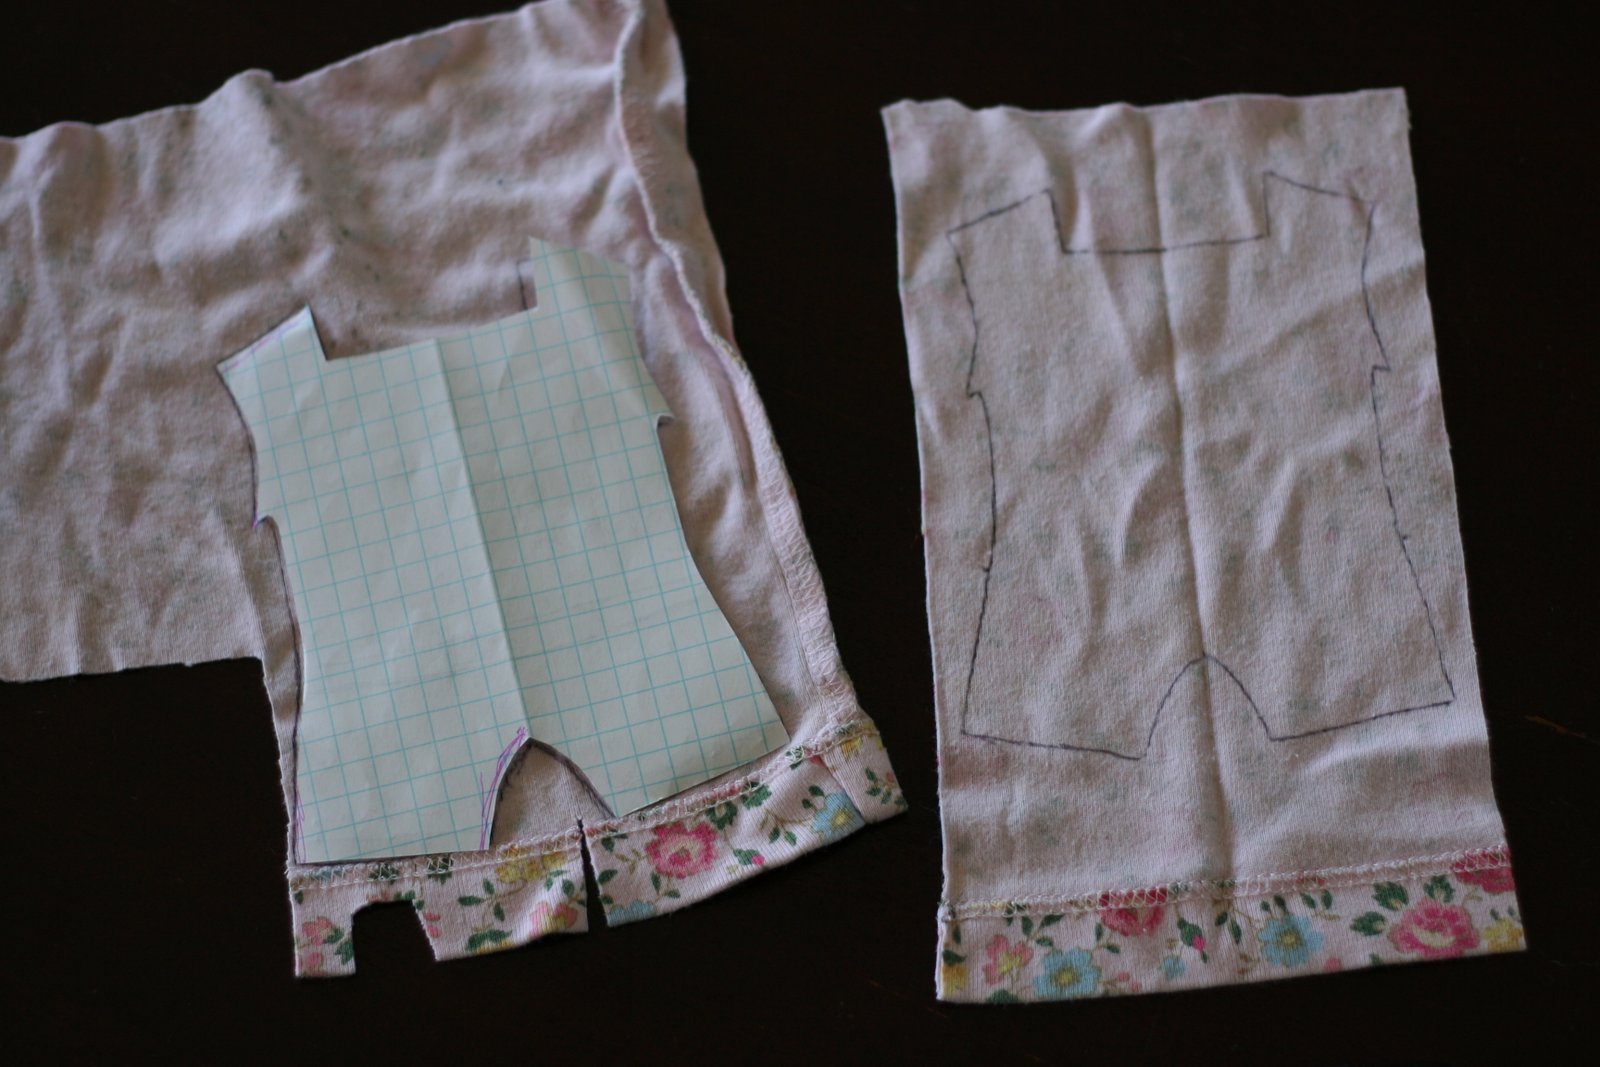
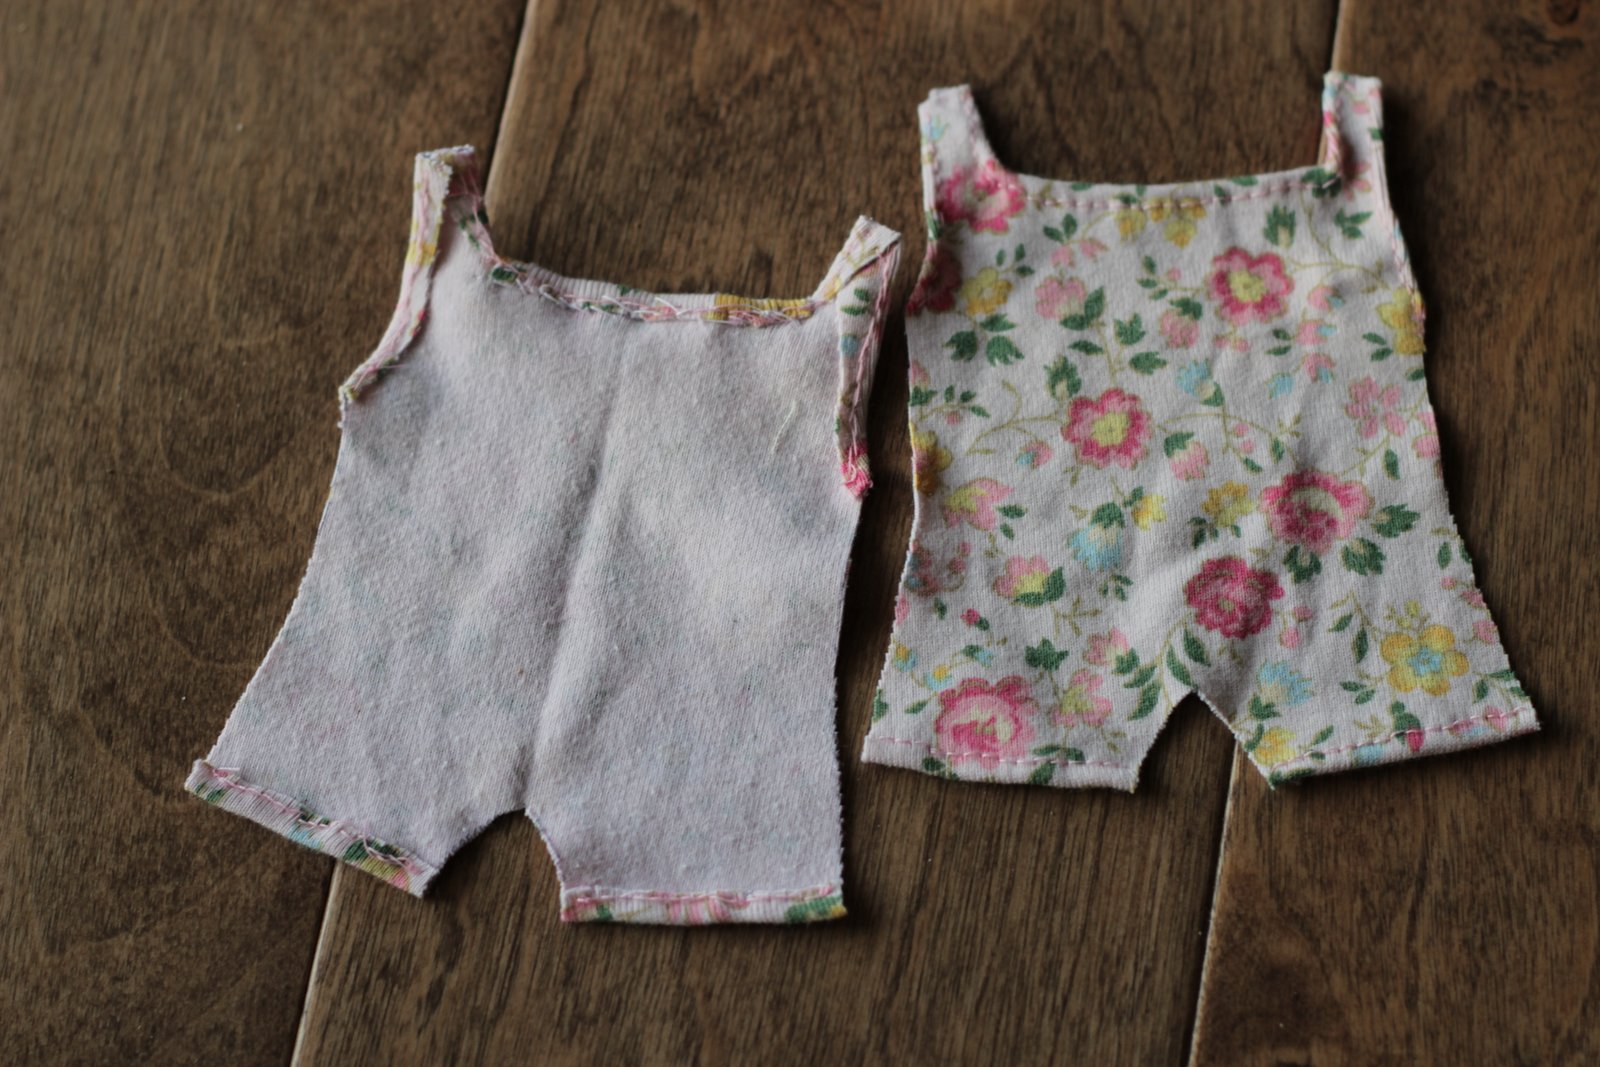
Then I folded under the armhole, leg, and neckline edges (snipping at the corners of the neckline) and hand-sewed them.
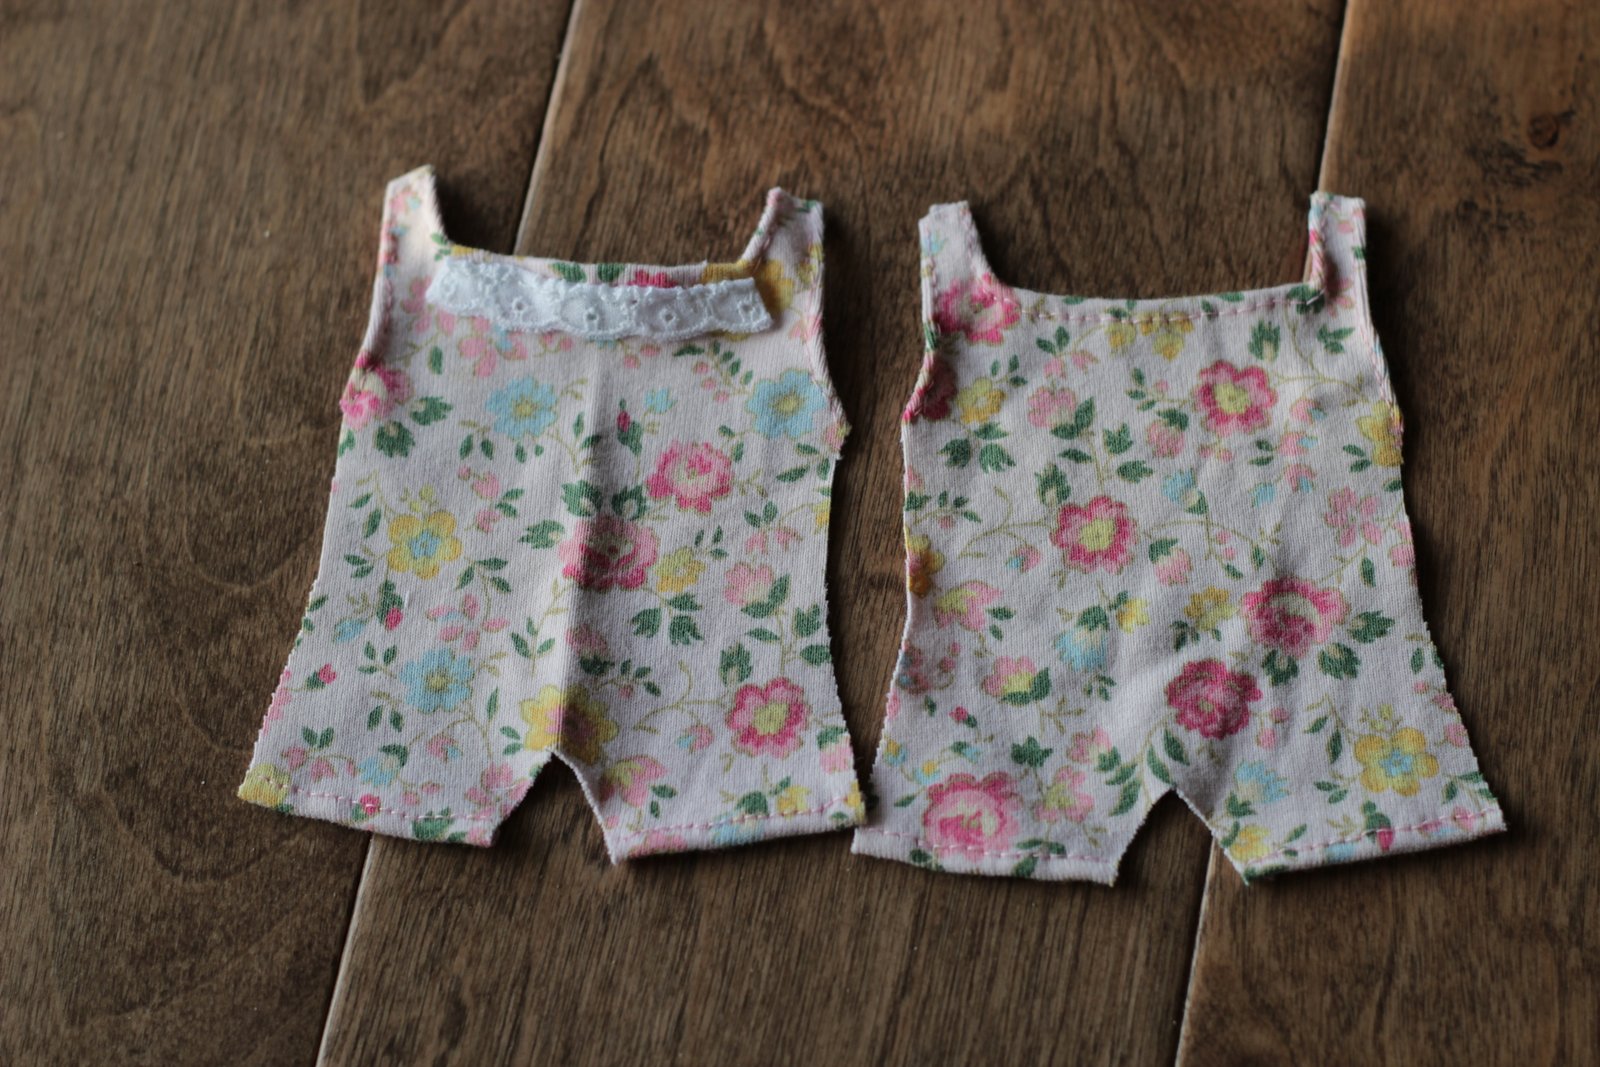
And added a sweet bit of lace to the front.
Then layer the pieces together for sewing. Body piece (right side up,) front of romper (right side up,) back of romper (right side down,) remaining body piece (right side down.)

Double check you’ve got them right!
And pin. I may have excessively pinned… 🙂
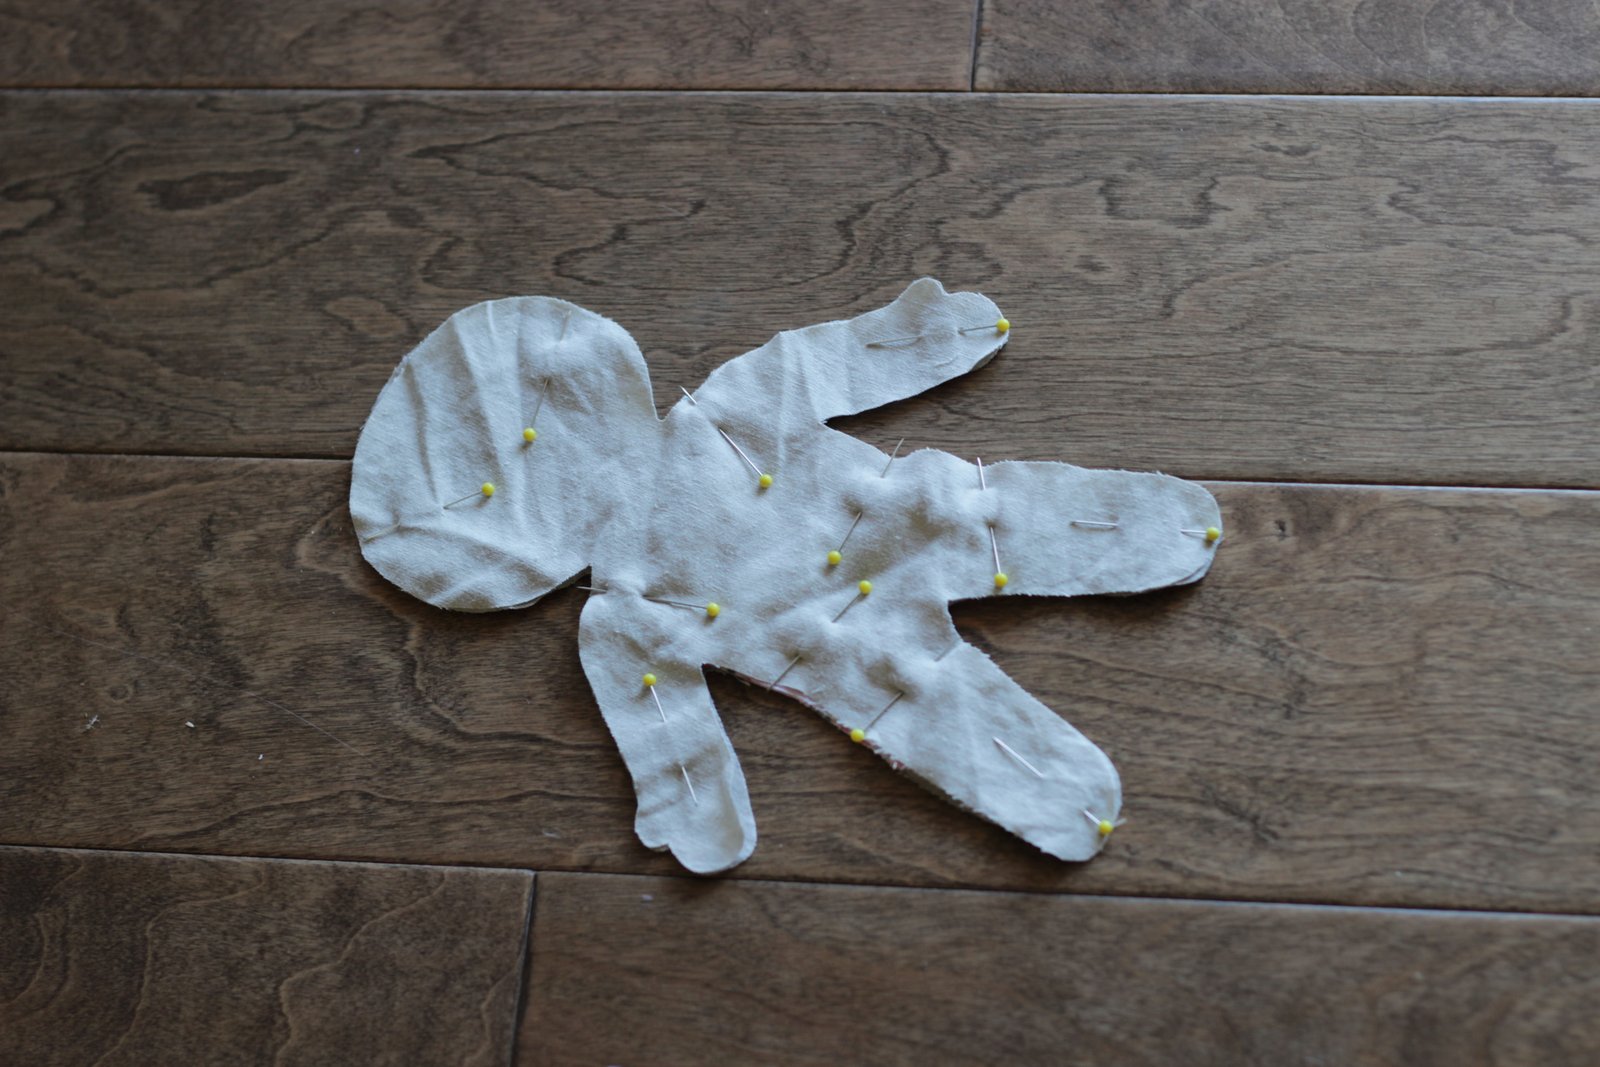
But make sure the edges of the romper and body are all in the right place… lined up correctly.
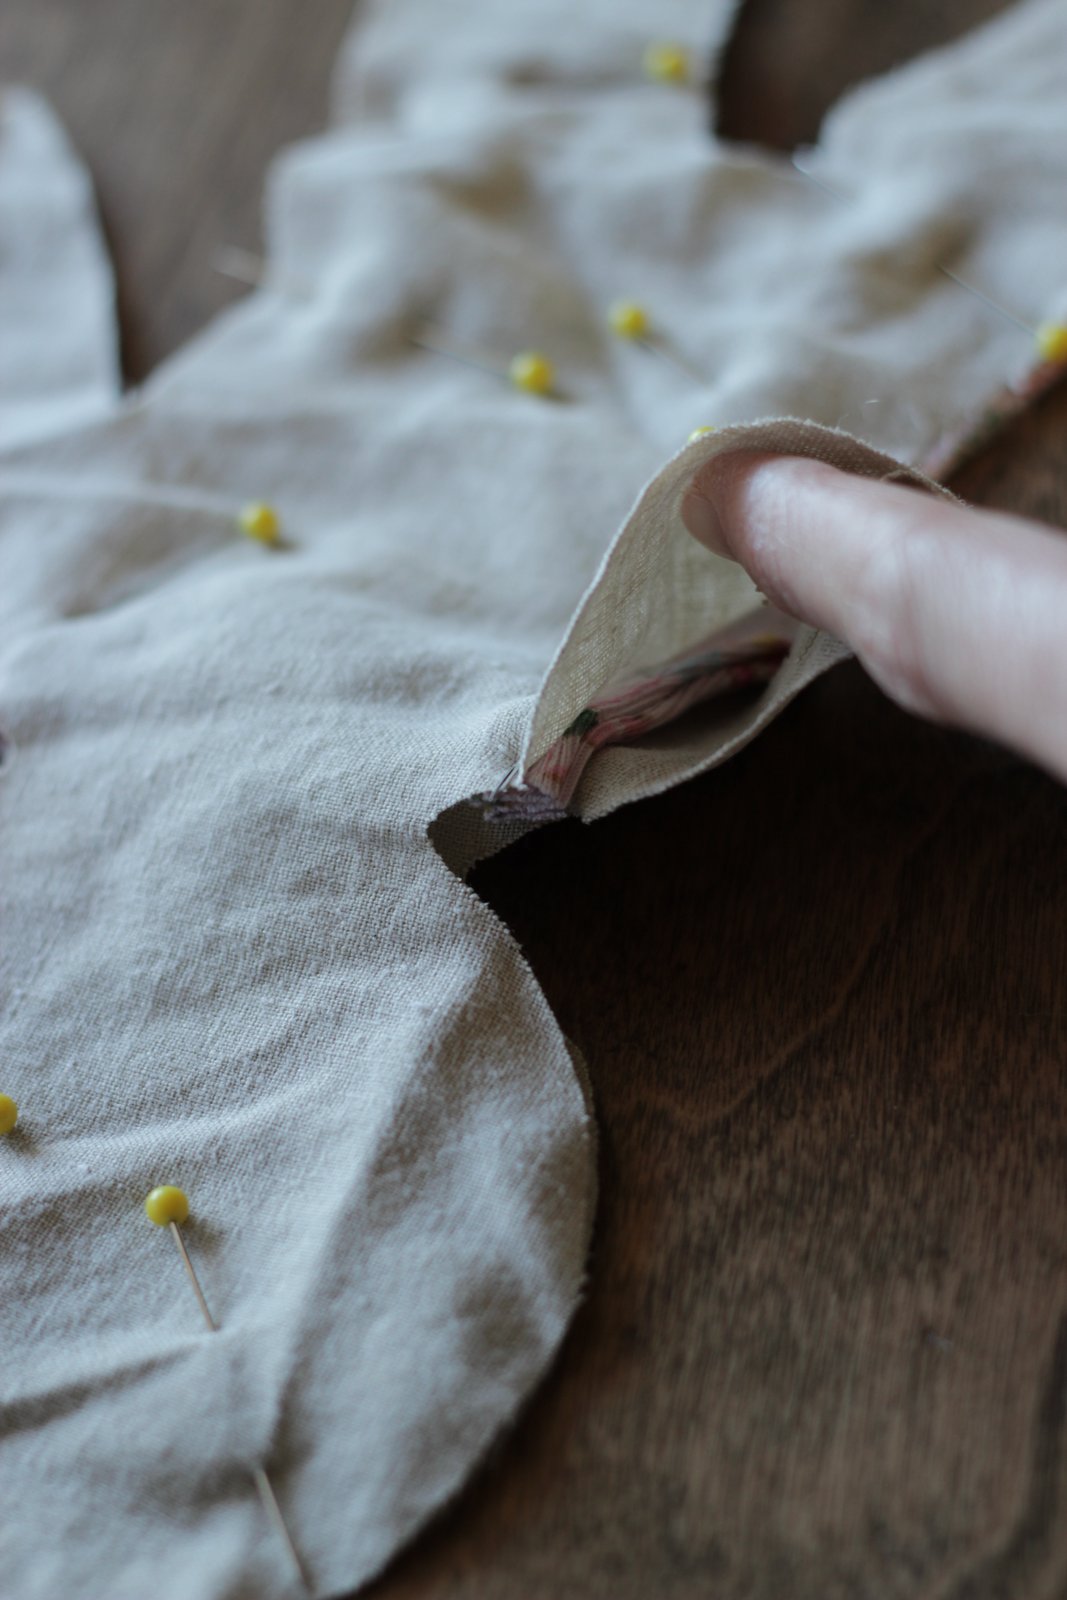
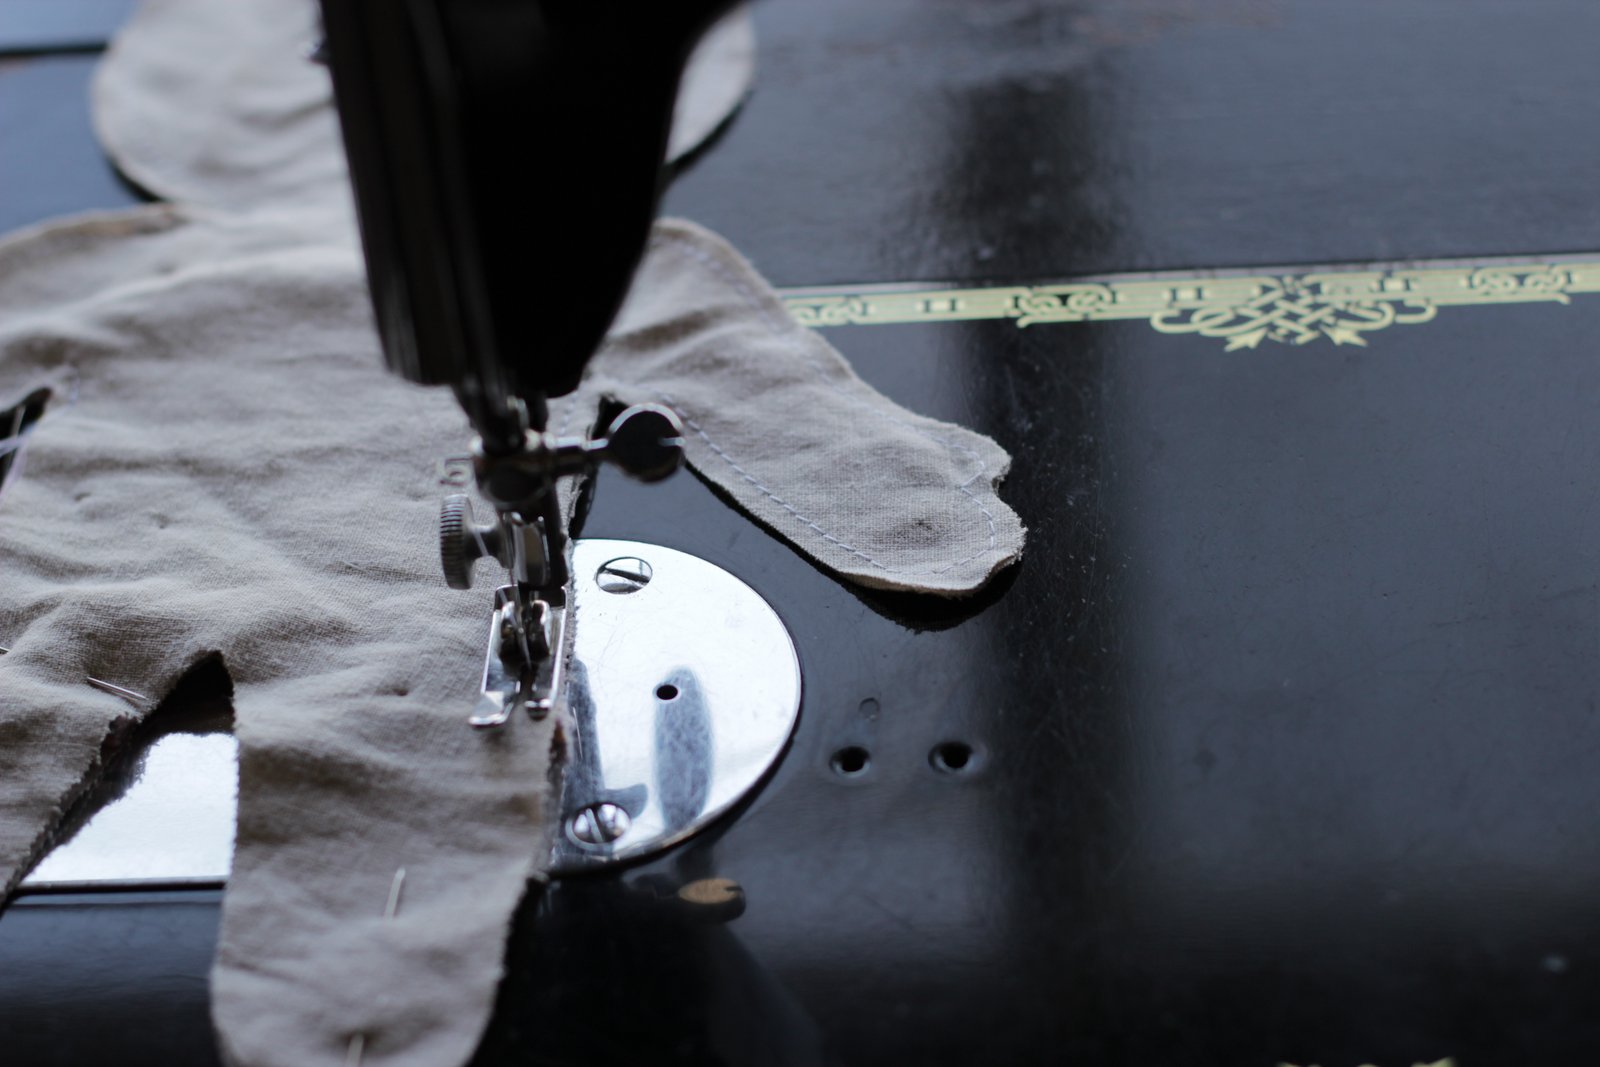
Then sew CAREFULLY! I sewed very slowly and guided it with both hands. I gave it the littlest seam allowance I could, with the fabric edge at the edge of my presser foot the whole time. This is a perfect project for an old straight stitch only machine as there’s not as much space for the fabric to get eaten in the machine when sewing a bitty seam like this. Leave a hole for stuffing and sew around it twice to make it stand up to all those things a little girl can put a doll though.
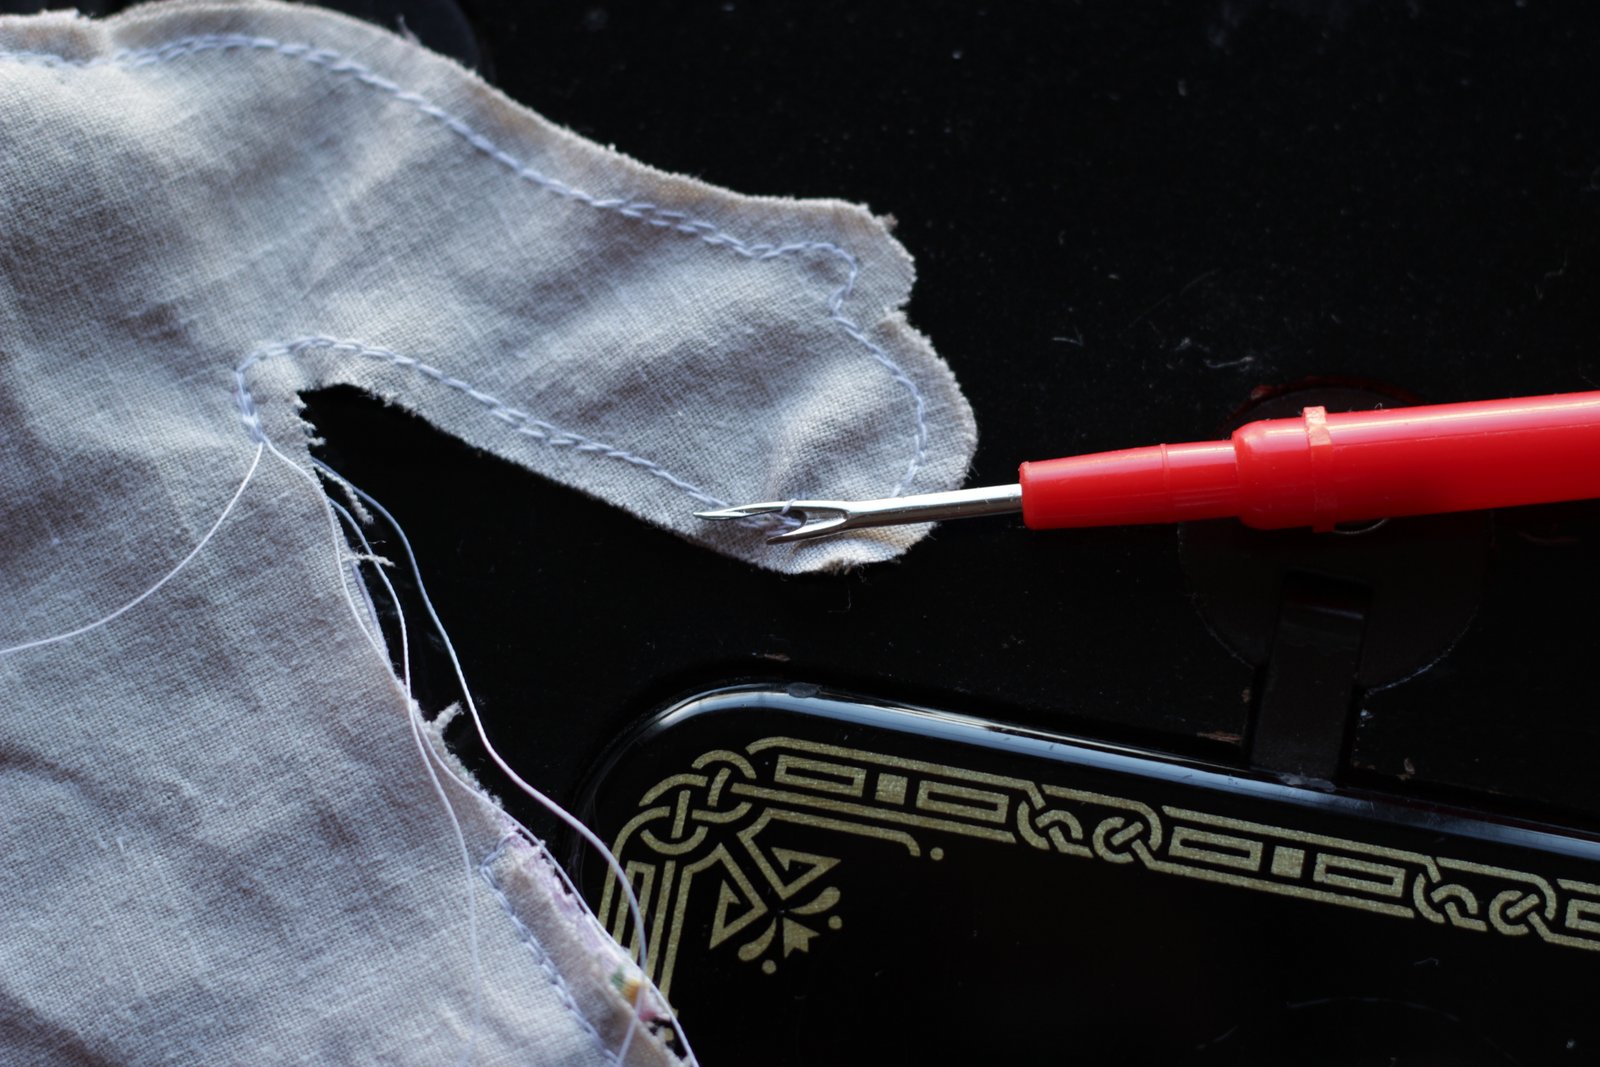
I did mess up. See her bitty hand where I got one stitch out of place? When I did my second lap I fixed it though.
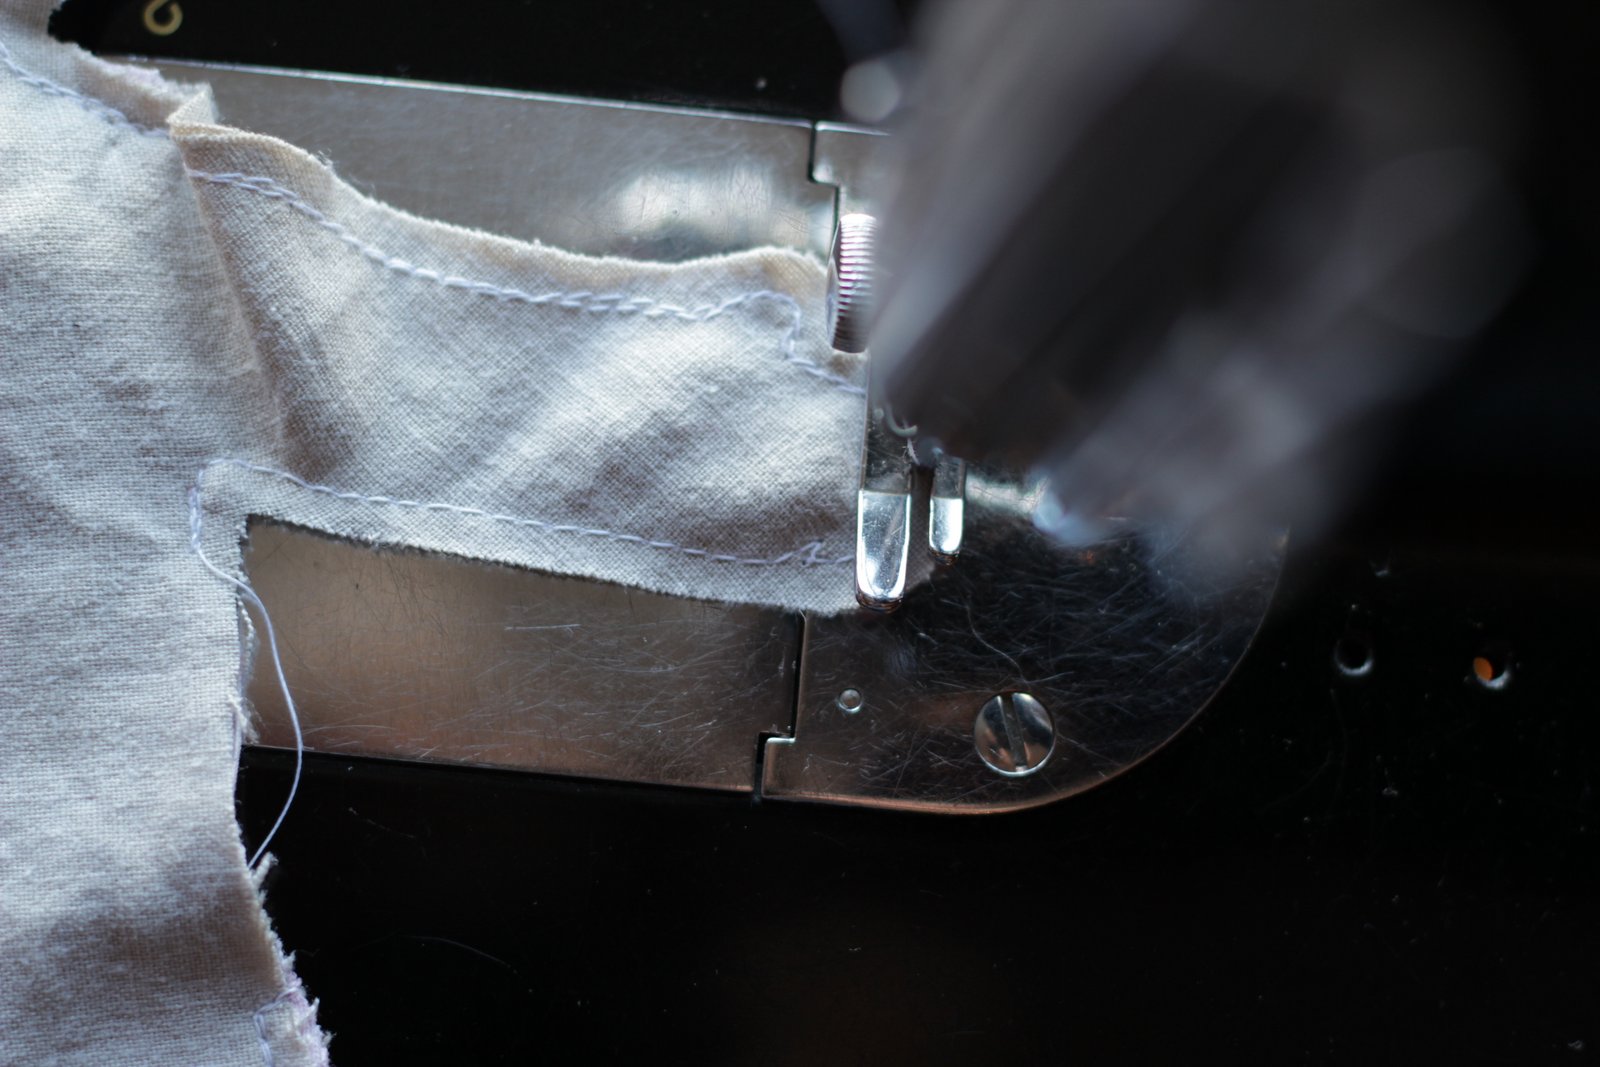
I went forward and back a few times over the straight line I wanted.

Then I gently ripped out that one stitch I didn’t want.
Then I notched around the head and hands and feet. Also cut slits at the neck, crotch, arm pits, and thumbs. But make sure not to cut through the seams. If you don’t cut enough slits and notches it will mean puckering at the seams later. I thought I went a little crazy with notches around the head but actually I could have done more.
Next I turned it inside out and stuffed and hand sewed the hole shut.
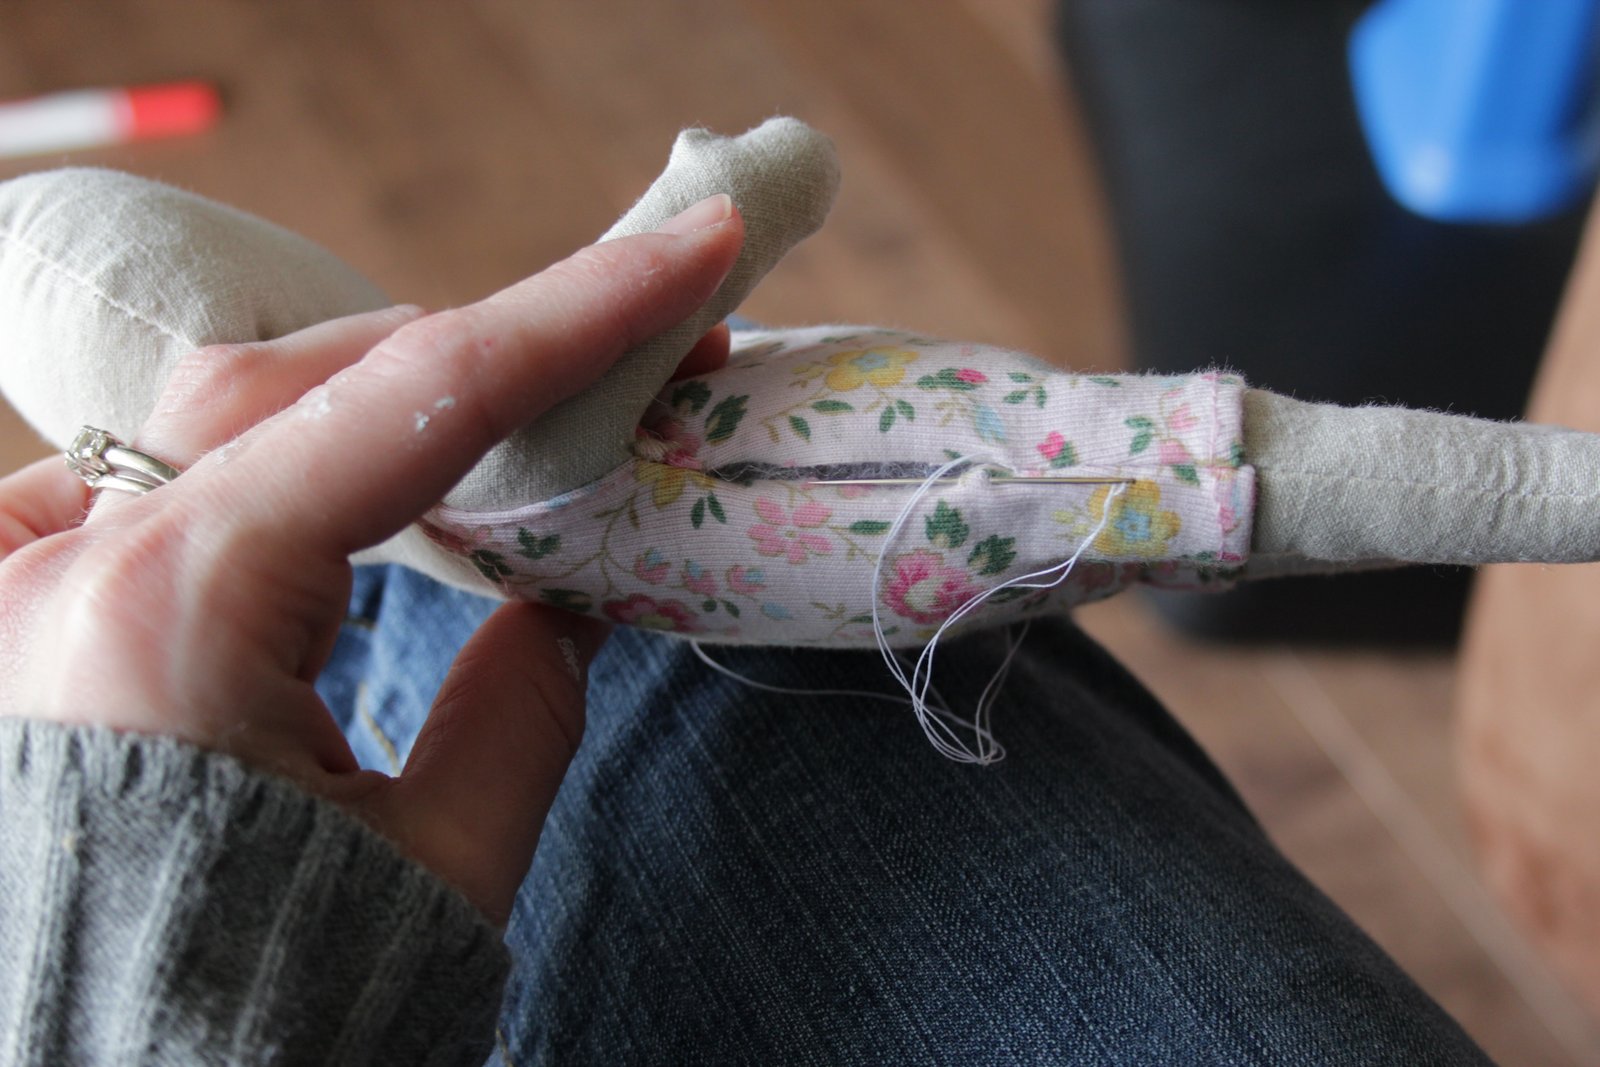
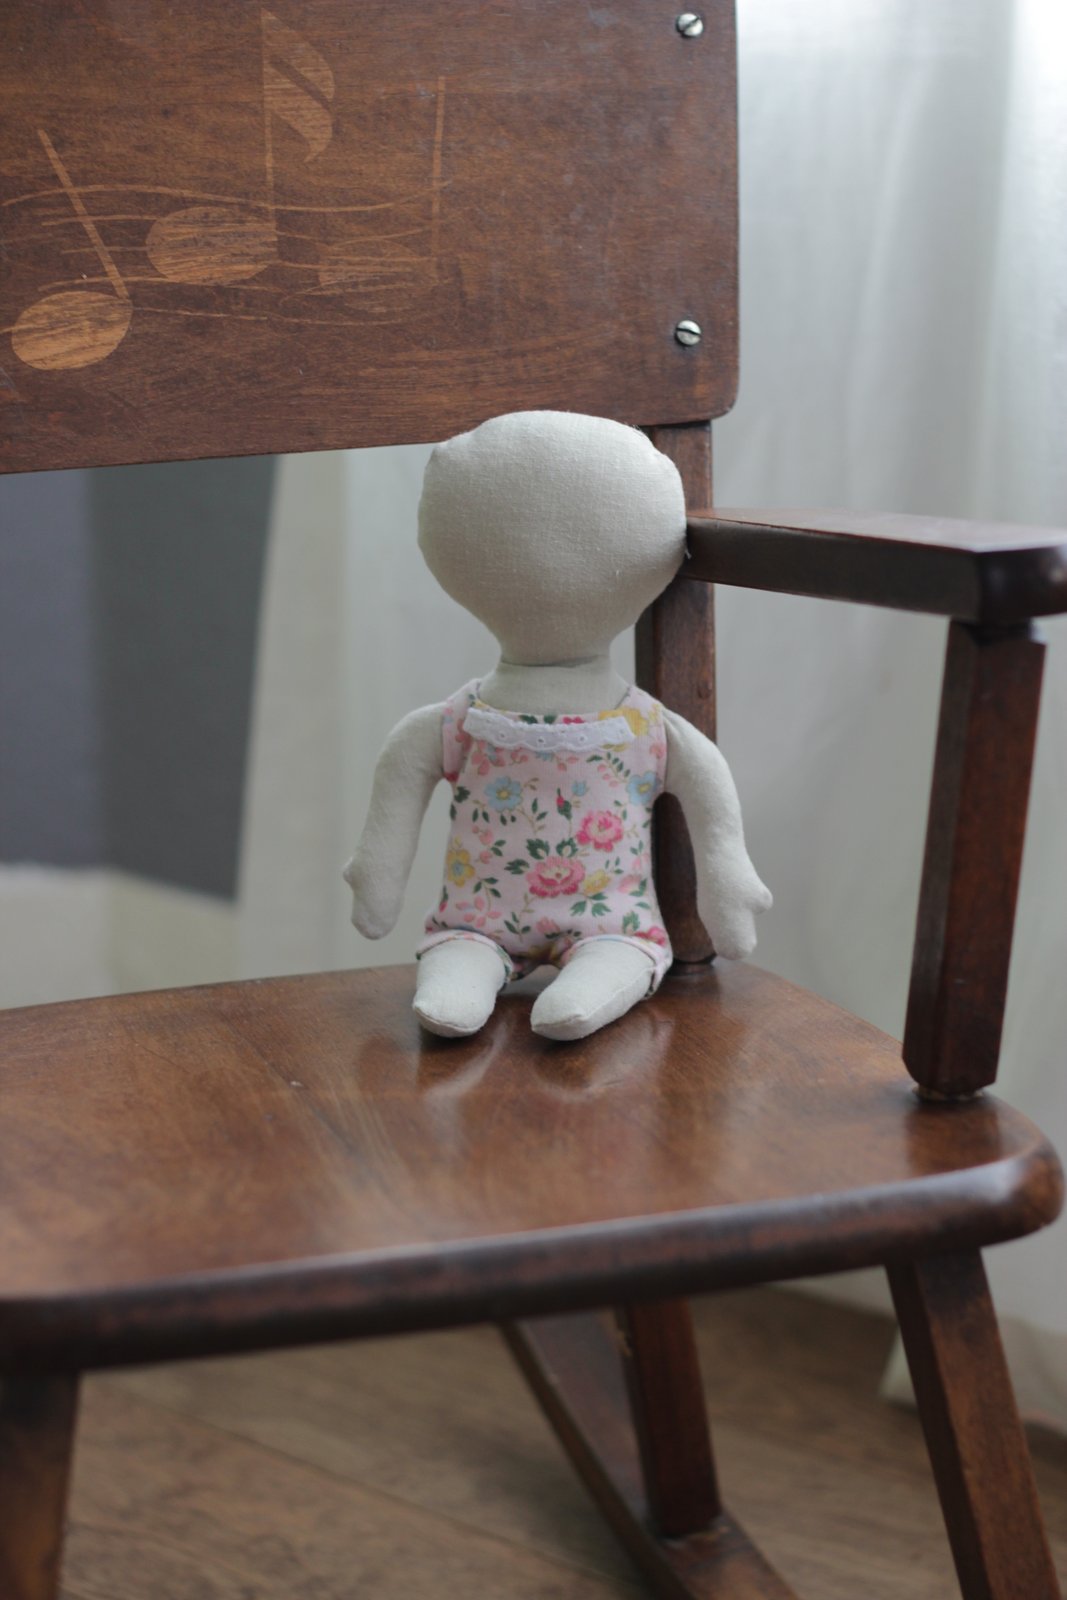
See the paint on my finger from painting baseboards last night? And that’s a marker and basketball hoop on the floor. Life is real over here. 🙂
And there behind dolly is my wall that needs baseboard. 🙂 Better get to it so I can really get back to crafting…
Very cute!
it is so cute. someday i will sew. 🙂
my recent post: never too old to learn something new!
really nice:)your pictures are excellent. now I must sew a dolly for my daughter:)