
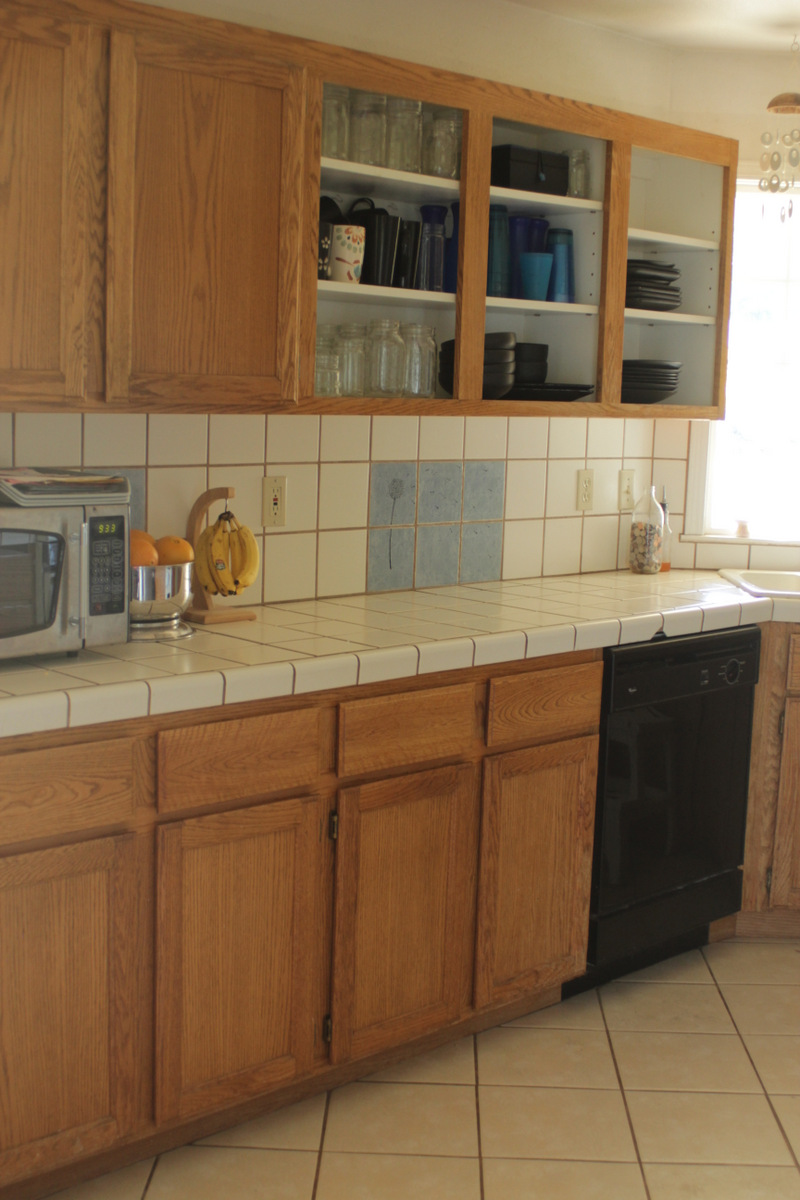
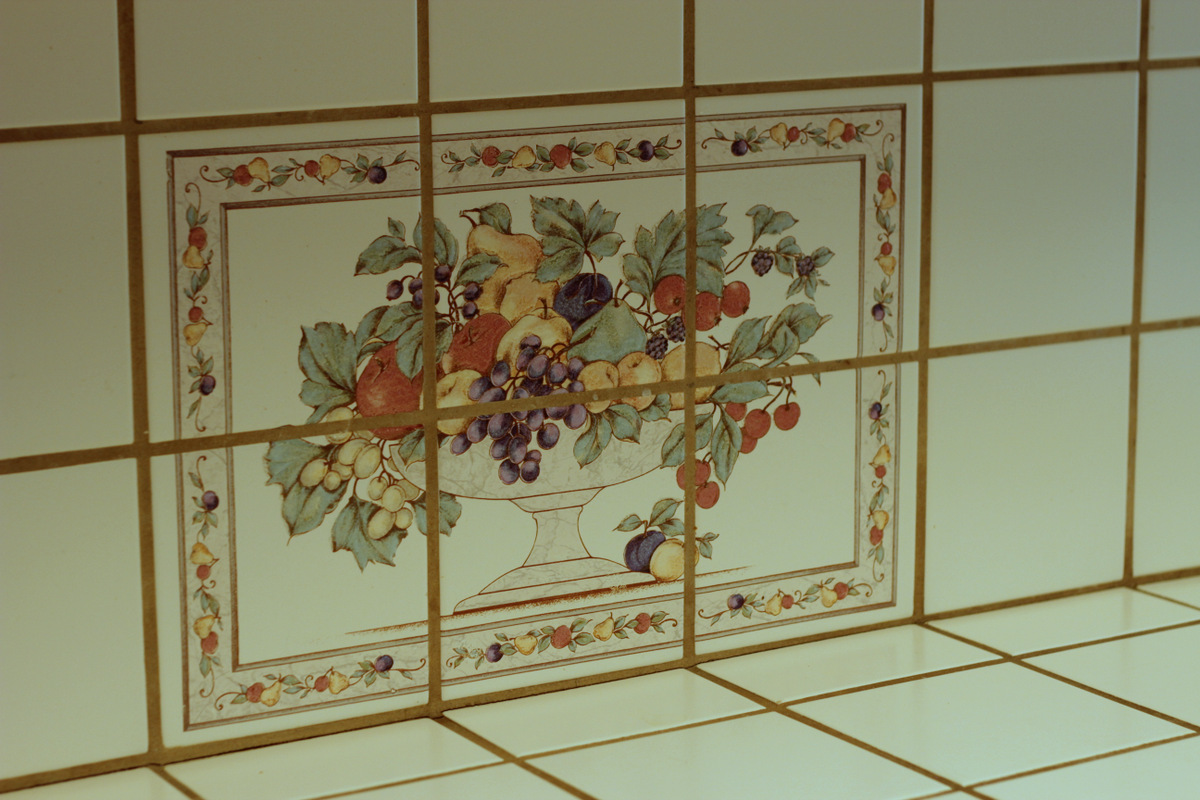
We were never sold on this house for its kitchen! Let’s just say that tuscan fruit bowls and dark red and oak cabinets don’t do it for me! We prefer a modern look. While I was quick to take down the offending wallpaper border the kitchen project halted there for a while. Later we took down most of the top cabinet doors to try out an open shelving look and just decrease the amount of oak. We are still mid-transformation as we’re still procrastinating and weighing whether or not we’ll get new more modern slab cabinet doors or paint the current ones. What do you think?
A little while ago though I came up with an idea for a free way to make-over the accent tiles on the backsplash and I thought I’d share the results. I can’t believe the difference and I hope it will help someone else who’s not quite prepared to replace an entire backsplash! It only took scrapbook paper, mod podge, a bit of paint, and a polyurethane to waterproof and make it completely washable.
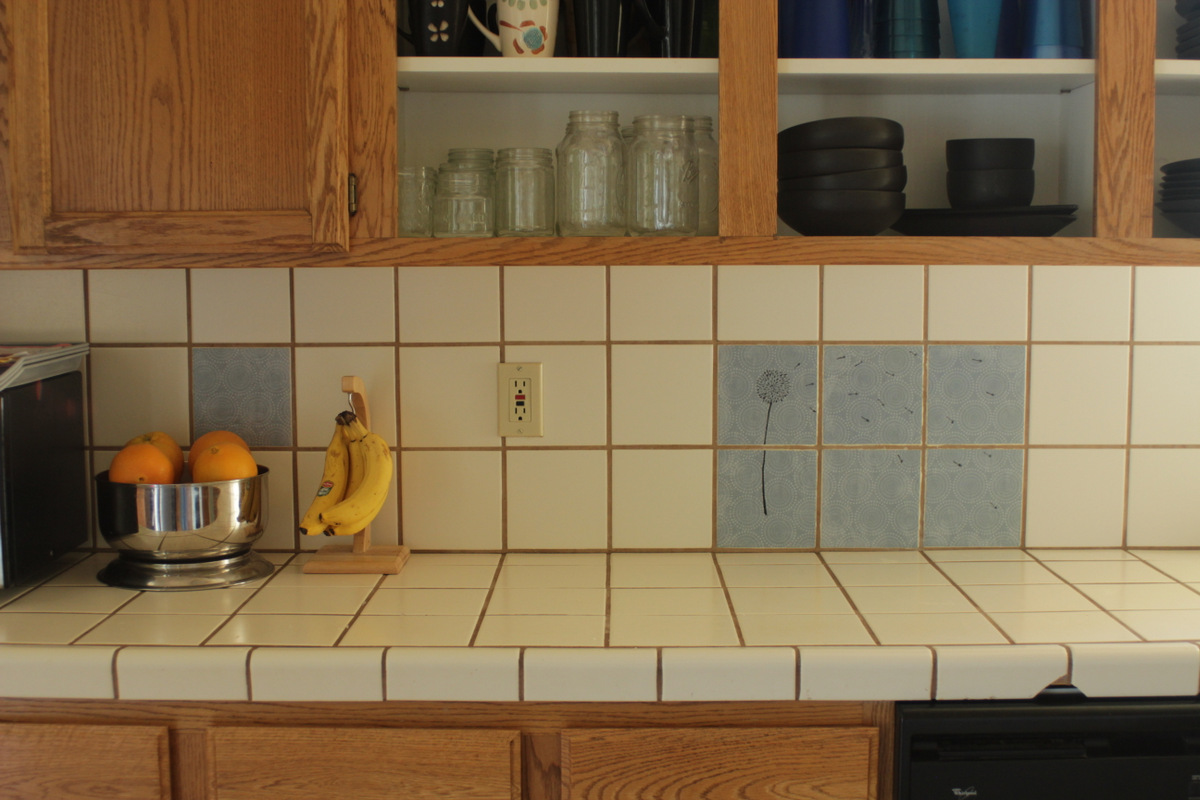
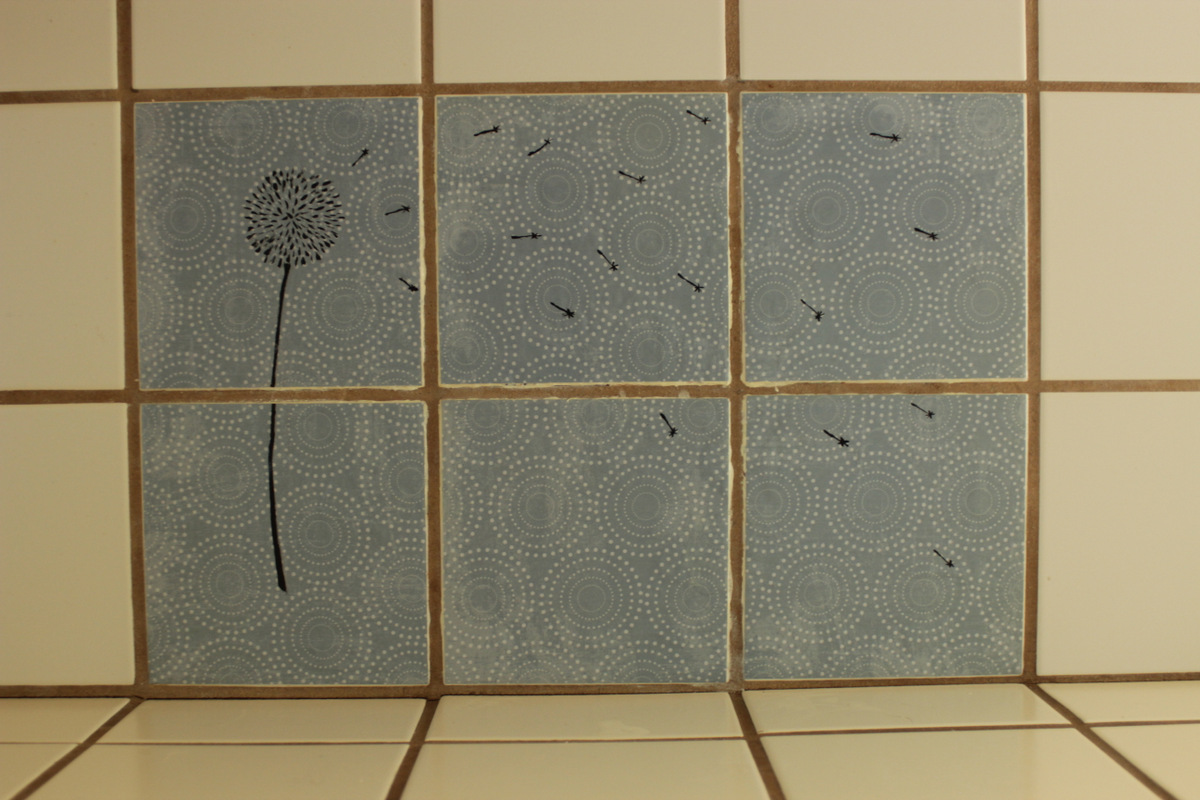
I love a sweet dandelion with seeds being blown in the wind of a child’s breath. Yeah, I’ve got a bit of whimsy in me too. I thought it was fun to make one of these modern circles on the paper into a flower and send seeds flying across the rest.
Here’s a couple before pictures. I’m really glad to not see this anymore all day long, in my kitchen.
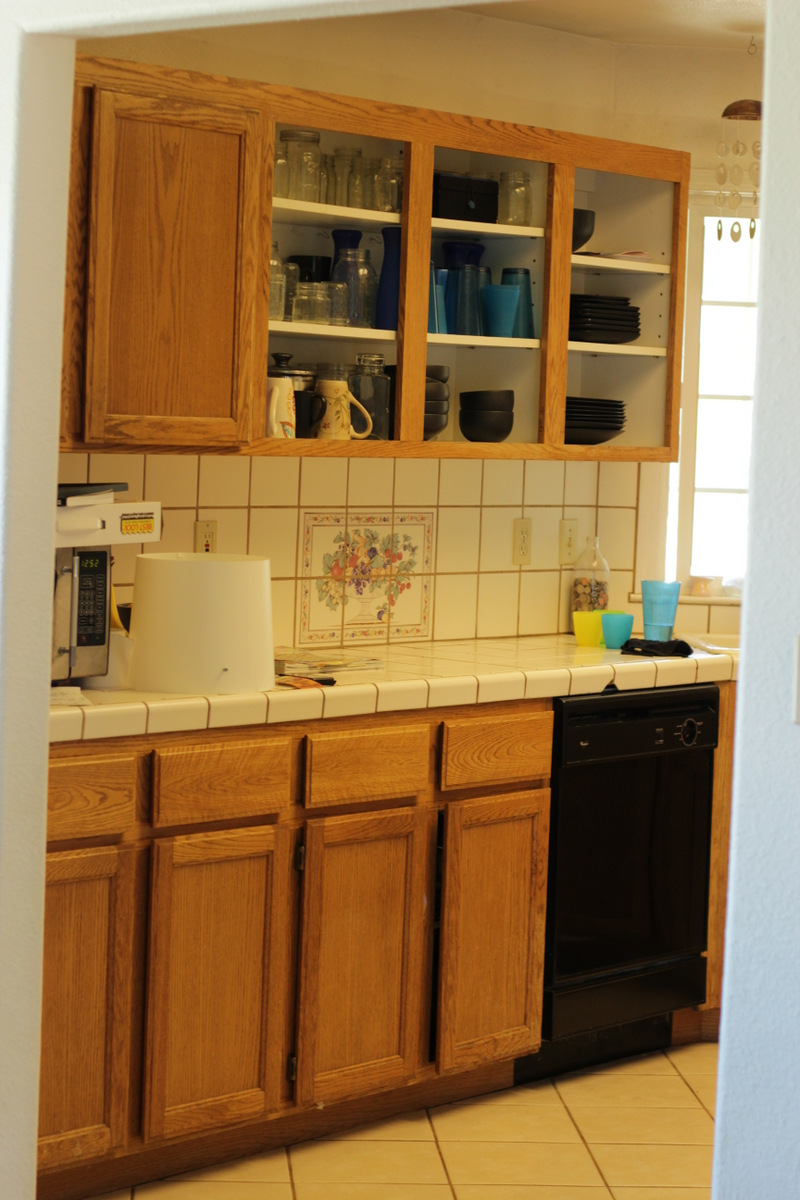
Do you like my messy before picture? I’m beginning to fall for the idea that it might be legit to have messy before pictures and bright clean after pictures. Because the moment my new backsplash was done, I was instantly motivated to straighten, organize, and clean the rest of the kitchen. Maybe those wrinkle product before and after pics are for real? You know, the one where the lady has frizzy hair and no makeup and tucks her chin down to form a double chin and grimaces in the before picture but in the after picture holds her head high, has a smile, her hair done, and air brushed make up? Of course all that primping in the last picture is BECAUSE she lost a couple wrinkles with said miracle product. 😉
But here’s a more honest true before picture with wallpaper border and all. Notice my so subtle failed attempt to cover as much of the fruit bowl back splash as possible with a real fruit bowl (the only kind of fruit bowl I like…).
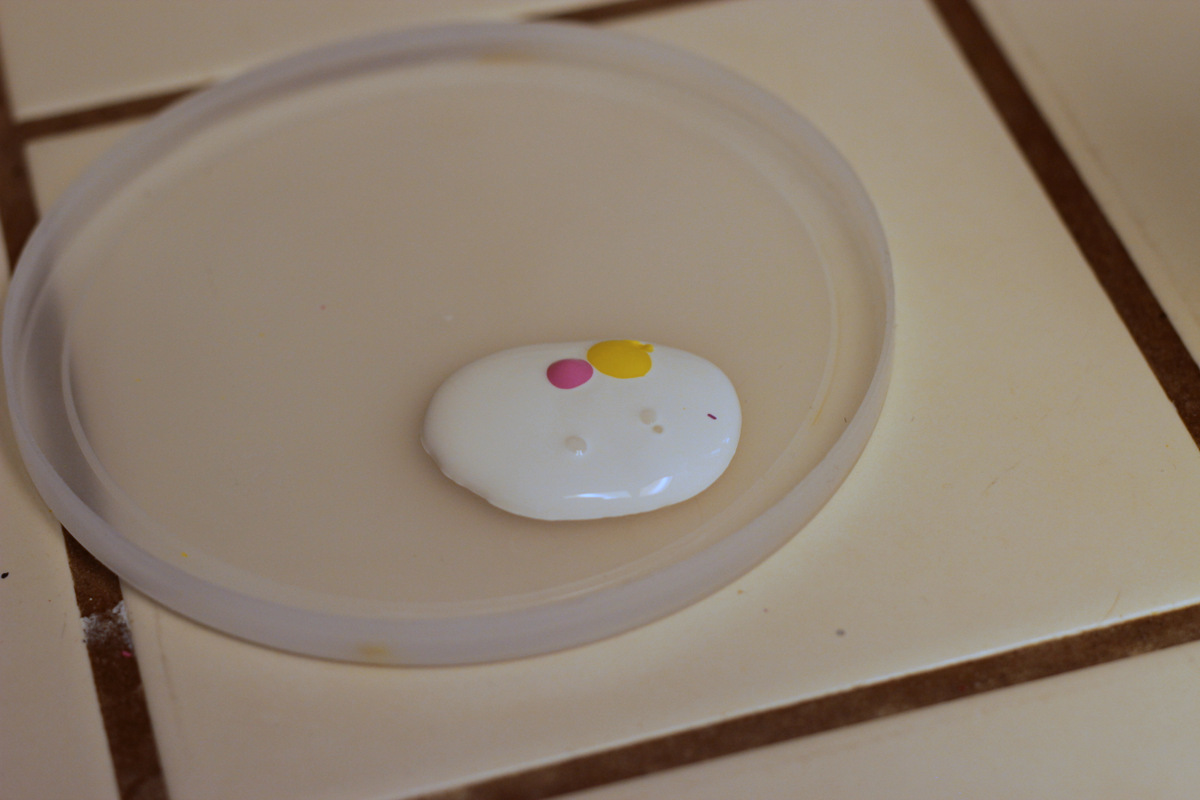
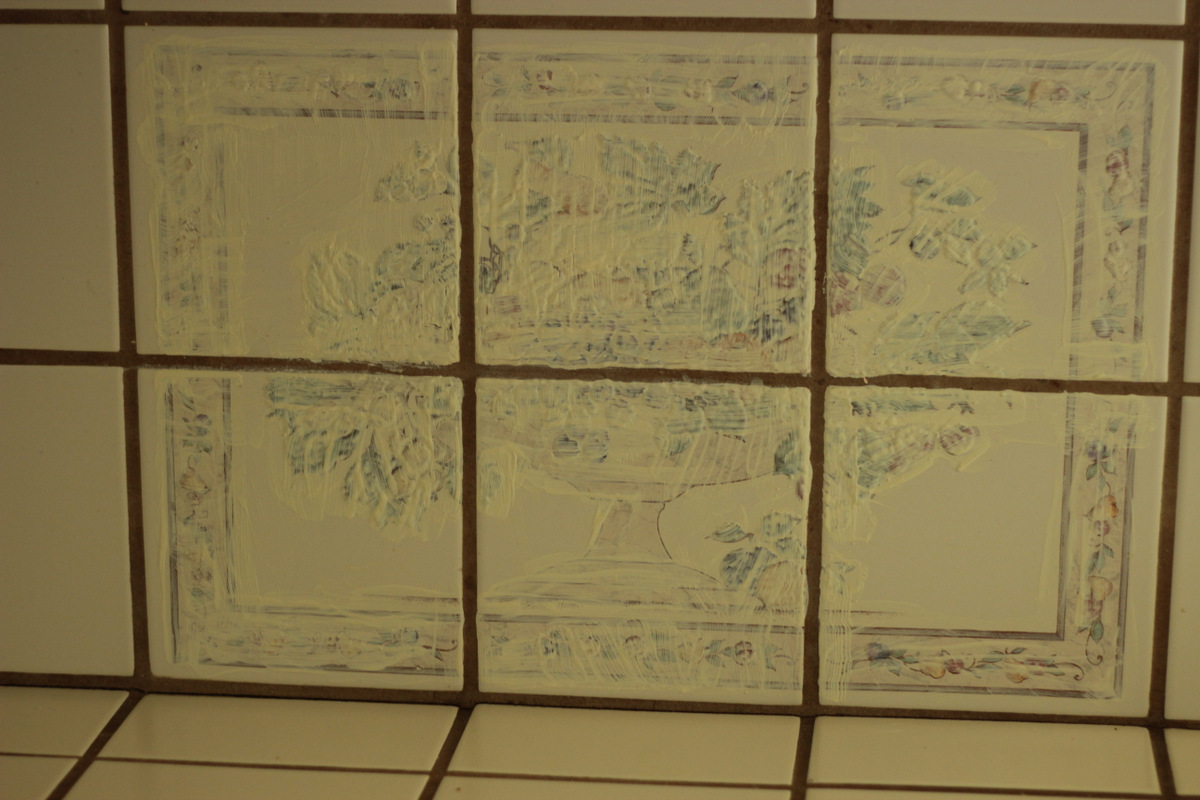
The previous owners of this house must have LOVED off-white tones. Nothing is a crisp white… it was all “biscuit” or “ivory” or some of those other design names for not quite white. The tiling, sink, and kitchen appliances were no exception. The first step of this project was to tone down the darkest colors in the back splash accent tiles so that those colors wouldn’t show through the scrapbook paper or at the edges. So I mixed up this “biscuit” color with a bit of craft paint. I just used what I had. A puddle of white, about half a little blob of pink, and two blobs of yellow. Scientific measurements I know. I globbed it on and smoothed it out and re-coated a few times until I was satisfied. I’m sure some paint intended for ceramics would have covered it in less coats but I was happy with my results.
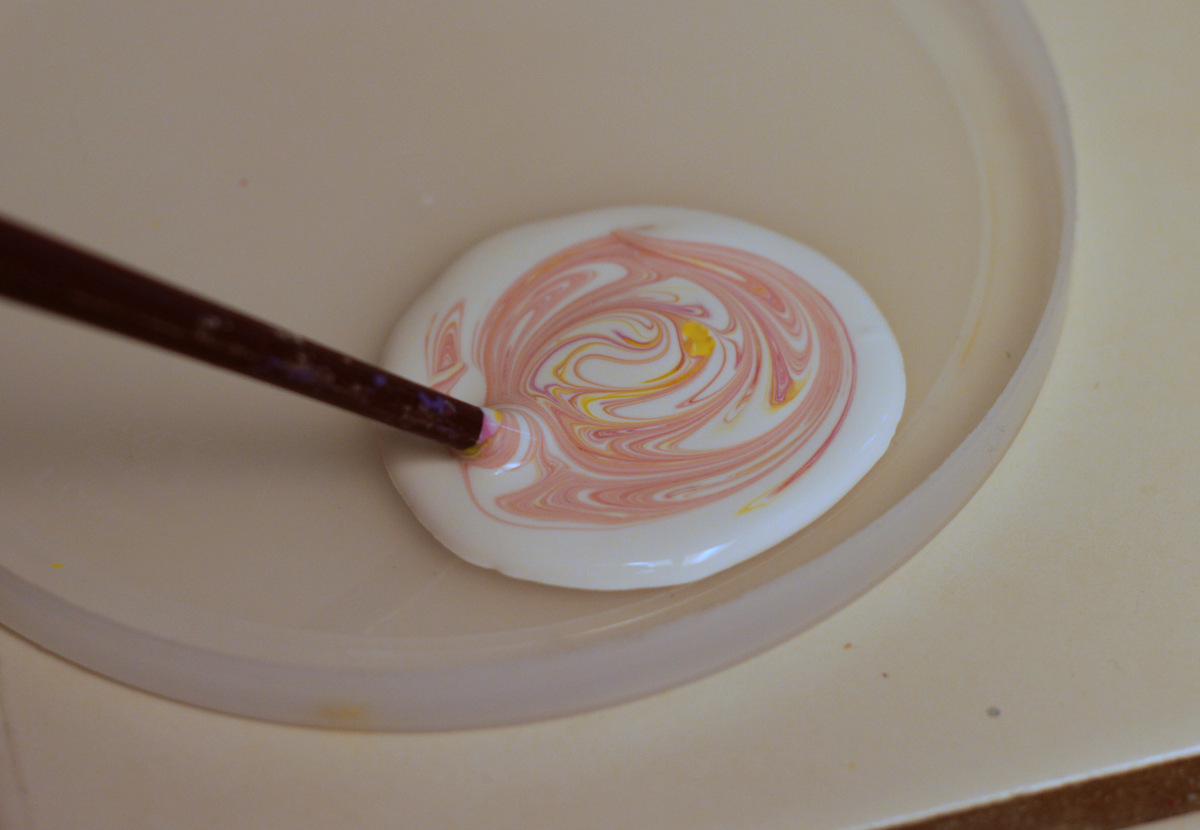
And I was happy with mixing paint. I don’t think anything is more fun than painting and mixing paint. Happiness for me is frequently putting color where I want it with a brush.
I’d chosen the scrapbook paper I wanted to use for the back splash and a design I wanted to paint on it. So I cut 12″ by 12″ sheets of paper to 6″ by 6″ squares to match the size of my tiles.
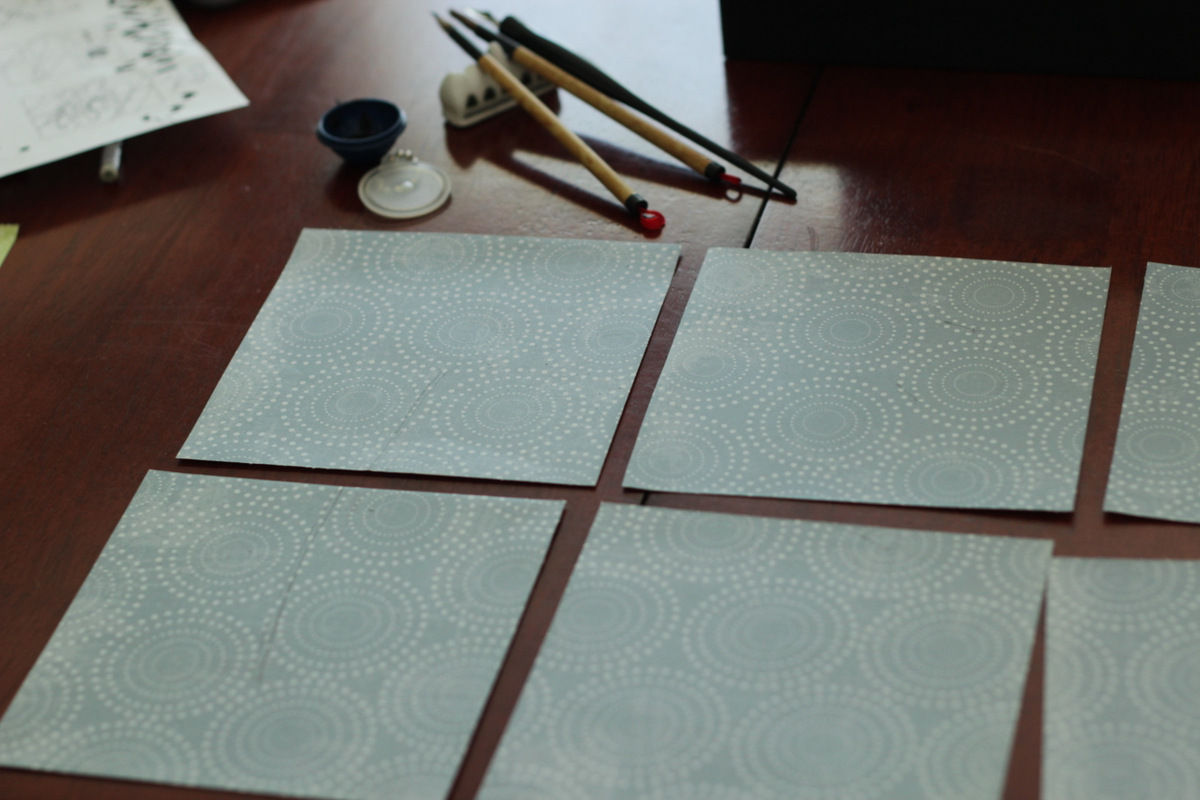
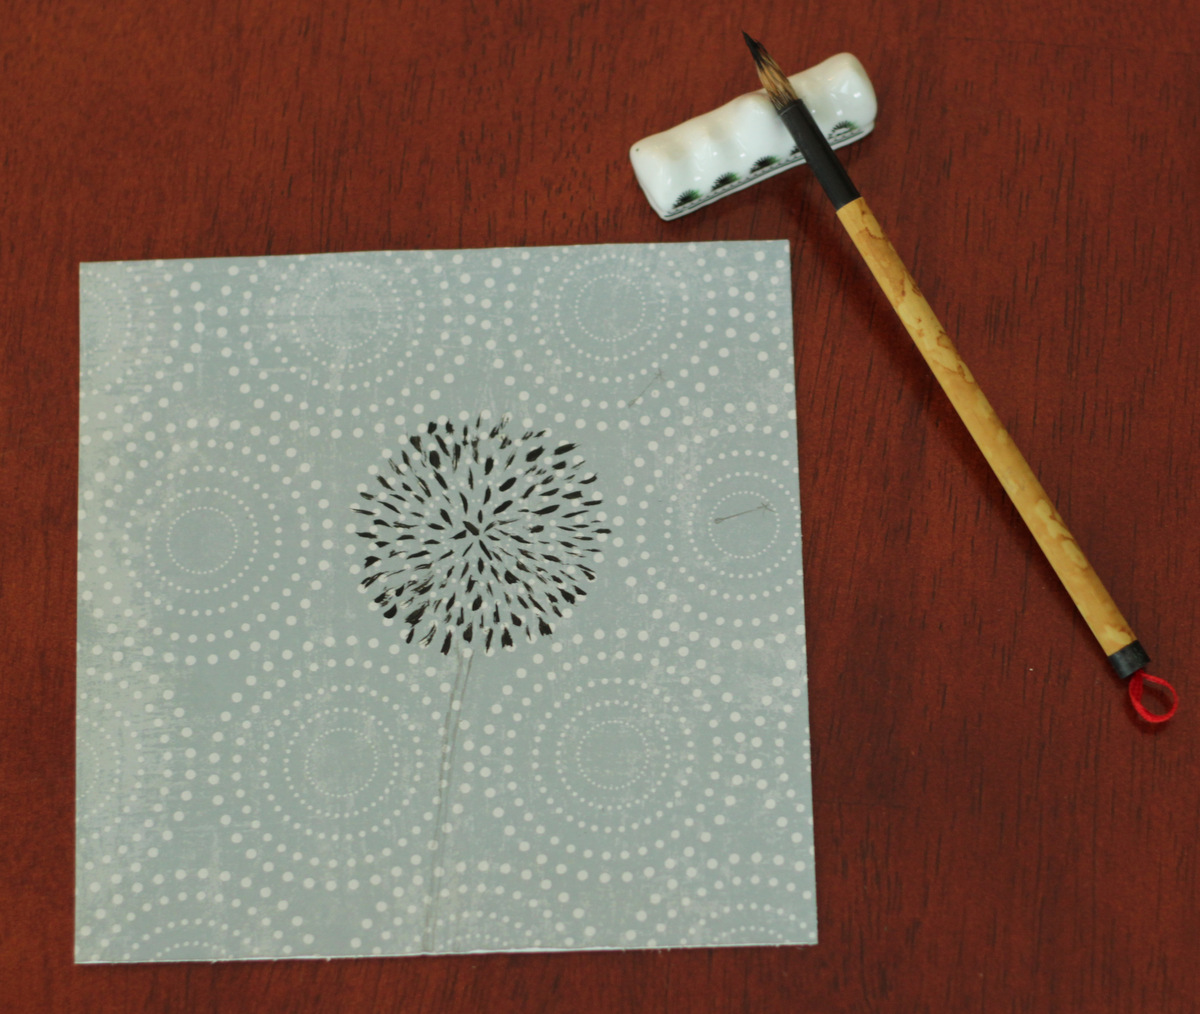
And sketched out my picture with a pencil and painted away. Awesome looking paint brushes make it more fun…
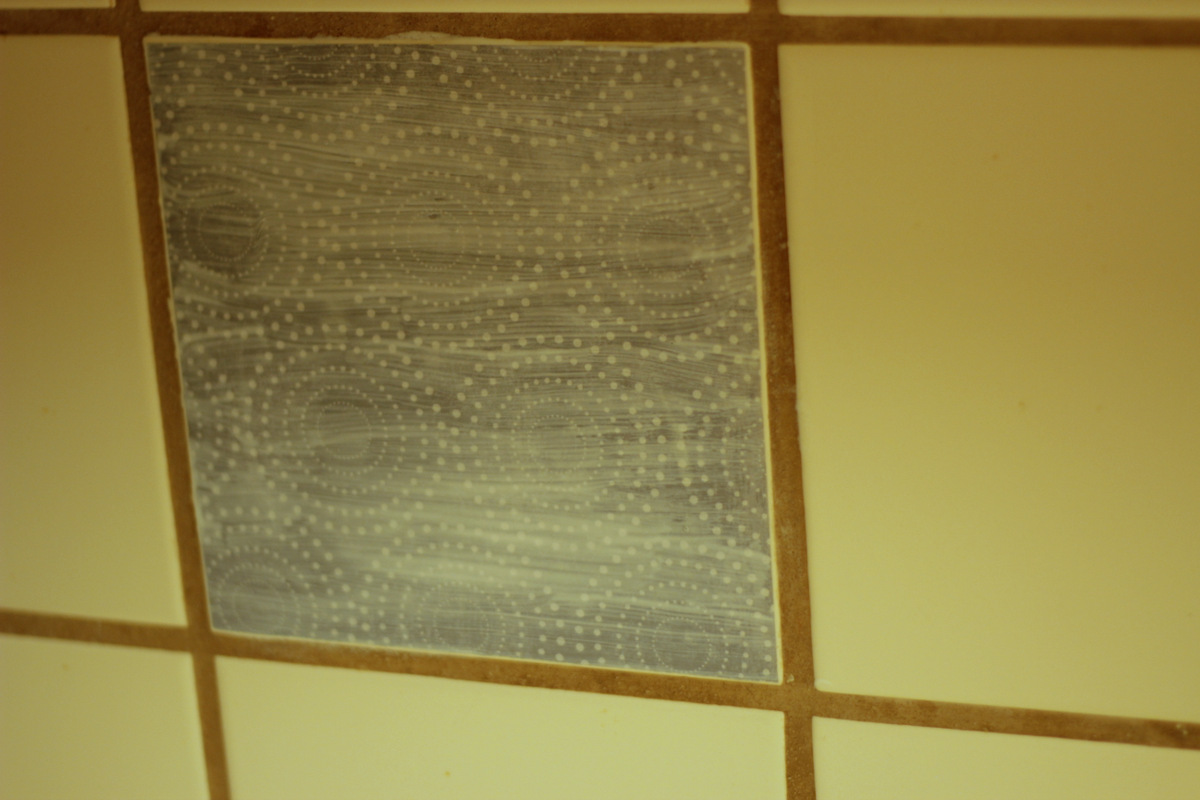
Next, I put down a layer of mod podge, spritzed the back of each paper with water from a spray bottle (to decrease bubbles and wrinkles), and put the paper in place. I rolled out bubbles with a little rolling pin I borrowed from the kids play doh kit and 15 minutes later coated the top with more mod podge. I added two more coats with time between to let thoroughly dry, then polyurethane as a last coat to make it washable and waterproof.
My first time using mod podge has been declared an absolute success! I’m so happy with my free and easy make-over! Now I should just get a bit more motivated to go at those cabinets. 🙂
Great job! I had a kitchen like yours, and hated the old fashioned tiles. I had wondered about mod podge-ing them, but we ended up selling the house before attempting the project. I love how it turned out in your kitchen! So I know, if I look at a potential house to buy, I can change the look easily 🙂 glad I found your post!
Best wishes, Lisa