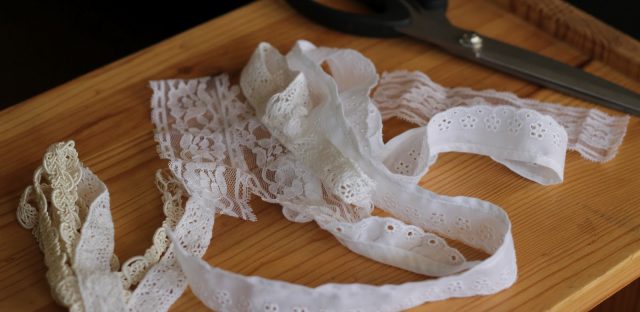
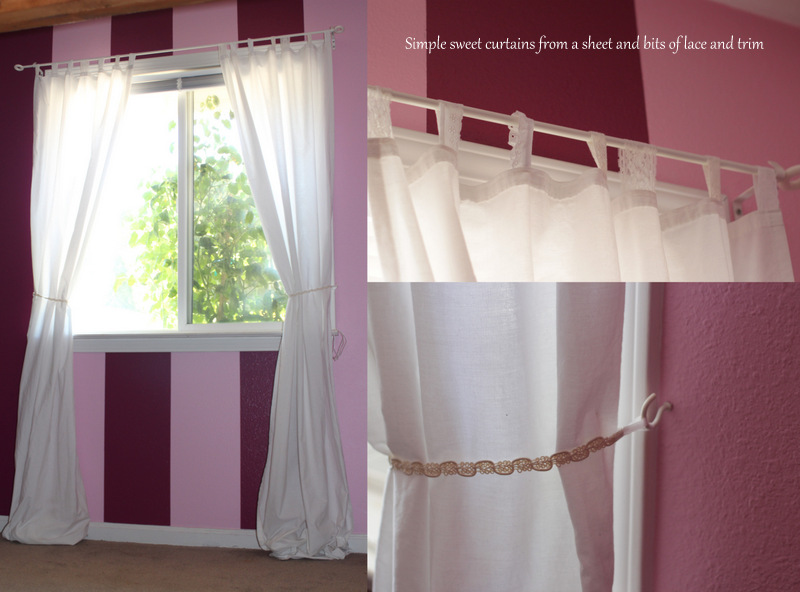
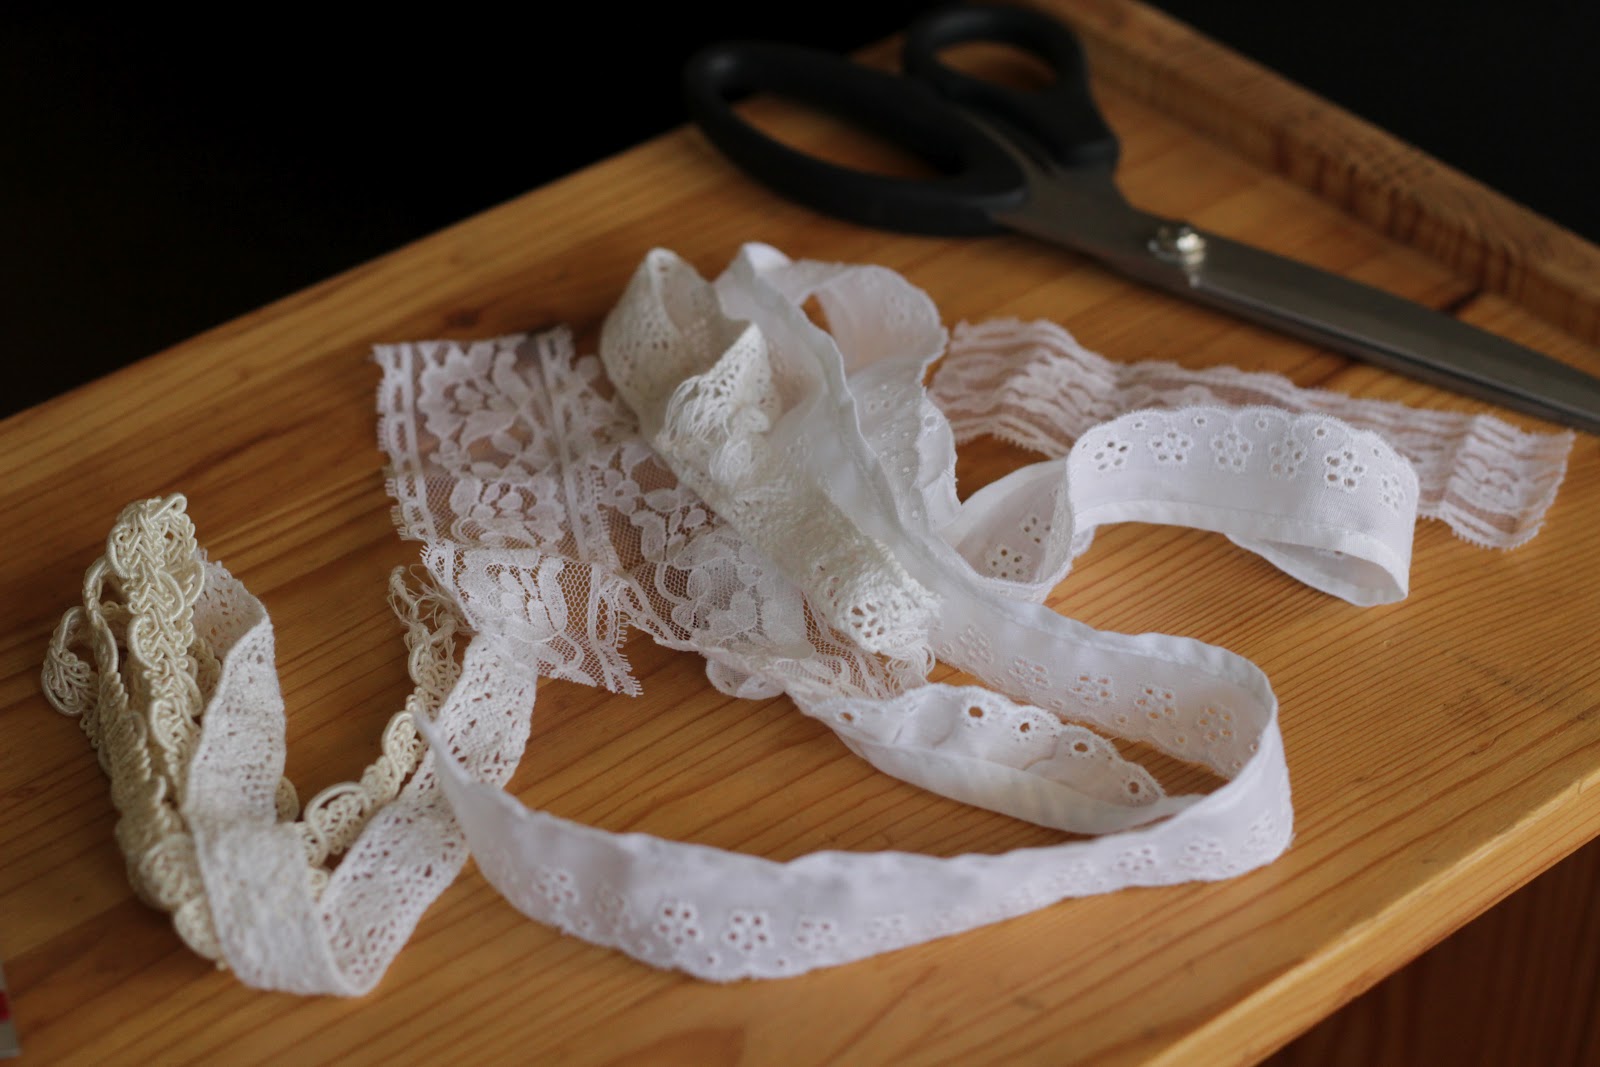
I’m making curtains and roman shades for the entire house! Talk about a job! Our mini blinds just aren’t quite cutting it aesthetically or otherwise. The cats have kind of mangled some of the slats and now they are really sad looking. The first curtains I’ve made are for Drew’s room where we painted stripes last year. She wanted simple white curtains because she didn’t know what else would go with the colors and patterns already there. I had fun adding some texture and interest to a sheet with scraps of different laces that I had leftover from projects and had inherited. I absolutely love how the light shines in so bright on all the lacy patterns. It’s a whimsical but subtle feel that is perfect for my sweet girl. This would be incredible with some vintage sheets and lace too!
Lacy Curtains
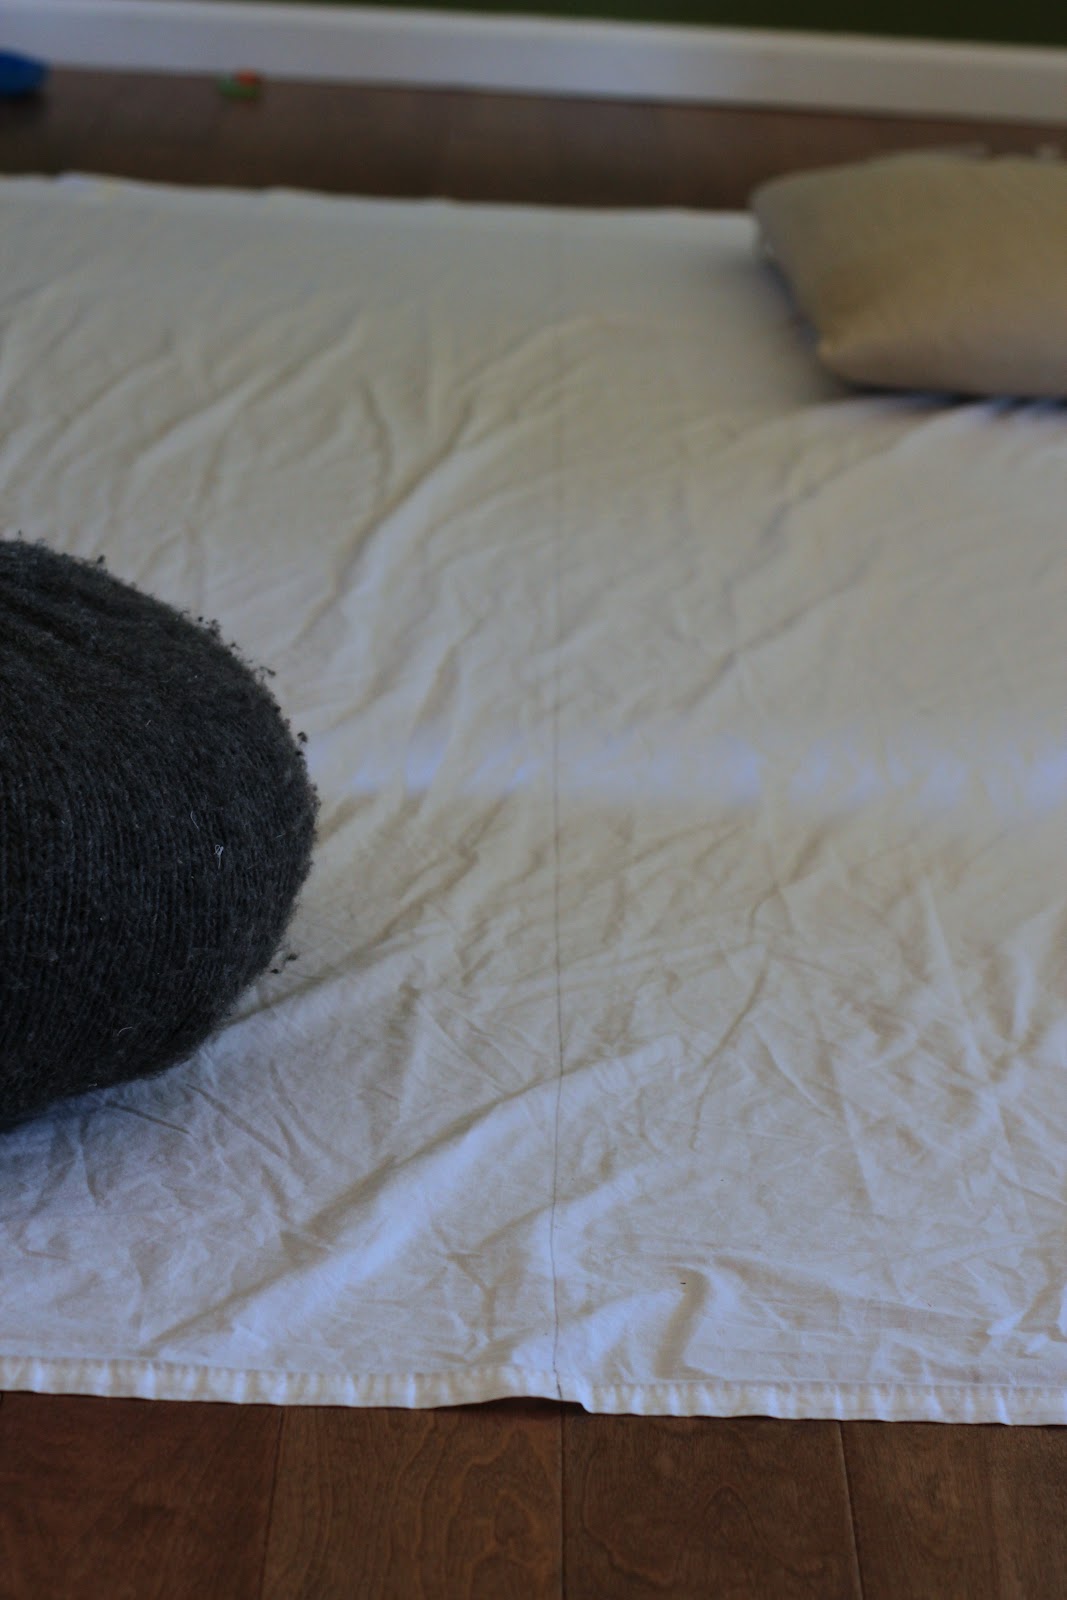
TutorialI started with a white full top bedsheet and cut it in half lengthwise. To make the cutting easy I marked the middle of the sheet on each end and laid it on the floor so that a crack between two floorboards became my middle marker. Then I marked the line with a pencil, using the crack as a guide, and voila, followed the line with my scissors next. This is my favorite way to make a straight cut on a large piece of fabric because it is so quick and simple and easy.
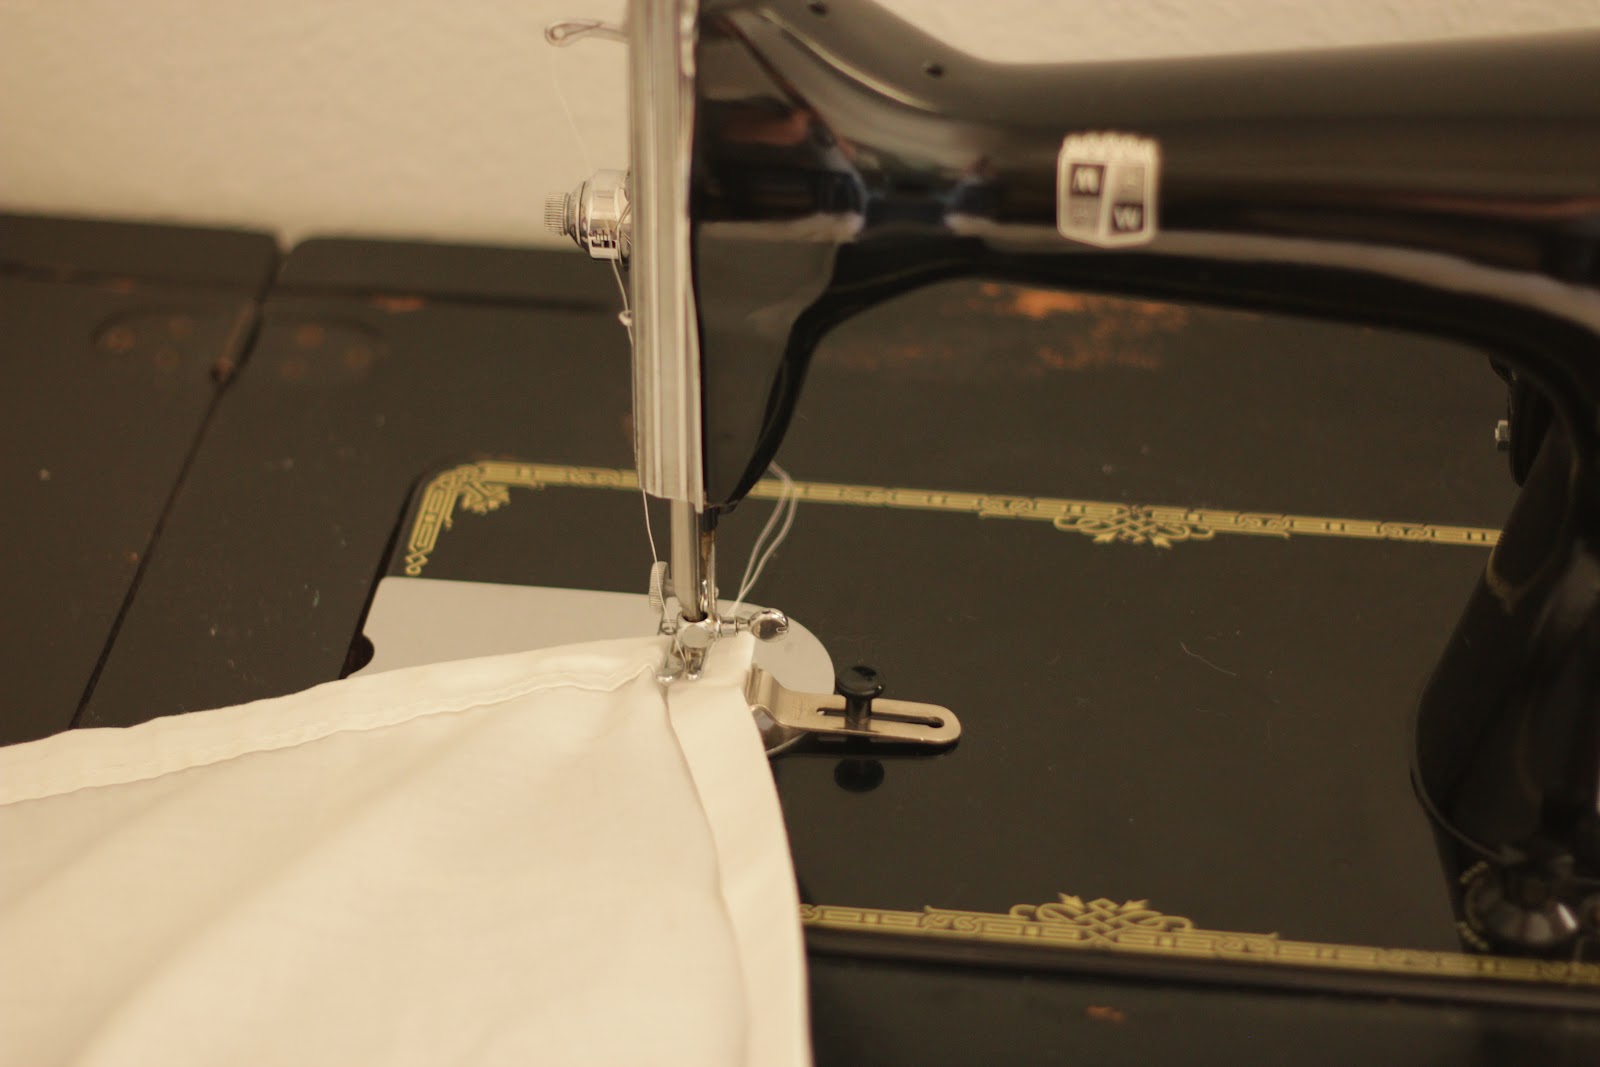
Next I double folded and pressed the two raw edge that I’d just cut. As much as I dislike ironing and surely never thought before that I would iron sheets, I love the straight seam and how easy it is to sew a seam after pressing it. Then I sewed it up.
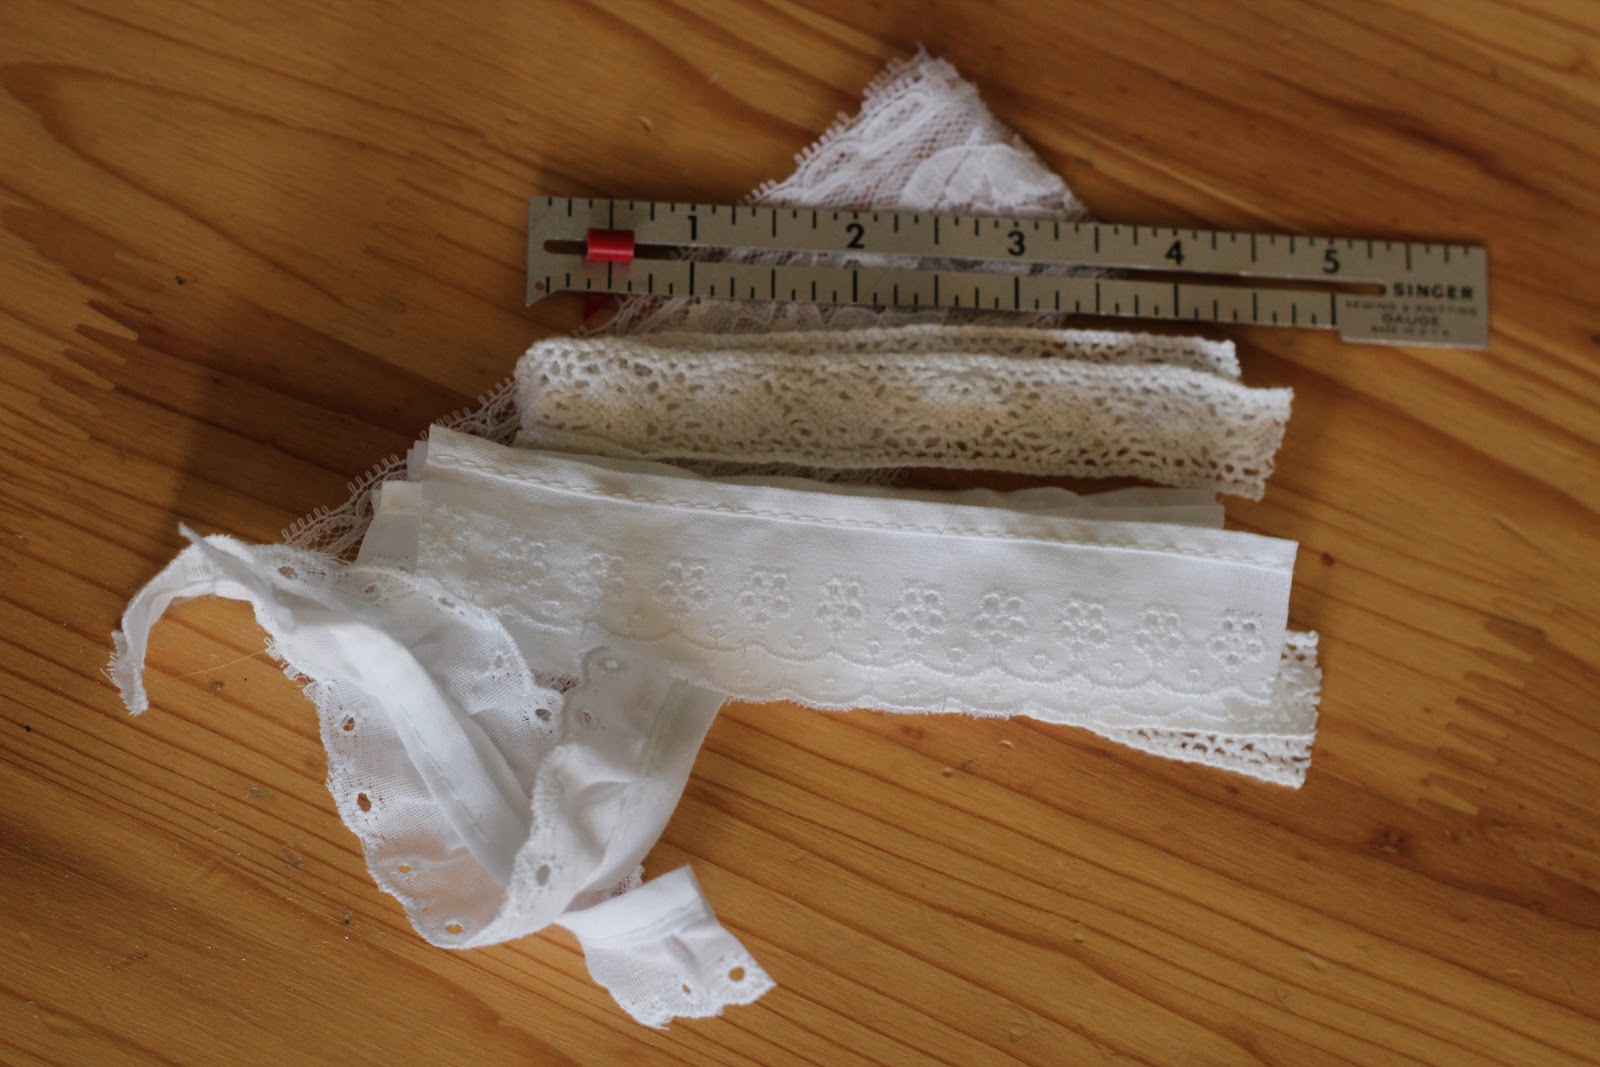
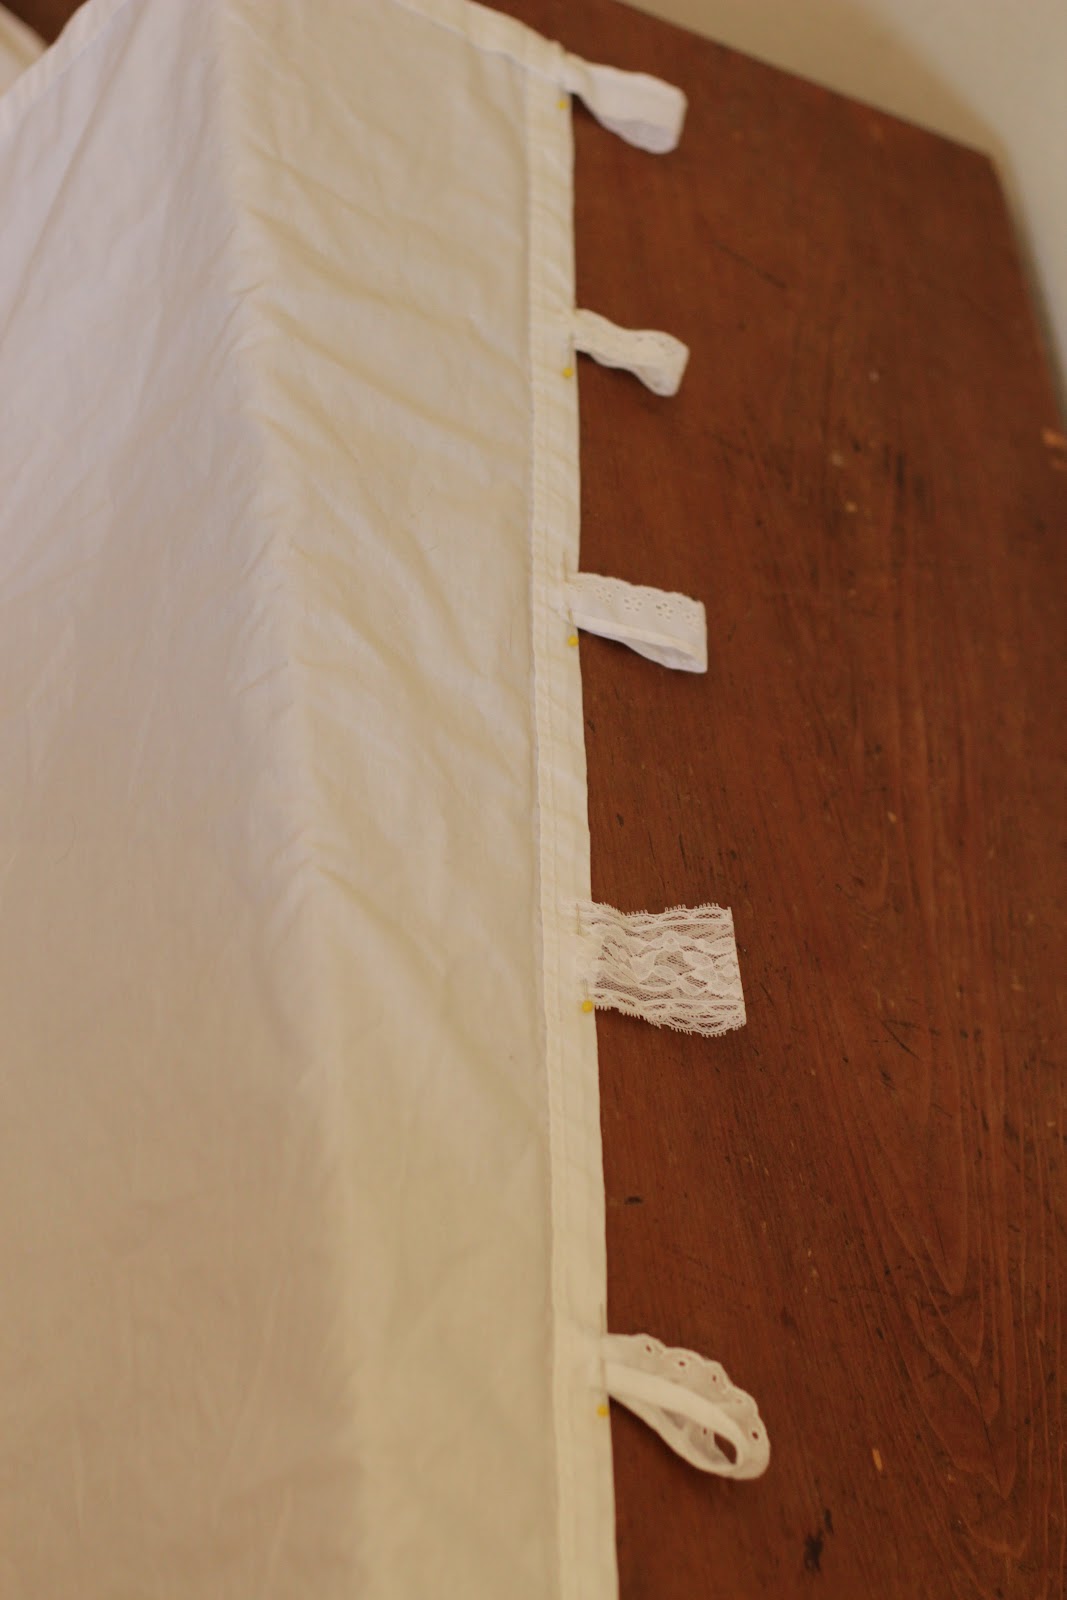
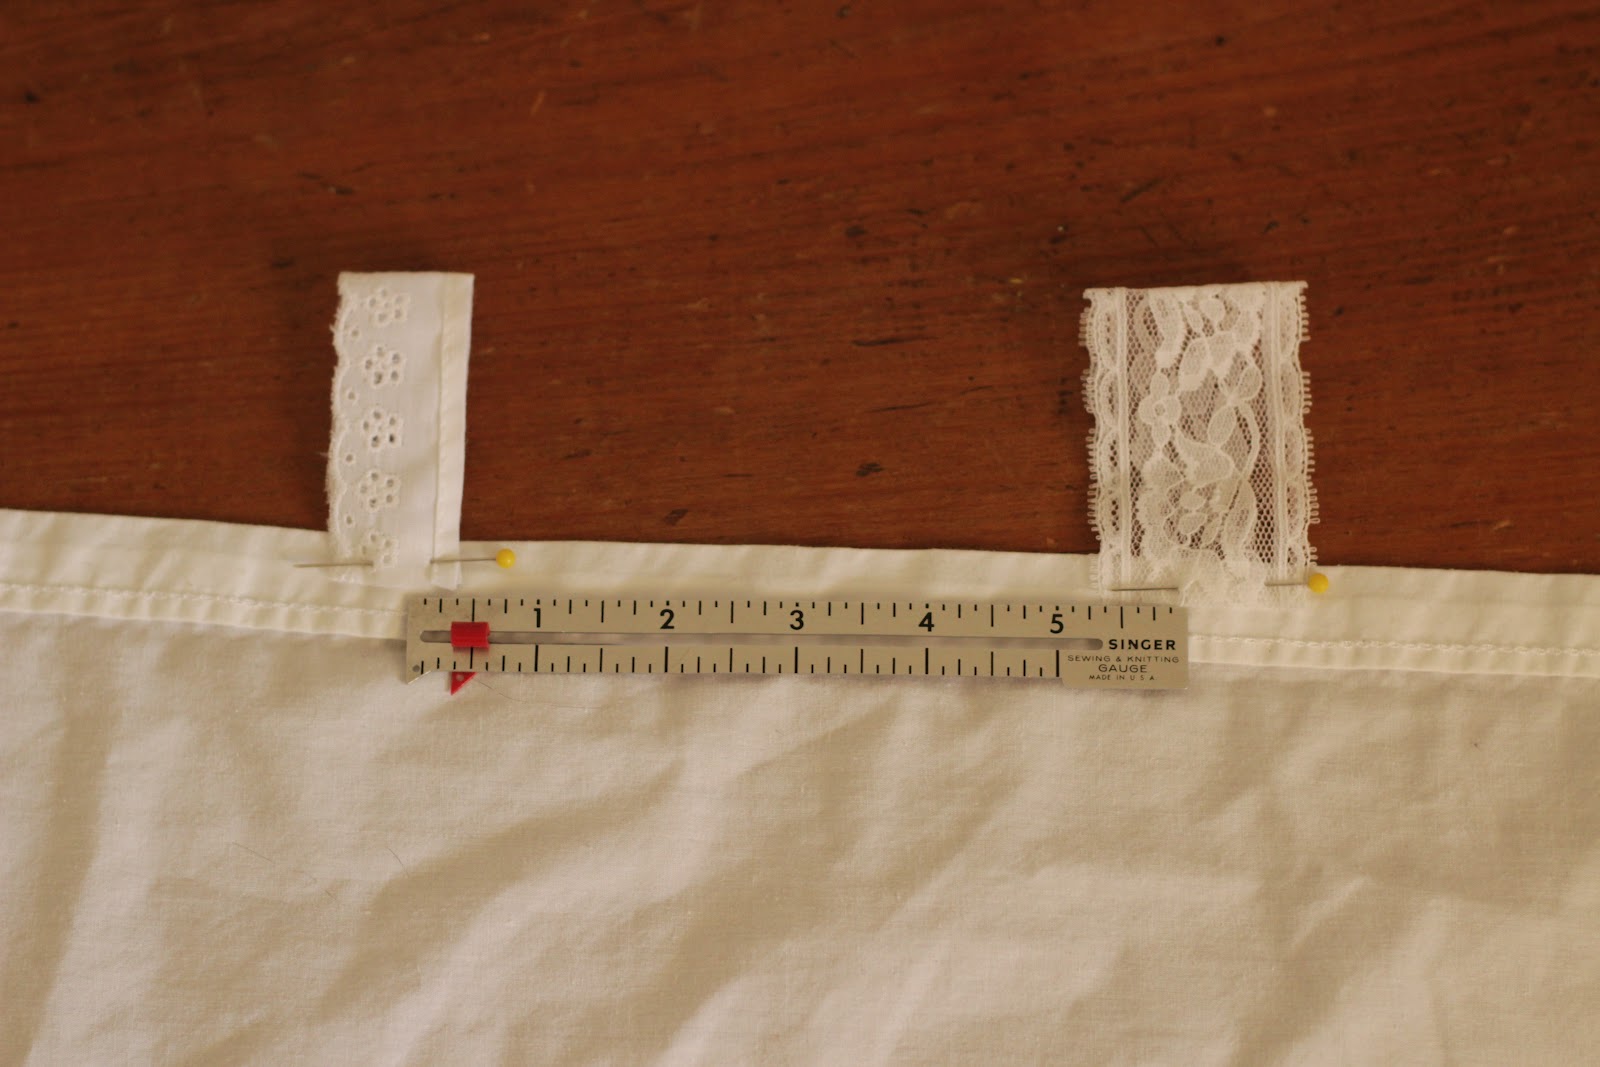
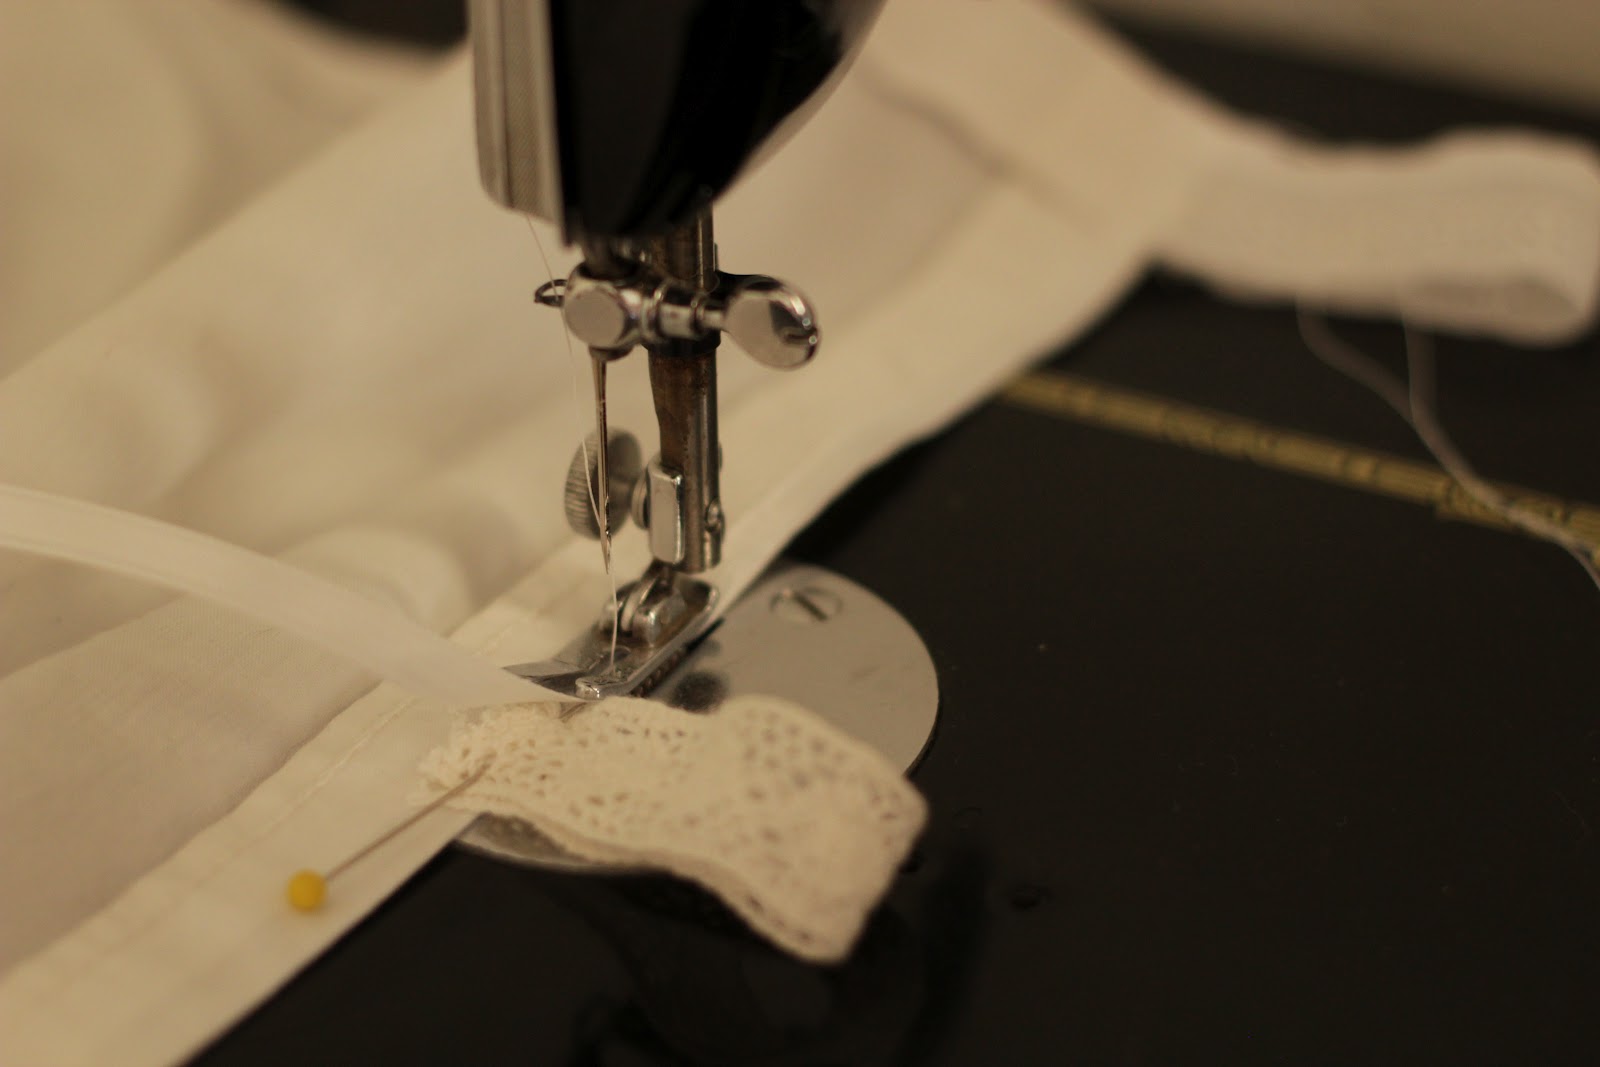
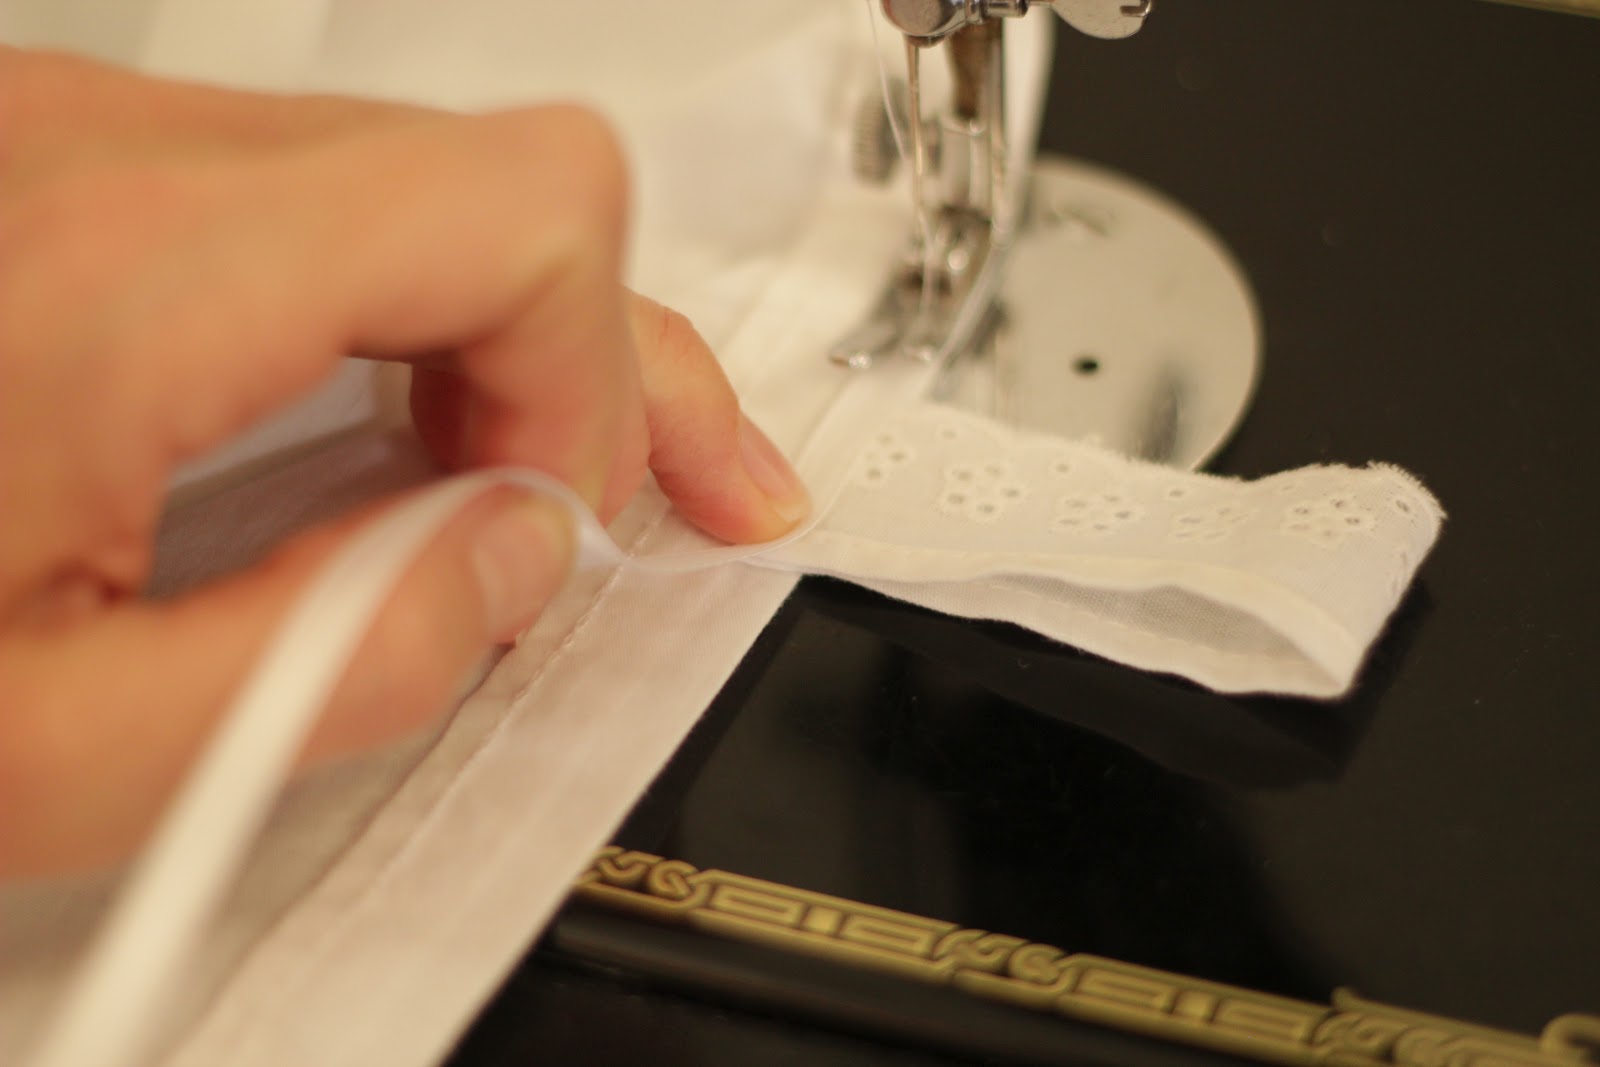
Next I cut the lace bits to about 4 1/2 inches long and folded them over and pinned them about every 5 inches along the top of the curtains. I wanted to reinforce the lace so I laid a ribbon along the top as I sewed. My little girl won’t be hanging on her curtains but this will make them a little less fragile. The curtains were done at this point and I surveyed my new window treatment that actually cost only $2. The $2 was for the curtain rod that we got at IKEA. I was very happy. And then I decided they needed ties.
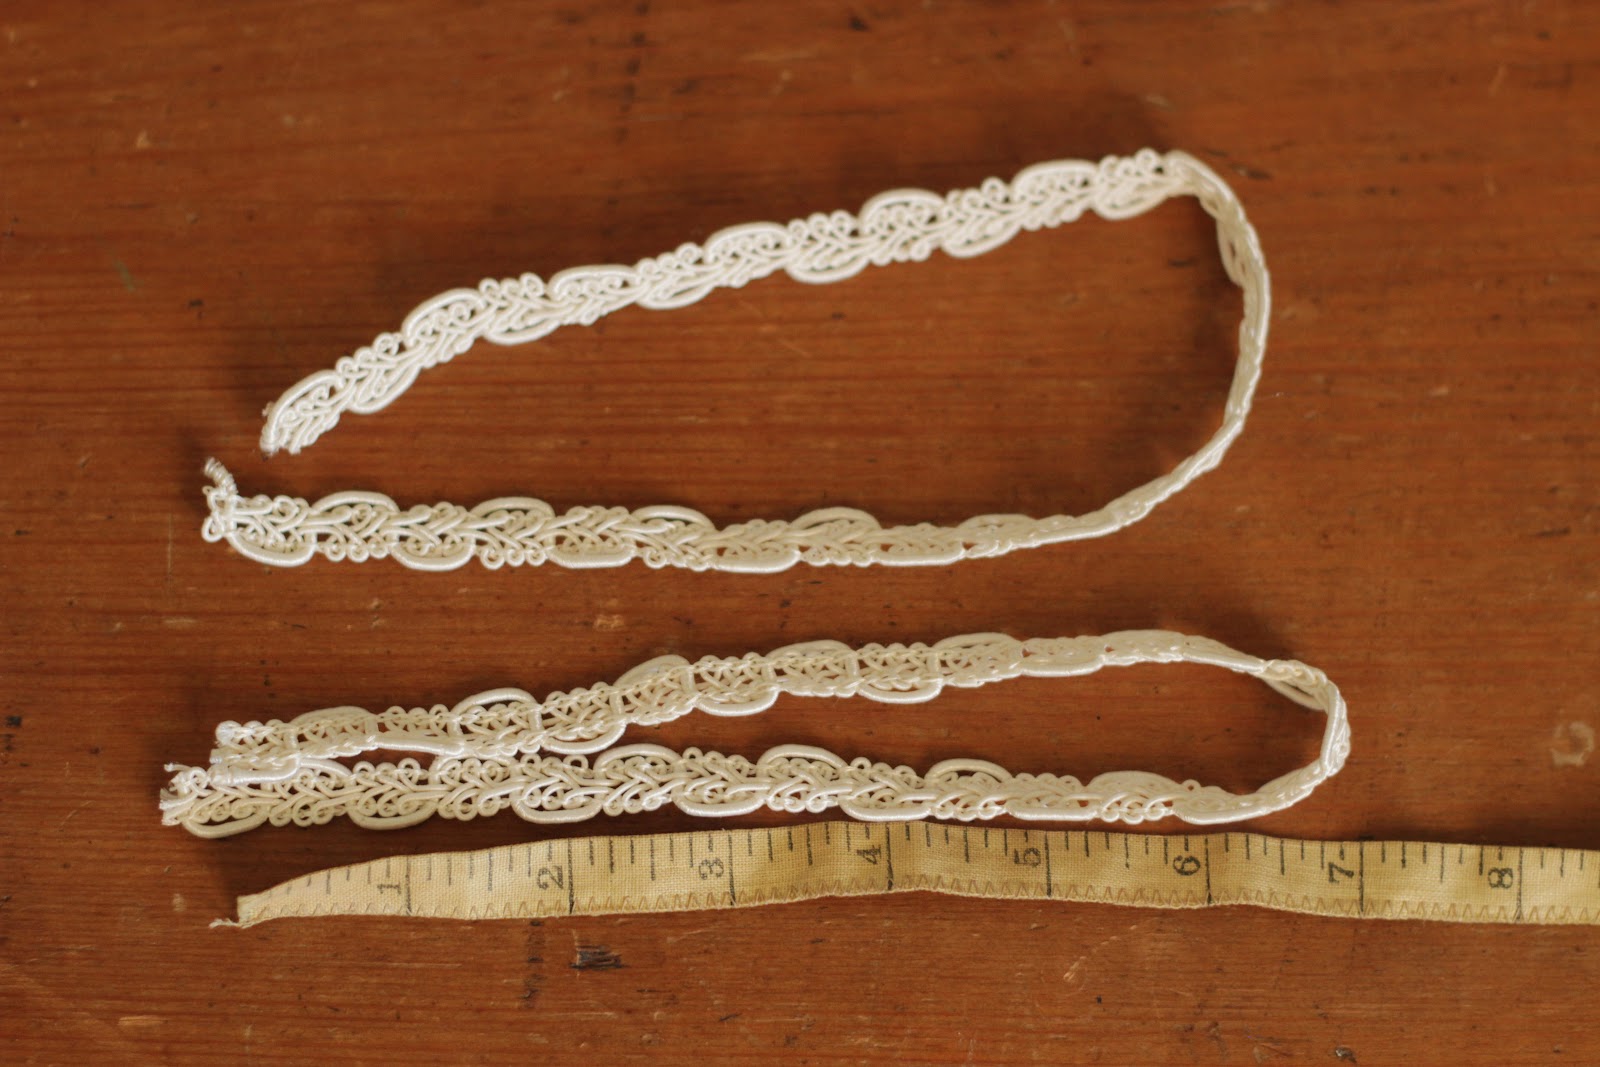
For the ties I cut some trim scraps I had into 2- 15 inch pieces.
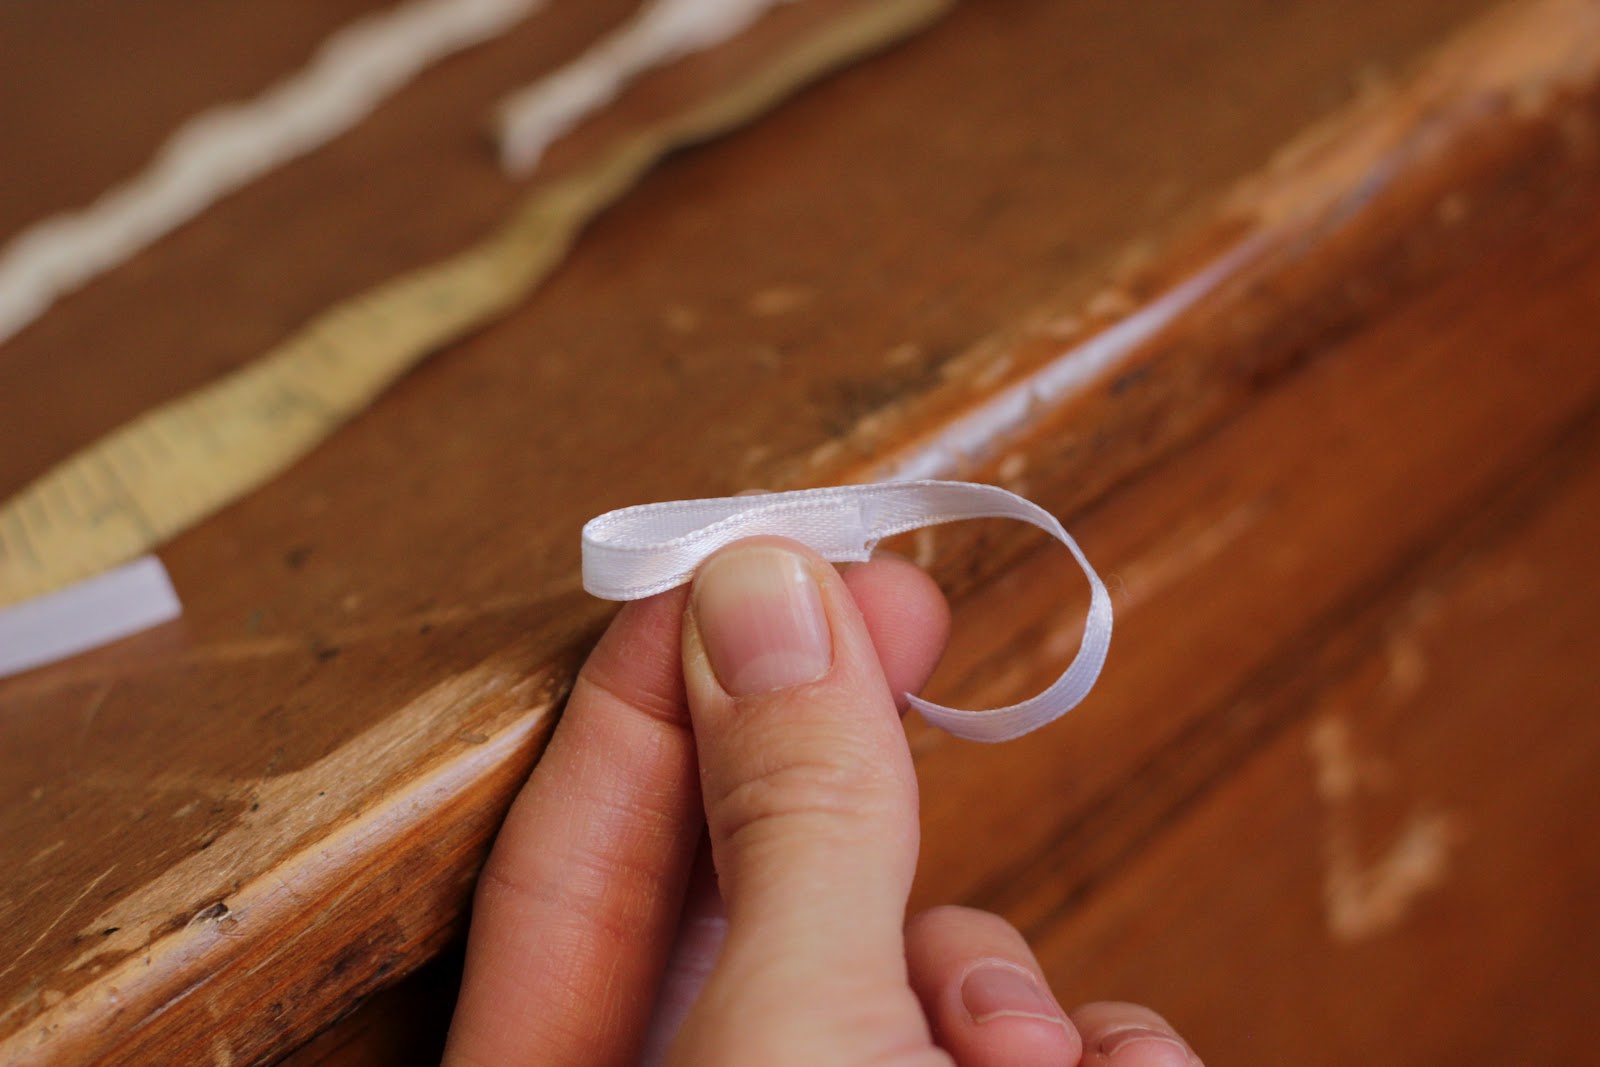
Then I cut 1/4 inch white ribbon into 4- 3 1/2 inch pieces.

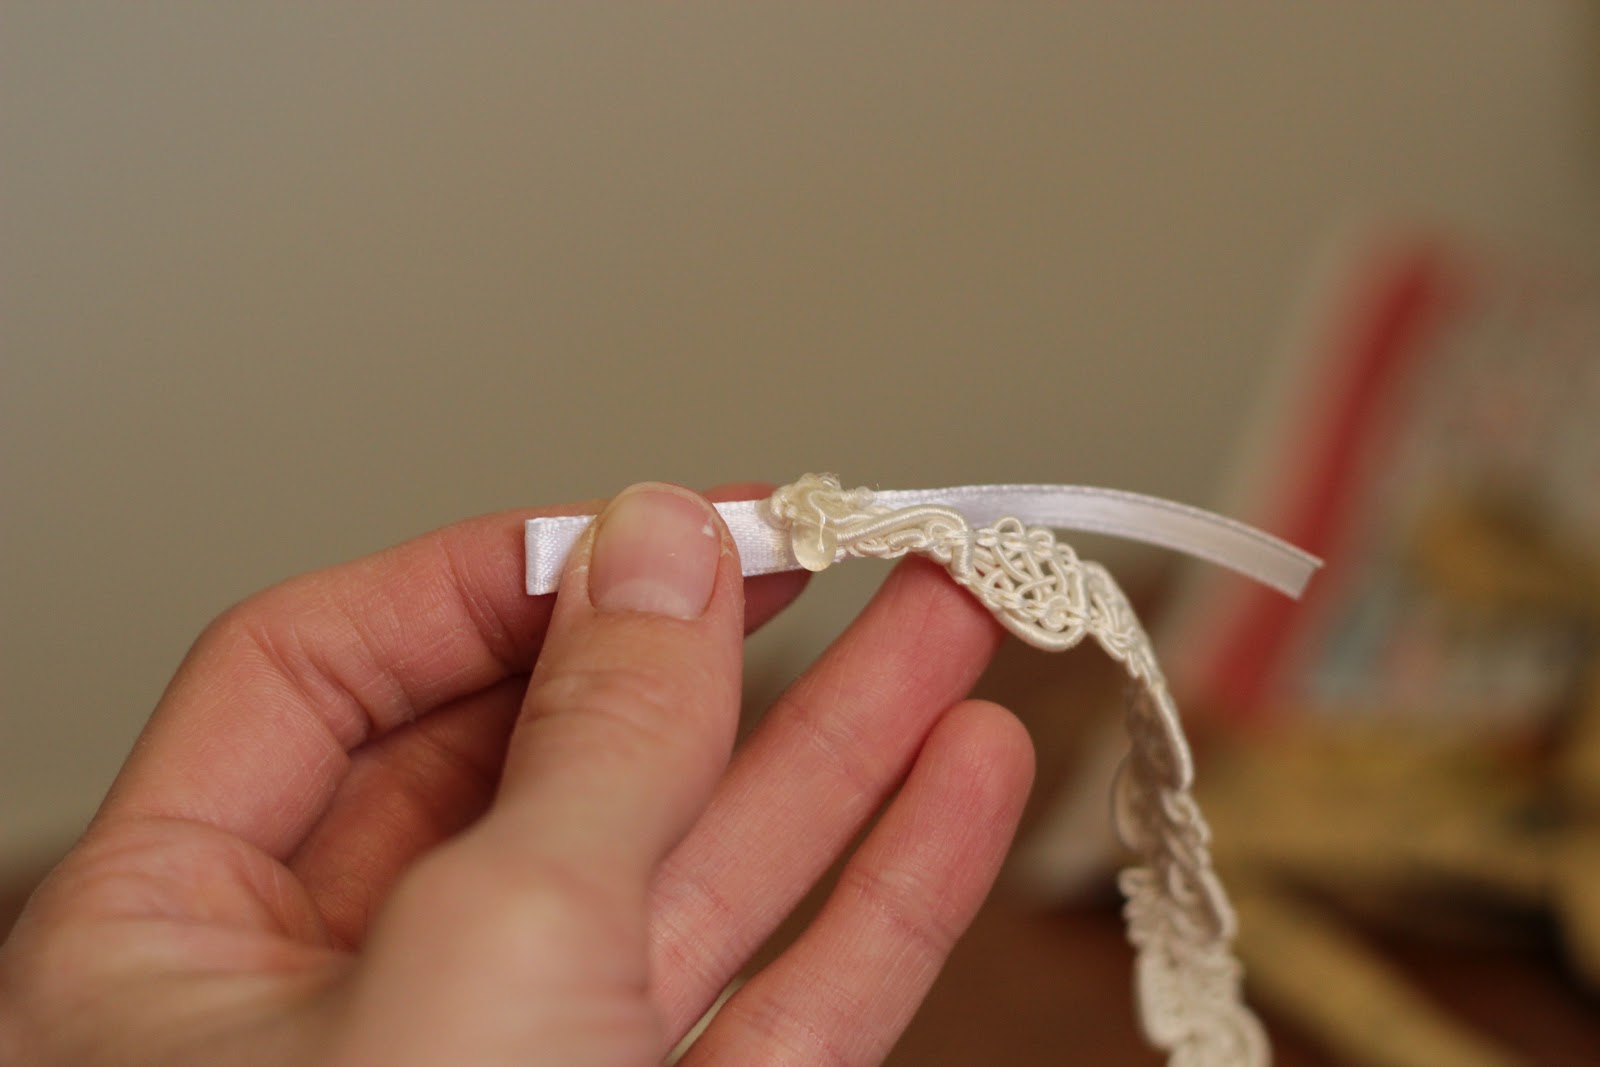
Then, I folded over one edge of a ribbon to make a 1 inch long loop…
…and used a drop of glue from my glue gun to secure the end of one of the trim pieces onto it.
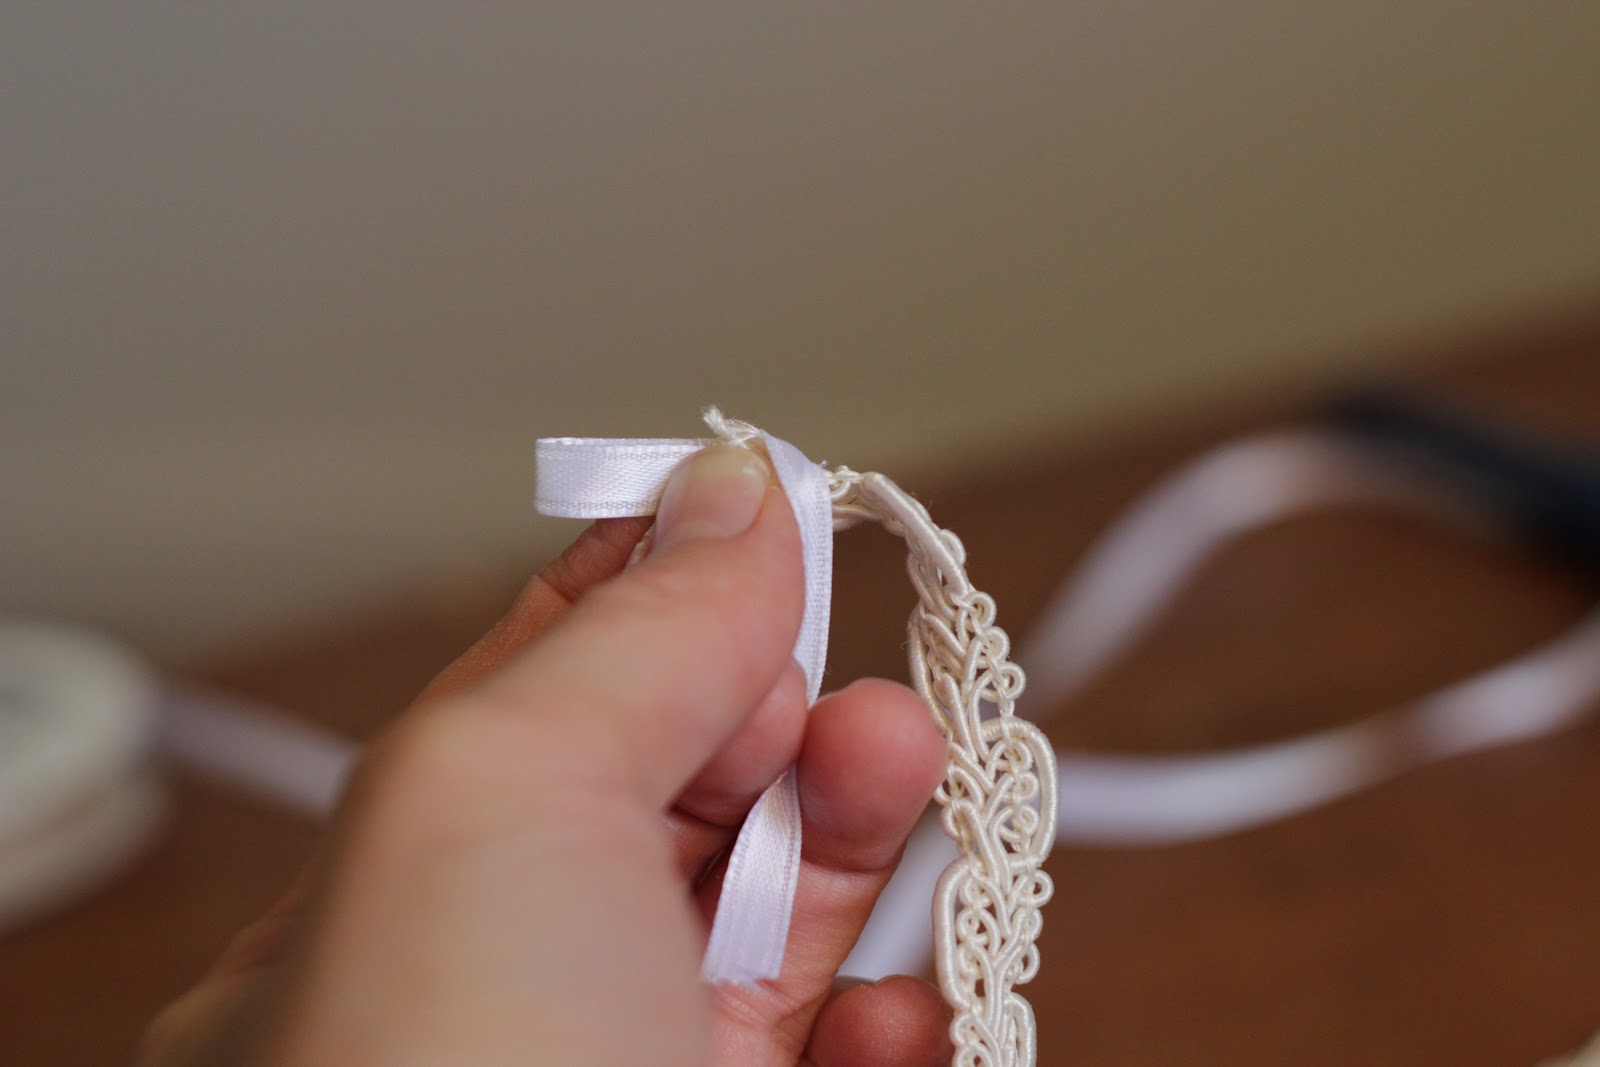
I wrapped the tail of the ribbon over the raw edges and around and around gluing it as I went. (Try not to burn yourself. I always burn myself when using my glue gun. I don’t know that there is really a way around it. Then again, maybe you’re super talented.) When I got to the end, I just cut a fresh end on the ribbon and glued it down but if you have nimble fingers you may be able to fold it under or tuck it somewhere. Repeat this with each end of each trim piece.
 |
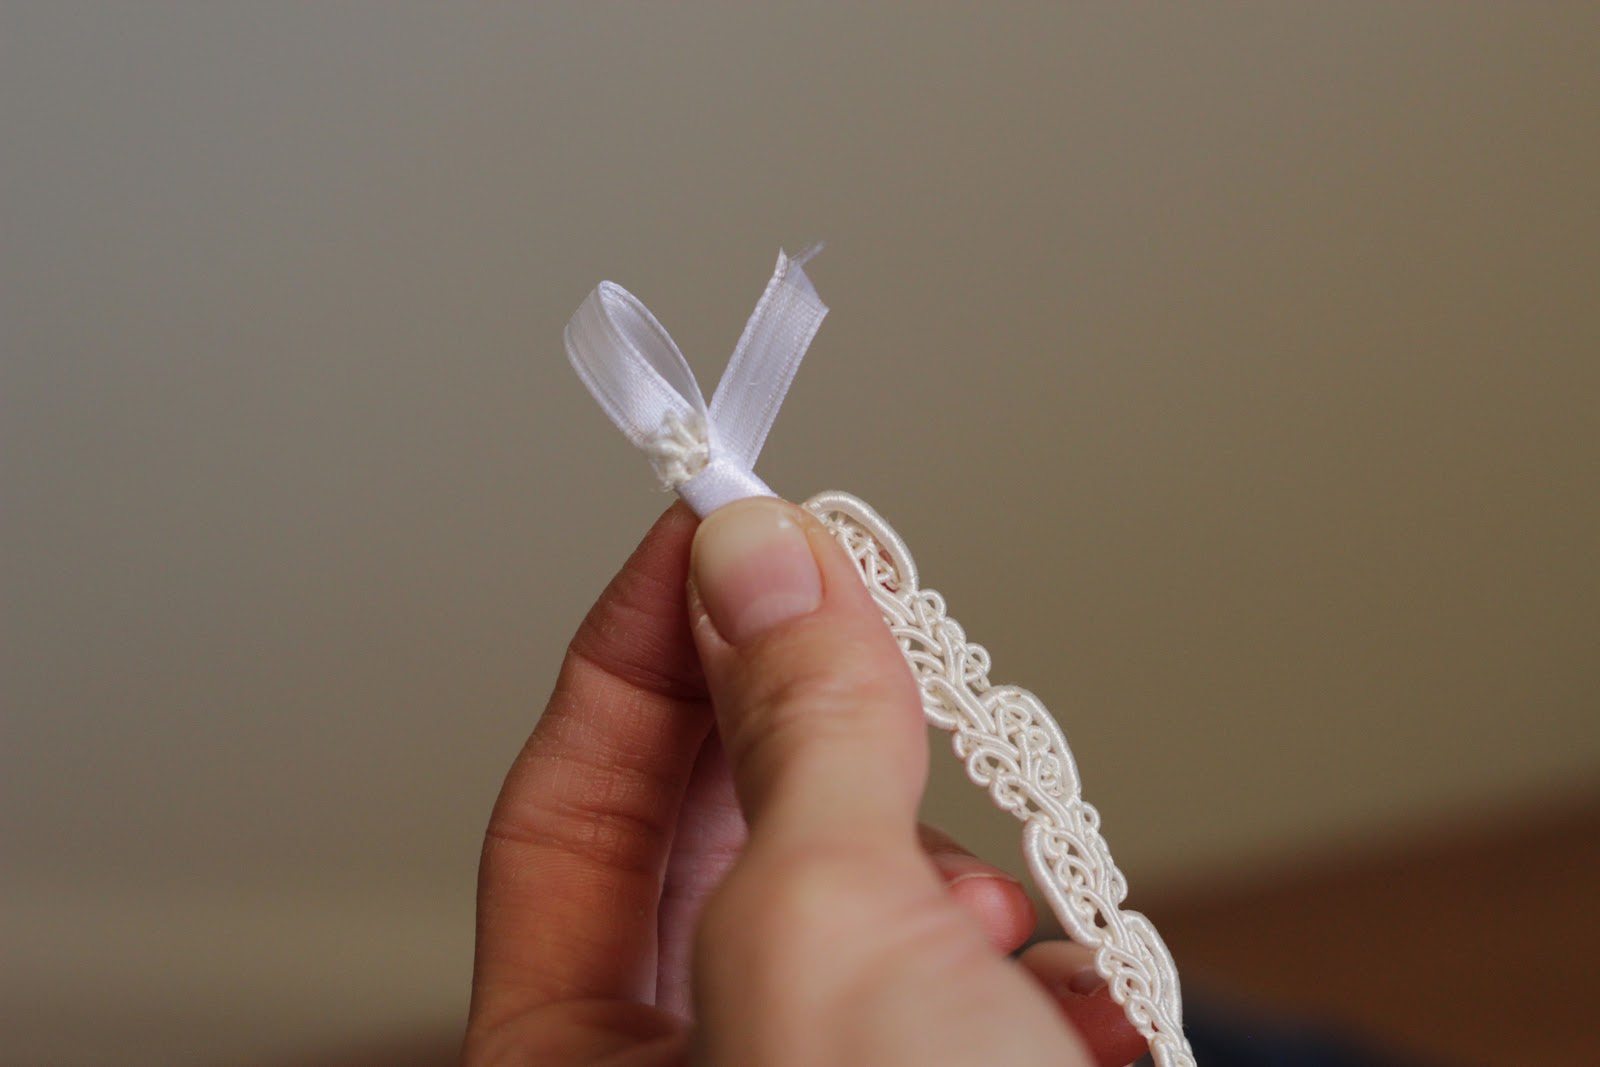
| finished tiebacks |
Next, I just screwed some hooks that I found in the garage into the wall where I thought it looked good and put the ribbon loops over the hooks.
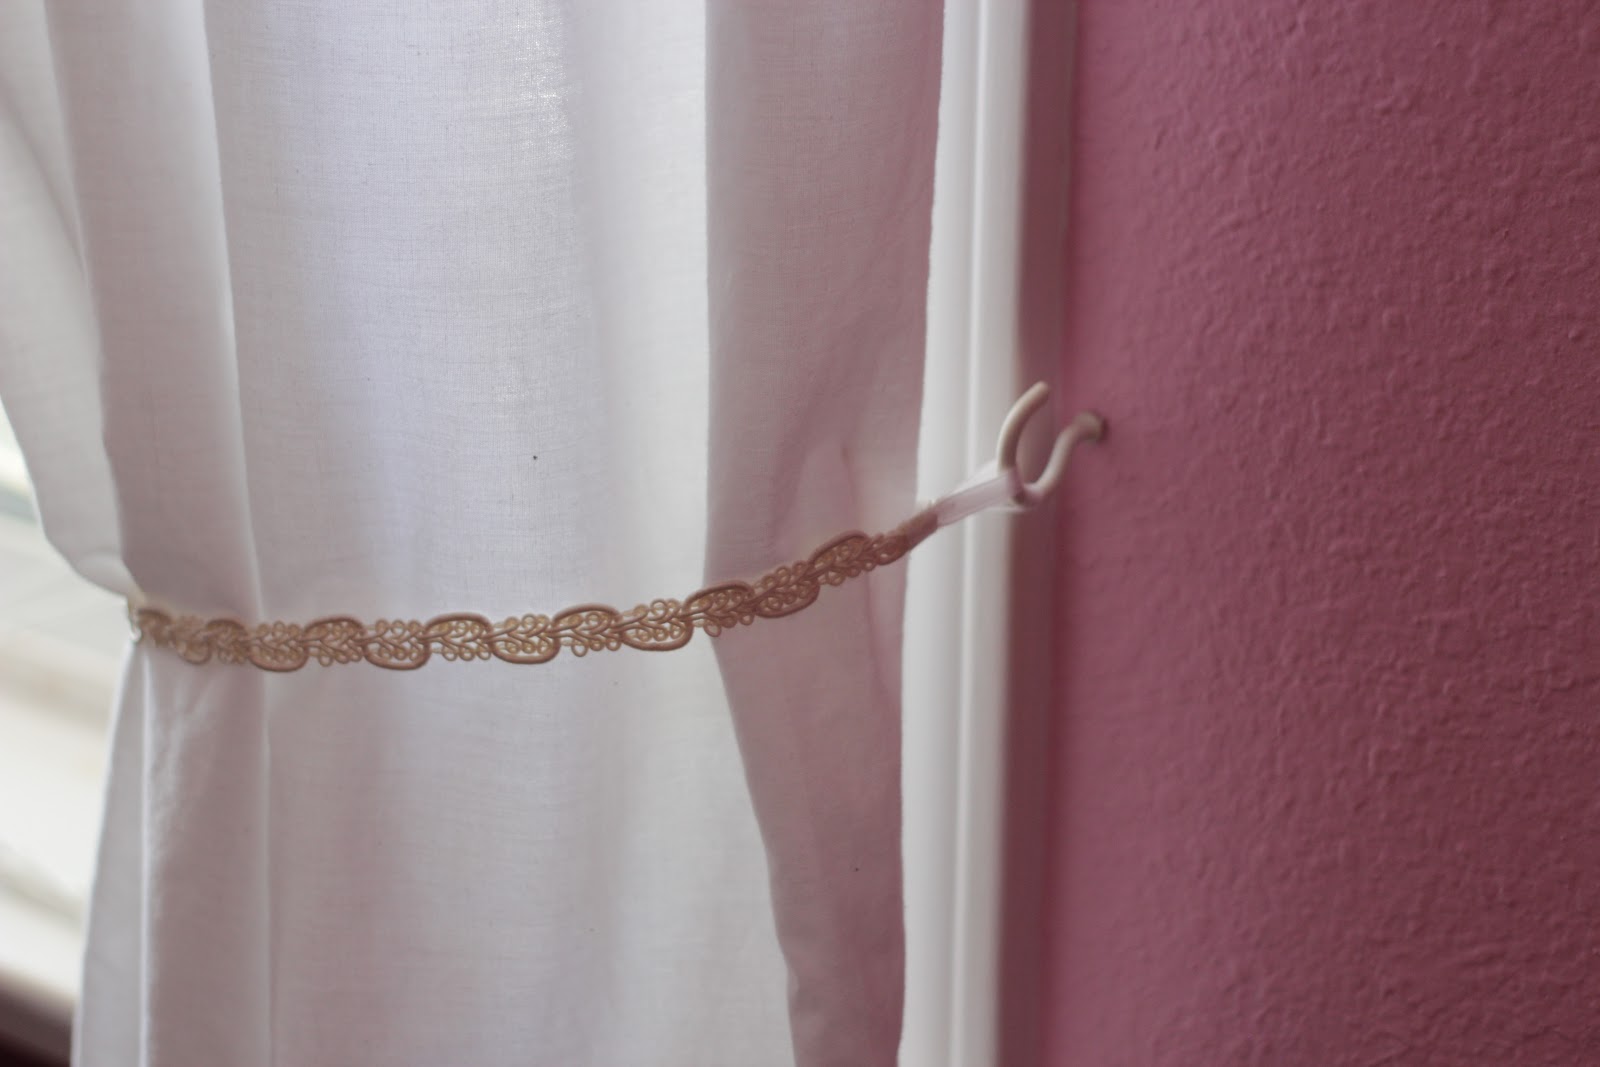
They look so pretty! I’ve been meaning to make curtains for my bedroom and kitchen since…um…2009.
Thanks, Anna! I am also horrible at making curtains. Though I’ve always wanted to, my only attempt before now ended in very wonky curtains about 8-9 years ago. I’m now good enough to cut straight and square my corner. 🙂 Hopefully I’ll really get all these done though!