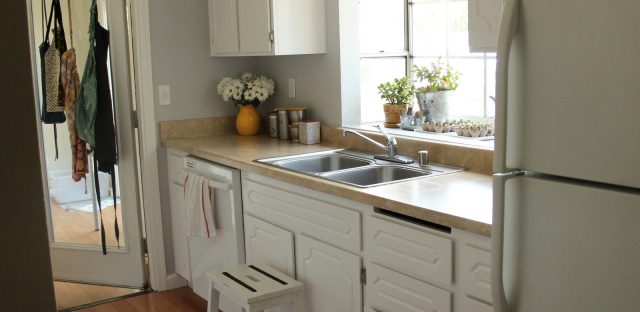
When I posted about my kitchen I didn’t want to bore you all with the details. Plus, I don’t consider myself an authority on the topic but I have learned from some amazing people over the years and have gone through the doing of it a few times. I’ve been getting questions from people interested in doing their own kitchen projects and I guess a willing audience makes it easier to share. 😉 So here are the tips and the hows. If you were inspired to remake your kitchen the cheep way hopefully some of this will help you out. I’d love to see pics of final projects by the way.
Room Prep
Prepping the room is a job of its own!
1. Move everything out of cabinets or drawers and off counters and out of the kitchen. We moved our fridge out to the dining room and just worked around the other appliances. All our dishes and food were in the dining room or pantry which was functional for us. Unless you are working on it full time, this project will probably take a couple weeks so plan for it.
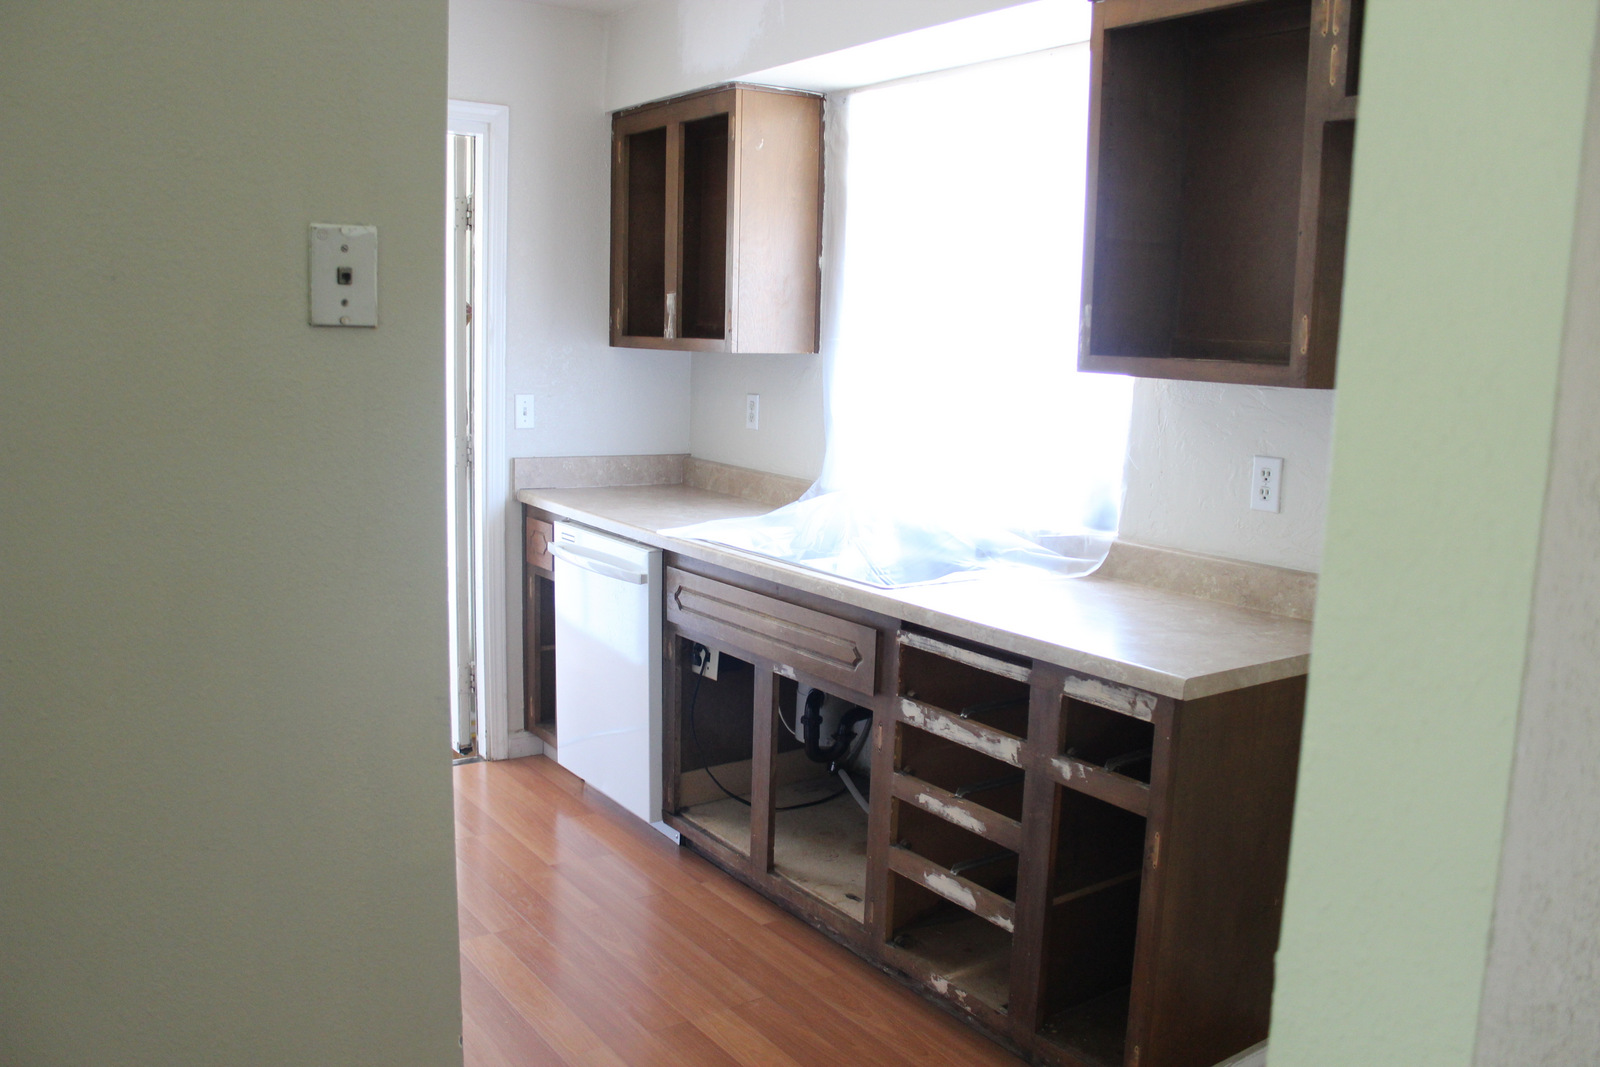
2. Take off the cabinet doors and take out all the drawers. We banged out all the shelves in our cabinets because they were stained and warped and gross and pried and pealed off all the shelf coverings that remained.
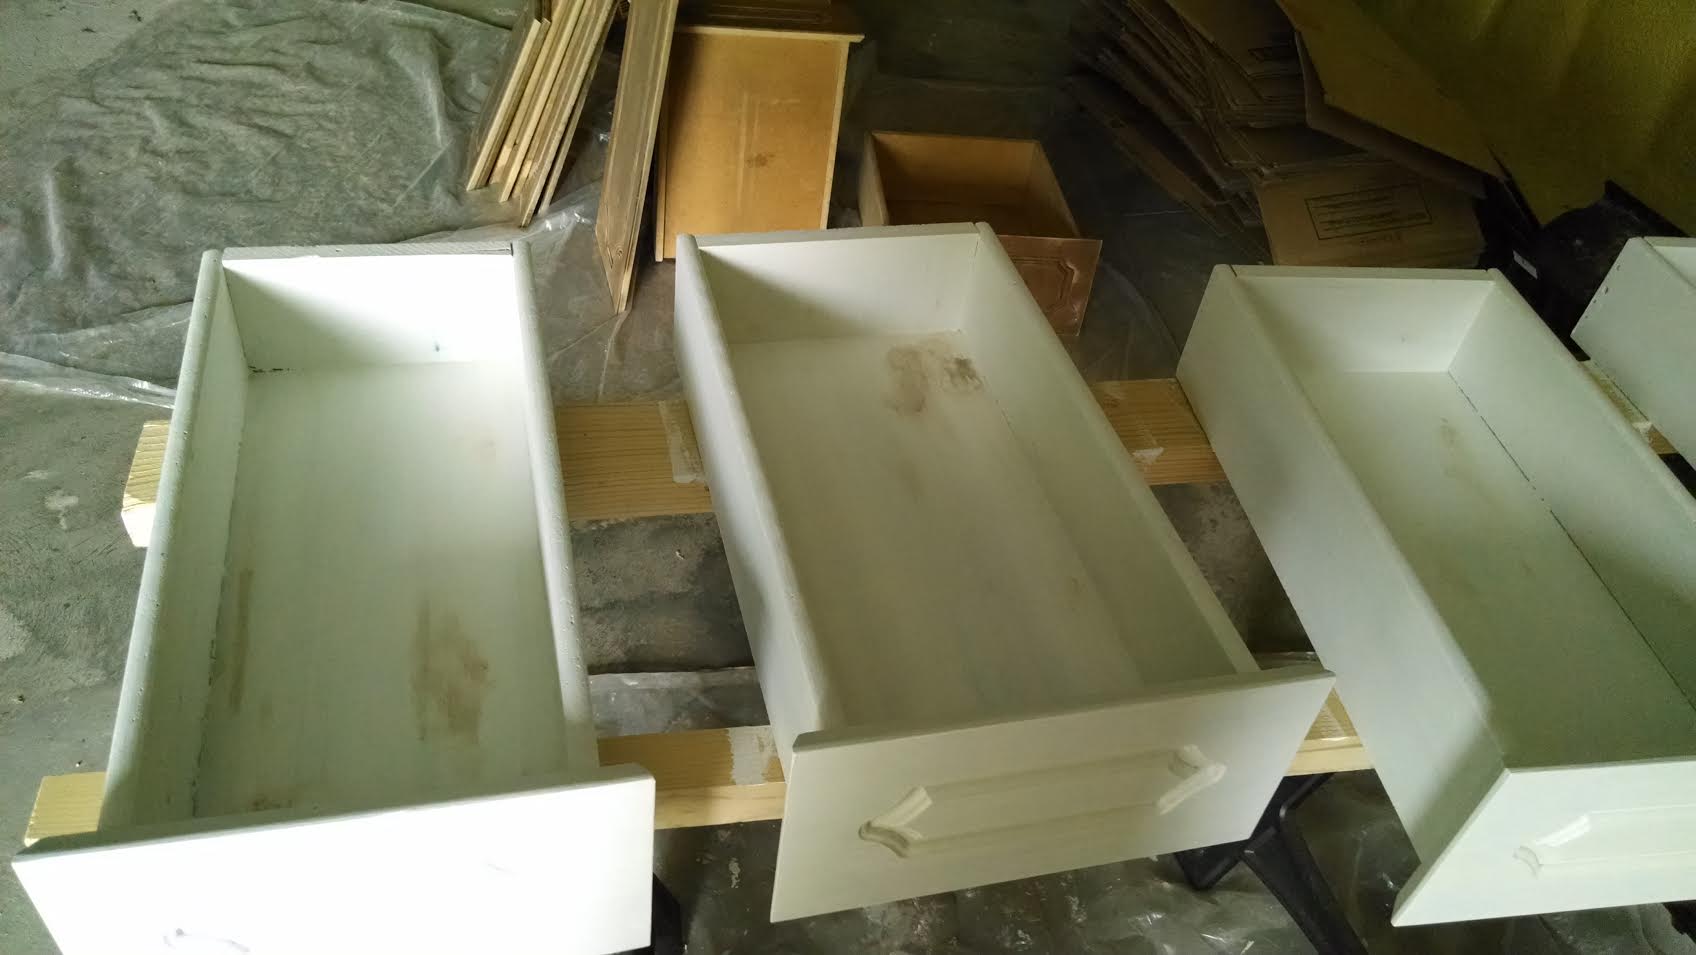
3. We prepped and painted the cabinet doors and drawers in a separate area because they take up a lot of space. So set up a space for that. We used a work table and some boards on saw horses to paint each one then we set them on scrap wood blocks covered with wax paper to dry. The wax paper helped the fresh paint from sticking.
4. I was painting the walls and ceiling and all in the kitchen so I took off outlet covers, return vent covers, and light surrounds.
Surface Prep
Yet another vital part of the process.
1. The prep work was intense on this project because we were careful to scrub and scrape and do whatever it took to get all the grease and grime off our cabinets, walls, and ceilings. It’s important for the paint to be able to adhere and cooking oils and oils from food and hands tend to get all over the kitchen.
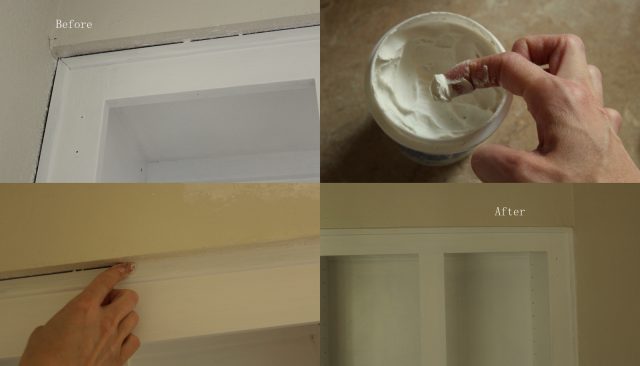
2. When the cabinets were clean as a whistle we filled in gouges, holes, and gaps with filler. I am especially vigilant and take lightweight spackling on my fingertip to press into every crack at wood and trim joints. Call me crazy, but especially when you are painting wood white you want a seamless look. It makes all the difference! See? (You will notice in the picture that we primed, then I used the spackle before painting. You can do it before priming too.)
3. Next we sanded the surfaces to rough up the finish. We started with 150 grit, then finished with 220. When sanding in the kitchen, we hung some old shower curtains in the room openings or closed doors and wore masks. It helped keep the sand from going all over the house and boy was it dusty in there! To clean up all the dust we brushed most of the dust off the surfaces with a bench brush, vacuumed with our shop vac, and then wiped everything down with a damp cloth.
4. When your surface is totally ready use some painter’s tape if needed. If my husband were writing this he’d tell you to use painter’s tape at every edge you are painting. I only used it under the lip of the counter and on the floor under the cabinets. To each his own. I like to cut out and hate the mess of painter’s tape. He likes the speed of just painting.
Painting
Now to the actual act of painting, almost. Primer comes first.
Primer: I like to use cheep paint and primer but I didn’t this time. I tried to by starting out with 2-3 coats of Kilz 2 which is a latex primer with low VOC. My awful stains bled right through as you can see.
So we moved onto Zinsser Oil Based Cover Stain. It was about $17 per quart, not low VOC and I only used it on the stained areas. A few coats of it covered them well. It got nicknamed “the stinky paint” because the kids had to stay outside when I used it and I wore a mask. After the primer layers, we lightly sanded and again wiped everything.
Paint: Then we used some expensive paint. When I’d painted cabinets before, I had trouble with them sticking and peeling very easily before they fully cured. I really didn’t want to deal with that in my kitchen so I used an enamel paint especially for cabinets. After about 3-4 coats of Behr Enamel Paint in Polar Bear, the cabinets were done. They have held up amazingly! We waited a few days before hanging the doors and immediately put little felt circles on them and the drawers but I’ve not had a single nick. You aren’t supposed to wash them for a week after they are painted but the day we put them up they got smudges. They washed very easily with a damp rag. I love the durability! The only thing I did not love about the enamel paint is that it was thick and dried a little too quickly. This was probably only a problem for me because I was painting mostly in 86 degree F very dry weather. This was testing the limits of the paint and on the larger doors where I had to paint in the details then go over with brush strokes to make it look nice, it would dry before I could get the brush strokes on and looked just a little not perfect. I painted one day when it was 65 degrees and raining. (I was painting in our shop with the garage door open.) The paint was just the right thickness and had a great dry time that day. For the walls I finally found a Walmart in my area that carries paint so I had them color match the Behr Pewter. If there’s a next time, I’ll probably try to get an inexpensive enamel paint from there.
Rollers and Brushes: I’ve heard amazing things about paint sprayers and I’m intrigued. Maybe next time I’ll try it out. For me a brush gives as close as I can get to the look that I like. I try to do thin layers of paint and sand in between to get as flat a texture as I can. That wasn’t really happening with the thick enamel paint so I just went for even brush strokes. For the insides of the cabinets, drawers, and doors I used a brush for corners and a small roller with a long handle and foam covers for everything else. It’s a challenge to reach inside the cabinets without that long handle! Or maybe I should tell the truth: It’s a challenge to reach inside the cabinets with the long handle. It may be impossible (unless you are a contortionist) to reach inside of them without a long handle.
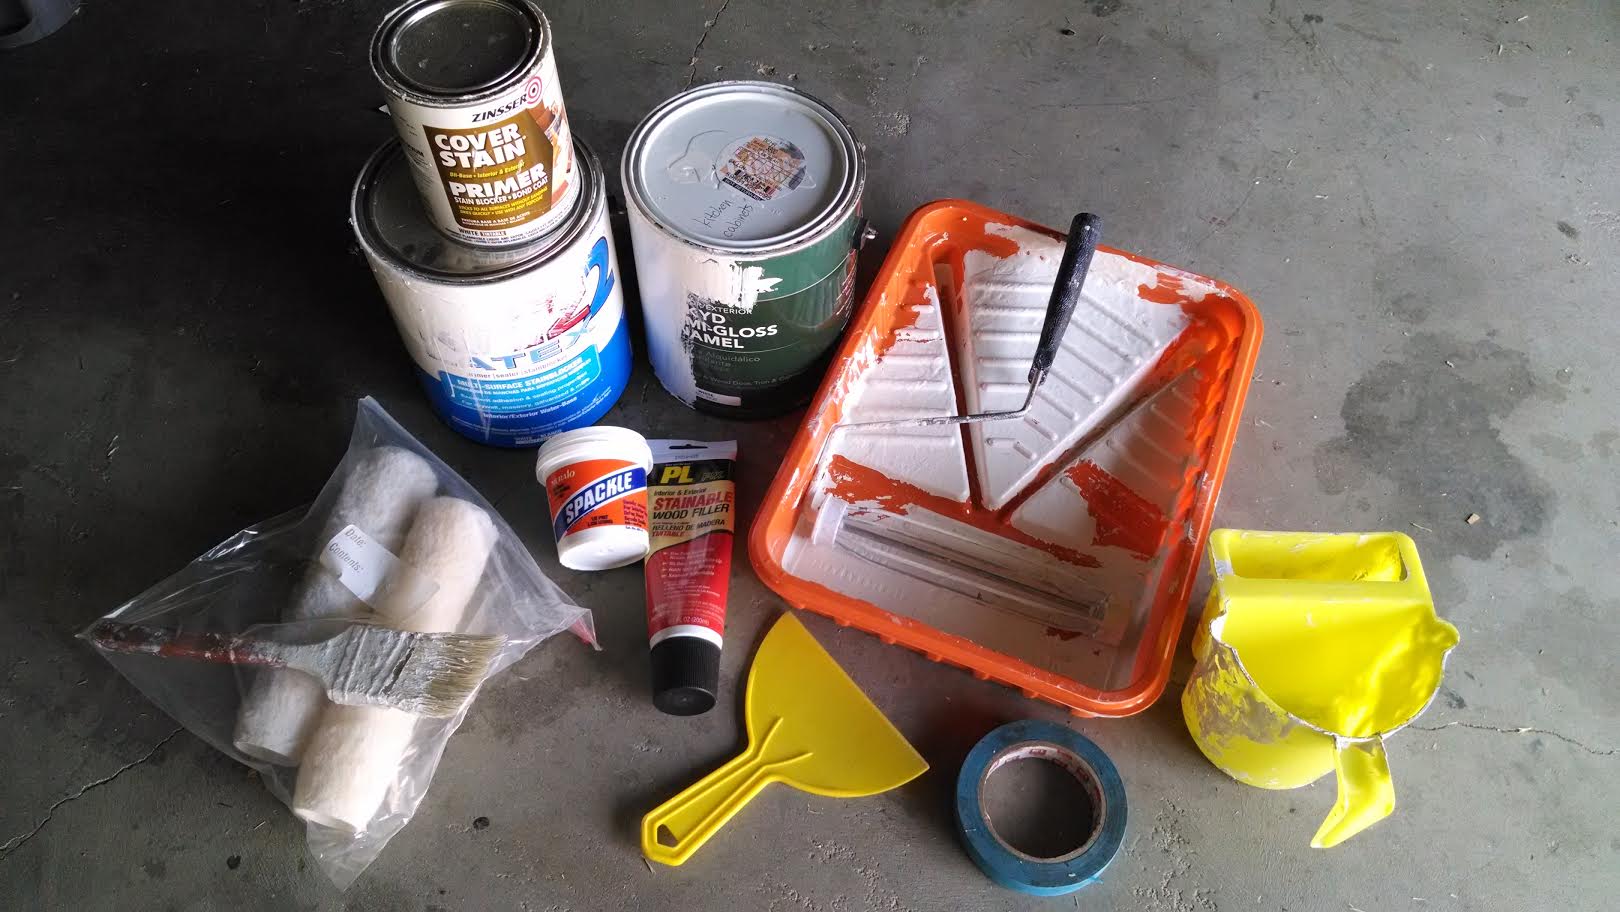
Supplies We Used:
- Screwdriver and/or drill to remove and replace cabinets
- Rags, dishsoap, scrub brush, scraper for cleaning if needed
- Primer
- Paint
- Rollers, brushes, roller covers, roller trays, and paint containers
- Wood filler and lightweight spackling if needed
- Sand paper, sanding blocks and/or sander, rags
- Painting/Sanding masks
- Painters Tape
- Blocks of wood and wax paper for keeping the cabinet doors elevated while painting
Final Thoughts
The amount of time that it took to do all that prep and all that painting (about 6-9 total layers) should be noted. It took just about forever, so don’t say I didn’t warn you. I was quite happy to have a small kitchen and repeatedly consoled myself with that fact. The result of a functional, clean looking, and pretty kitchen was totally worth it!
Our project costs for just the cabinets are approximately as follows (we had most of the supplies already):
Paint: $35
Primer: $35
Hinges: $50
Supplies (sandpaper, roller covers, masks, brushes: $50
Approx total: $170
I hope this helps give you some ideas and how to tips to help you through your project!