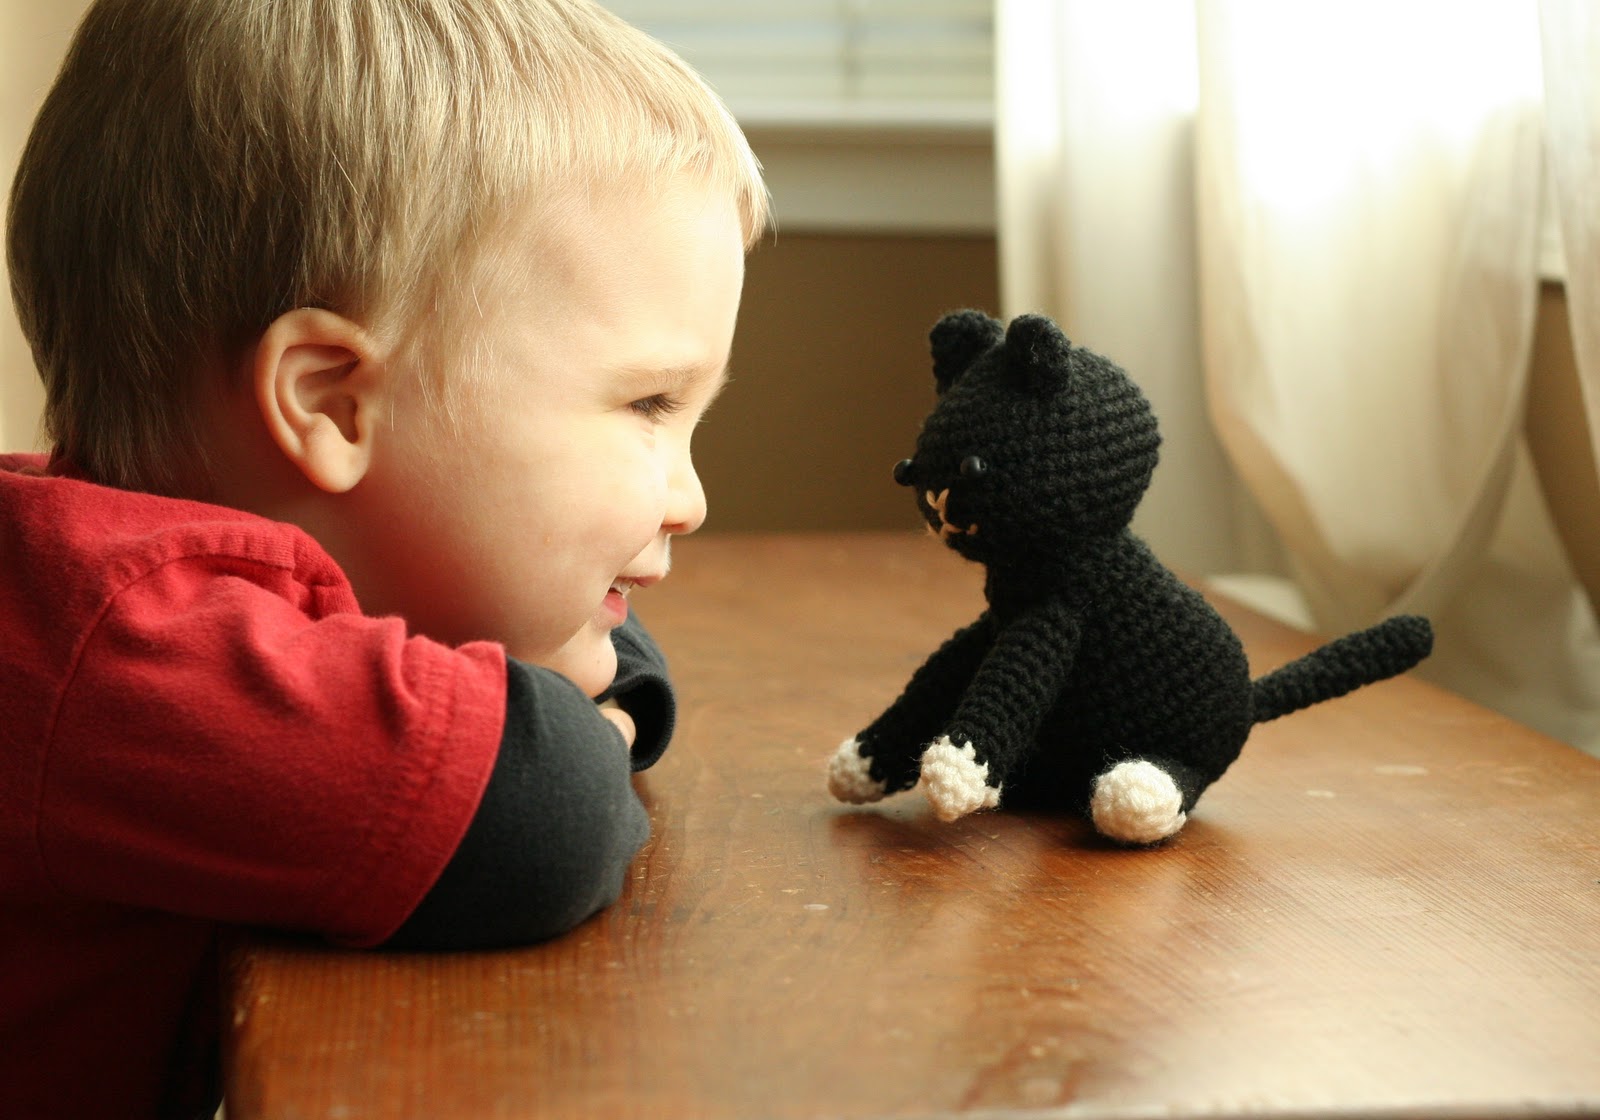
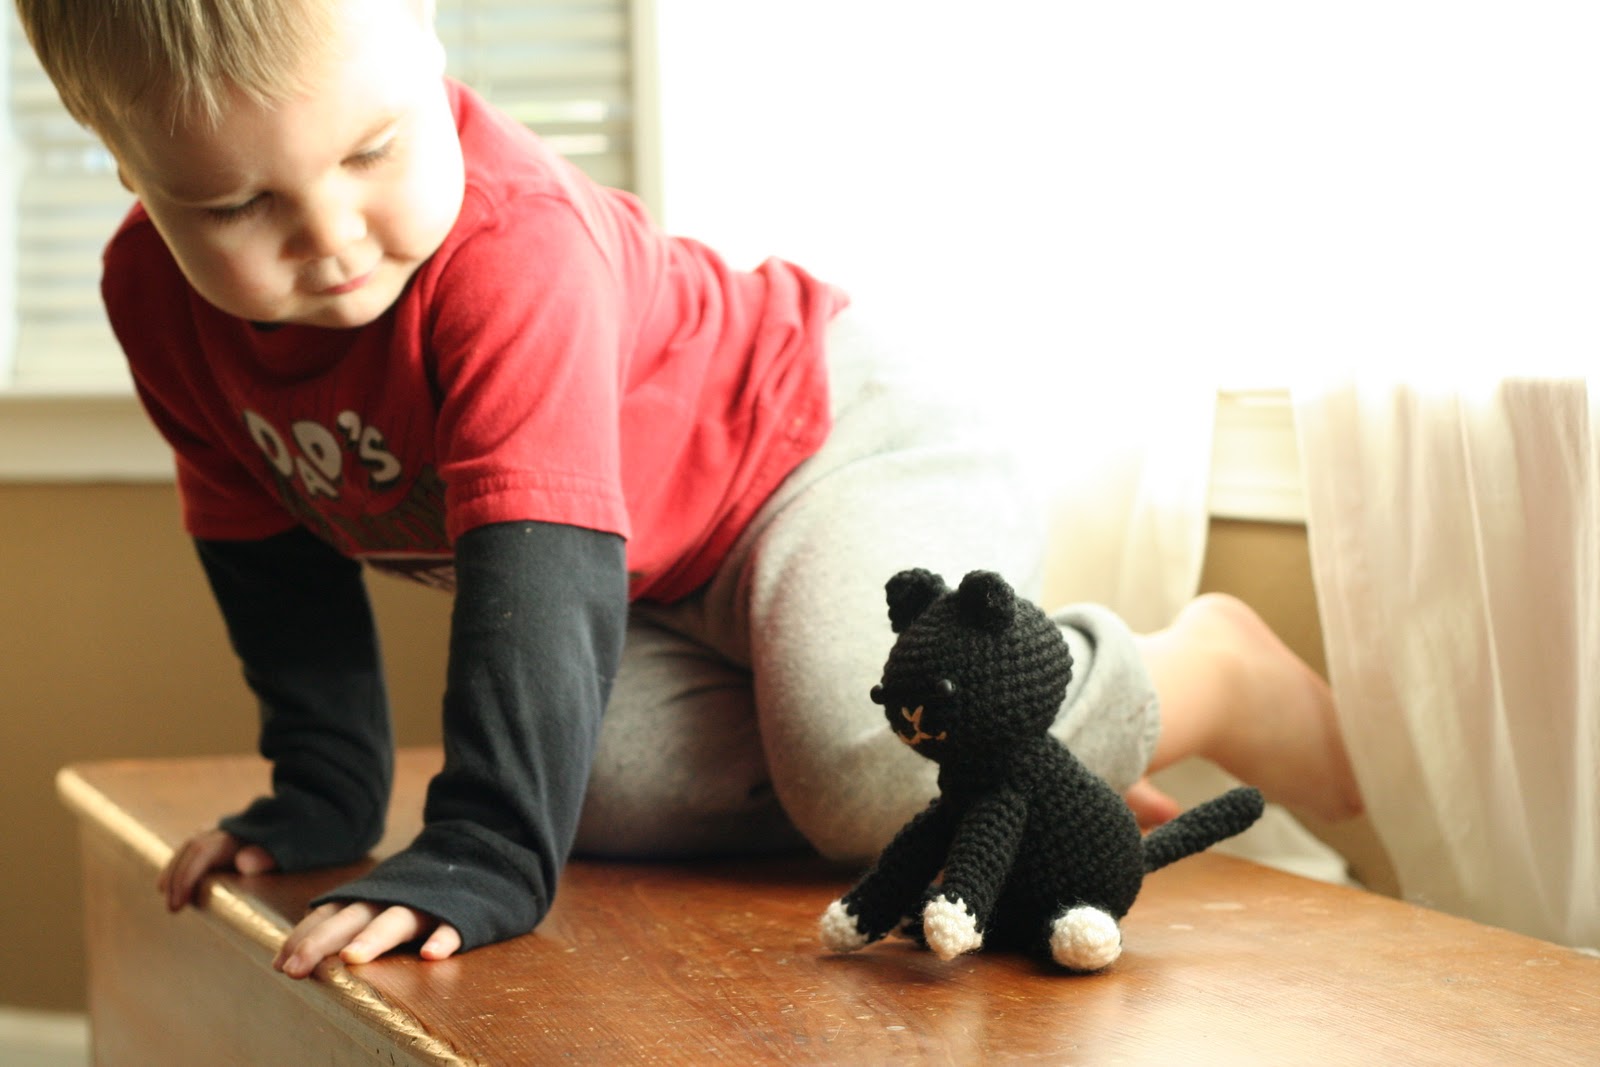
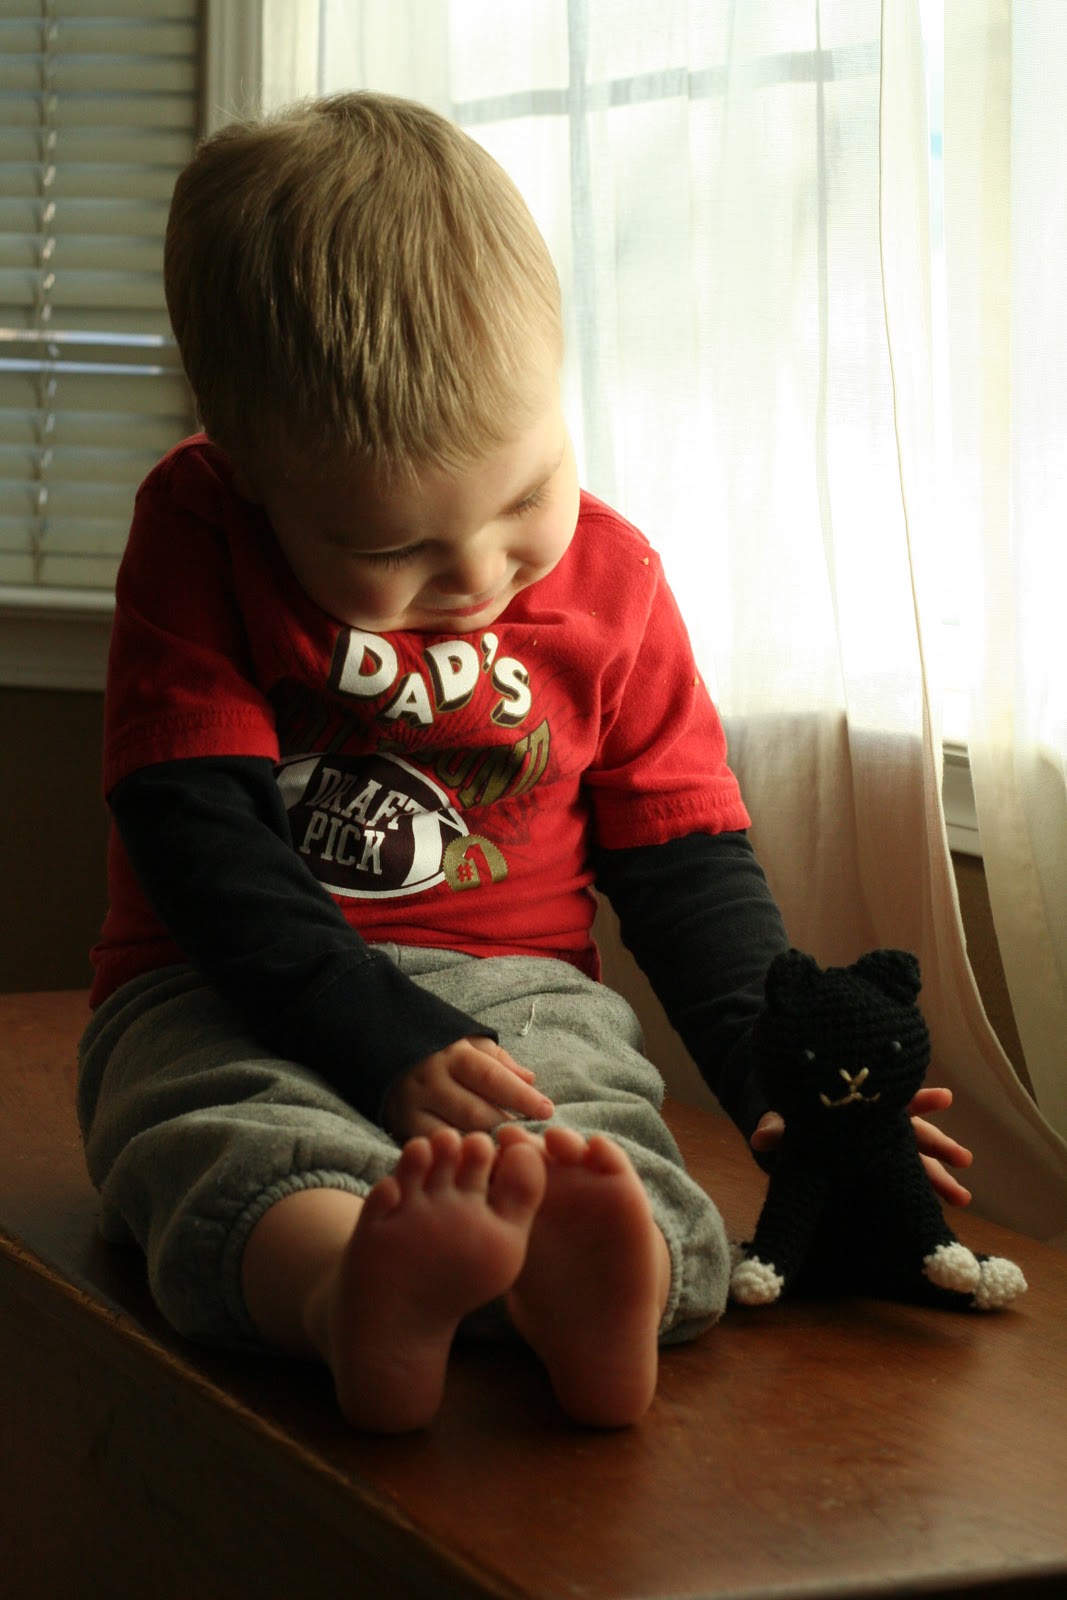
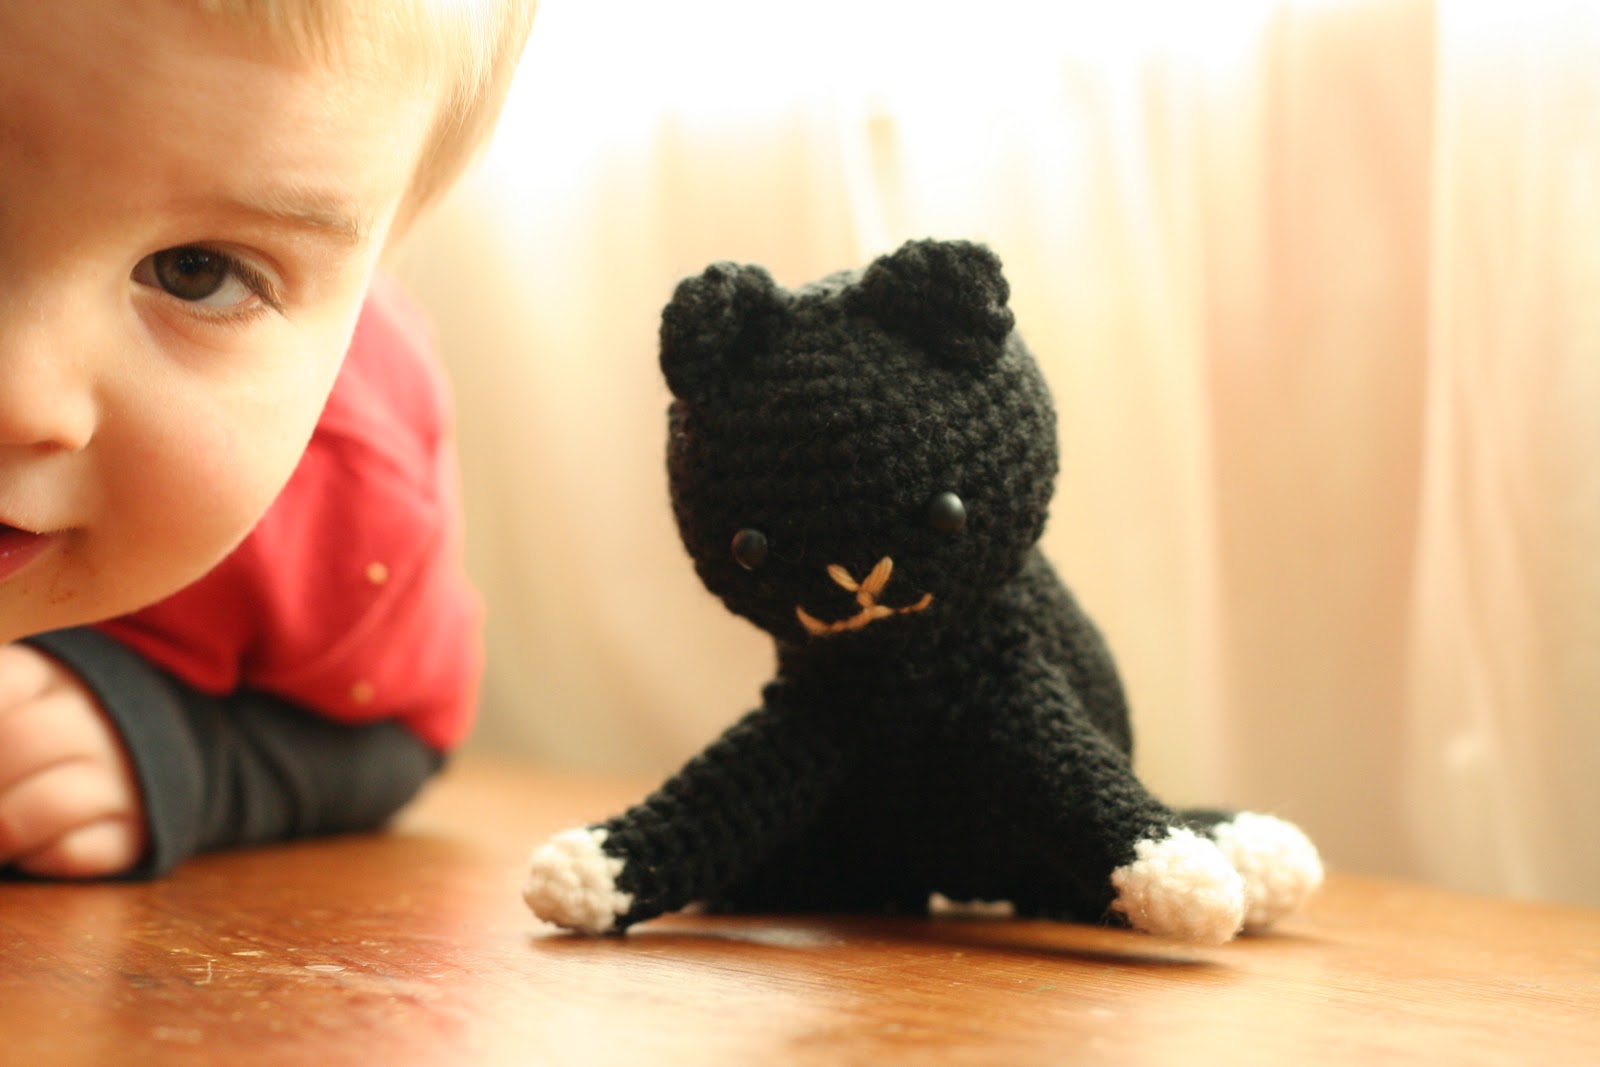
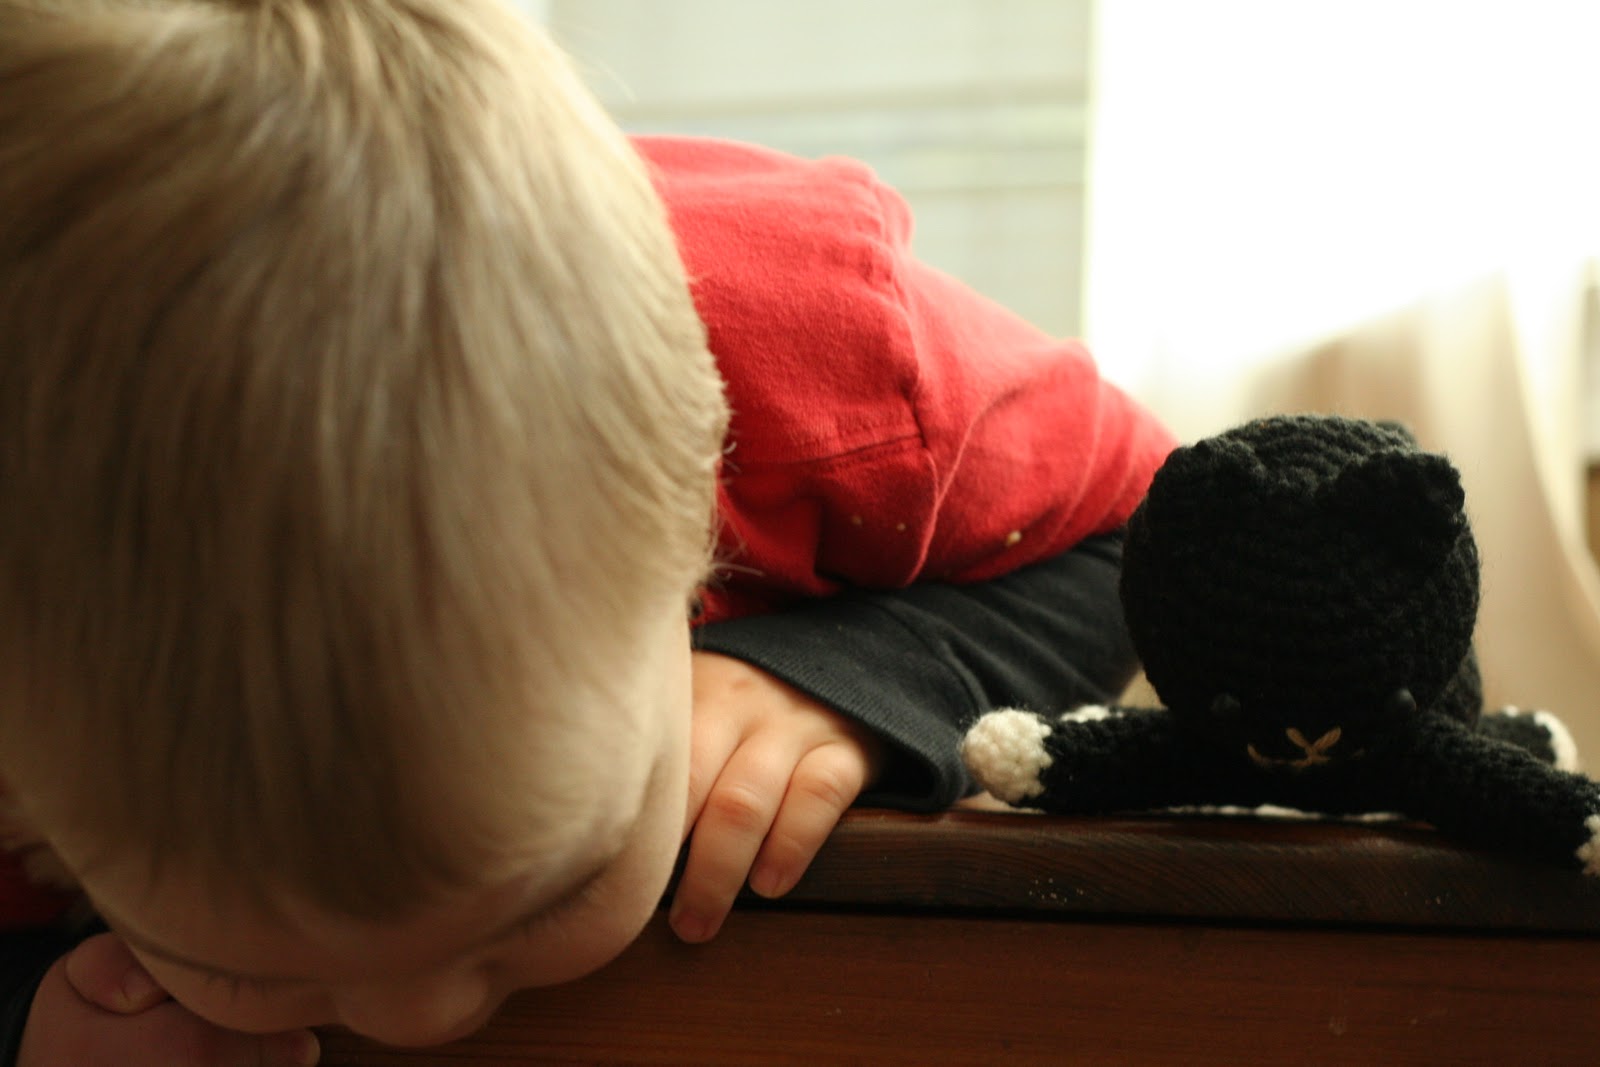
One of the kids favorite things in their Christmas stockings this year was the quickest last minute gift ever… ok so I must admit it wasn’t quick later but… it was Christmas Eve and I was thinking of the things I didn’t get made for them that I’d wanted to. So on with it and enough rambling. I grabbed some cute scrapbook paper and cut out some “coupons” and wrote various things on them. One was for a special ice cream date with Daddy, one was for Mom to make something special for them, one was for a hug and tickle and snuggle (this one had no limit to the number of times it could be used.) I knew what Israel was going to ask me to make for him. A kitty. I whipped this one without a pattern but wanted to revise it at some point for a product and pattern I could reuse. He wanted a black cat and you can see he thoroughly loves it!
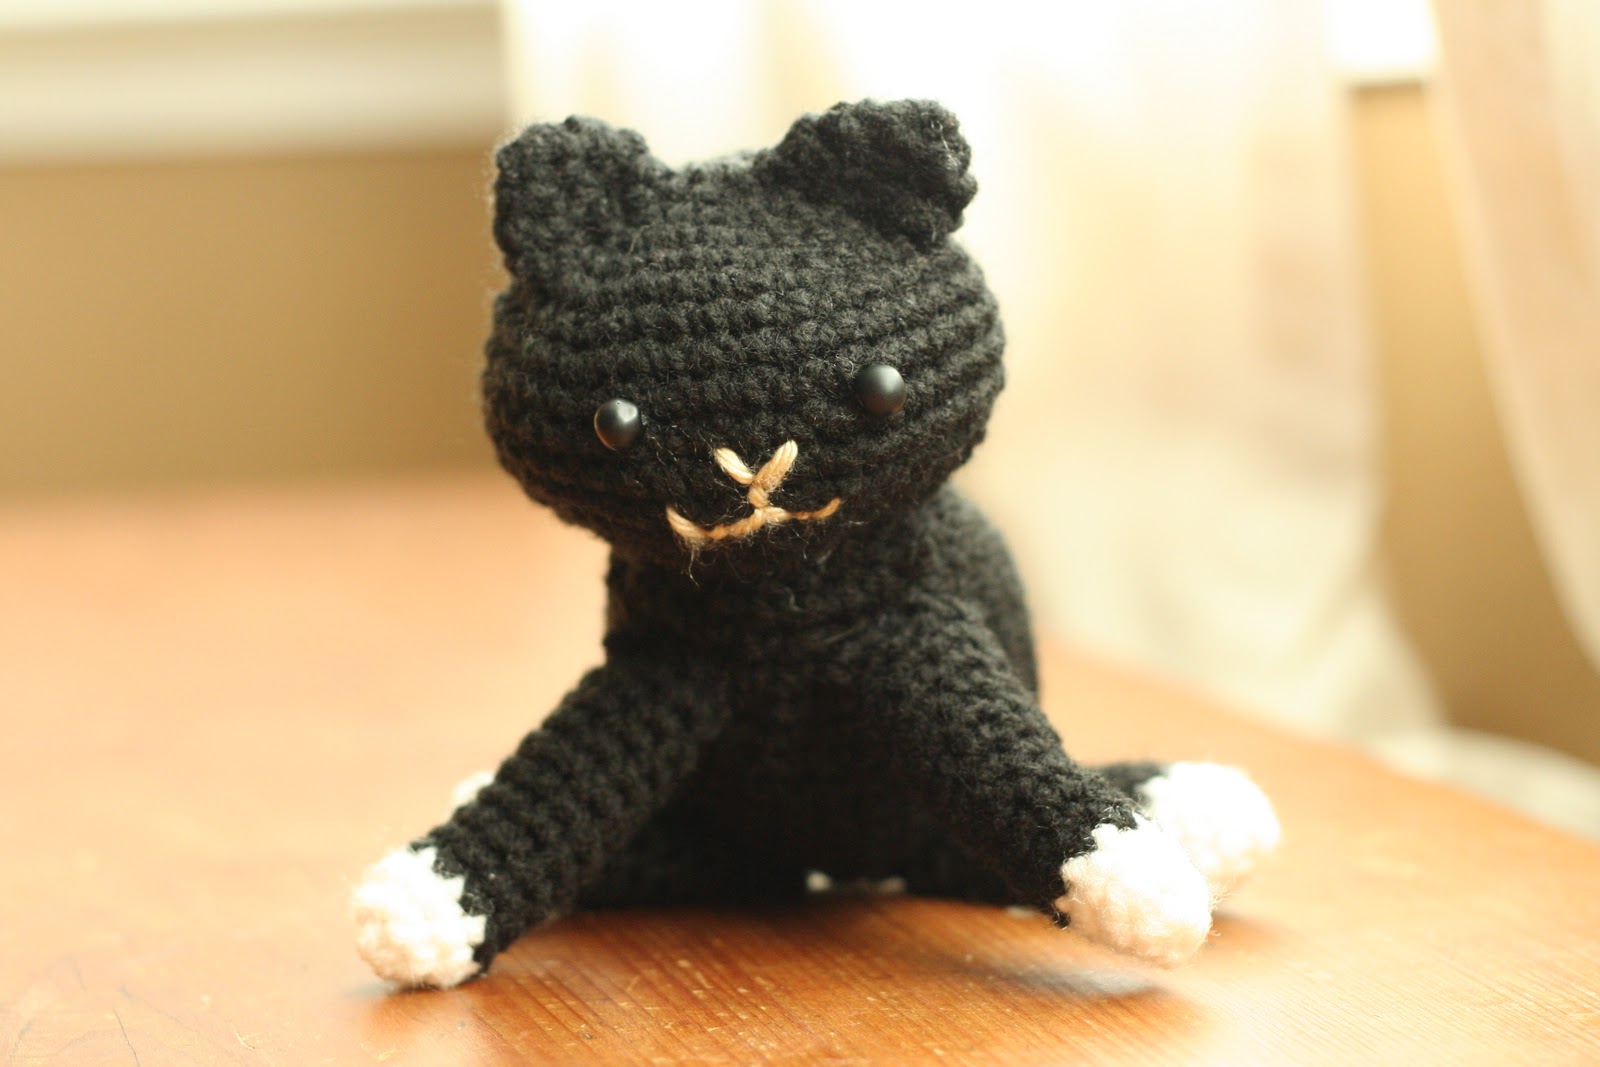
Here is the finished revision with the free pattern. I have the finished product for sale in my store here and also am happy to take requests for different colors.
Sitting Kitty
Pattern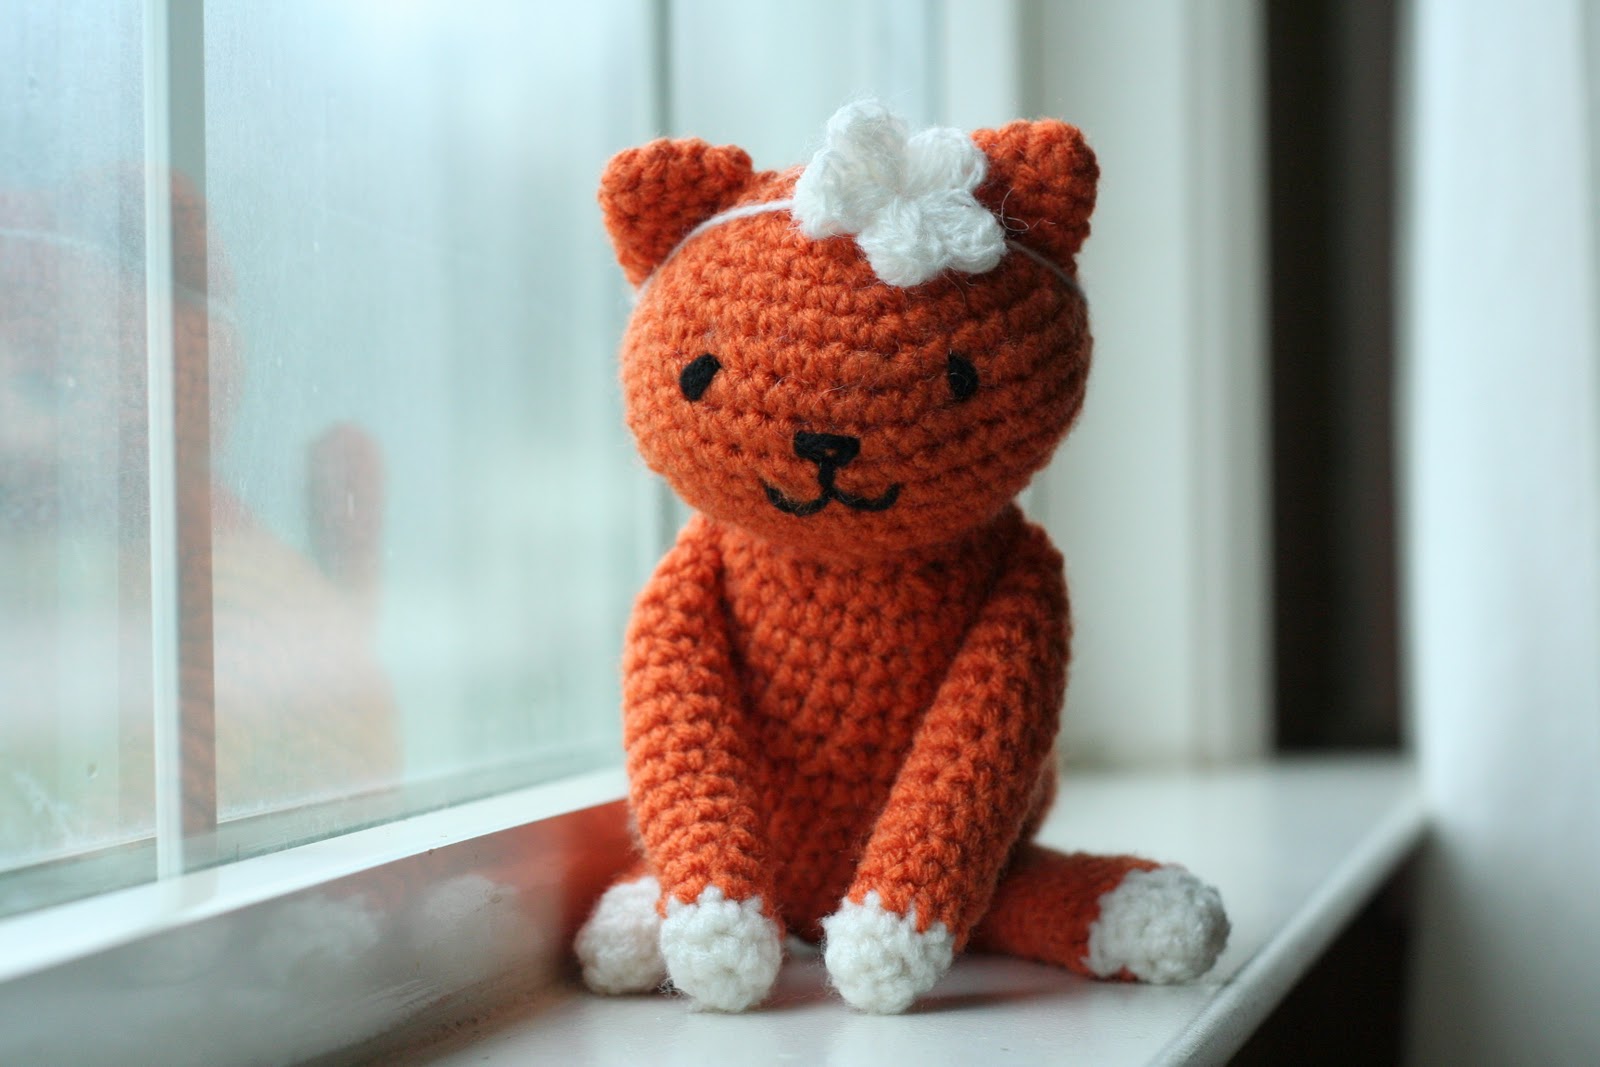
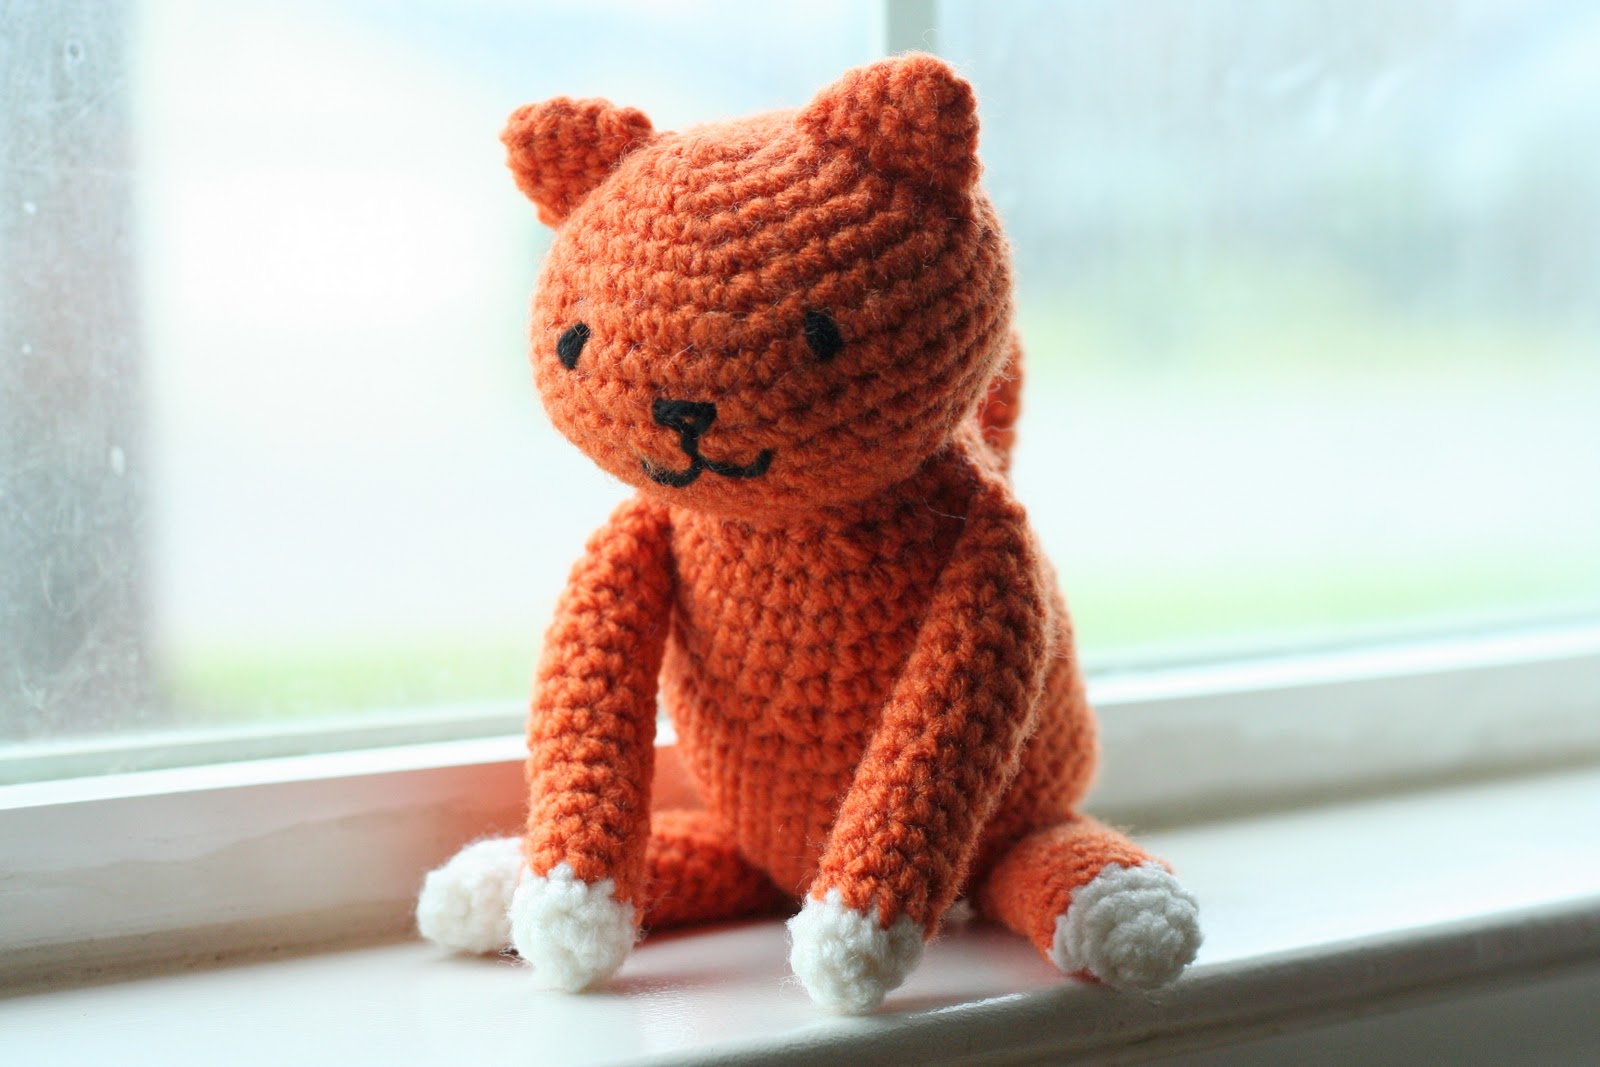

Crocheted with H hook and worsted weight yarn. My finished product was 6 inches tall sitting.
Head
Row 1: 6 sc in loop, tighten
Rows 2: 2sc in each around (12 total)
Row 3: sc, 2sc in next, repeat around (18 total)
Row 4: sc, sc, 2sc in next, repeat around (24 total)
Row 5: sc, sc, sc, 2sc, repeat around (30 total)
Row 6: sc, sc, sc, sc, 2sc, repeat around (36 total)
Row 7: sc, sc, sc, sc, sc, 2sc, repeat around (42 total)
Rows 8-11: sc even around
Row 12:sc, sc, sc, sc, sc, sc2tog, repeat around (36 total)
Row 13: sc, sc, sc, sc, sc2tog, repeat around (30 total)
Row 14: sc, sc, sc, sc2tog, repeat around (24 total)
Row 15: sc, sc, sc2tog, repeat around (18 total)
Stuff with stuffing, finish off leaving a long tail to sew to body
Ears (2)
Row 1: 4 sc in loop, tighten
Row 2: 2sc, sc, 2sc, sc
Row 3: 2sc, sc, sc (x2)
sl to round off, finish off leaving a tail to sew to head
Body
Row 1: 6 sc in loop, tighten
Rows 2: 2sc in each around (12 total)
Row 3: sc, 2sc in next, repeat around (18 total)
Row 4: sc, sc, 2sc in next, repeat around (24 total)
Row 5: sc, sc, sc, 2sc, repeat around (30 total)
Rows 6-14: sc even
Row 15: sc, sc, sc, sc2tog, repeat around (24 total)
Rows 16-19: sc even
Row 20: sc, sc, sc2tog, repeat around (18 total)
Then sl st in next, ch 1, turn, *sc, sc, sc2tog* x 3, sl st, ch 1, turn, *sc, sc, sc2tog* x 4
Stuff with beans in bottom and stuffing in top
Next *sc, sc2tog* x 4
Then *sc 2tog* x 3, finish stuffing, sew up
Front legs (2)
Row 1: In color B 4 sc in loop, tighten
Row 2: In color B 2 sc in each around (8 total)
Row 3: In color B sc even around
Row 4: sl st to even off in color B, switch to color A and sc even around
Row 5-17: sc even around, sl to even off and finish leaving a tail to sew to body
Stuff with a few beans in paw then stuffing
Back legs (2)
Row 1: In color B 4 sc in loop, tighten
Row 2: In color B 2 sc in each around (8 total)
Row 3: In color B sc even around
Row 4: sl st to even off in color B, switch to color A and sc even around
Row 5-16: sc even around, sl to even off and finish leaving a tail to sew to body
Stuff lightly with beans (this helps the cat sit up)
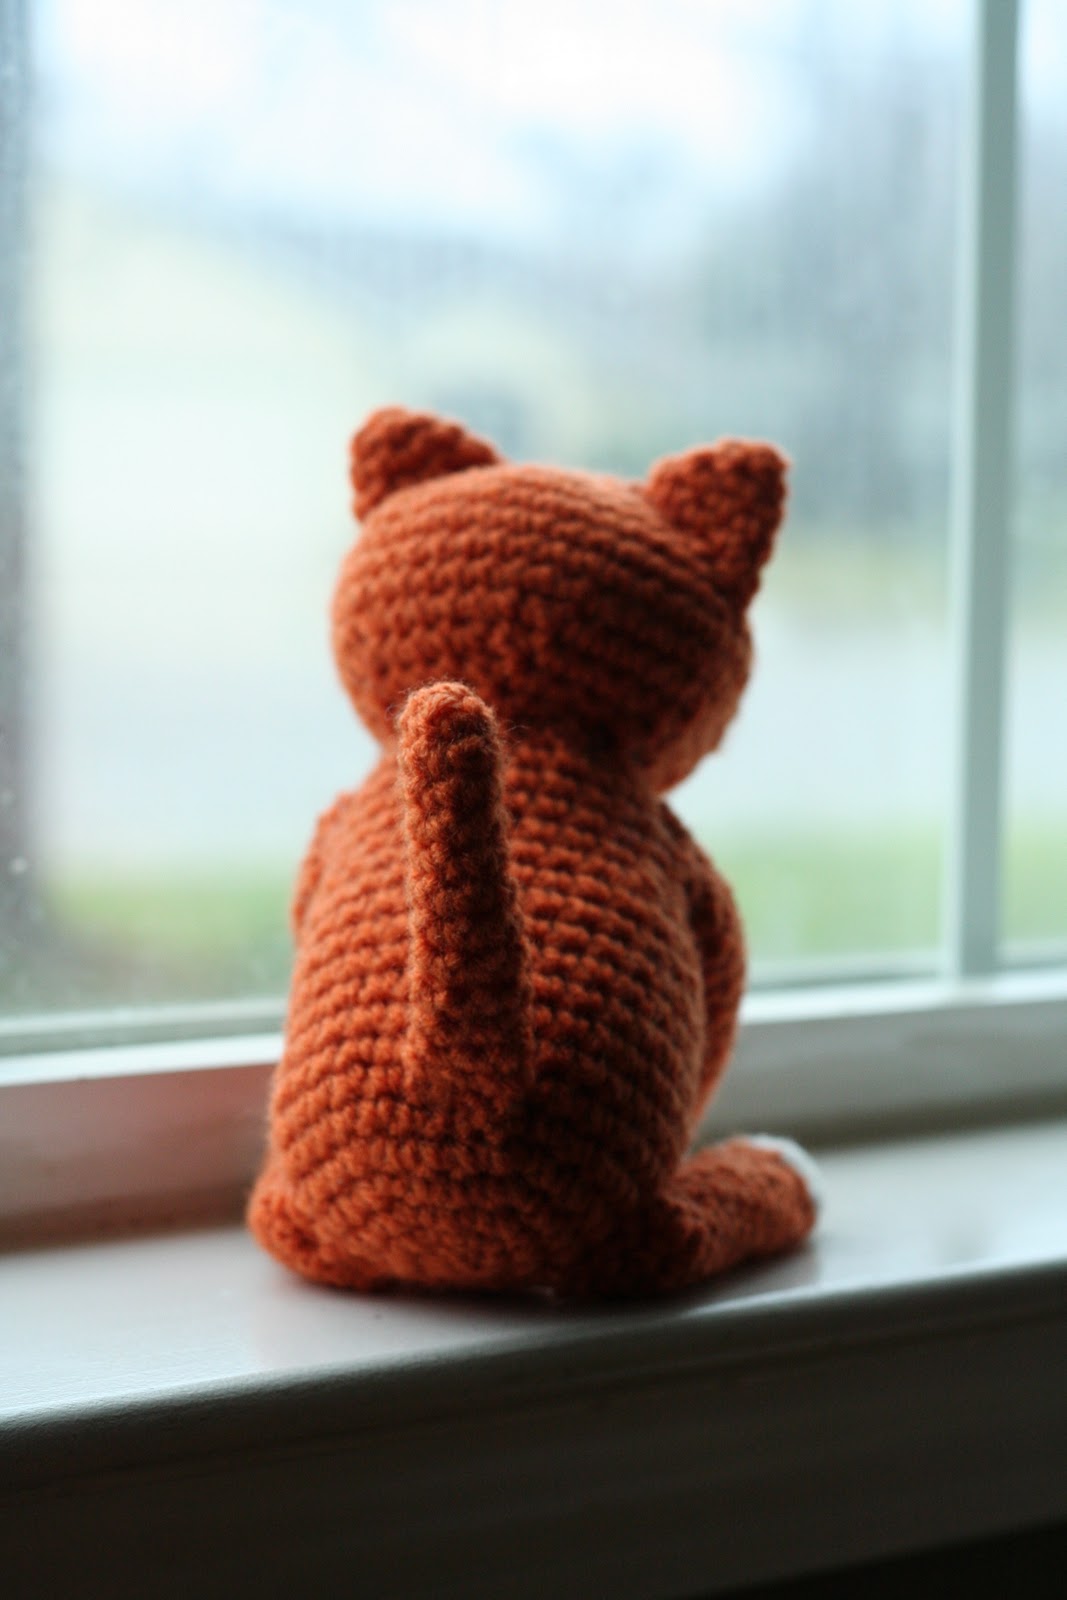
Tail
Row 1: 6sc in loop, tighten
Row 2-12: sc even around, sl st to even off, finish leaving a tail to sew to body
Stitch eyes, mouth, and nose onto head and sew all pieces together.
This pattern has also been translated to German by a talented fellow blogger.
THis is ridiculously adorable! Love your creativity. Totally inspires me.
love it!
Really cute cat and adorable pictures of the kitty and your son.
This is gorgeous. Thank you for the tute. I love your stuff by the way.
Hallo Bethany,
I like very much your ideas and your crochet tutorials. Maybe I will try to make one of these, they are so cute!
So very cute!!!!!Thanks for the pattern
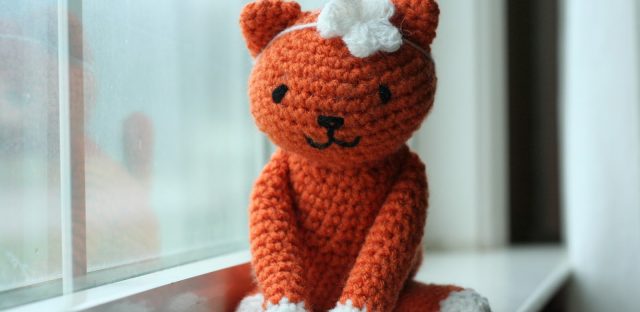
I love the orange kitty with the little white feet! And all of my real cats sit on their butts like that. I try to tell them it’s undignified, but they persist!
Thanks everyone! I loved making the kitty! Glad to inspire and enable! 🙂
I’ll be making this little one starting tonight! Thanks so much for sharing your adorable work and pattern! You’re terrific. <3
wonderful like it
Hi Beth I have a doubt in this step
Front legs (2)
Row 1: In color B 4 sc in loop, tighten
Row 2: In color B 2 sc in each around (12 total)
You have 4SC and then in the row 2 you say that doing 2SC in the 4SC made 12? or I don’t understand, thanks 🙂
Thank you, Corygirl! So sorry about that. The totals are off. It’s supposed to be 8 total. I’ll change it.
Thanks a lot I just wanted to be sure 🙂
I just finished my kitty, thank you very much Beth!! I add him a small collar with a small bell
http://a4.sphotos.ak.fbcdn.net/hphotos-ak-snc6/180941_501086300387_647970387_6661371_5145882_n.jpg
thank you for the sweet pattern. here’s a link to my pink kitty:
http://twhitney.blogspot.com/2011/08/pretty-kitty.html
have a great day!
super cute! thanks!
Adorable pictures! Love seeing the finished products! Thanks for sharing.
Hi bethany, I love this pattern!!! Do you have the pattern for the cute little flower head band on the orange kitties head? Thank you!
Hi, Rachel. I do have the pattern up for the little flower. And for these pics I just tied the flower around the head with the tail of yarn. Glad you like it! http://bethsco.blogspot.com/2011/04/crocheted-puff-flower.html
This is so cute! I might try to make it for my little sister’s birthday. 🙂
I love it! 😀
I don’t understand sc2tog??
Waterlille, you can google search sc2tog. It’s a pretty common crochet stitch… though not one of those most basic. You will be able to find a description easily. 🙂
Thank you so much for this pattern/tutorial! This is my first crochet project, and I love it. I shared it on my blog, and made sure to let people know where I got the pattern. 🙂
Thank you for the pattern. I made it too. So cute.
I need some help with the ears! Are those worked in the round or rows? They don’t look anything like your ears when I make them. Can you offer any tips?
They are worked in the round so don’t turn or anything. It takes some time and patience and attention to work with such small parts if you aren’t used to it Keep your tension fairly tight and keep good track of your stitches. Try to make sure it’t not turning inside out too. Shape it by flattening it in half when you are done. Hope that helps!
Thank you so much!!!
Have a Happy Thanksgiving. 🙂
You are welcome! Happy Thanksgiving to you to!
such beautiful work. I’m crocheting animals for the local hospital pediatric ward by me for Easter. They will love your kitty!
OK this may seem like a stupid question but i have to ask.
The pattern does not start off with chain ???? It goes straight to row 1.
6 sc in loop ? what loop we did not make one…..
Sorry for this question please help!!! Thank you!!!
The kitten is darling and i van’t wait to make it for my granddaughter!!
It’s not a stupid question. 🙂 You can make a loop to stitch in a few different ways. You can search online for an amigurumi loop tutorial, or you can make a slip stitch that tightens with your short tail (not the working thread) and stitch into it then tighten it by pulling on the tail. If you don’t want to do either of those you can chain a couple stitches and stitch into the resulting loop but you may end up with a hole that you can’t close at the top of each piece. Hope that helps…
I love your Kitty pattern – thank you so much for sharing it with the web world. 🙂 I’m showing my crochet kitty version by referring to your website and the people keep ask me if I could offer a German language version of it. Would it be okay if I translate your pattern? Of course without claiming the pattern as my own. Here is my kitty version: http://anjizilla.de/?p=534
Thanks, Kerstin! Your kitty is very cute! It would be fine with me if you translate the pattern to German and link to me. I’d also love to have the link when you’re done so I can put it on my blog. Thanks!
Thank you – here it is: http://anjizilla.de/?p=1242 🙂
So cute and your son looks so sweet in the pictures. Friends for life I think ♥
Thank you for the pattern 🙂 I crocheted mine with a smaller hook and it was a real pain :p It didn’t come out as nice as yours (my mother-in-law said it looked scary, lol ) but my son loves it anyways 🙂
http://tam-dom-twoj-gdzie-serce-twoje.blogspot.cz/2013/03/pan-kotek-i-pani-sowa.html
Divina esa Minina!
Can you Please Help me understand Row 3. What does the (x2) mean after you sc.,
“x2” means to do it two times.
Here is a picture of the cats I made. http://media-cache-ak1.pinimg.com/originals/00/b9/5c/00b95c2708adb1de27d7a228f5a73114.jpg
Thanks! Very cute!
That is too funny! Our daughter wants a black and white kitty! LOL This is perfect…THANK YOU!!!
Hi I just had a doubt in the stuffing. What is the bean that you used in the stuffing? I am half way through this cat. My son can’t wait to have that. Thanks for the pattern. Will send the pic as soon as I finish.
I use any dry beans. My favorite is great northern because I like the size and color. Call me weird if you want but I’m a girl with attention to detail. Haha.
That is very creative! Thanks. Love all your patterns.
I LOVE this kitty! So cute, I think I am going to make it for my little baby cousin that is due in August, I think she’ll love it too!
Question: I don’t understand this part of your pattern for the body: sl st in next, ch 1, turn, *sc, sc, sc2tog* x 3, sl st, ch 1, turn, *sc, sc, sc2tog* x 4; Next *sc, sc2tog* x 4; Then *sc 2tog* x 3….. Why am I having to “turn” the work? If you are going in a circular motion and finishing off with the SC SC SC2Tog as you go for each round, then to me the work wouldn’t be turned?
Hey, Bobbie. Sorry it took me so long to get back to you. You do want to turn the work to kind of shape the chest of the kitty. It makes the head more on top when the body is in a sitting position. Hope that helps.
I am doing an ami right now , the first one I’ve done where you “turn” your work also. I now understand why I am doing this. Thank you for teaching me something today 🙂
Many thanks for the lovely and clear pattern! Here is mine, made for a friend’s new baby… 🙂
Thank you!! Amazing pattern. Added a little scarf!.
Can you clarify the kitty ears plz.how do you attach them so they look pointed and not round like Micky mouse ears?