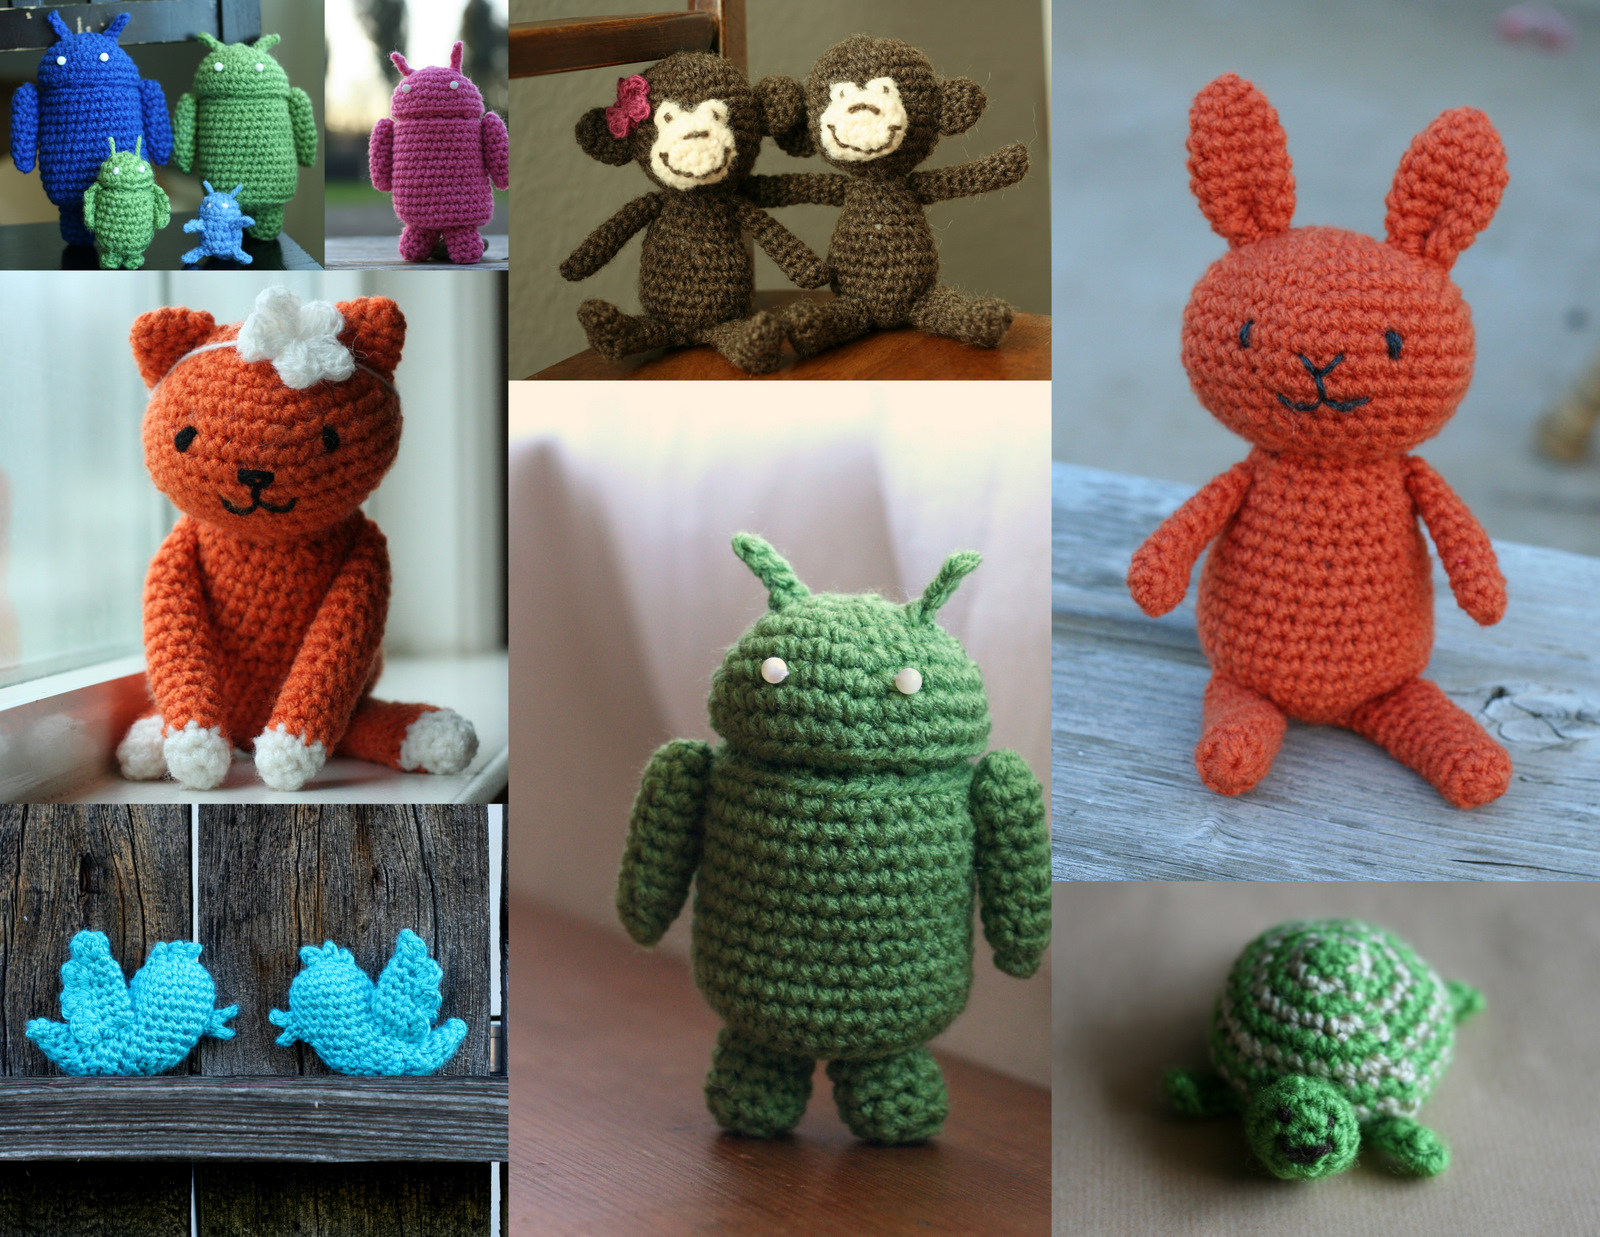
Droid Family Sitting Kitty Twitterpated Monkeys Droid Carrot the Bunny Jingle Turtle
Ask and you shall receive! I’ve had lots of queries about how to sew together some of the amigurumi animals and androids I make. Sewing it together just right does give each creation a lot of it’s character! So… I’m glad you asked. It was also easily the most intimidating thing for me when making my first amigurumi. I just went at it as I couldn’t find any good instructions… and it didn’t look… too bad. But being the improver (Not a word, I know. Read perfectionist, if you must.) that I am, I’ve tried many different ways to sew them on and settled on this being the best. So I will share and hopefully relieve some intimidation from someone somewhere.
Sewing Amigurumi Together
TutorialI pay a lot of attention to the position of the pieces and get them at just the right angle before I begin. I usually mock up by using my 3 hands to hold together the head, body, arms, and legs to get a visual of the positions I want before I start. Then I sew the head on to the body first, then ears, then arms and legs and finally, if there is one, the tail. Whether I’m sewing two open pieces together, an open piece to a closed piece, two closed pieces together, or a flat piece to a closed piece… I use this method to get nearly invisible secure stitches.
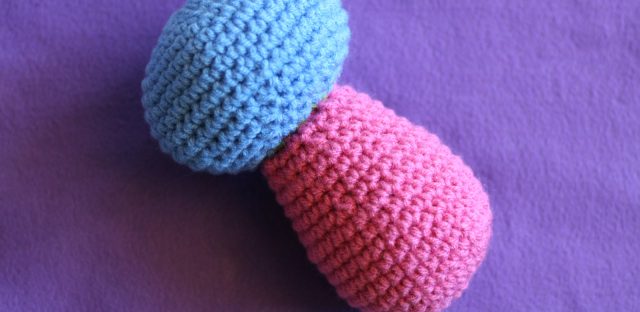
Thread the tail from one of your pieces onto a yarn needle.
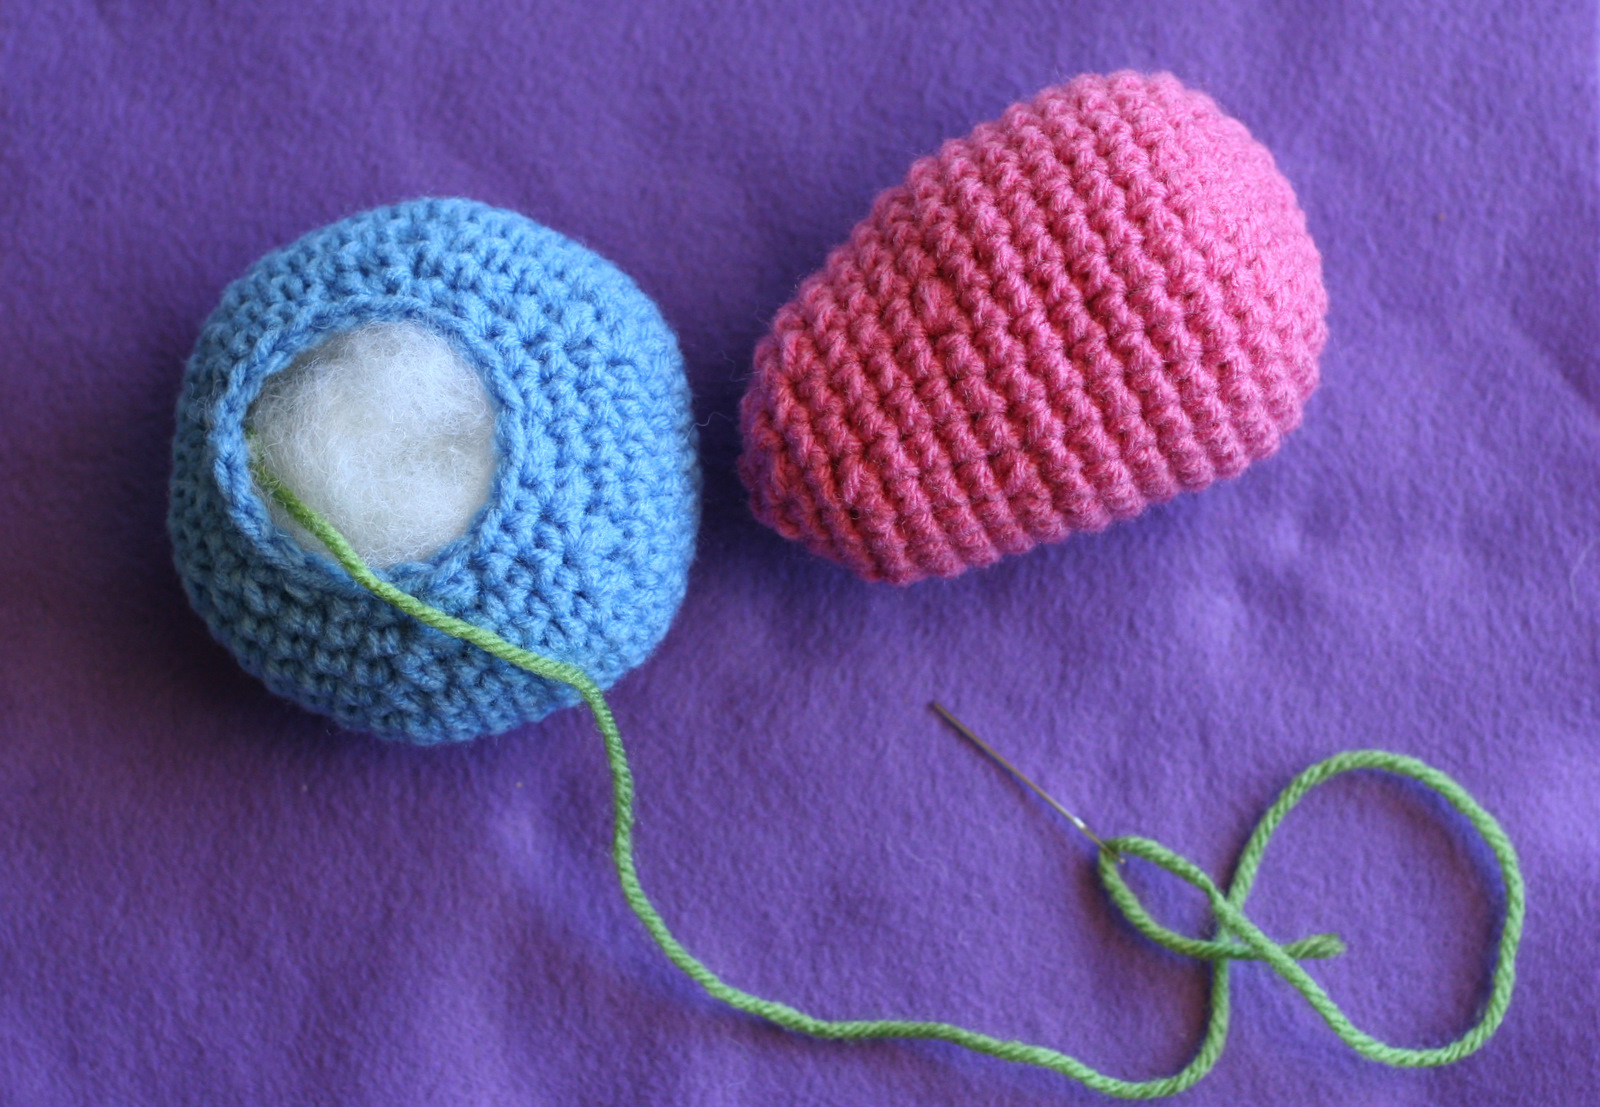
(Don’t use a different color yarn from what you want to sew together! This is for illustrative purposes only. You’ll probably be sewing two pieces together that are the same color… and use that color yarn obviously.)
Hold the two pieces together exactly how you want them and weave your needle into the second piece, right opposite where the yarn comes out of the first piece, and out of it just a stitch away.
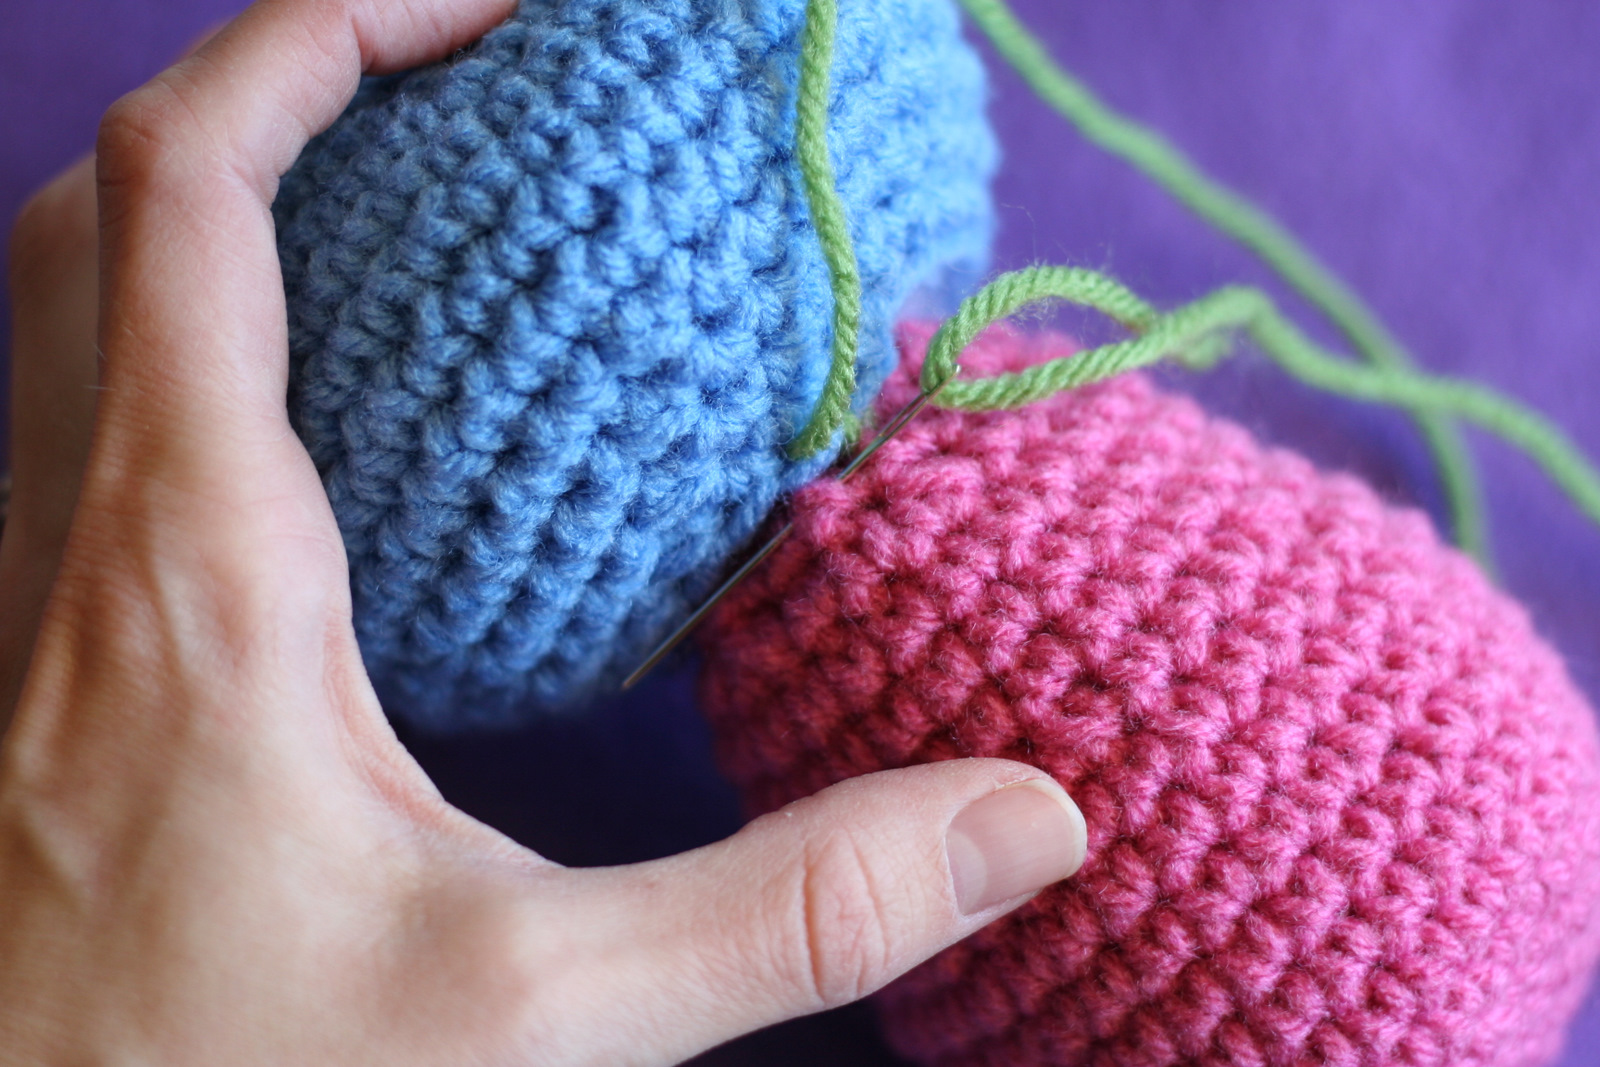
Keep holding it together (I wasn’t doing a very good job here as I WAS holding the camera too…) and weave the needle into the first piece, just opposite where the yarn came out last, and out of it as pictured.
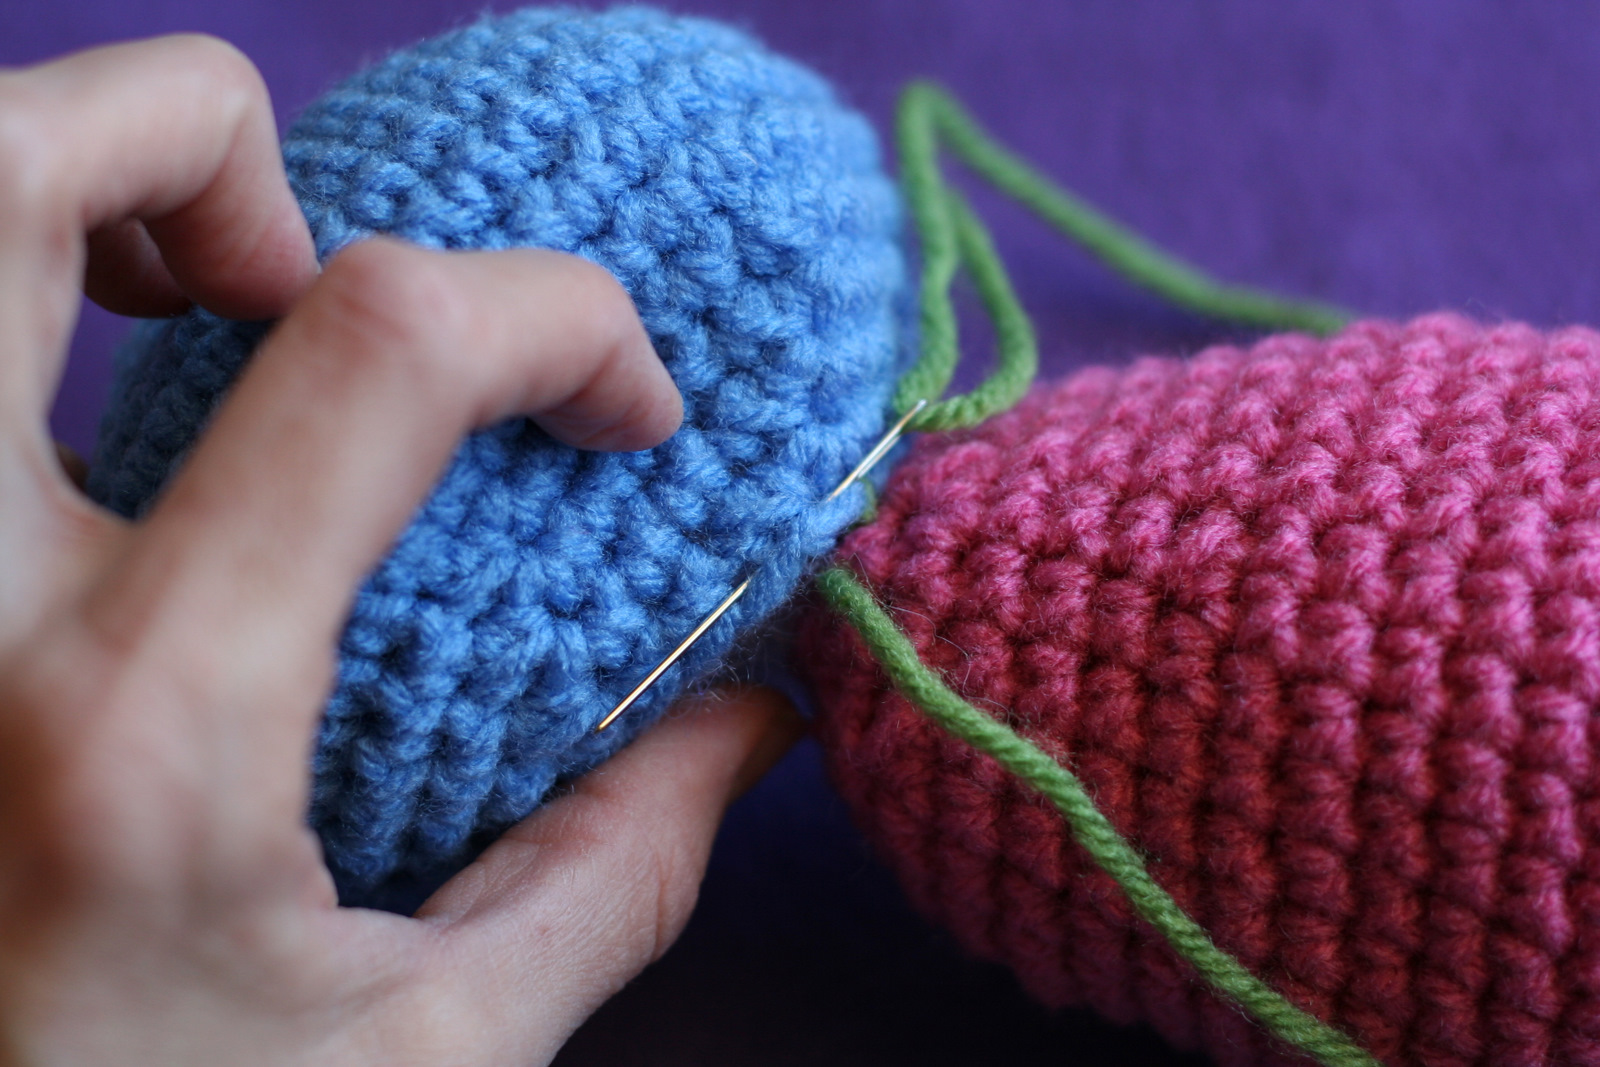
I’m actually weaving the yarn around the post of the sc stitch. You go under one V of your stitch, then out under the next V of the next stitch.
Keep going all the way around. Even with the contrasting colors, if you pull your yarn firmly as you go, the stitches are nearly invisible and you get a really nice seam. I do knot it around the last stitch at the end and weave it in.
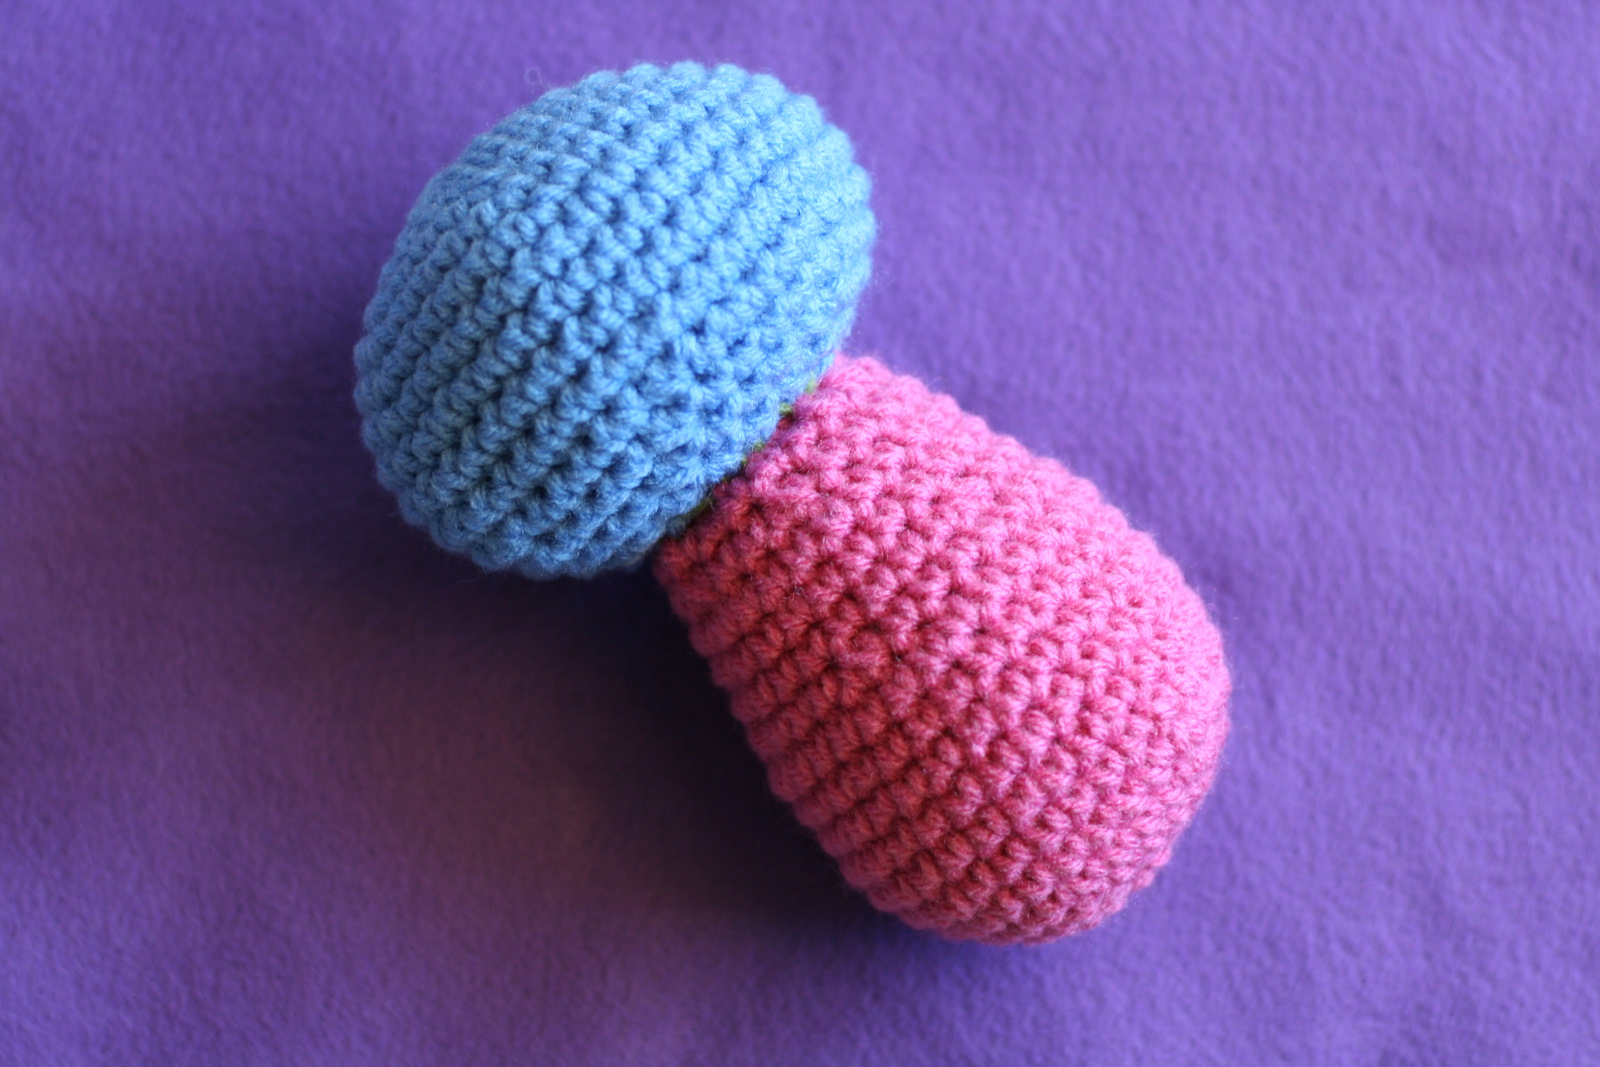
Enjoy making your creations come alive!
Very helpful! Thanks for the tutorial!