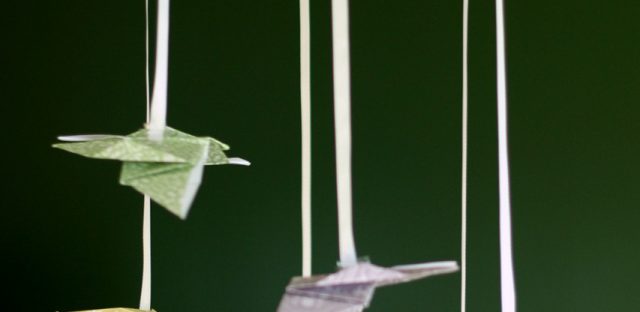
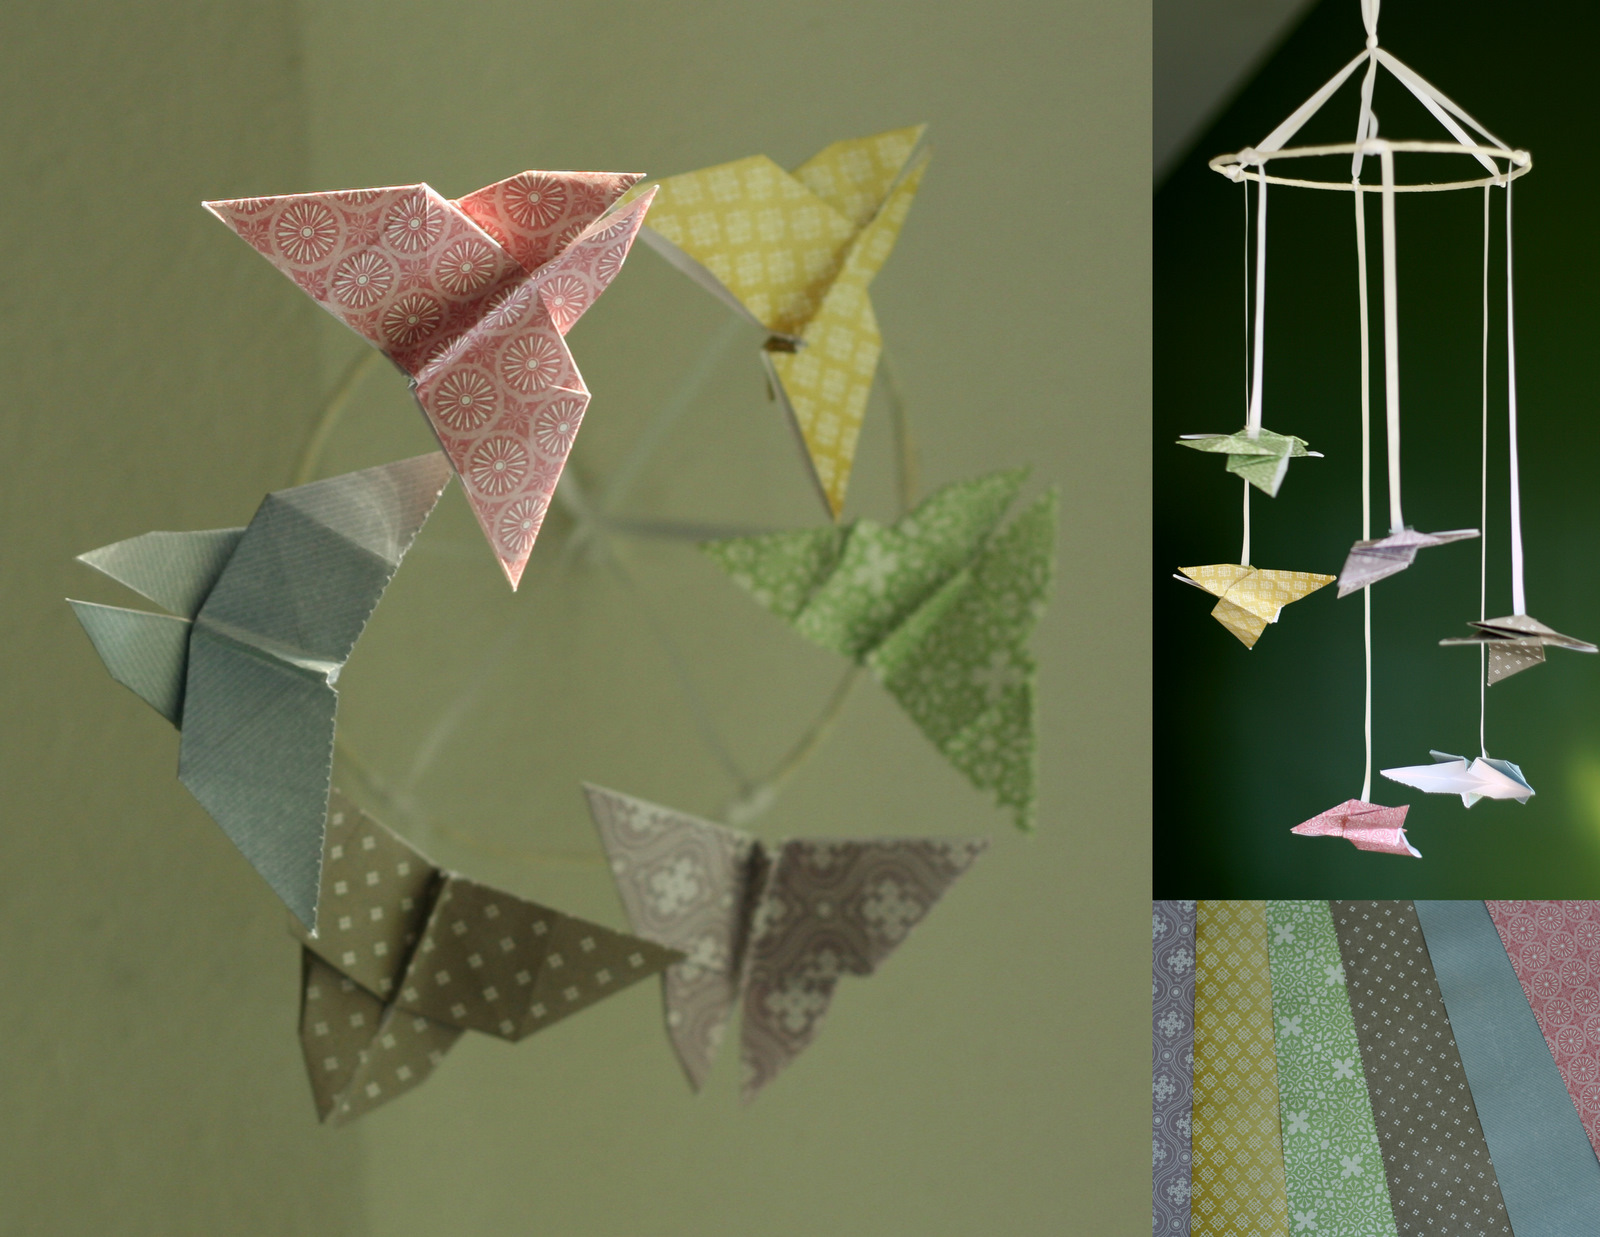
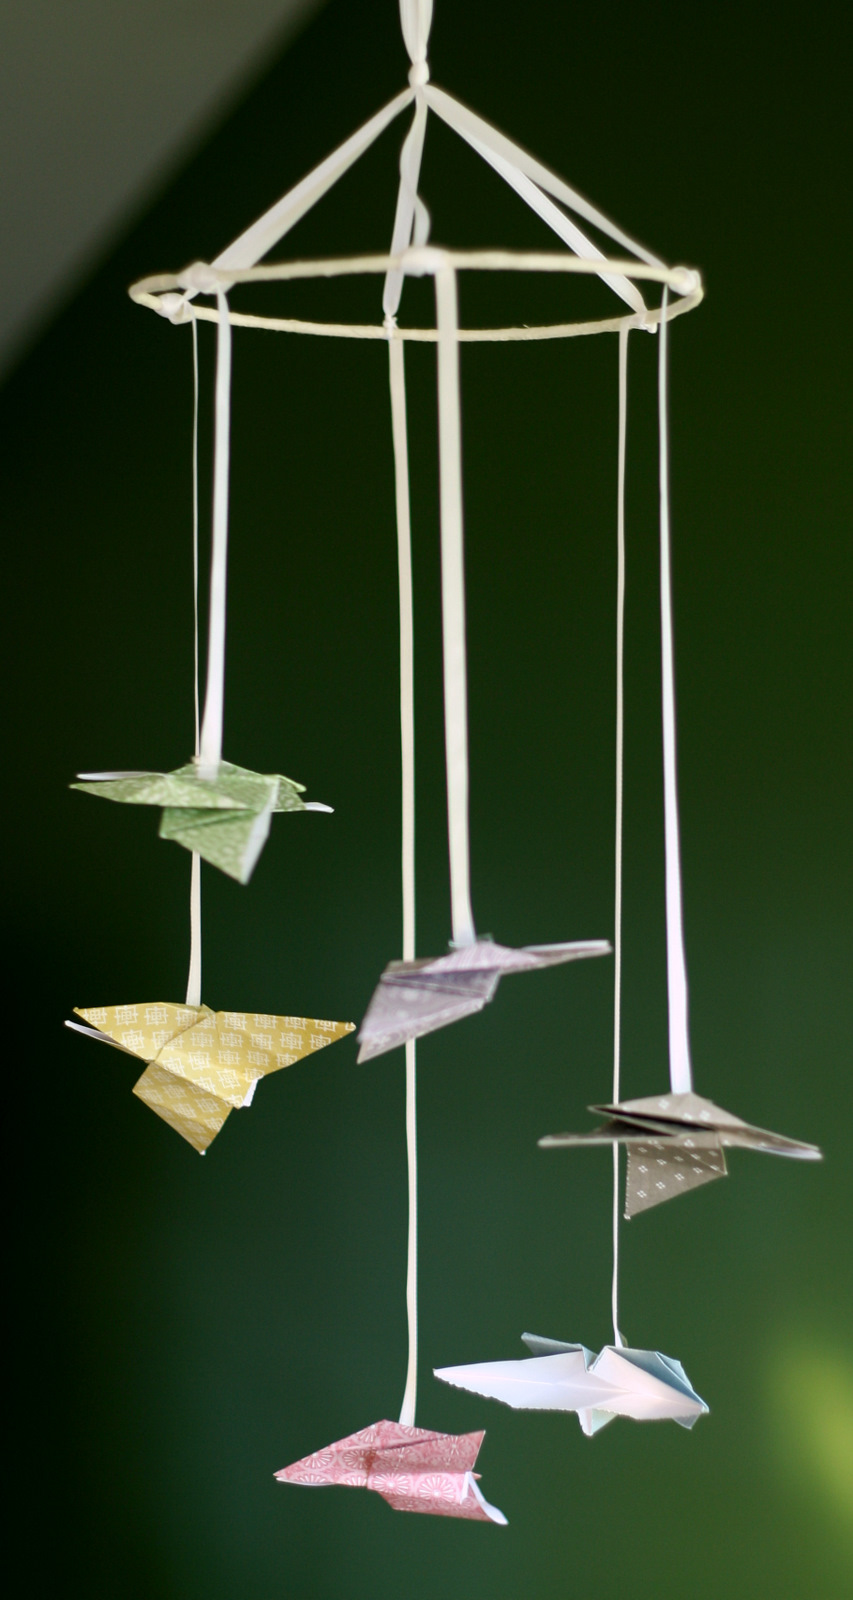
Yesterday I blogged about origami. Such a fun thing! And here is one of my favorite origami creations… the mobile for my sweet baby girl. Now, I have one thing about baby mobiles… I think that all too often the maker was catering to the parents instead of the baby. So, whenever I’m looking for a mobile to get I look at it from beneath and frequently it’s a reject. What baby wants to stare at animal bottoms or bellies or the a 2D paper punch out from beneath? Why does the parent, looking at the mobile from the side, get to see the cute animal faces and shapes? These questions keep me up at night. KIDDING! Still… This mobile passes my test well. It kinda looks like a bunch of butterflies in flight swirling down. I love how the butterflies are so light that they rustle and move with a breeze too!
If you want to make an origami mobile here’s how I did it… It’s SUPER easy and simple and quick! I just took tons of pics for the visual oriented among us. All you need is paper, ribbon or twine or string, and a hoop (mine came from an old lampshade!)
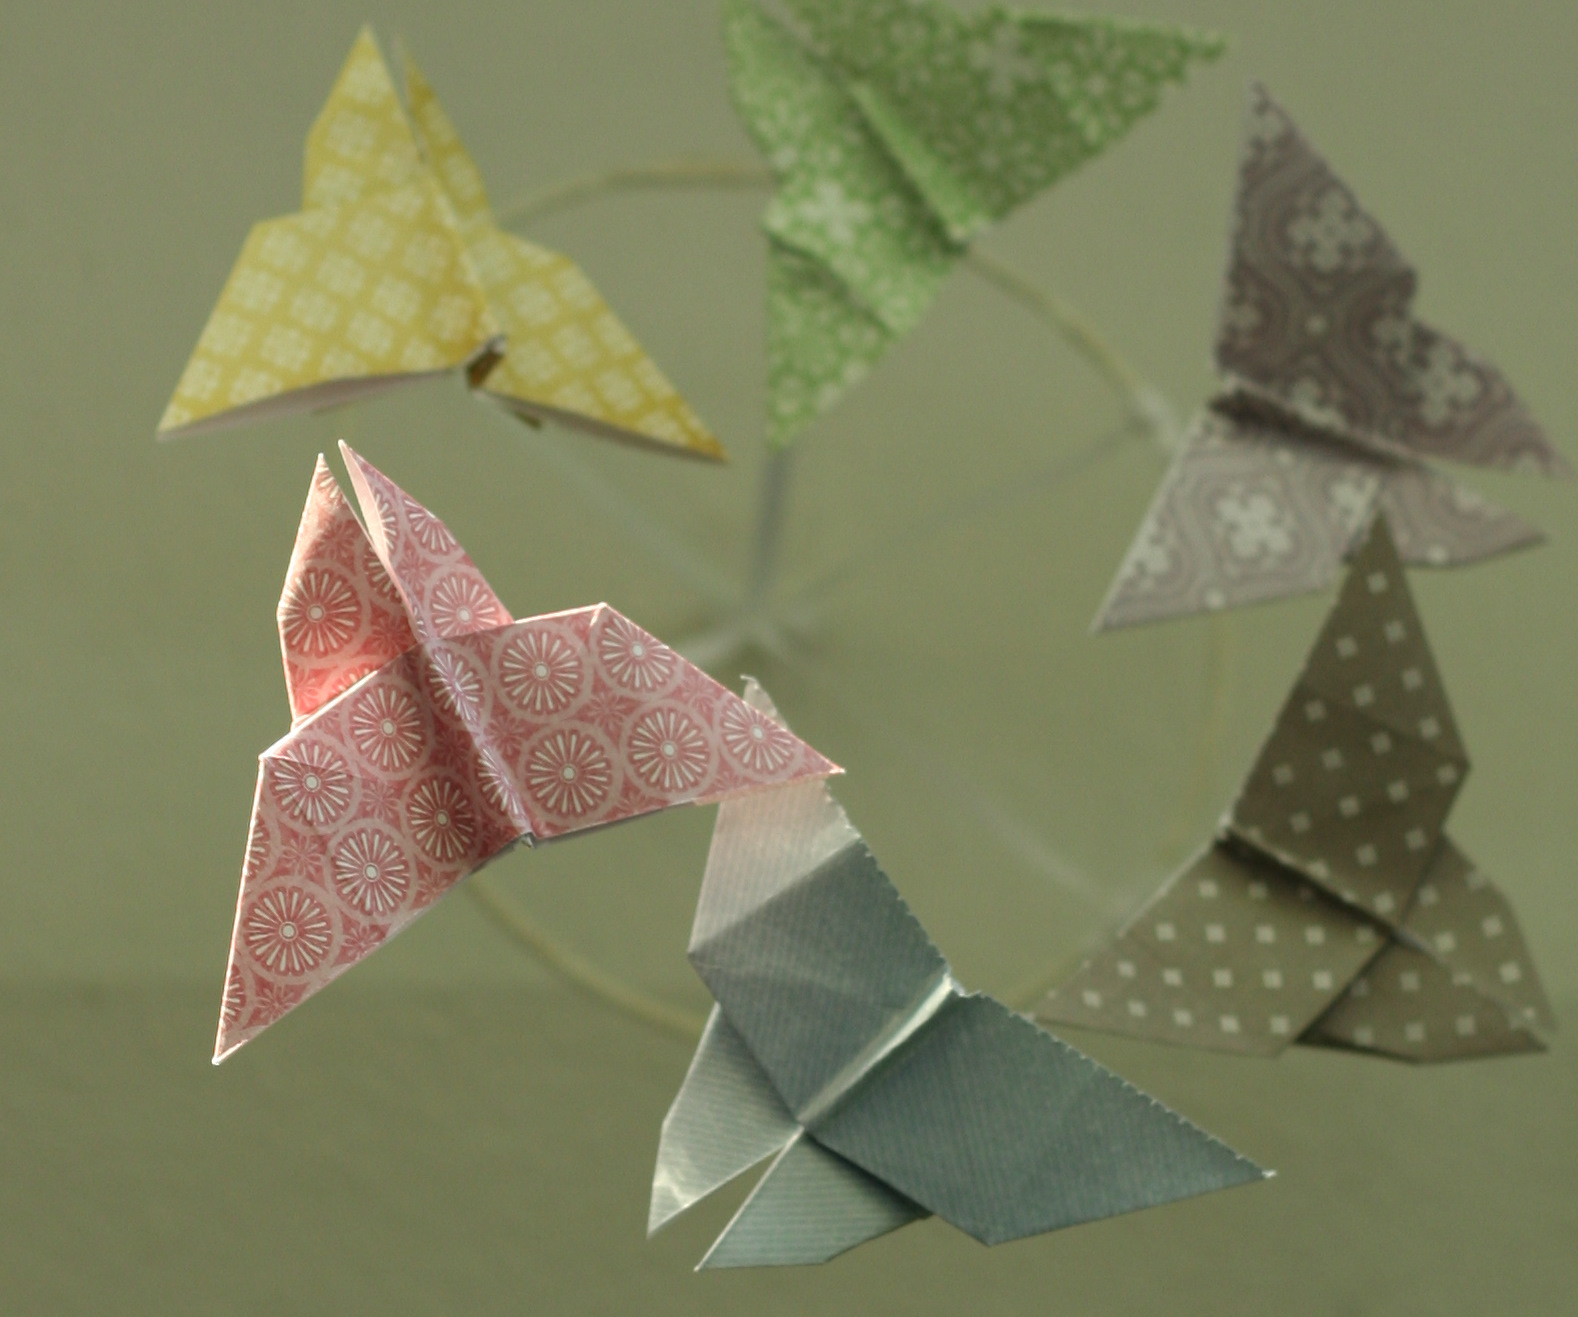
Origami Baby Mobile
TutorialMake some origami! I made 6 butterflies but you could do 5. You could make flowers, birds, dinosaurs for a boy, any number of things! The blog I wrote yesterday (click on the link above) has some links to great origami websites.
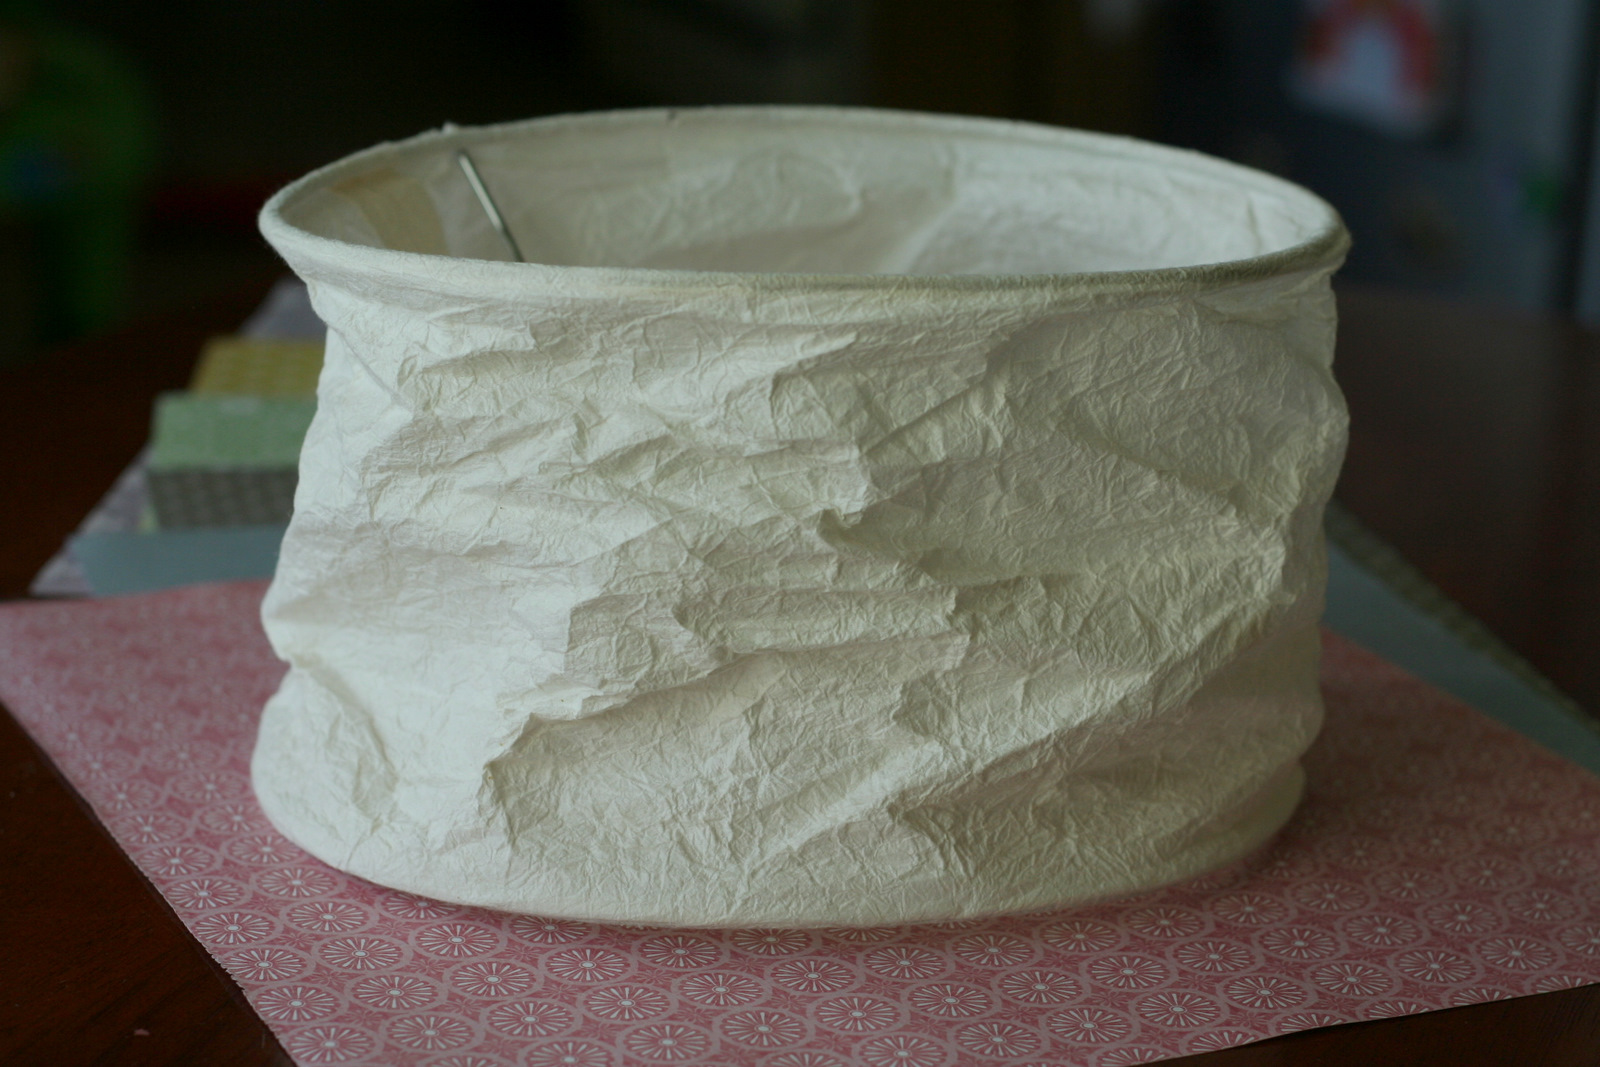
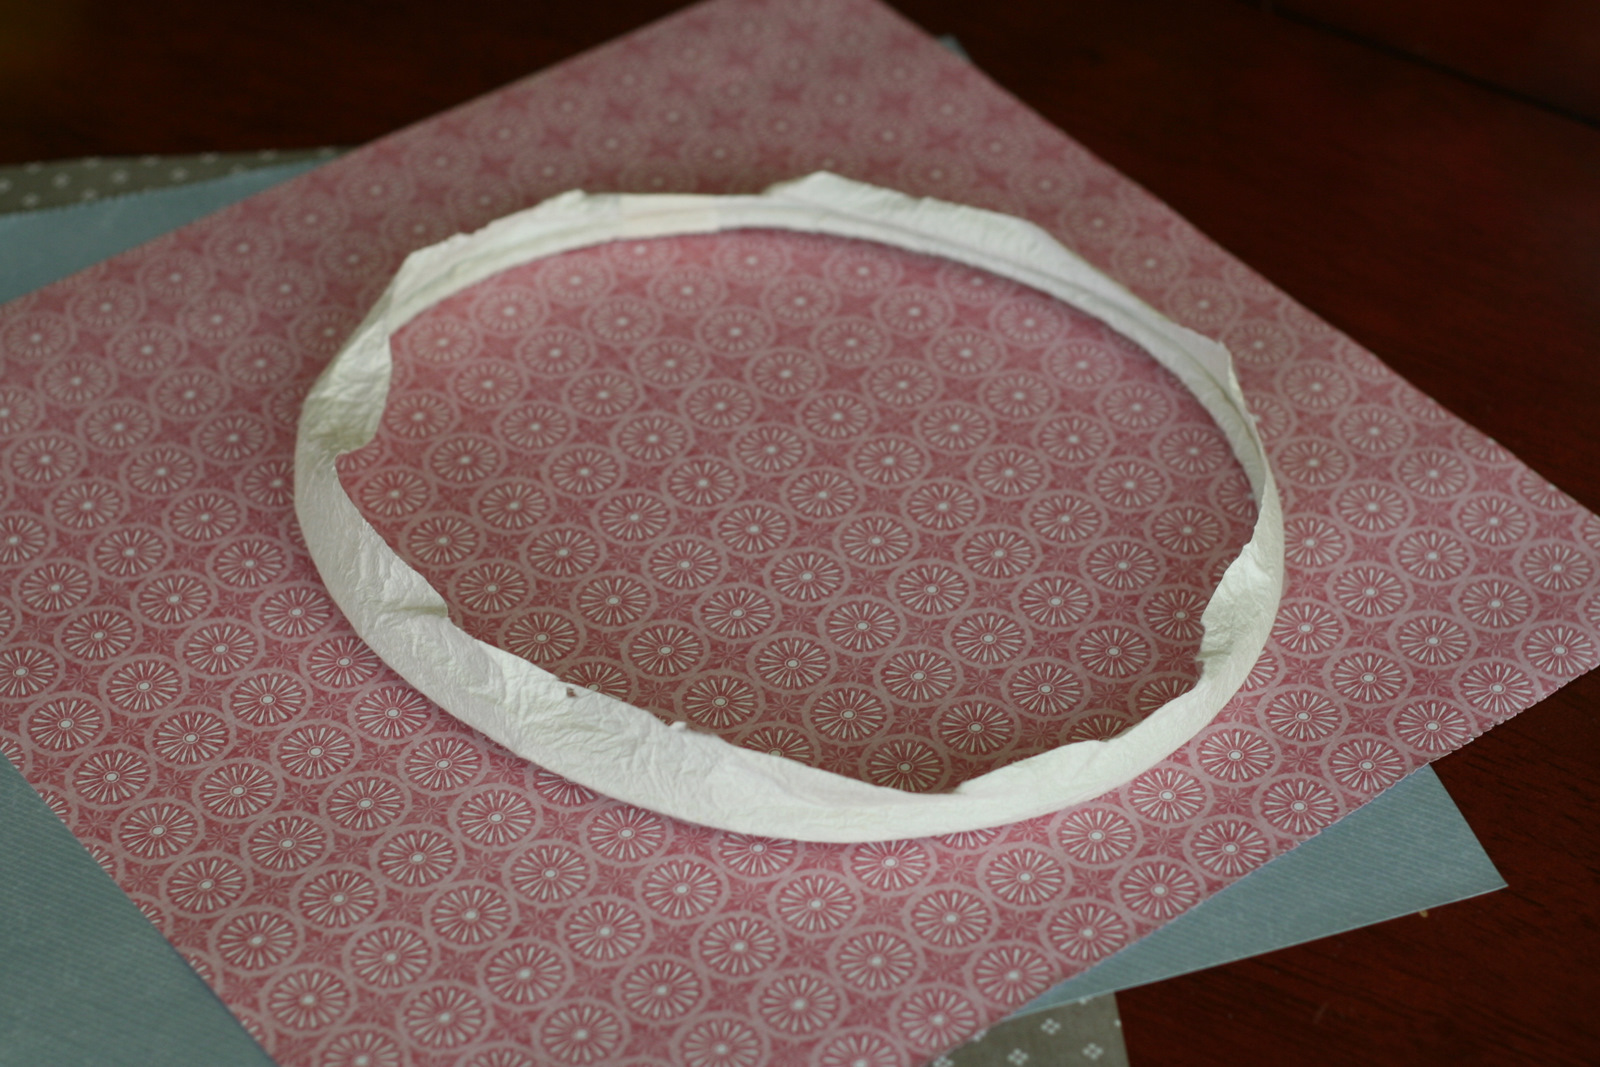
I used the bottom of an old paper lampshade for my ring. You could use the inside of an embroidery hoop or any other ring shaped object you wanted. My hoop is not perfectly circular but measures 8 1/2 inches diameter at the widest and 7 inches at the narrowest.
I cut the lower hoop off and left about and inch or so of paper.
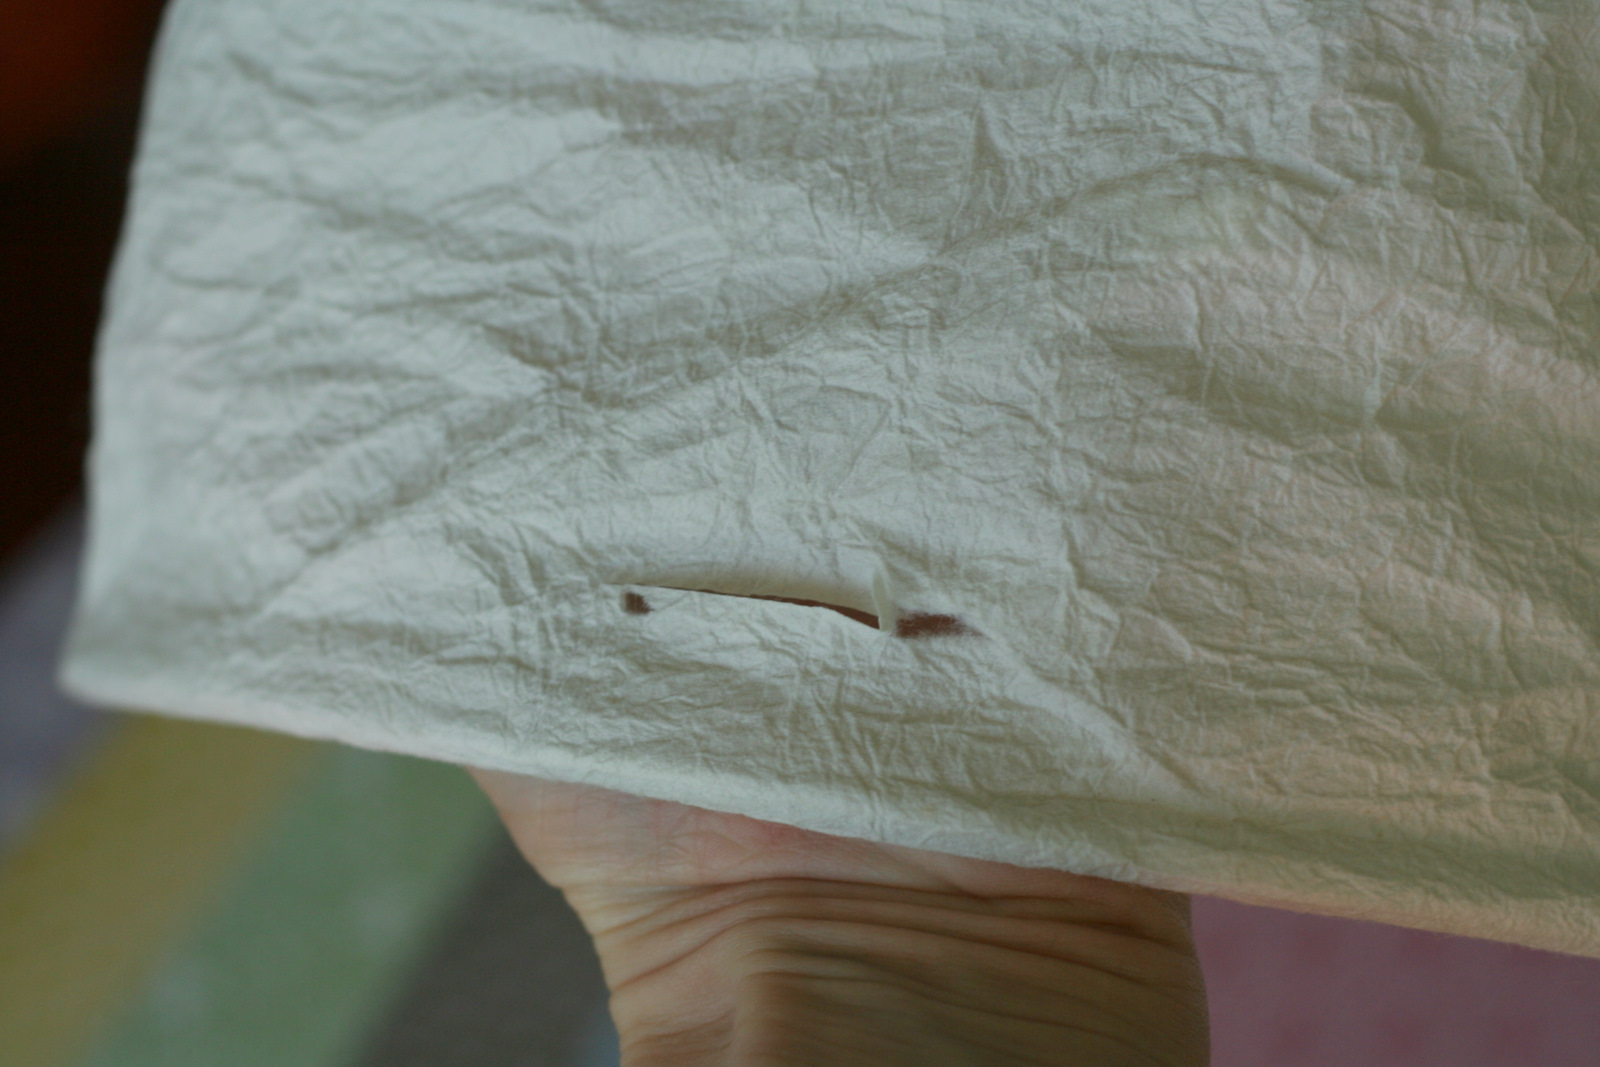
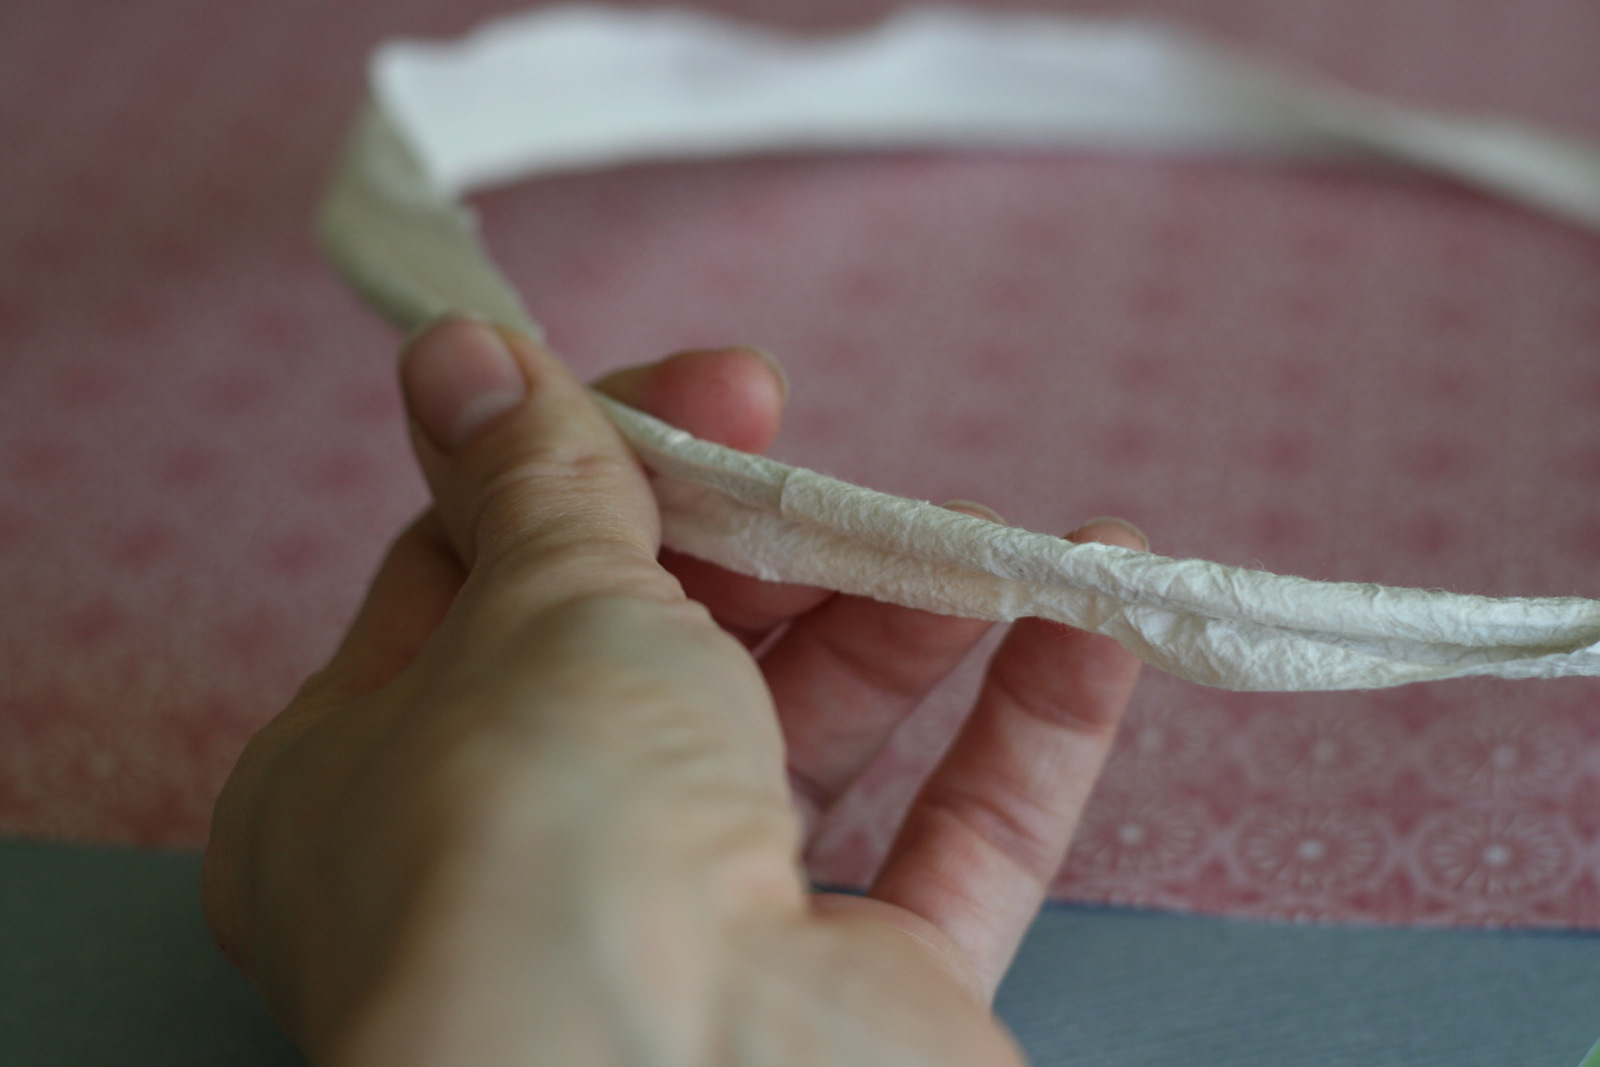
Then I rolled the extra paper around the hoop…
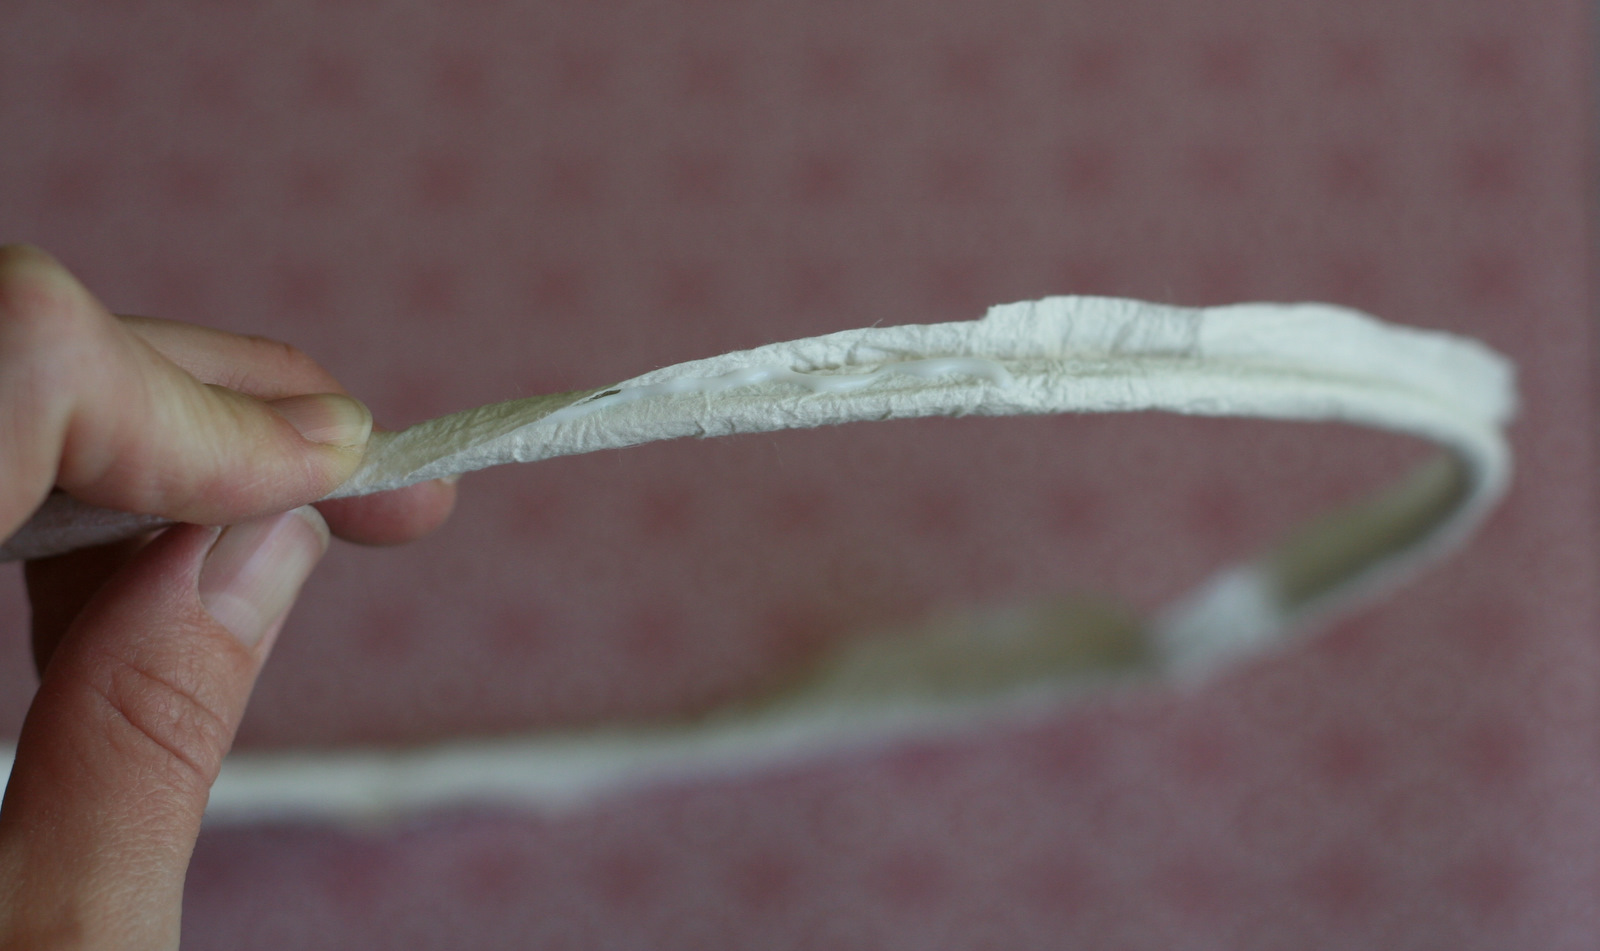
And glued down the edge of the paper.
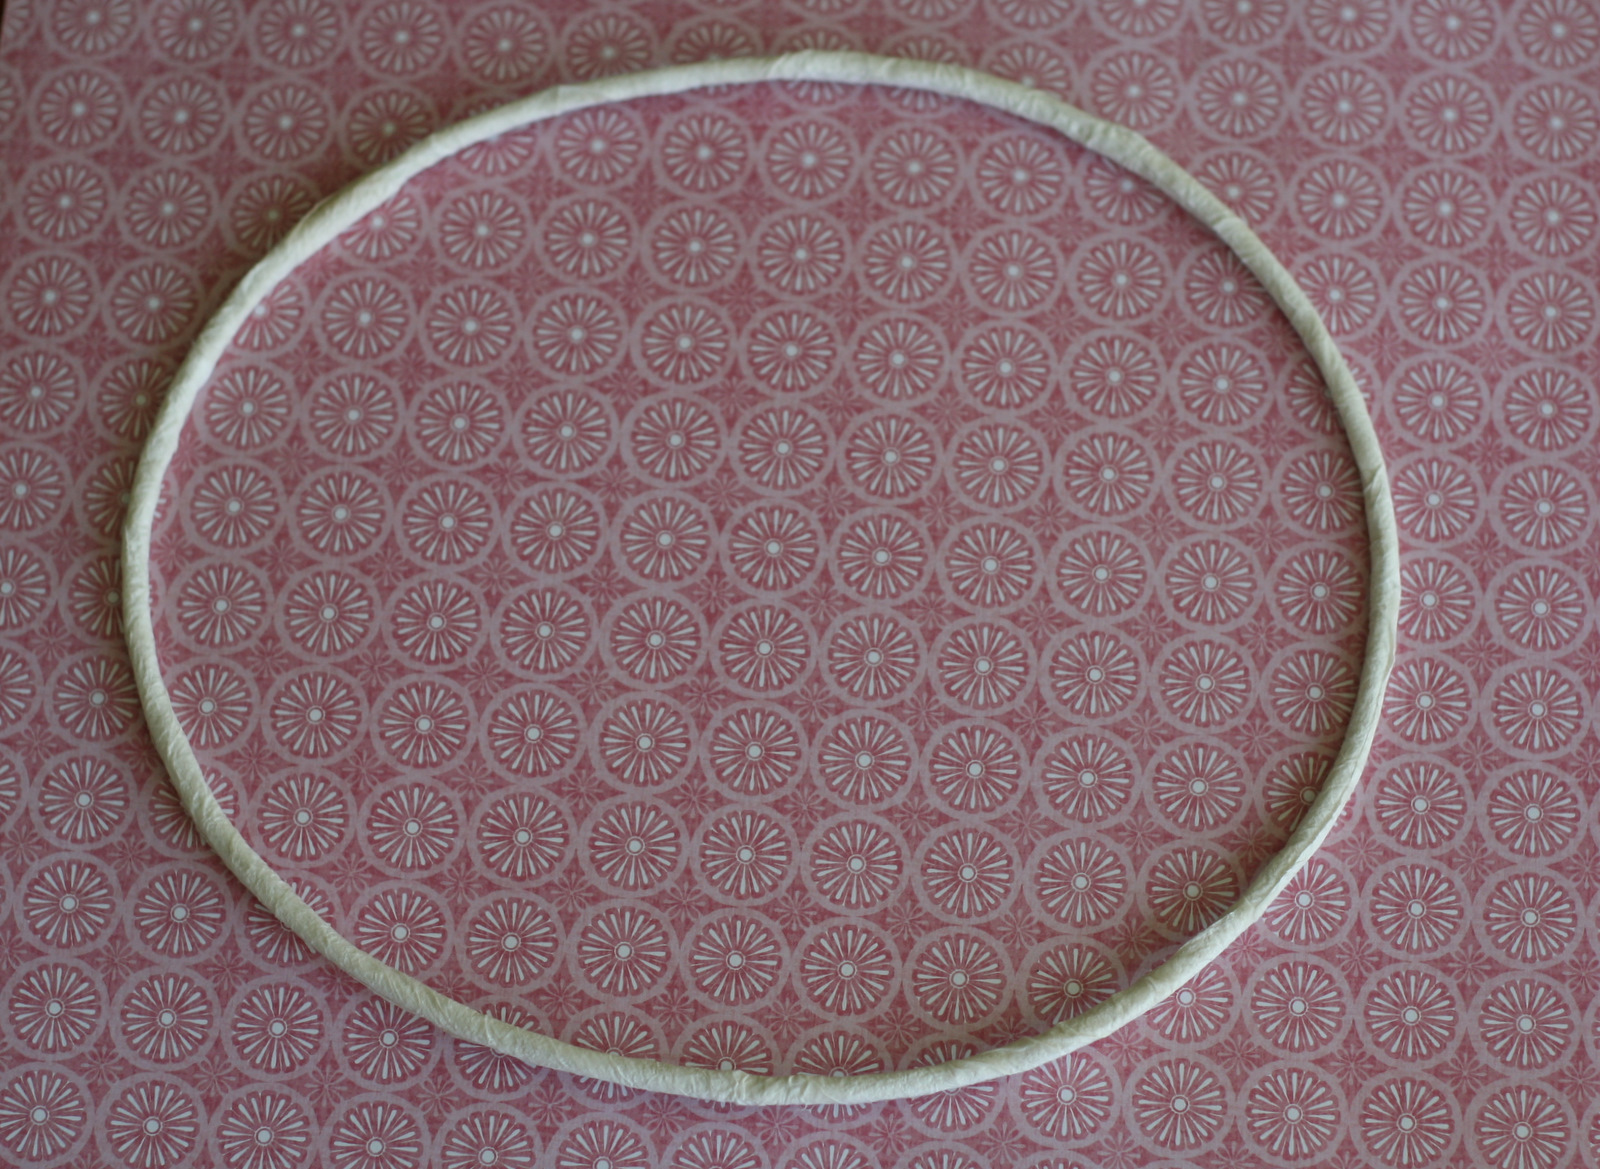
See, it looks nice now.
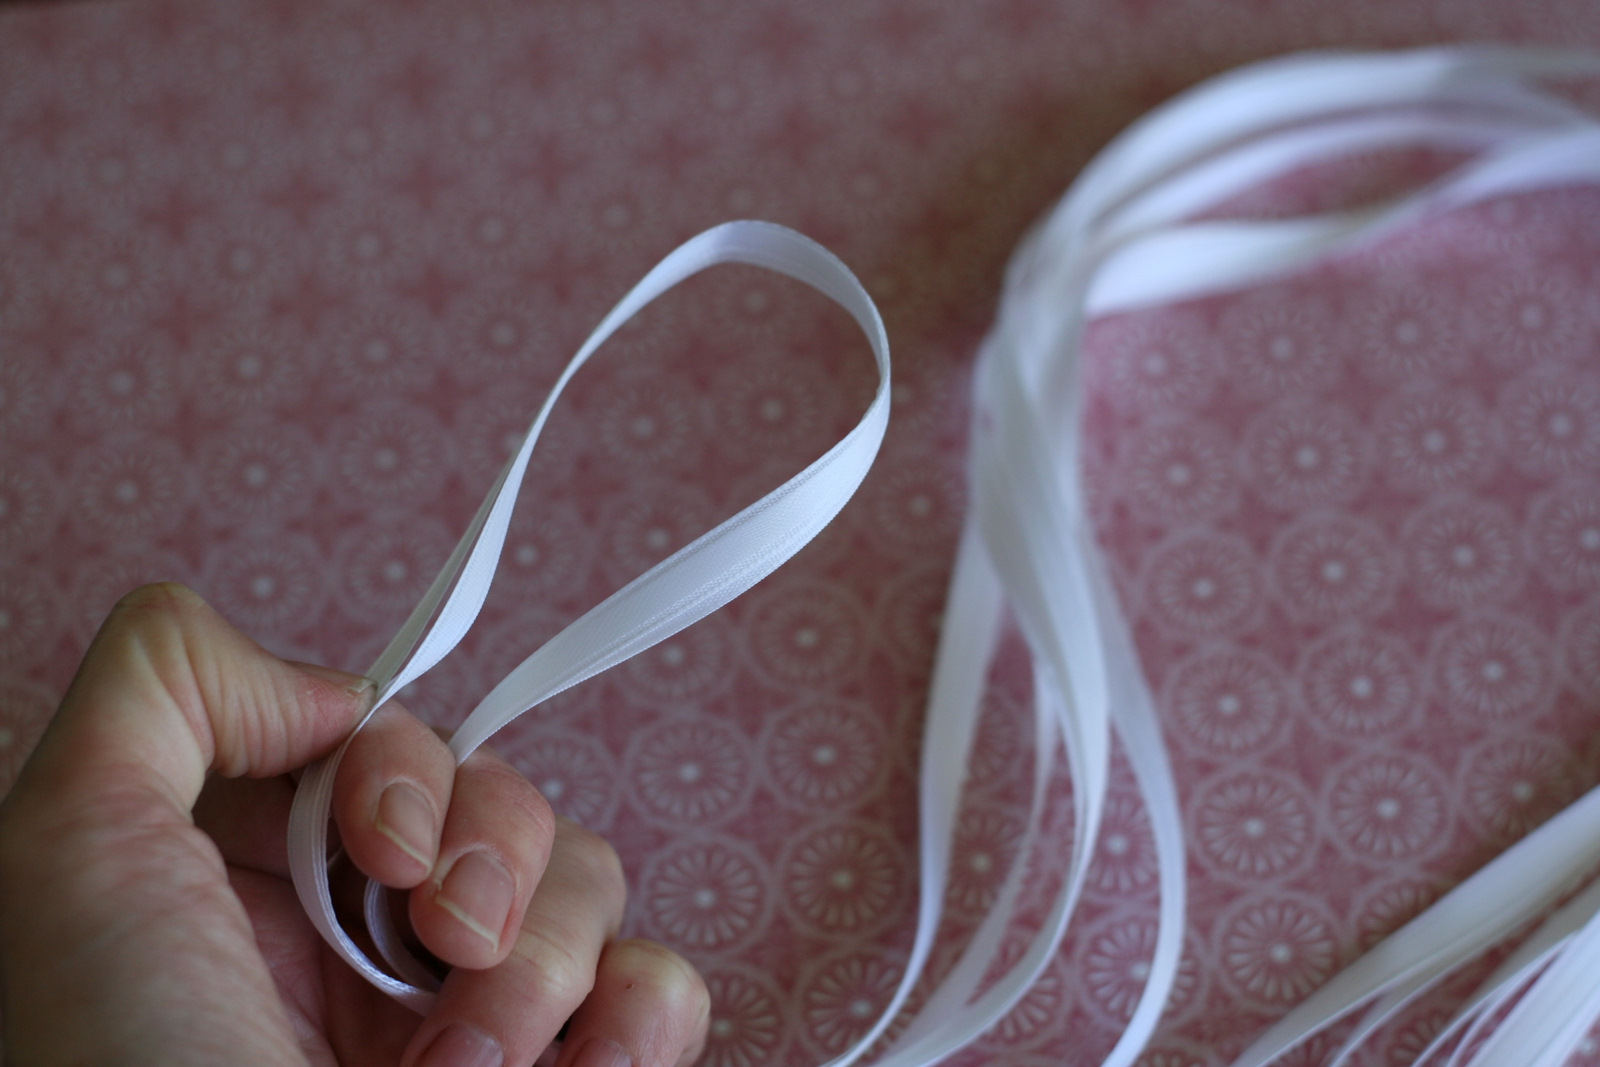
You can use ribbon, twine, or string. I used ribbon and cut 3 lengths of it… each 5 feet long. I held these together and folded them in half to find the middle.
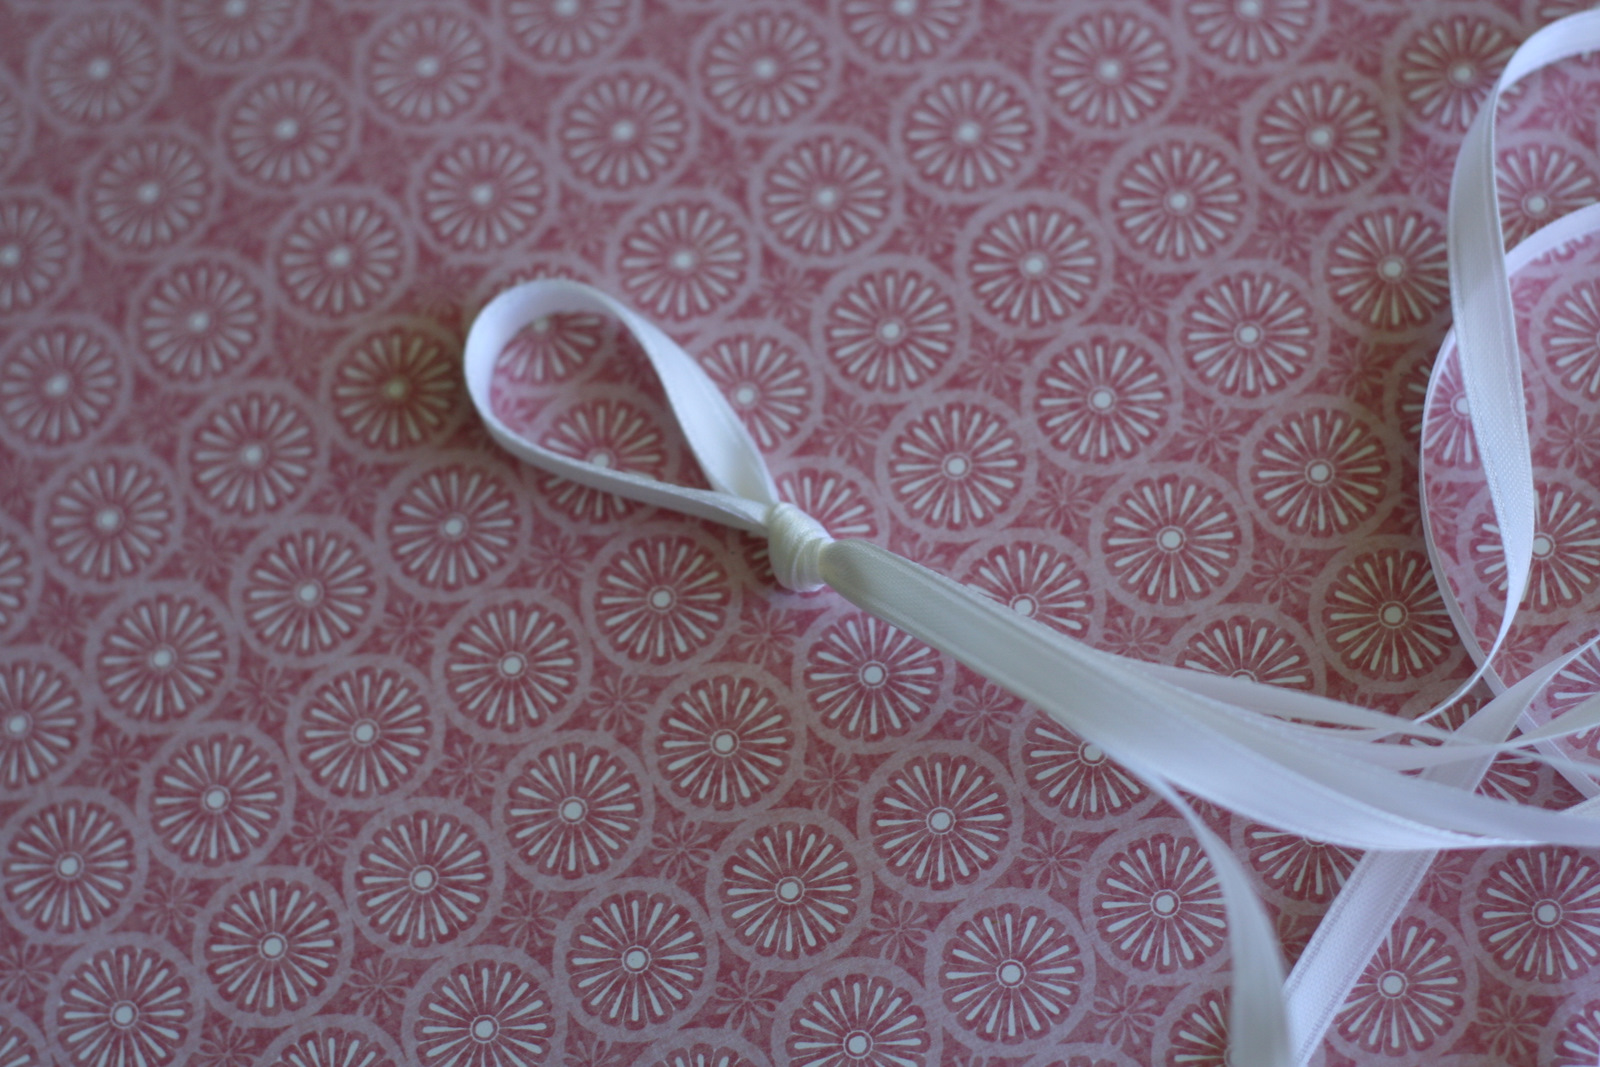
I tied the middle into this knot… for my loop to hang the mobile by.
Then I laid the knot in the middle of the hoop and arranged the ribbons evenly around.

I left just a little slack in one ribbon and tied it to the edge. It turned out to be 5 inches long.
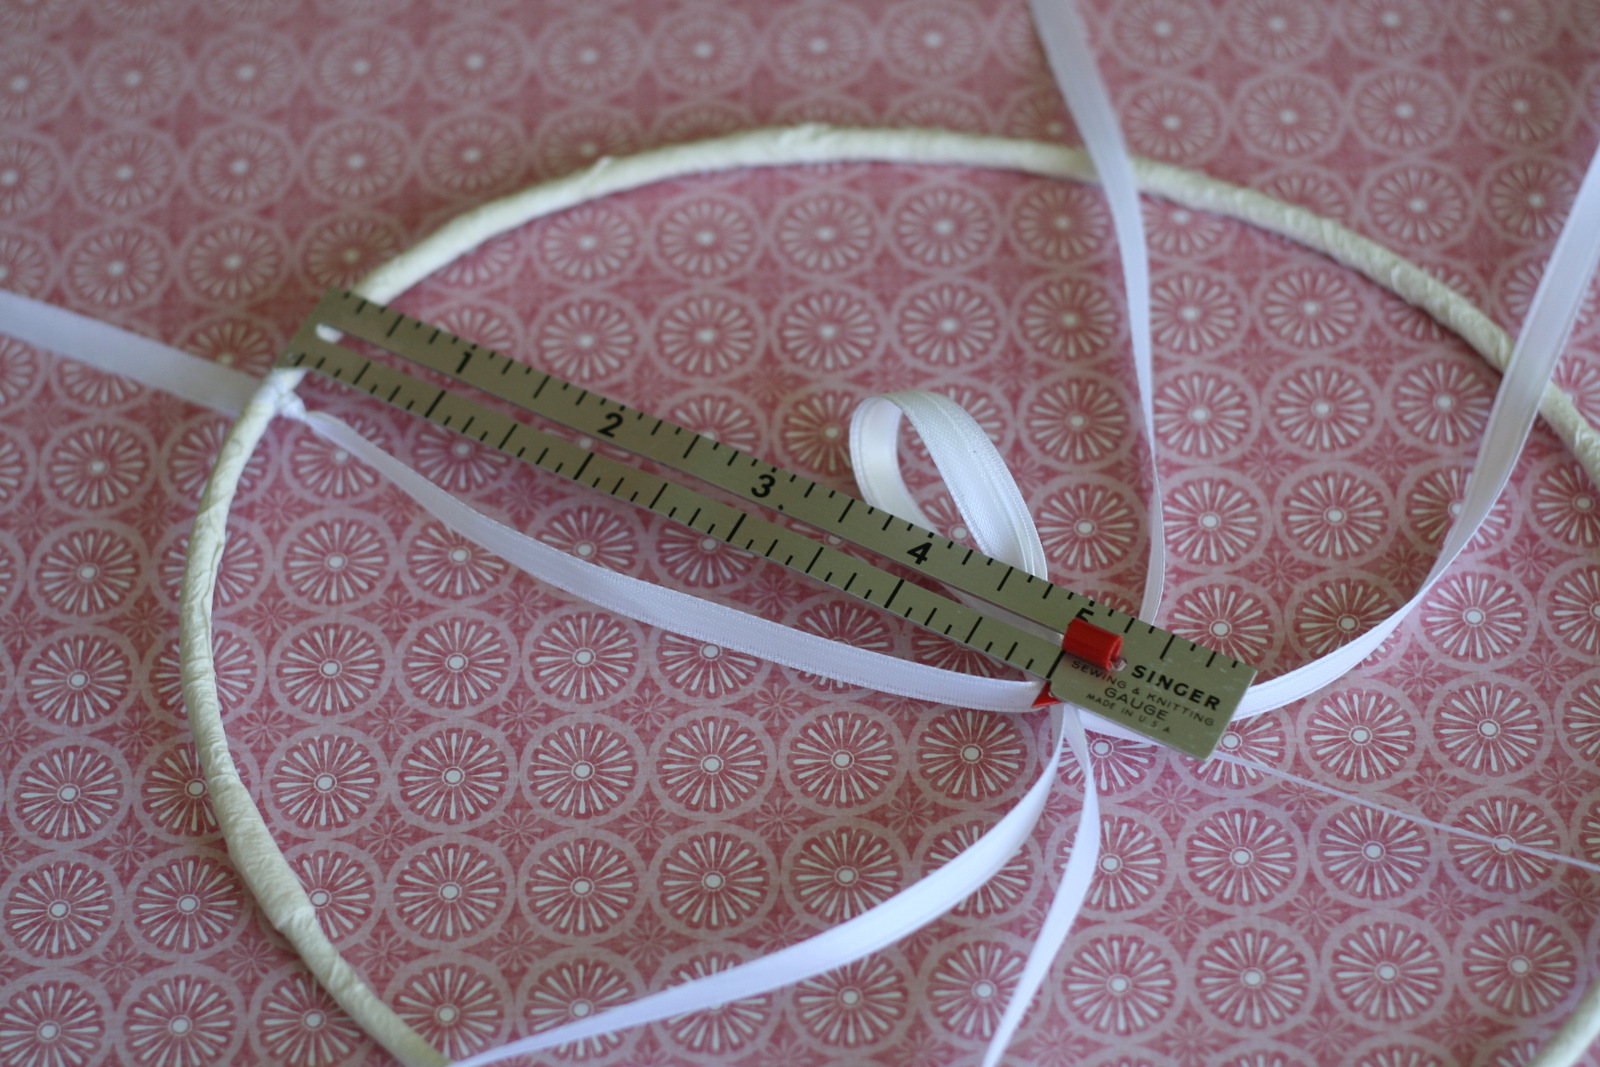
I tied the opposite ribbon onto the opposite side with 5 inches between knots.
Then I arranged the others and tied them. They had to be slightly less than 5 inches since I’m working with an oval. If you have a circle you can measure them all the same length. Or eyeball it…

You are basically done. Fold your origami creatures and attach them at whatever height you want on each ribbon trimming any excess ribbon. I used tape but if I hadn’t been in a rush I probably would have glued them in place and clamped them with clothespins until they dried.
So beautiful! I think I’m going to alter it for my 5 year old and do a dinosaur one instead. If I can figure out how to fold the paper 🙂