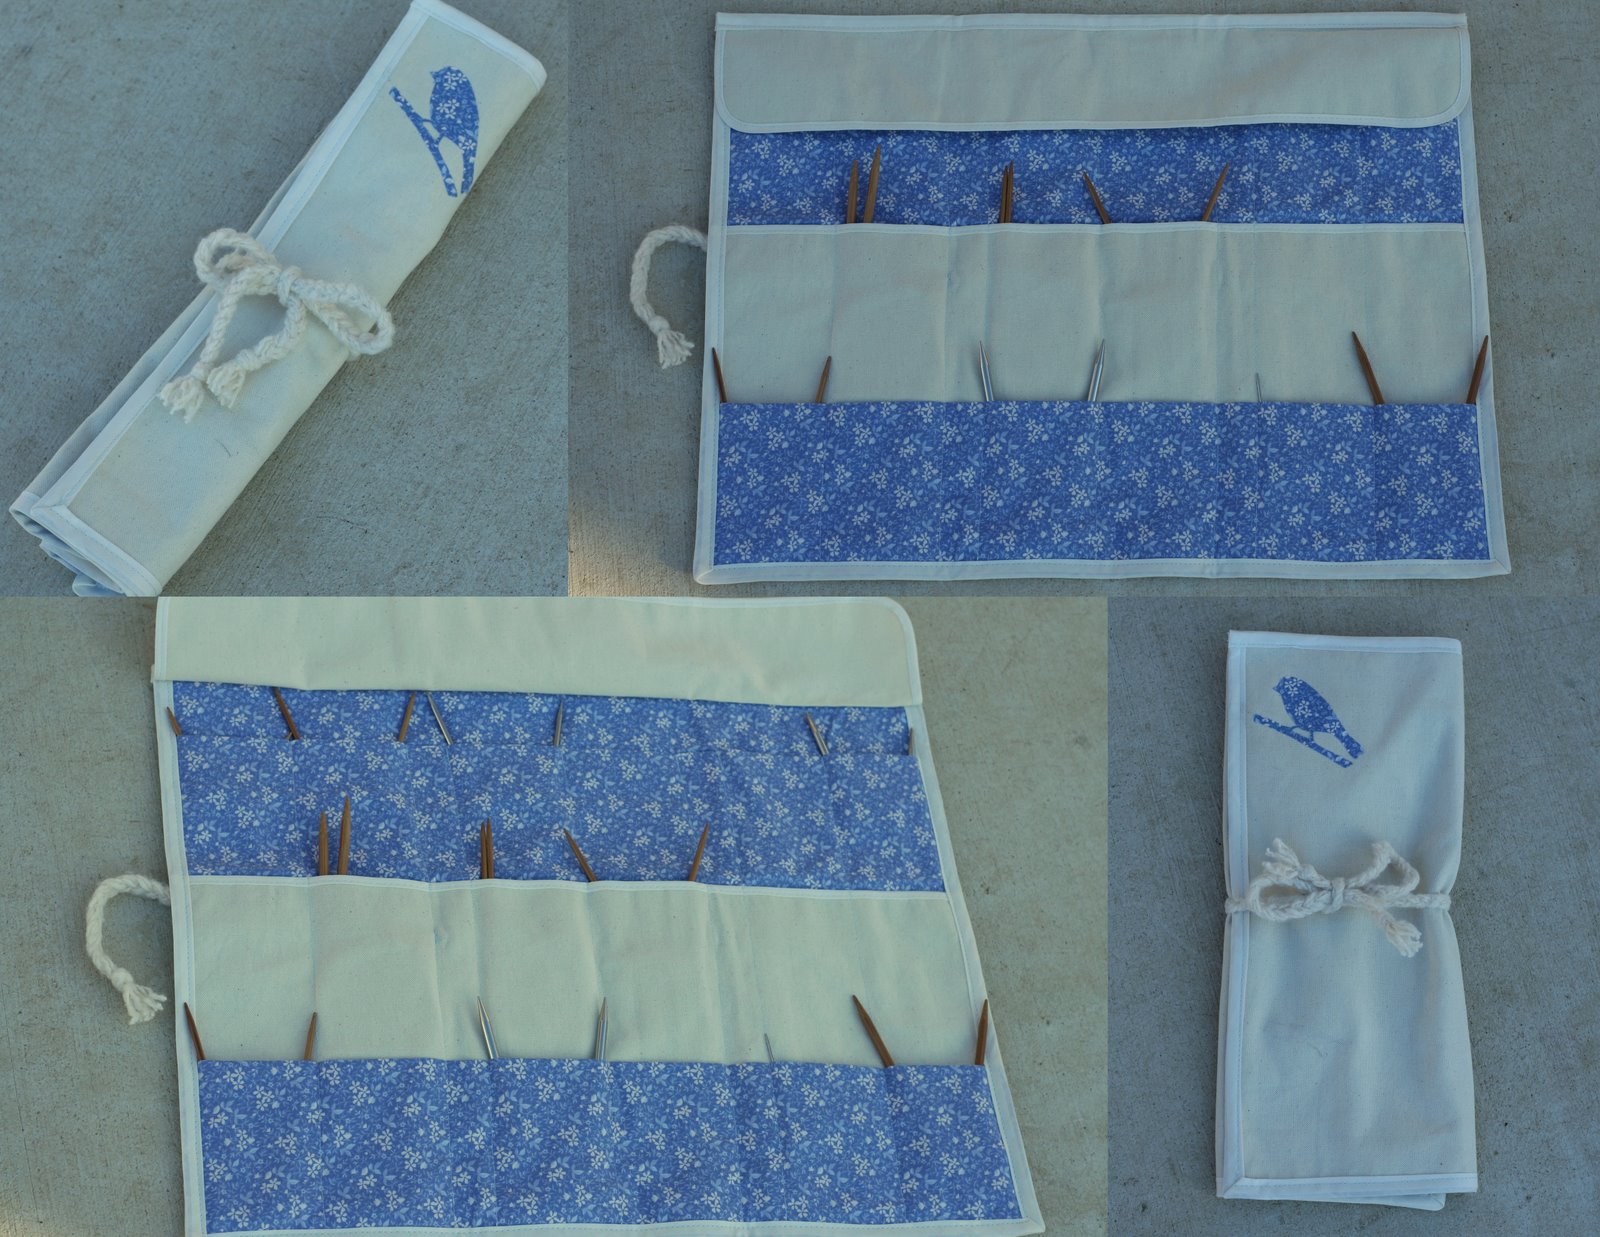
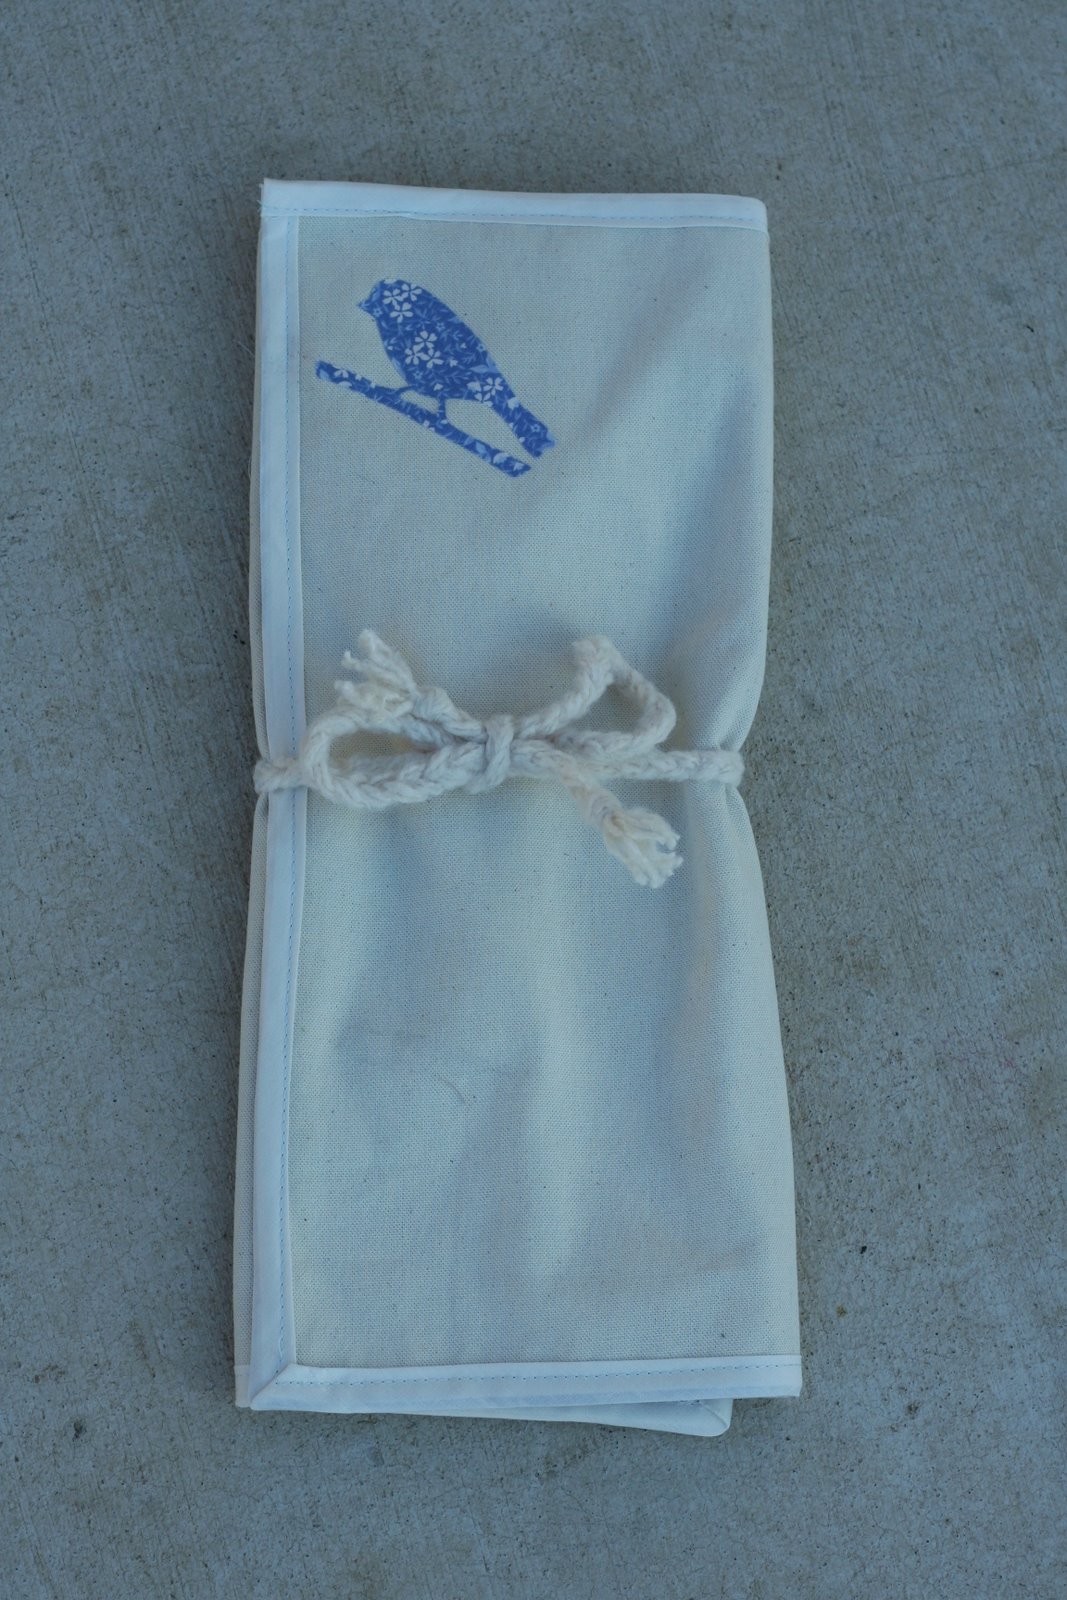
For my mom’s birthday this year I sewed her a beautiful needle and hook organizer. It was so much fun finding a fabric that reminded me so much of her and making a little bird on the outside of it. And it holds tons of knitting needles, crochet hooks, and other accessories.
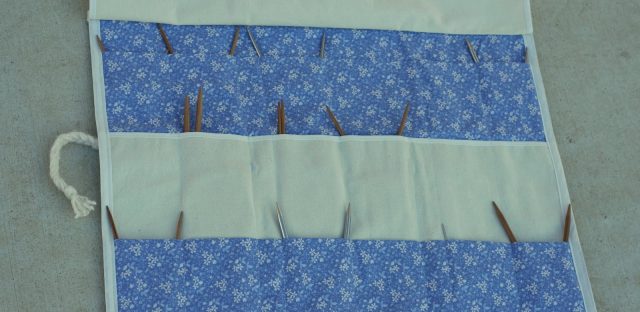
There was only one problem. My mom also has tons of circular knitting needles and flexible knitting needles. I had in my mind a way to make the rest of “her” fabric into an organizer with bigger pockets. I made it and gave it to her for Christmas.
If you want to make one, look below for how I did!
Circular/Flexible Knitting Needle Organizer
TutorialFabric pieces and measurements:
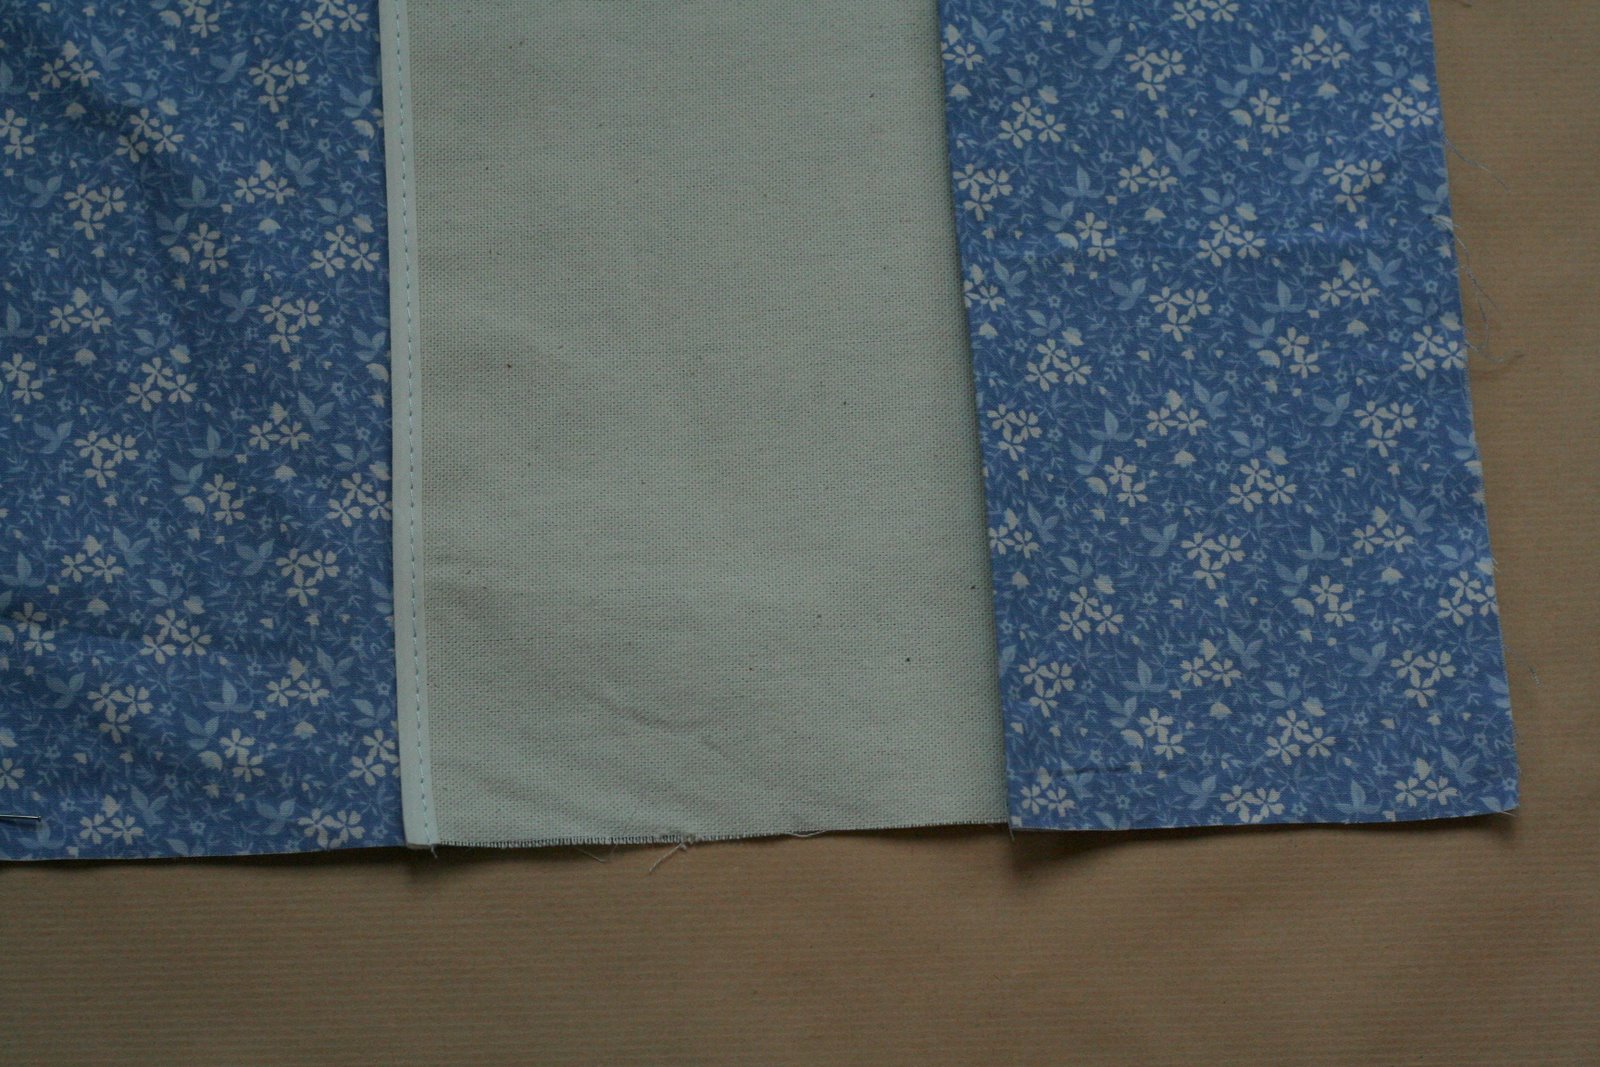
Lining, top, and bottom pockets (Made from one piece. The blue fabric) 20″ by 32″
Middle pockets (I used canvas) 20″ by 9″
Top flap (I used canvas) 20″ by 3 1/2″
Back (I used canvas) 20 inch by 15 1/2 inch (wait to cut until step 6)
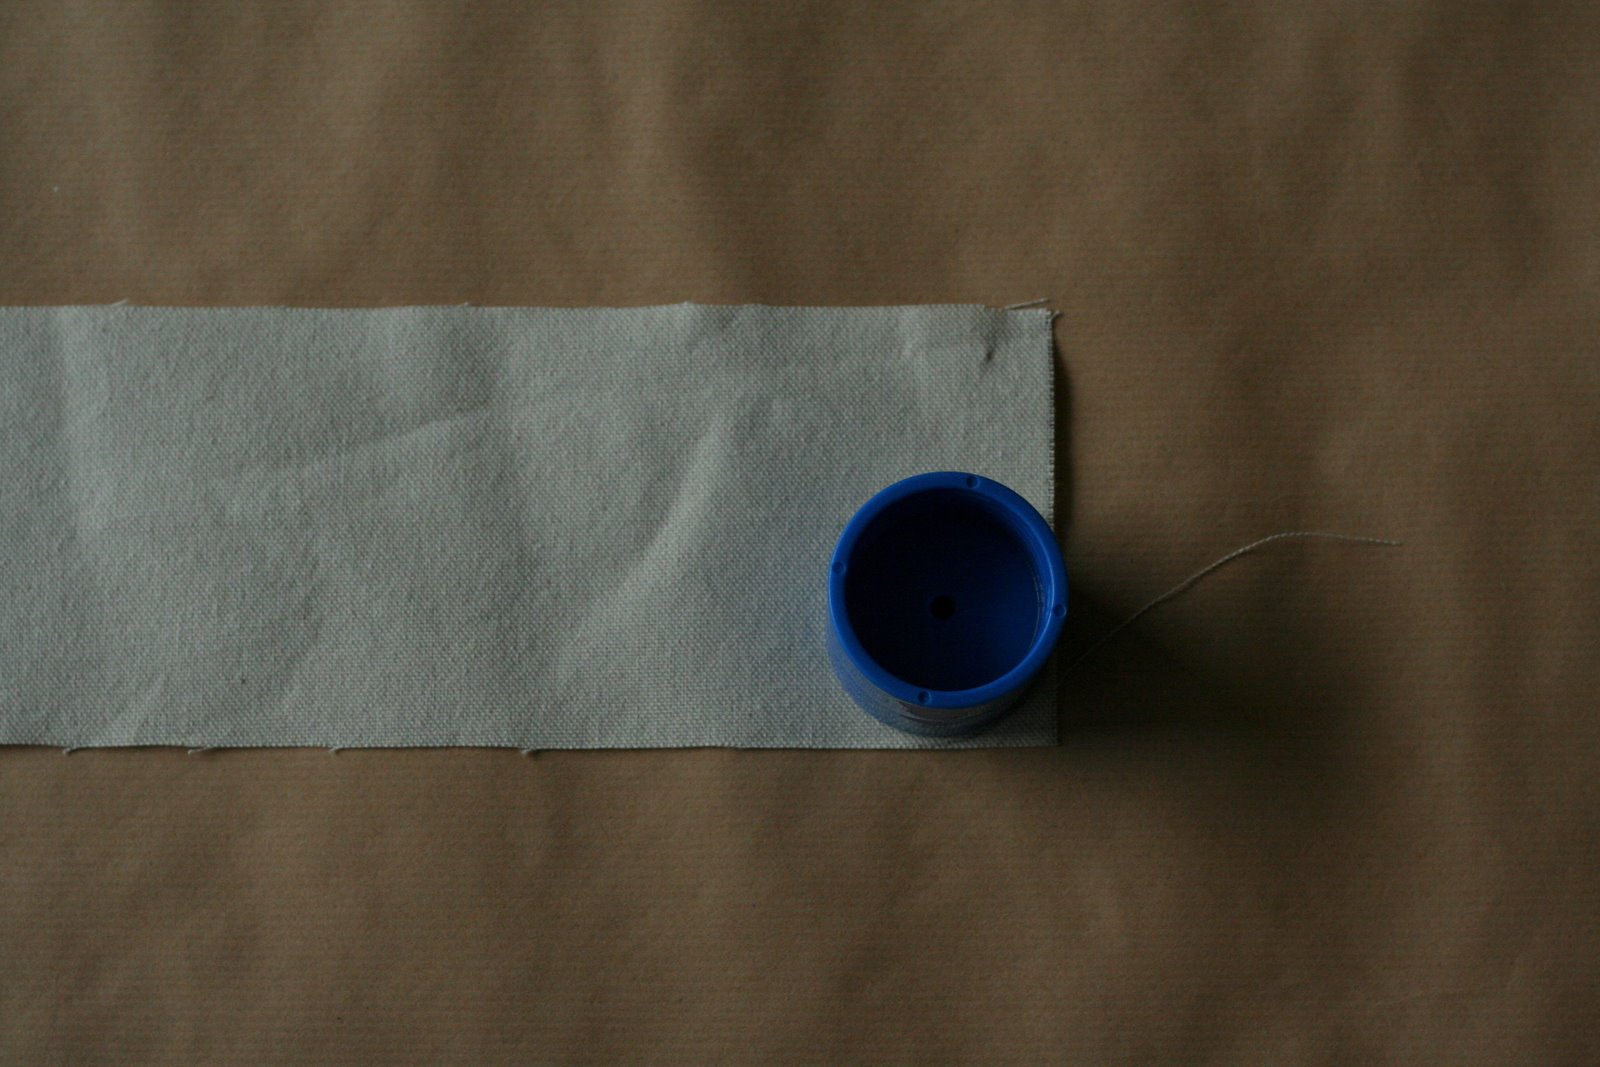
Binding
Yarn for tie
Scraps and fusible web for bird detail
1. Round the edges of your top flap. You don’t really have to do this but i like the look and it was simple to do. I grabbed a little round baby toy and placed it at the bottom 2 corners, traced the curve and cut it.


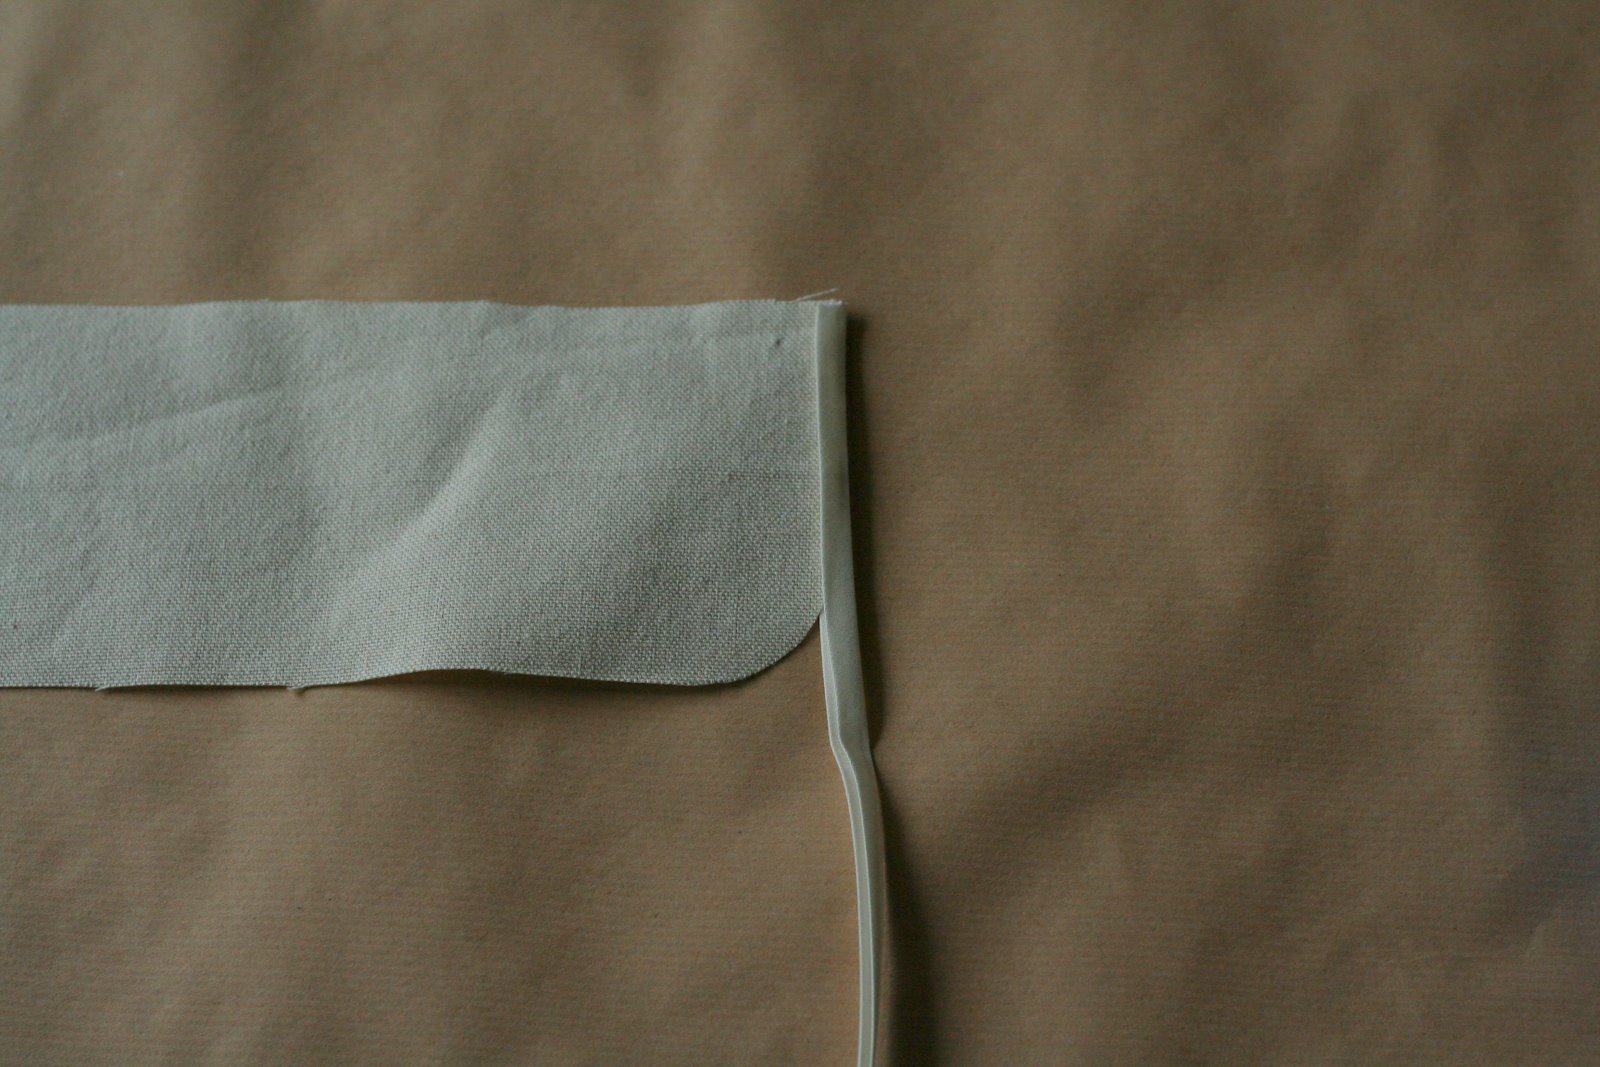
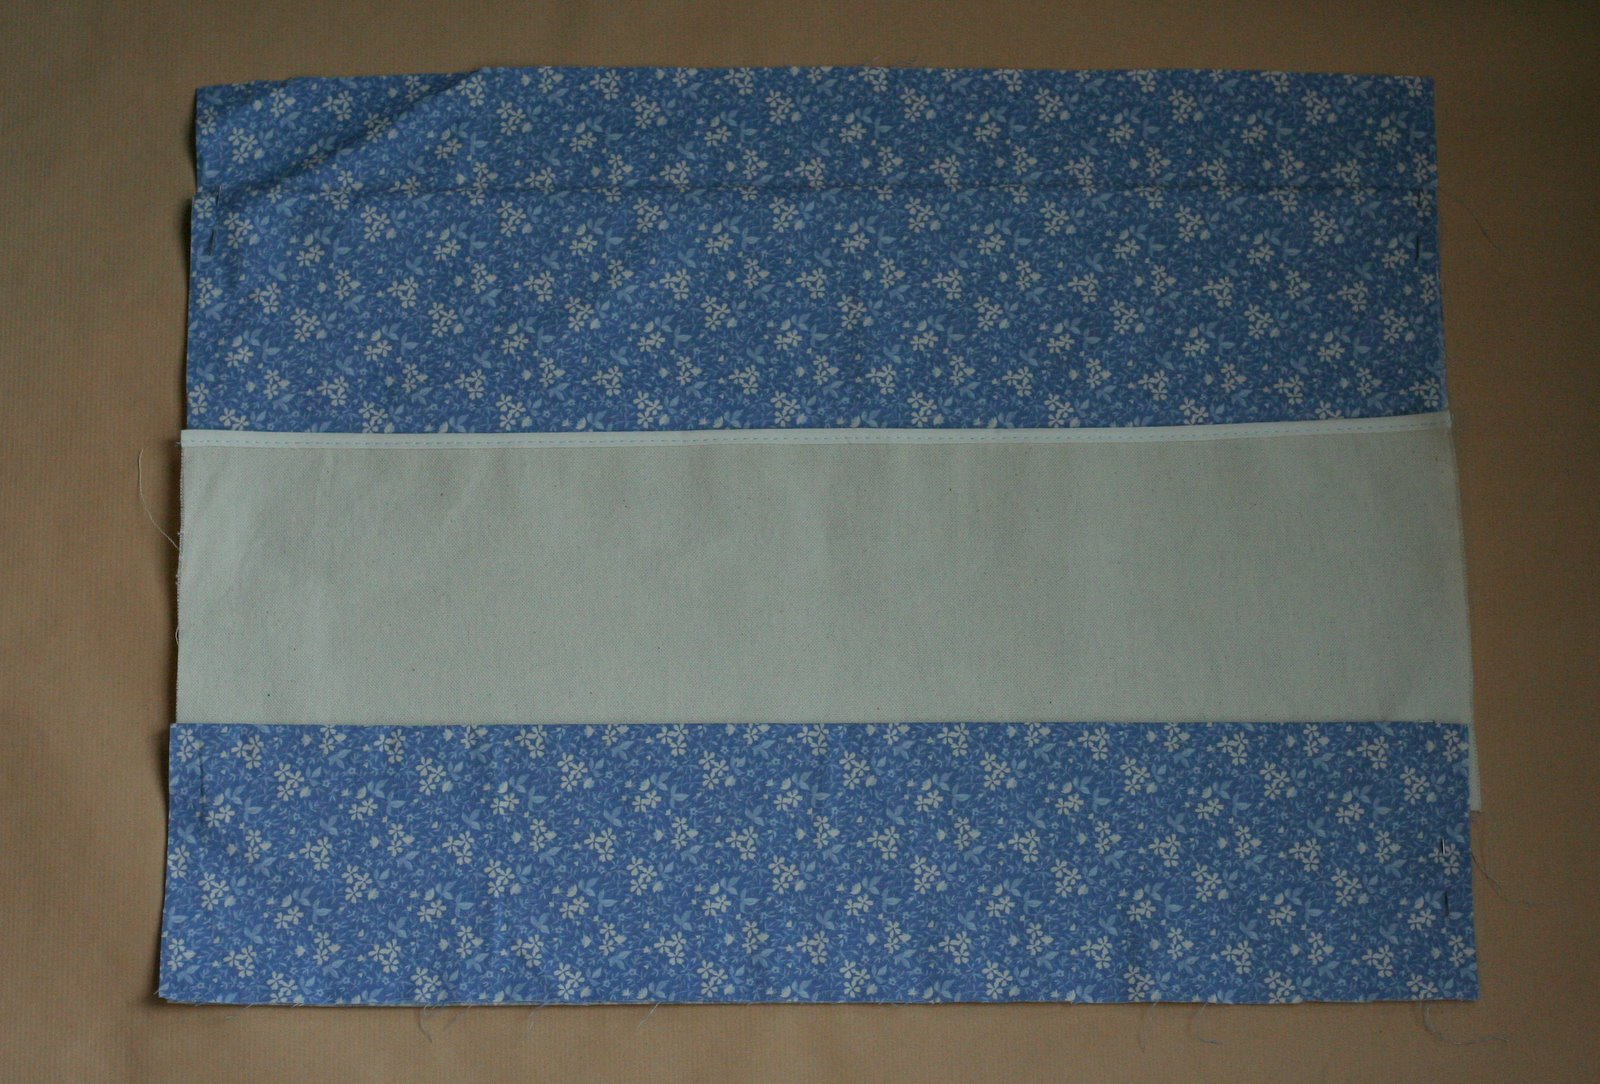
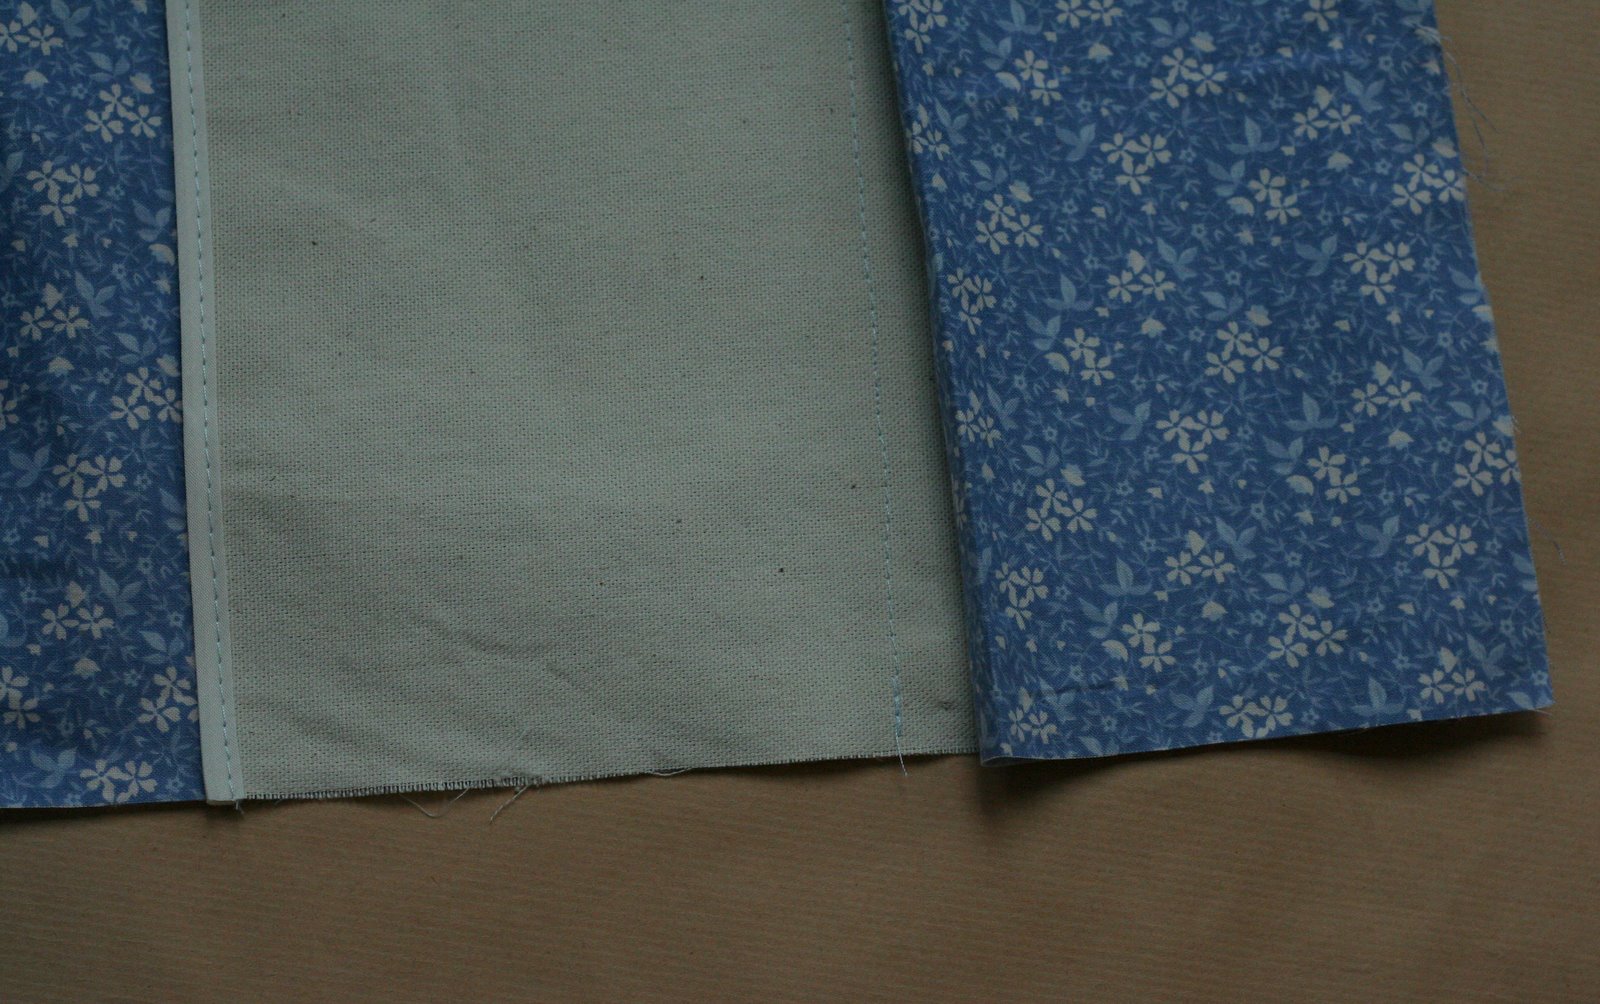
2. Sew binding across the top of the middle pocket fabric and along 3 sides of the top flap.

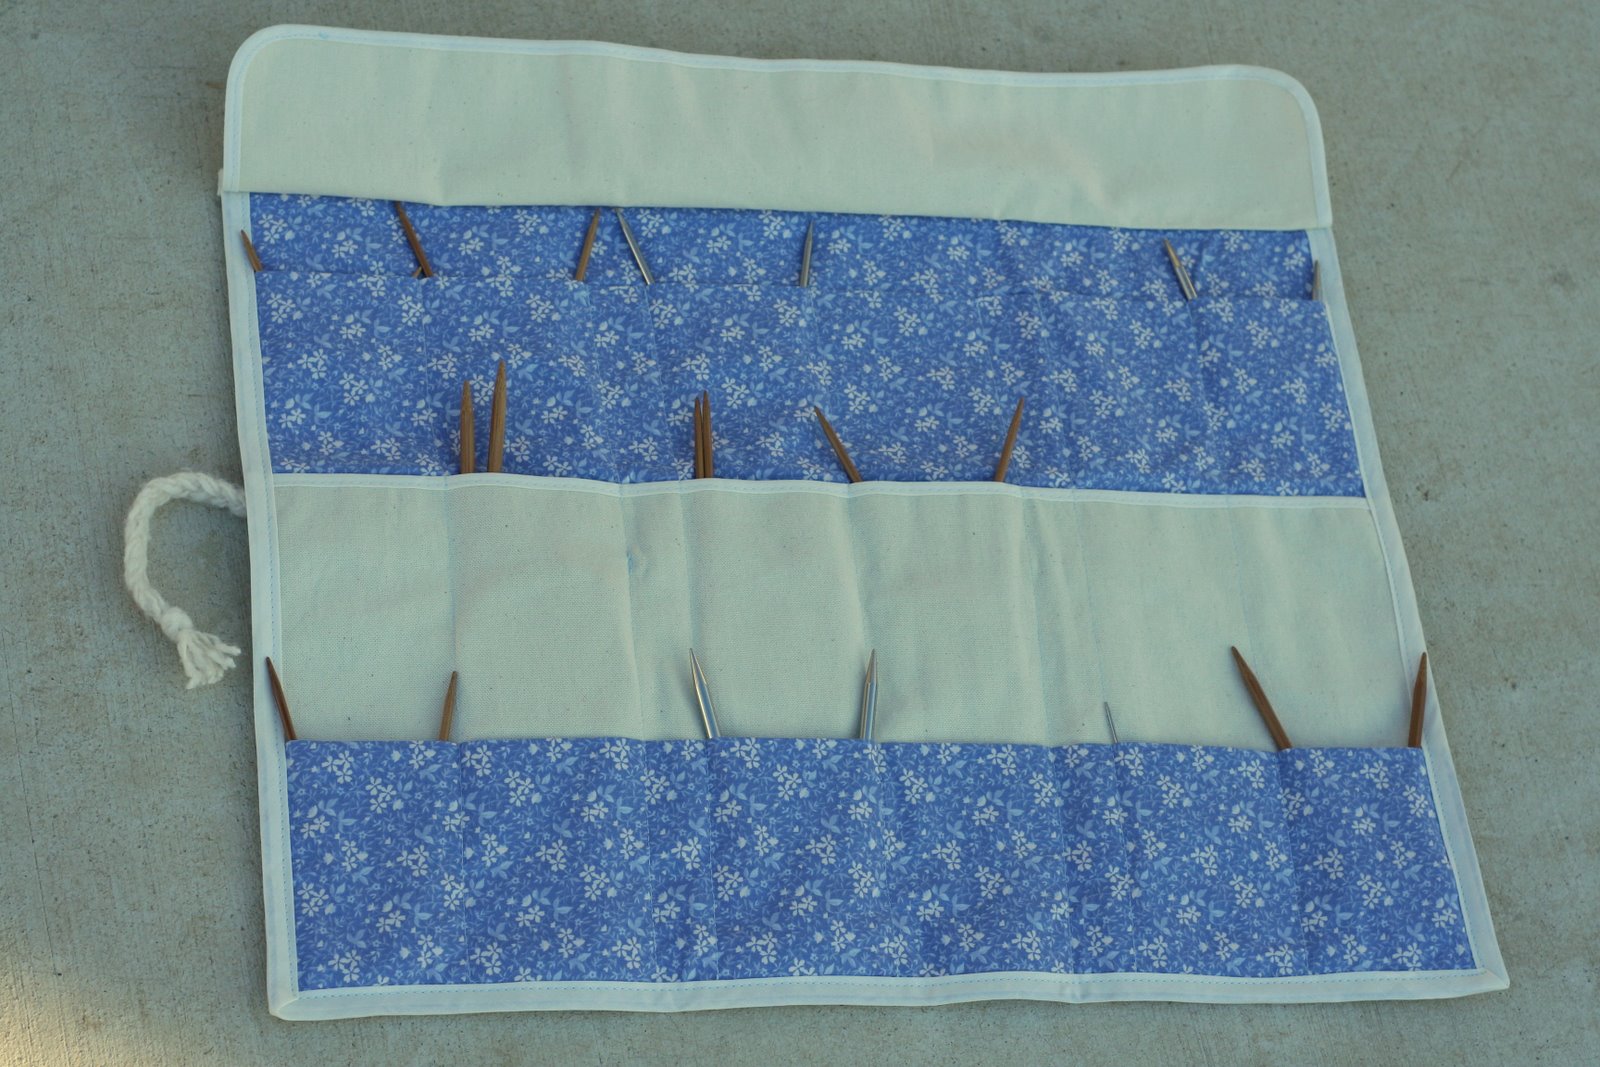
3. Fold the liner fabric to form the bottom and top rows of pockets.
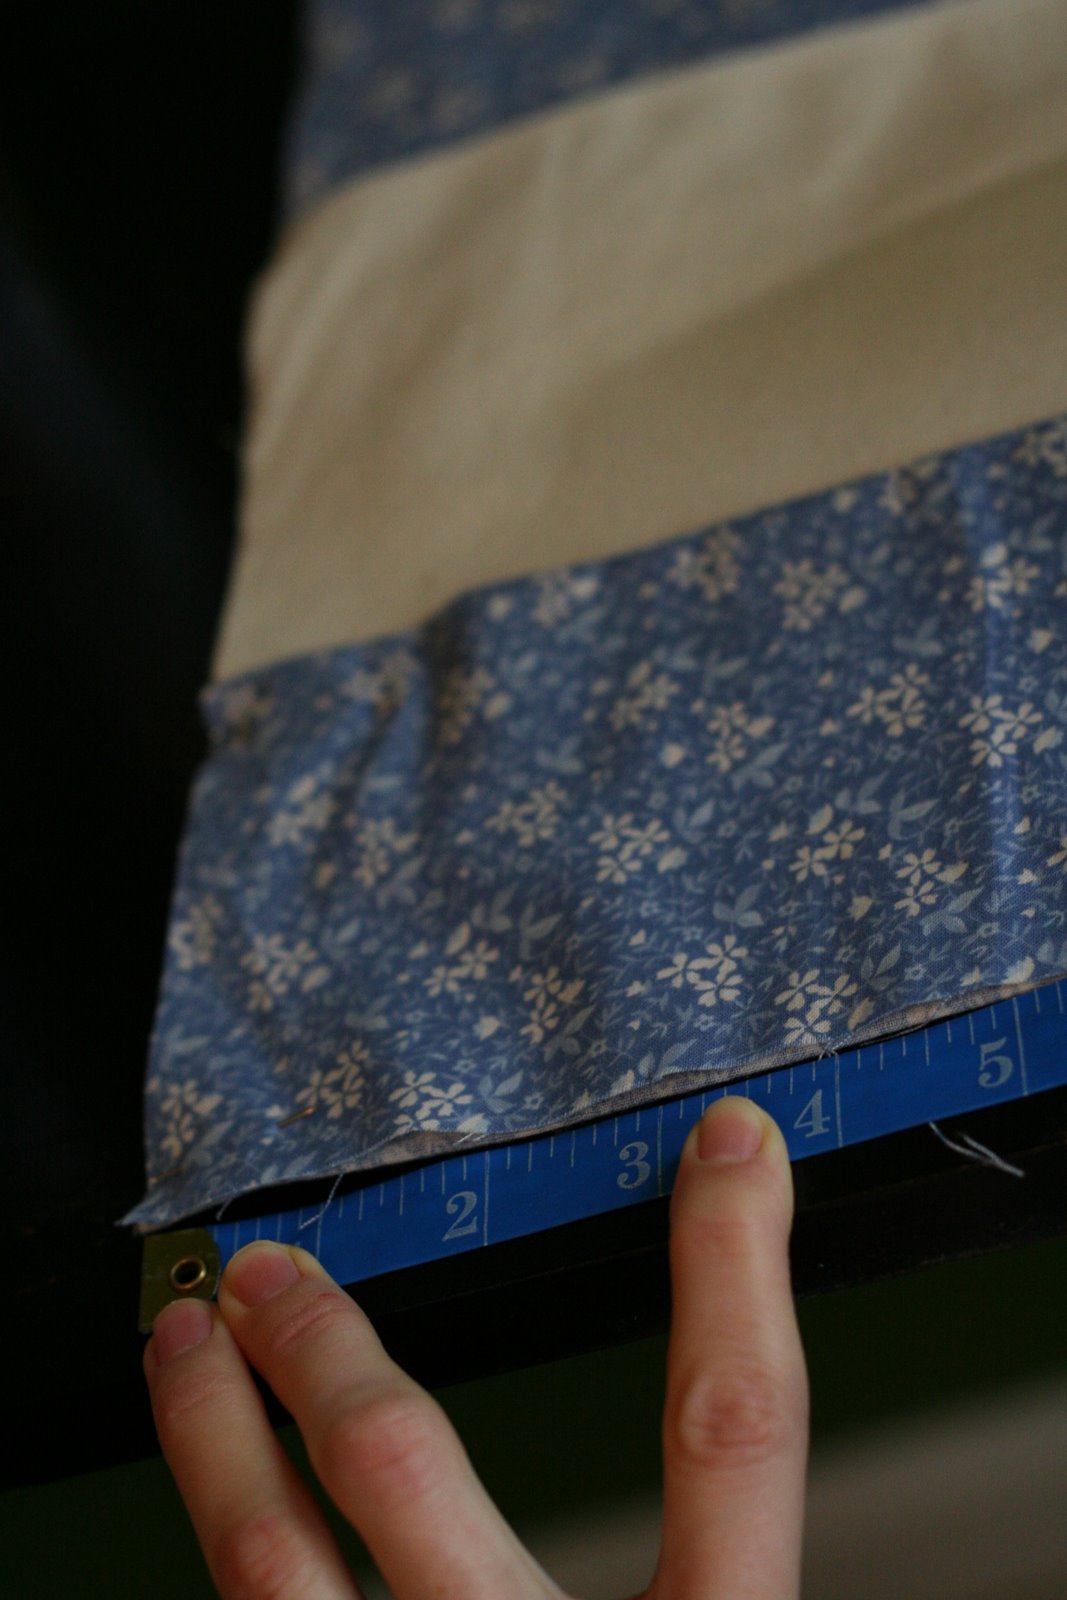
Top pockets: Fold the top of the fabric back (away from you and underneath) at 10 inches from the top of the fabric. Next fold 6″ of the top of the fabric back up. You should have a 4″ pocket across the top, with 2″ extra at the top of the pocket. Look at the pictures for any of this to make sense!
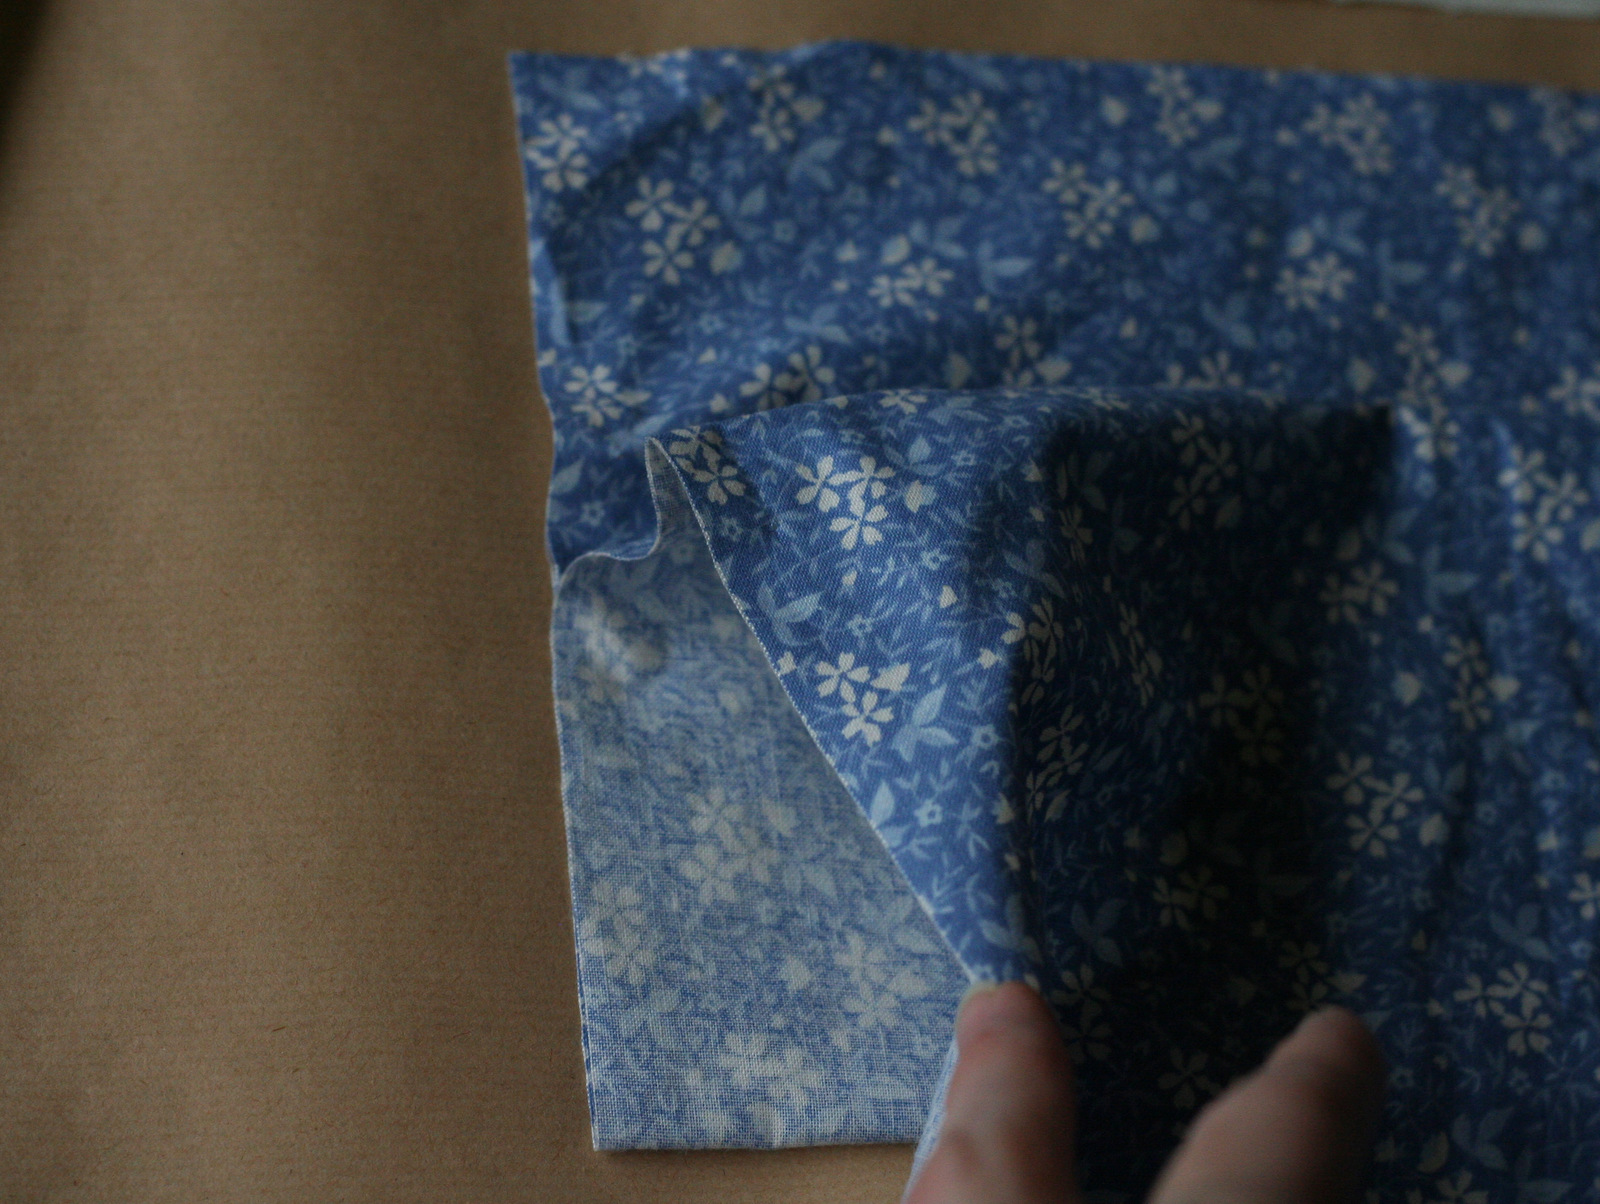
Bottom pockets: From the bottom, fold up 9″ then fold down 4 1/2″ of the fabric. This makes a 4 1/2″ pocket along the bottom.
Iron to crease the folds. I also pinned them in place at the edges.

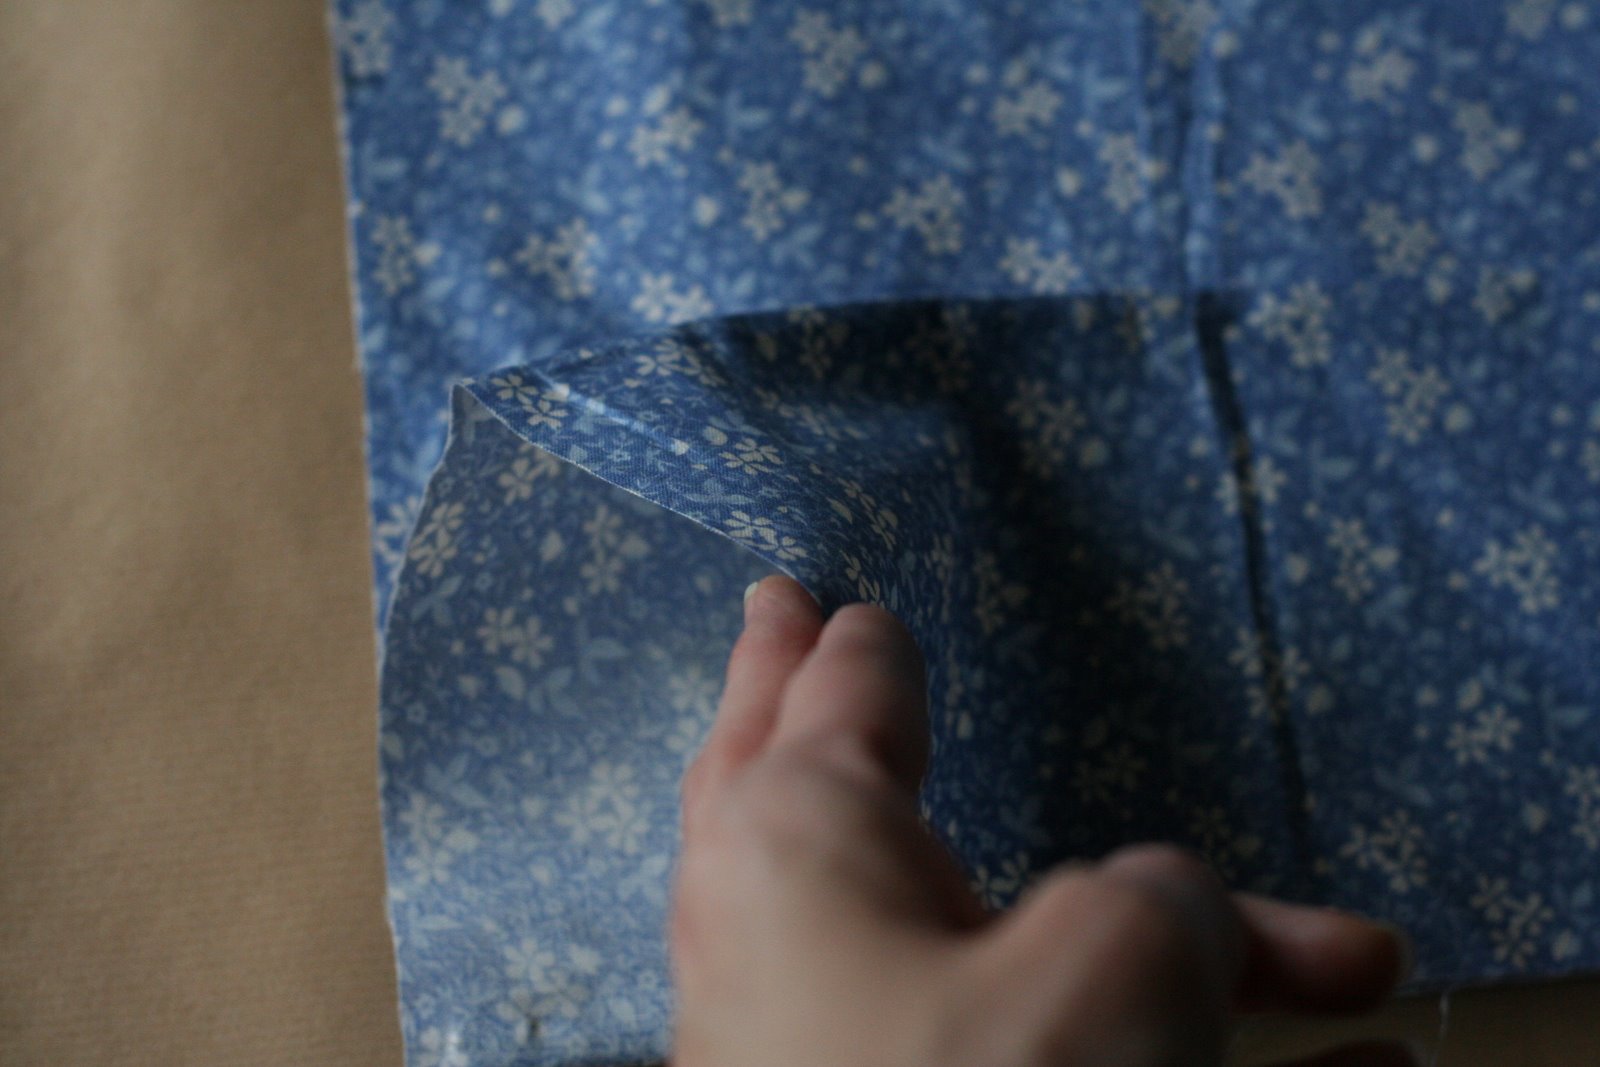
4. Tuck the the middle pocket fabric behind the bottom pocket. See picture. Pin it in place then sew it.. I sewed it just below the top of the bottom pocket so it wouldn’t show.
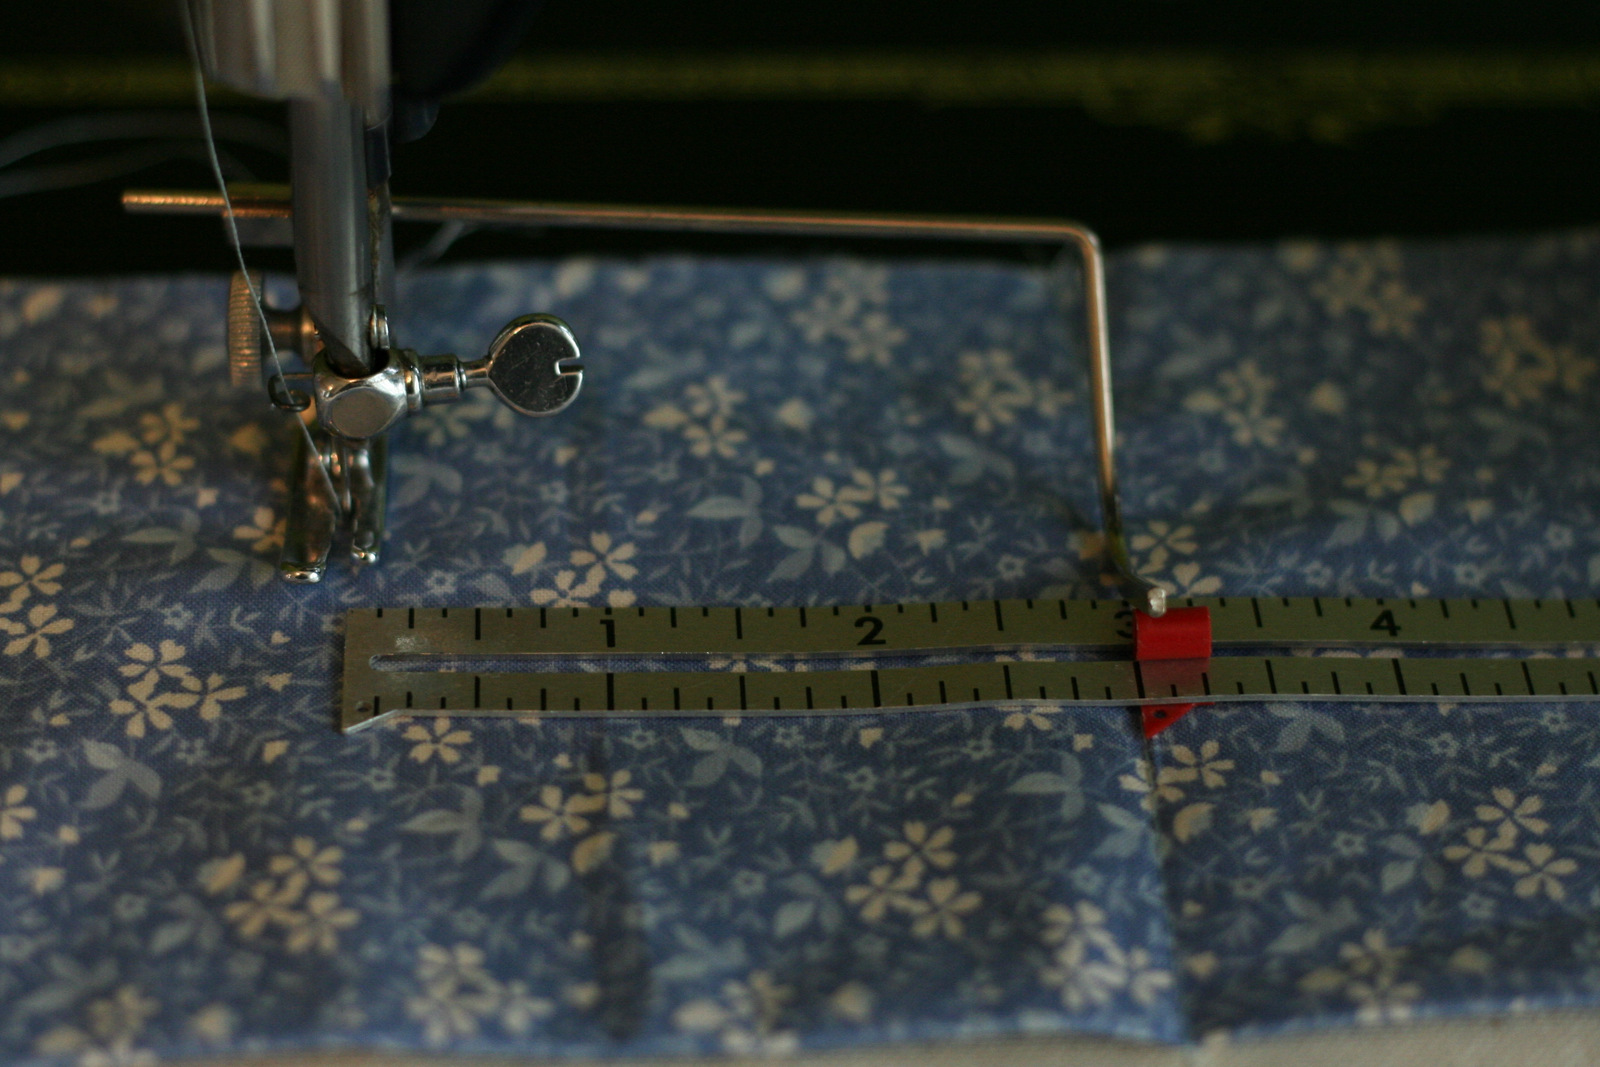
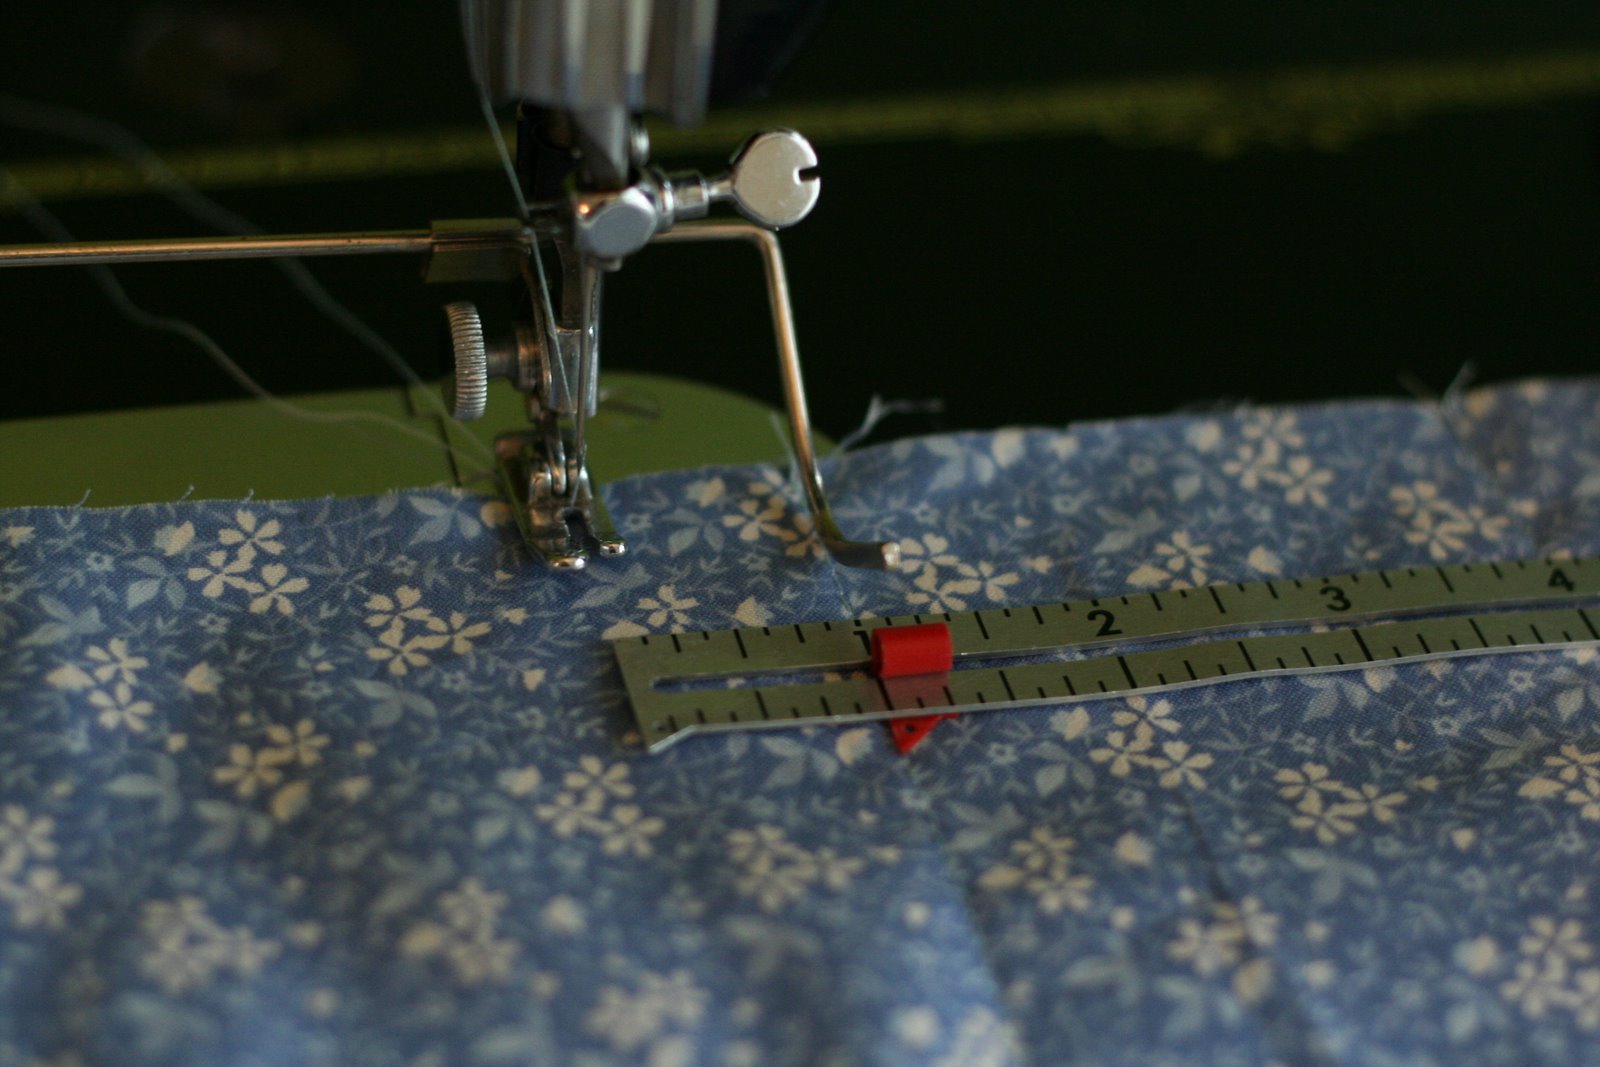
5. Sew the pockets. I used my quilting attachment, but if you don’t have one you can measure it out with a ruler and trace lines. Sew the pockets from the bottom of the fabric to the top of the top pockets. Back-tack at the end of each to secure. I sewed 2- 1″ spaces to make sure none of the knitting needle wires get kinked when folding up the case. Here are the widths of the pockets and extra spaces.
3″, 3″, 1″, 3″, 3″, 1″, 3″, 3″

6. Cut out the fabric you want to use for the back. Use the liner as a pattern so they match up exactly.
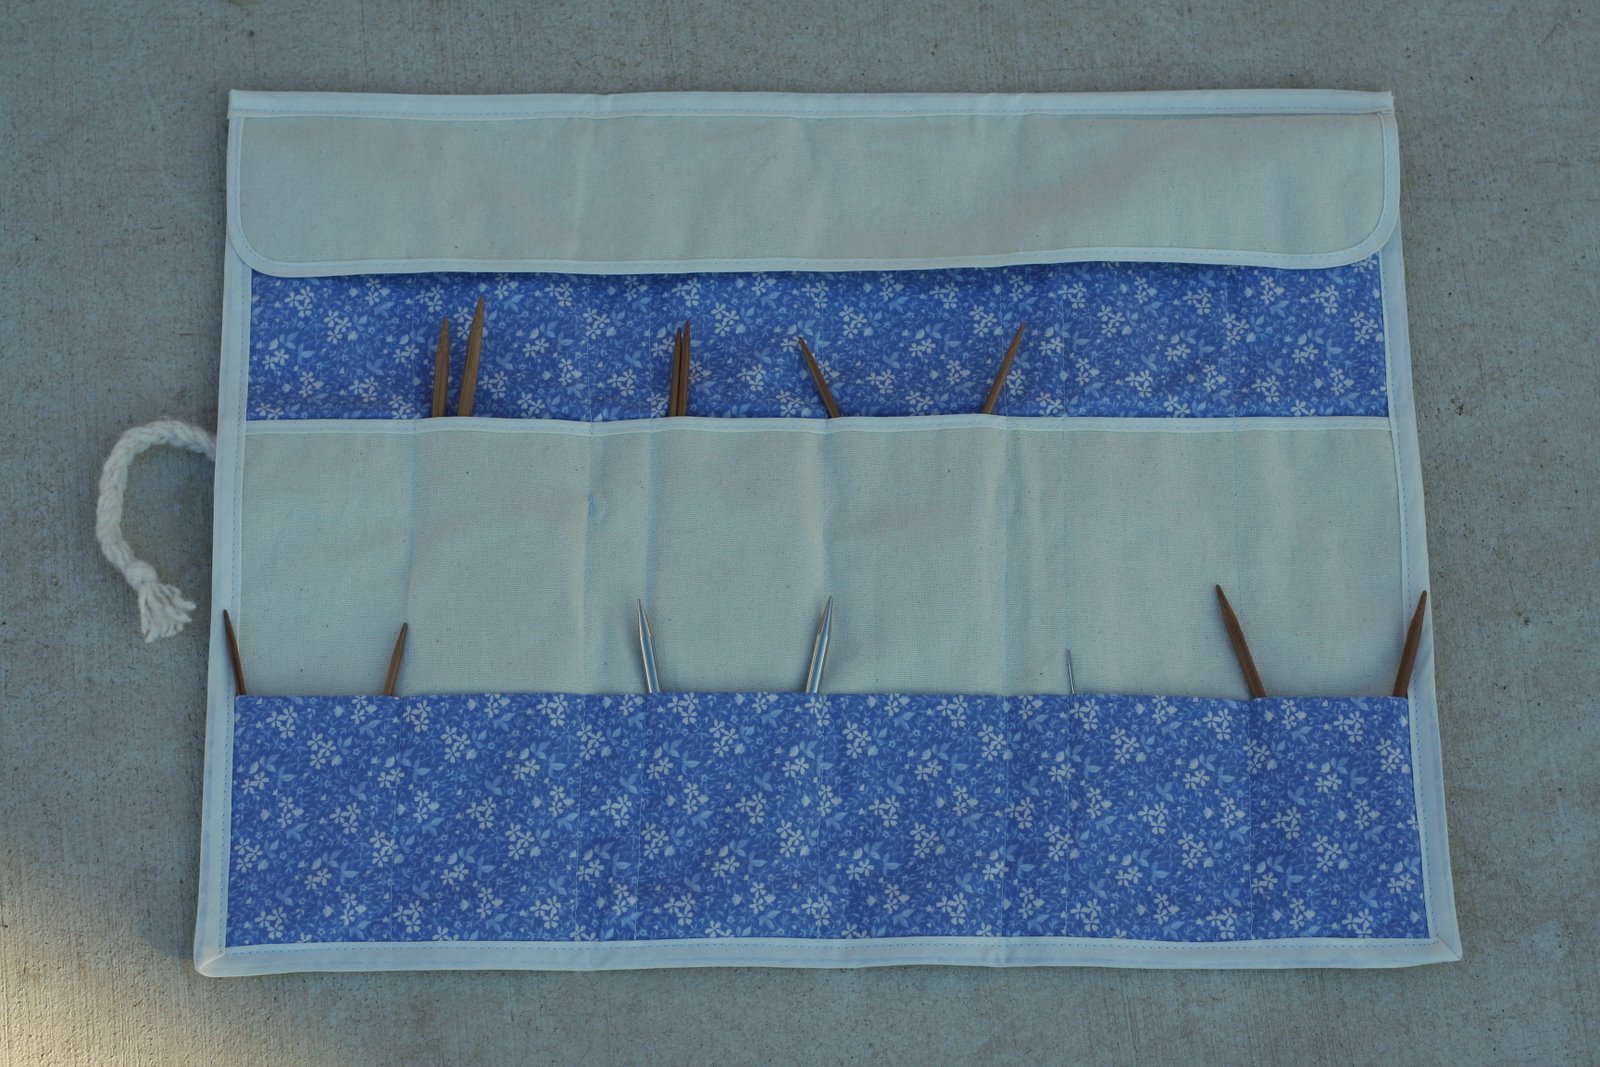
7. Stack the backing and liner together and sew binding on the sides and bottom. Then lie the top flap on the top and sew the binding across the top.8. I braided some yarn and cut out and appliqued a shape (bird) to the outside corner. Done! Now, go knit! 🙂
I’m a circular needle lover so thanks so much for sharing this project of yours! I can’t believe how adorable and practical this holder is.
It looks like your measurement for the middle pocket is incorrect, unless you meant to have it be 9″ deep? If the top edge of it is centered between the other two, the bottom edge goes all the way down to the base edge of the bottom pocket. There’s nothing saying “fold middle pocket in half and bind two edges together,” that I can find, so I’m not sure which you meant.
Hi, Megan. Step 4 takes care of the depth of the middle pocket. Look at the picture and you can see where I sewed it down. Hope that helps.