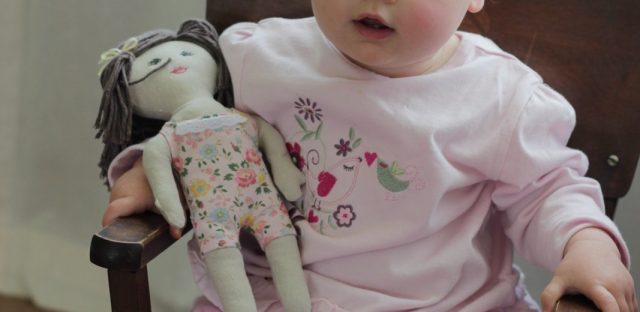
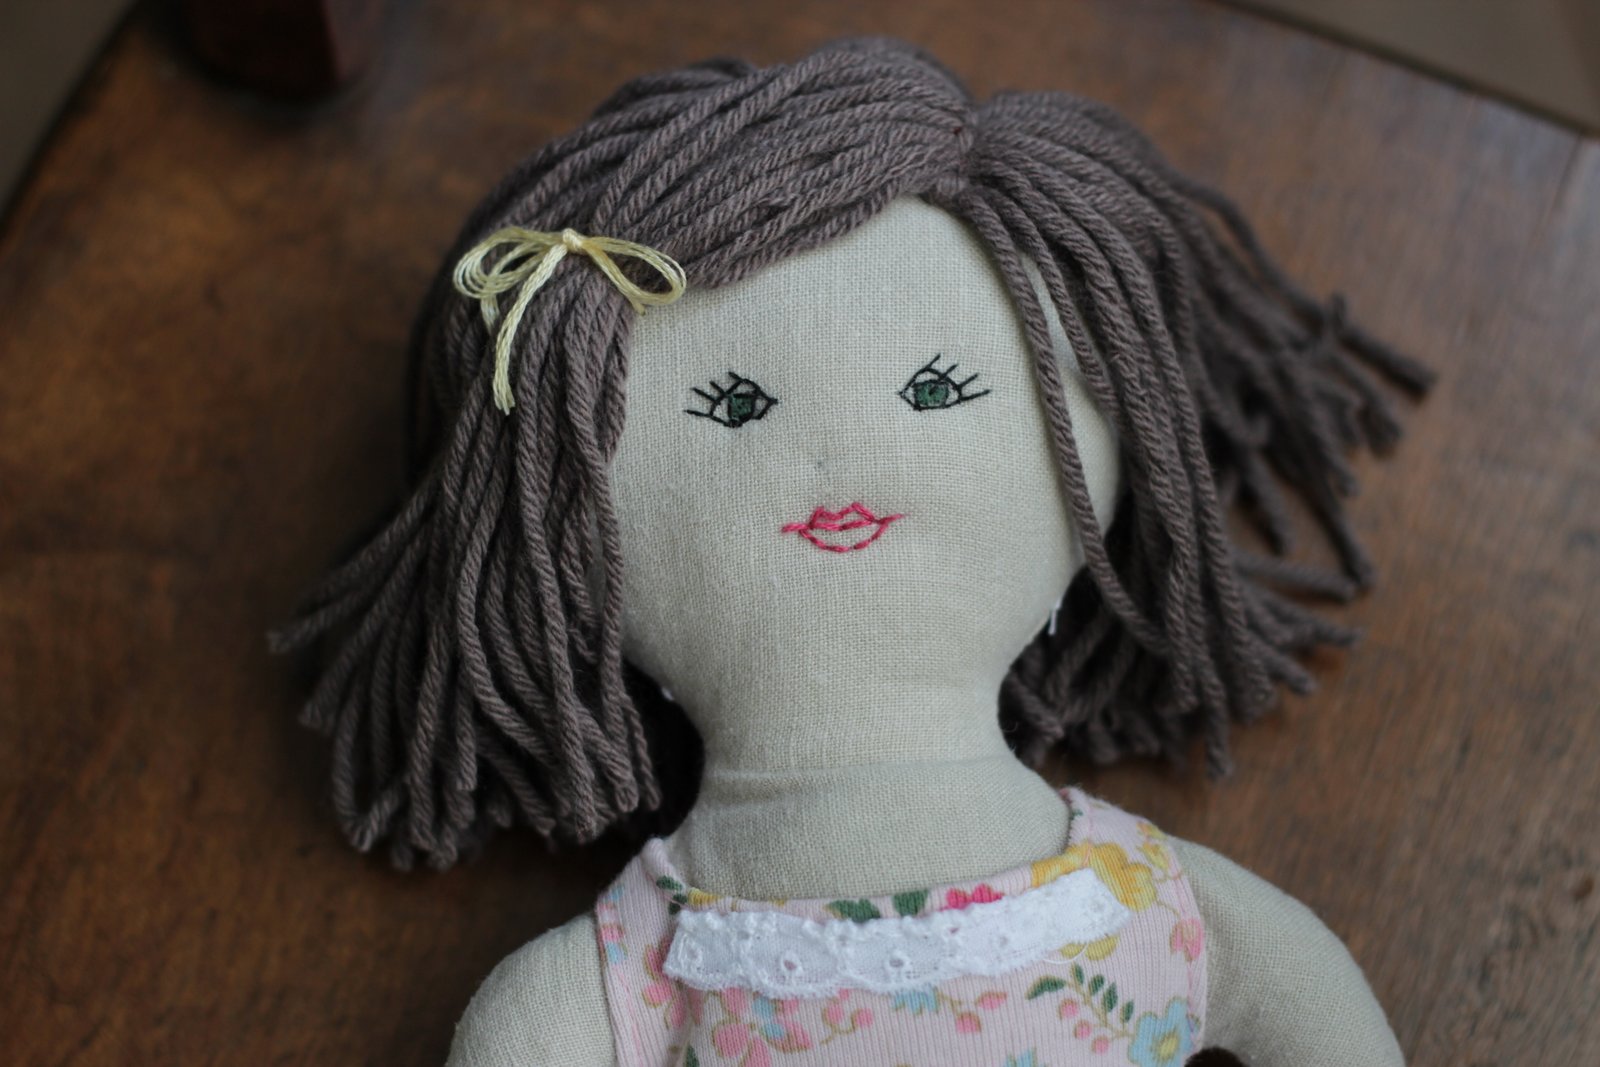
Well, I finished Serenity’s dolly just in time for her first birthday. (Here’s my first post about dolly.) Embroidering the eyes are the hardest part to me. The lips and hair are a challenge. But the eyes… Perhaps it’s because I think eyes are the most important. I was pretty happy with my results.
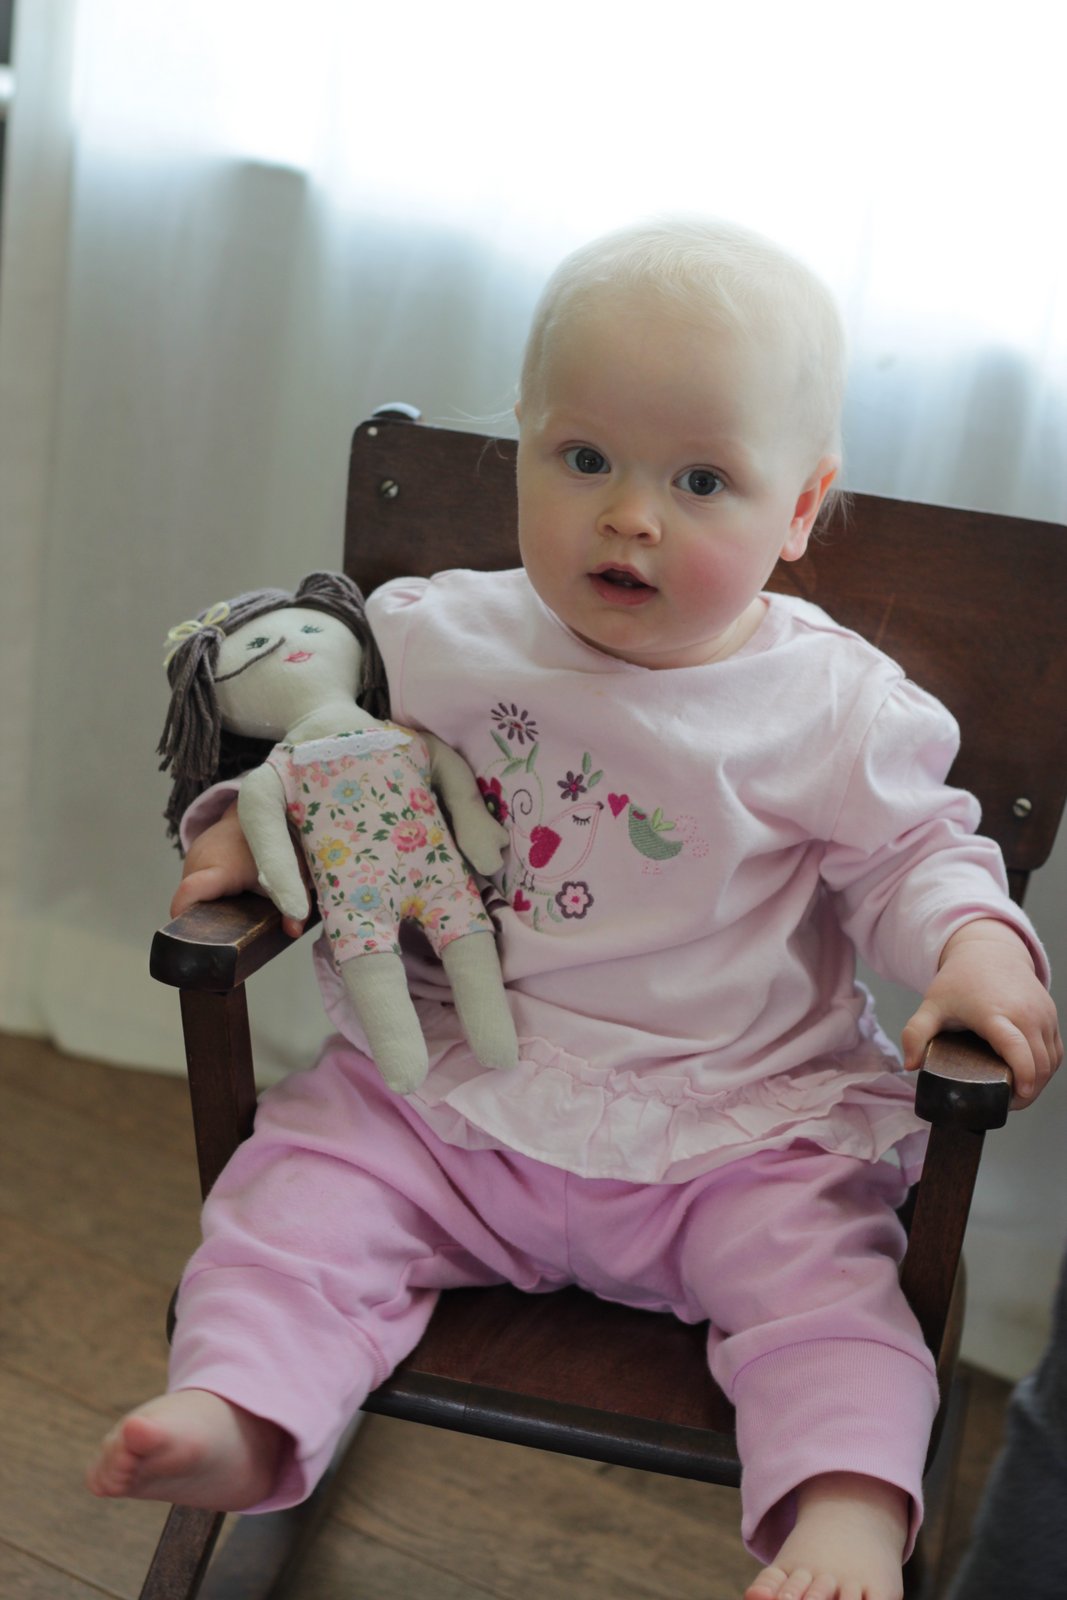
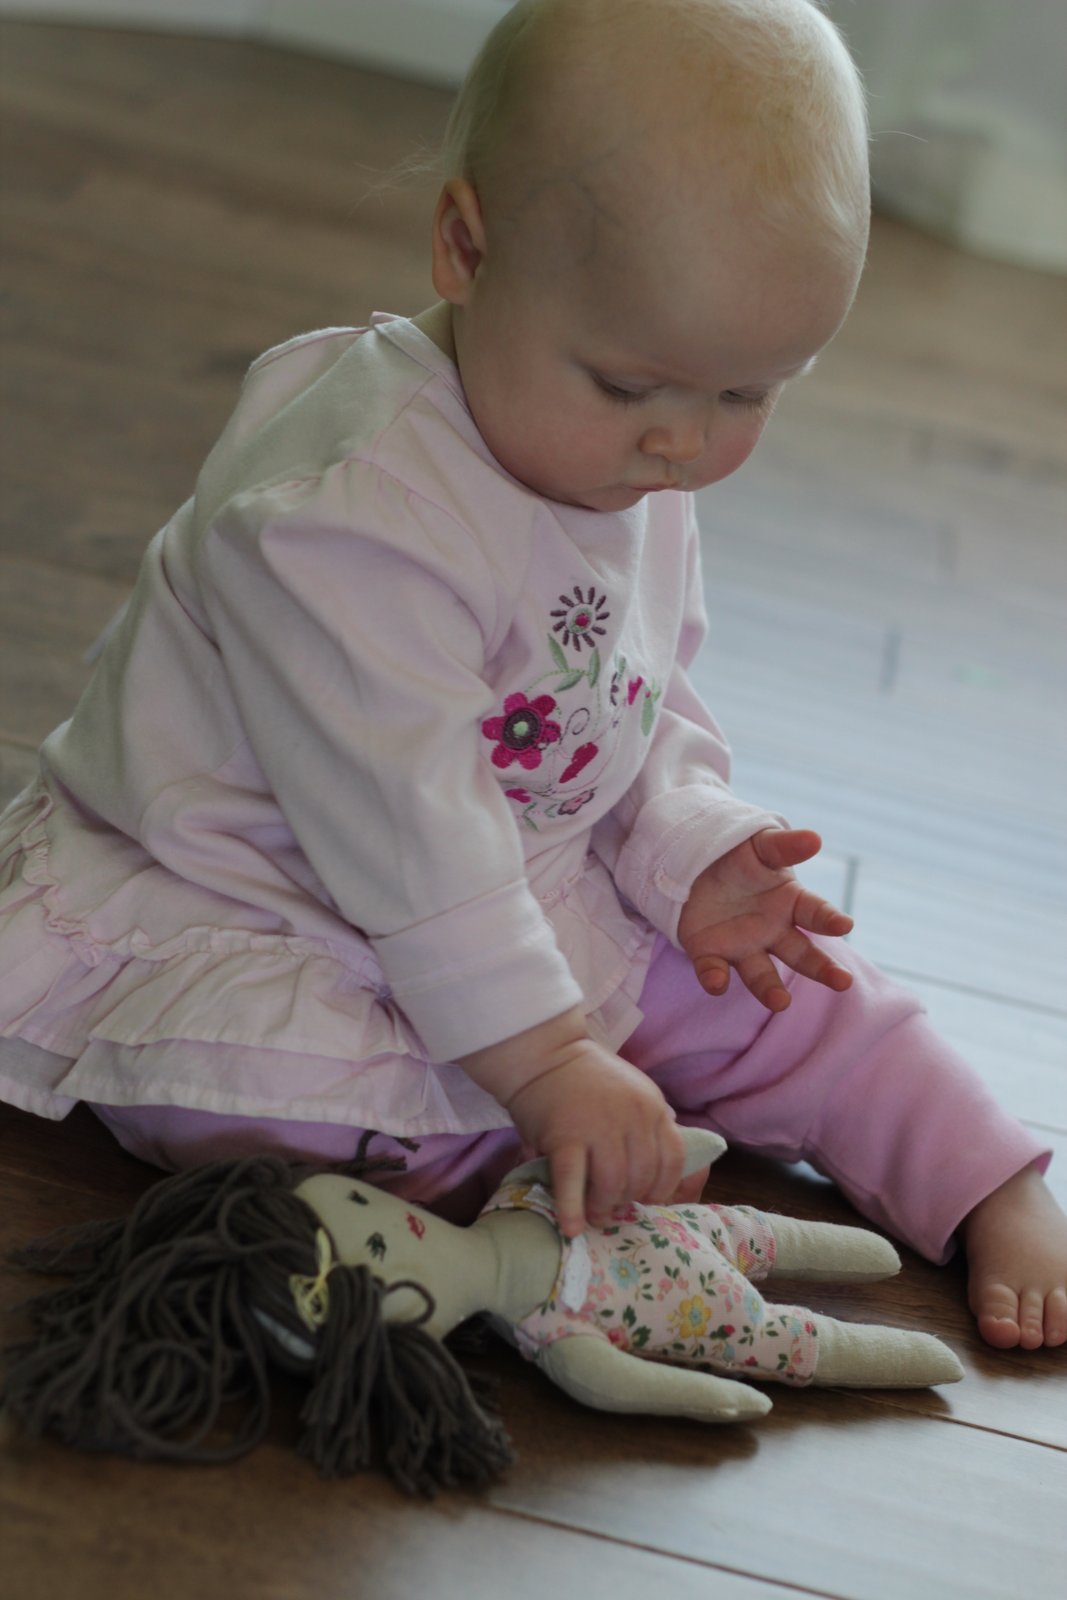
We had a quiet nice birthday for our 1 year old! She’s been acting very big lately. And she’s been very funny too. Her laugh cracks me up and I love it when she wrinkles her nose. She wasn’t too interested in dolly on her birthday. Too much else going on. But I got a couple pics yesterday. I love the size of the dolly for her.
I debated between two tutorials for the hair. I really liked the side part idea and didn’t have a lot of the yarn that I wanted to use for the hair so I used this one. Next time I’ll probably try this one though.
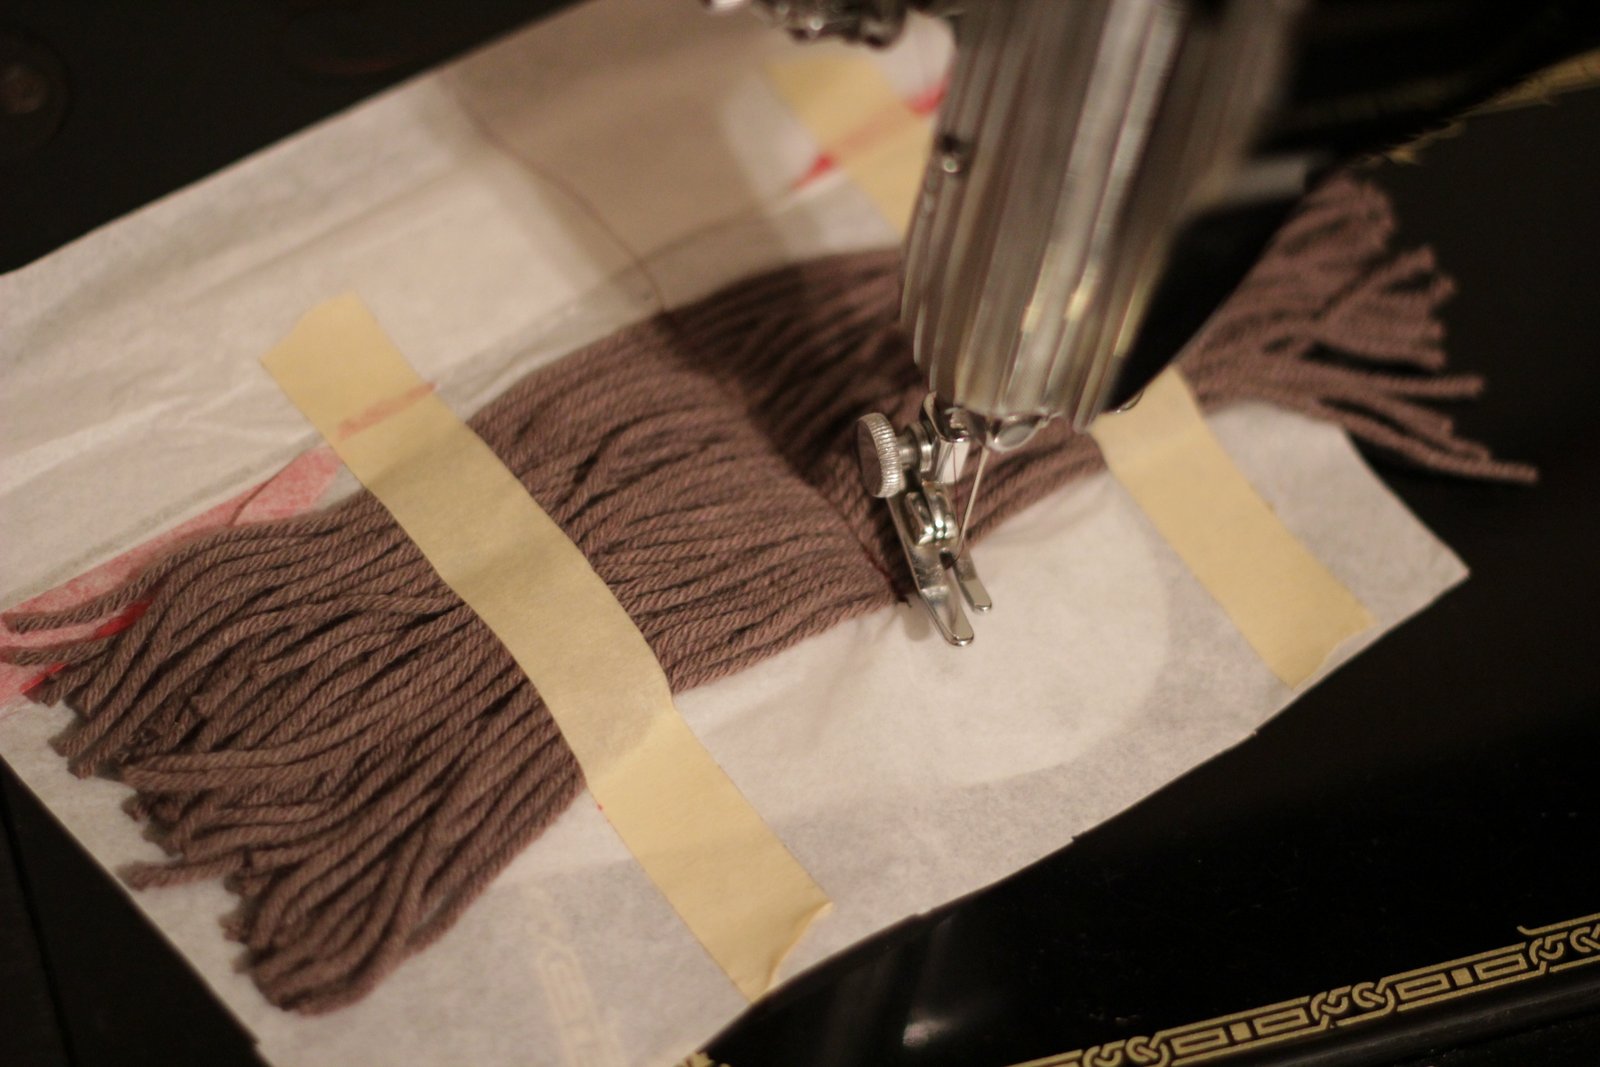
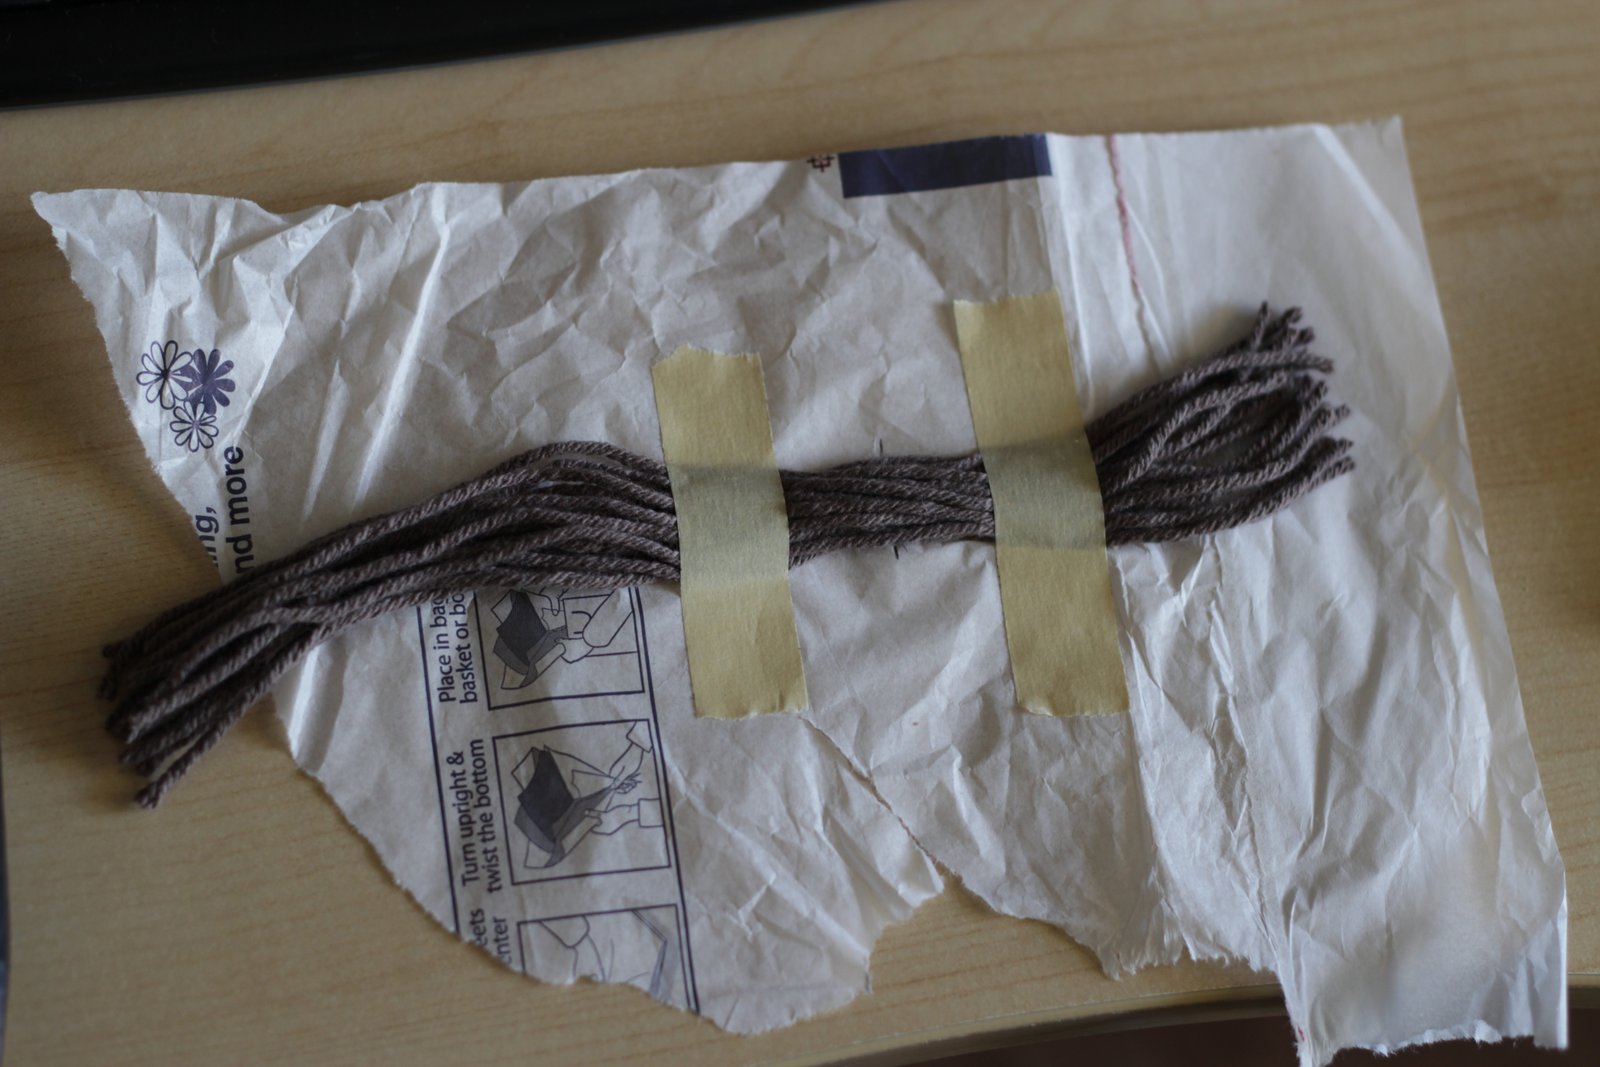
Doll hair is much simpler than I ever thought it would be. I determine how long I need the hair to be and wrap it around a book or something about the right circumference around. Next I cut straight across all loops of yarn. I lay them out on a piece of tissue paper and tape them in place. I mark at the top and bottom of the hair in the center of the strands. This is to keep my sewing (at the “part”) straight and the hair’s part at the right length. Then I sew back and forth a couple times on the part. I used a like color thread but when I stitched the hair to the doll’s head I used yarn and that covers the thread.
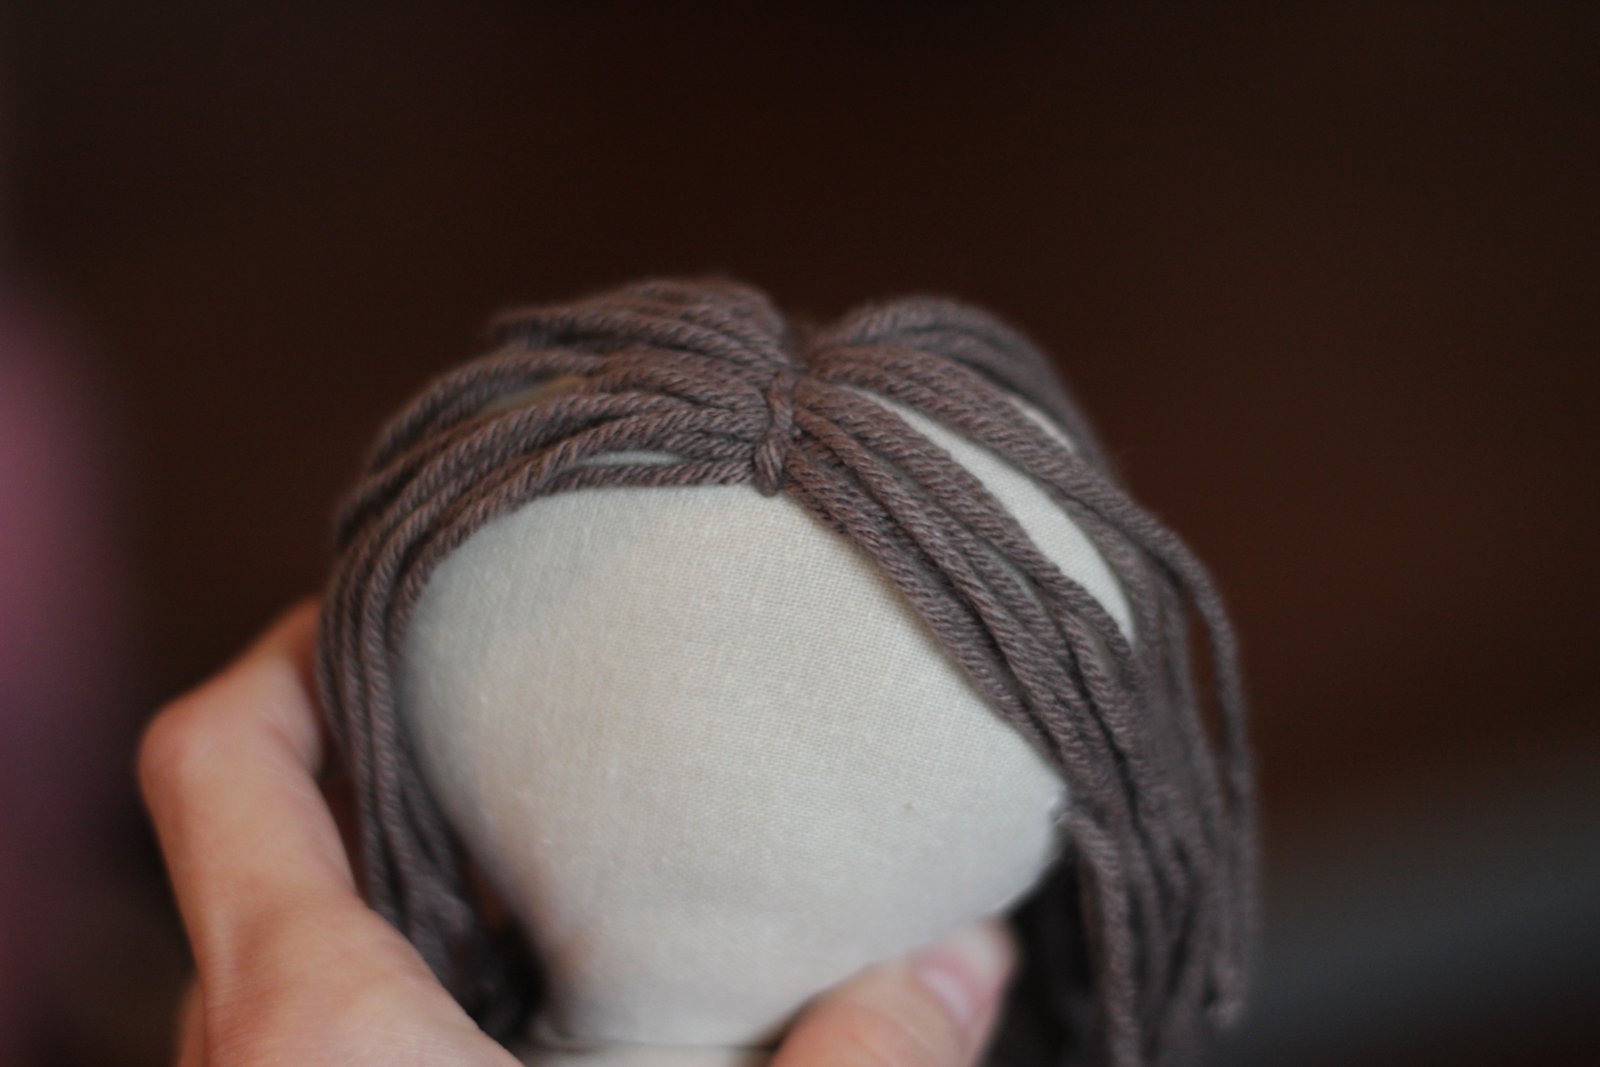
Above is the first layer being sewn onto the doll’s head at the seam and around the sides and back. I did 3 layers… one being just a front section. Below is the front section of hair I sewed off center to make the side part.
Making dollies is a lot of fun. I’m glad to call this project done though. 🙂 Too many projects going at one time makes me crabby.
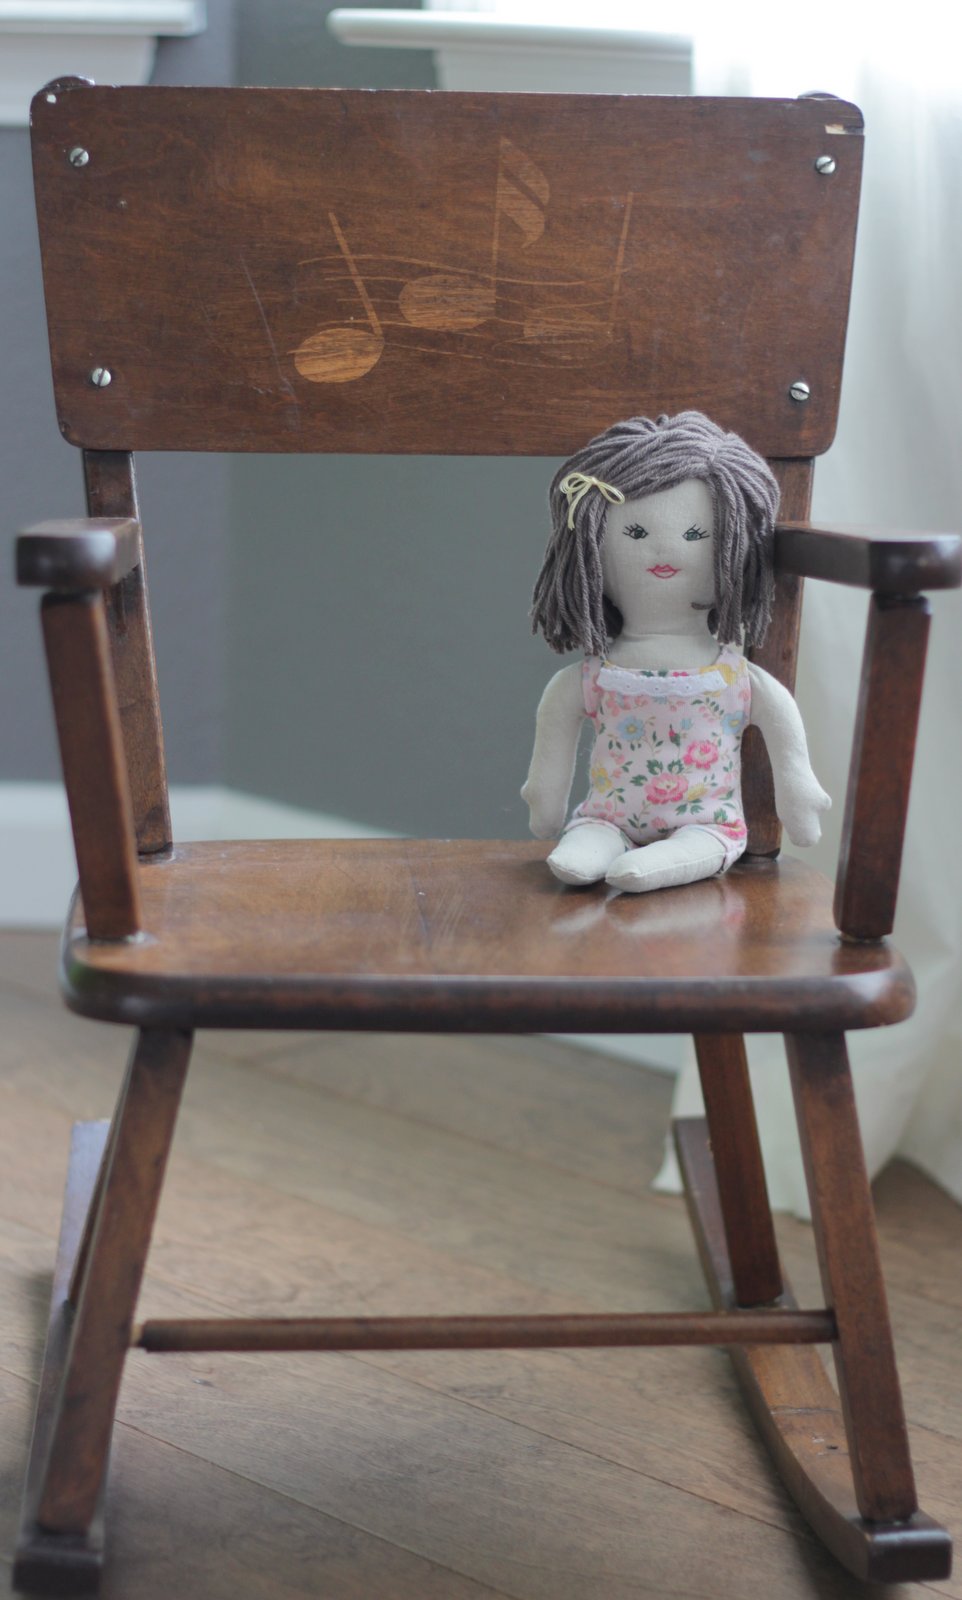
Oh! But look behind dolly this time. Baseboards up framing our new wood floors beautifully. Yay!
oh my goodness. that really might be the cutest doll i have ever seen. her face and hair is beautiful. you did a great job on the detail! happy birthday serenity!
my recent post: ache
Thank you! I had a hard time leaving it at that. Wanted it to be perfect but what ever is perfect and I did think it was cute. 🙂
Very cute! I have made dolls for my girls and one for my Grandma.