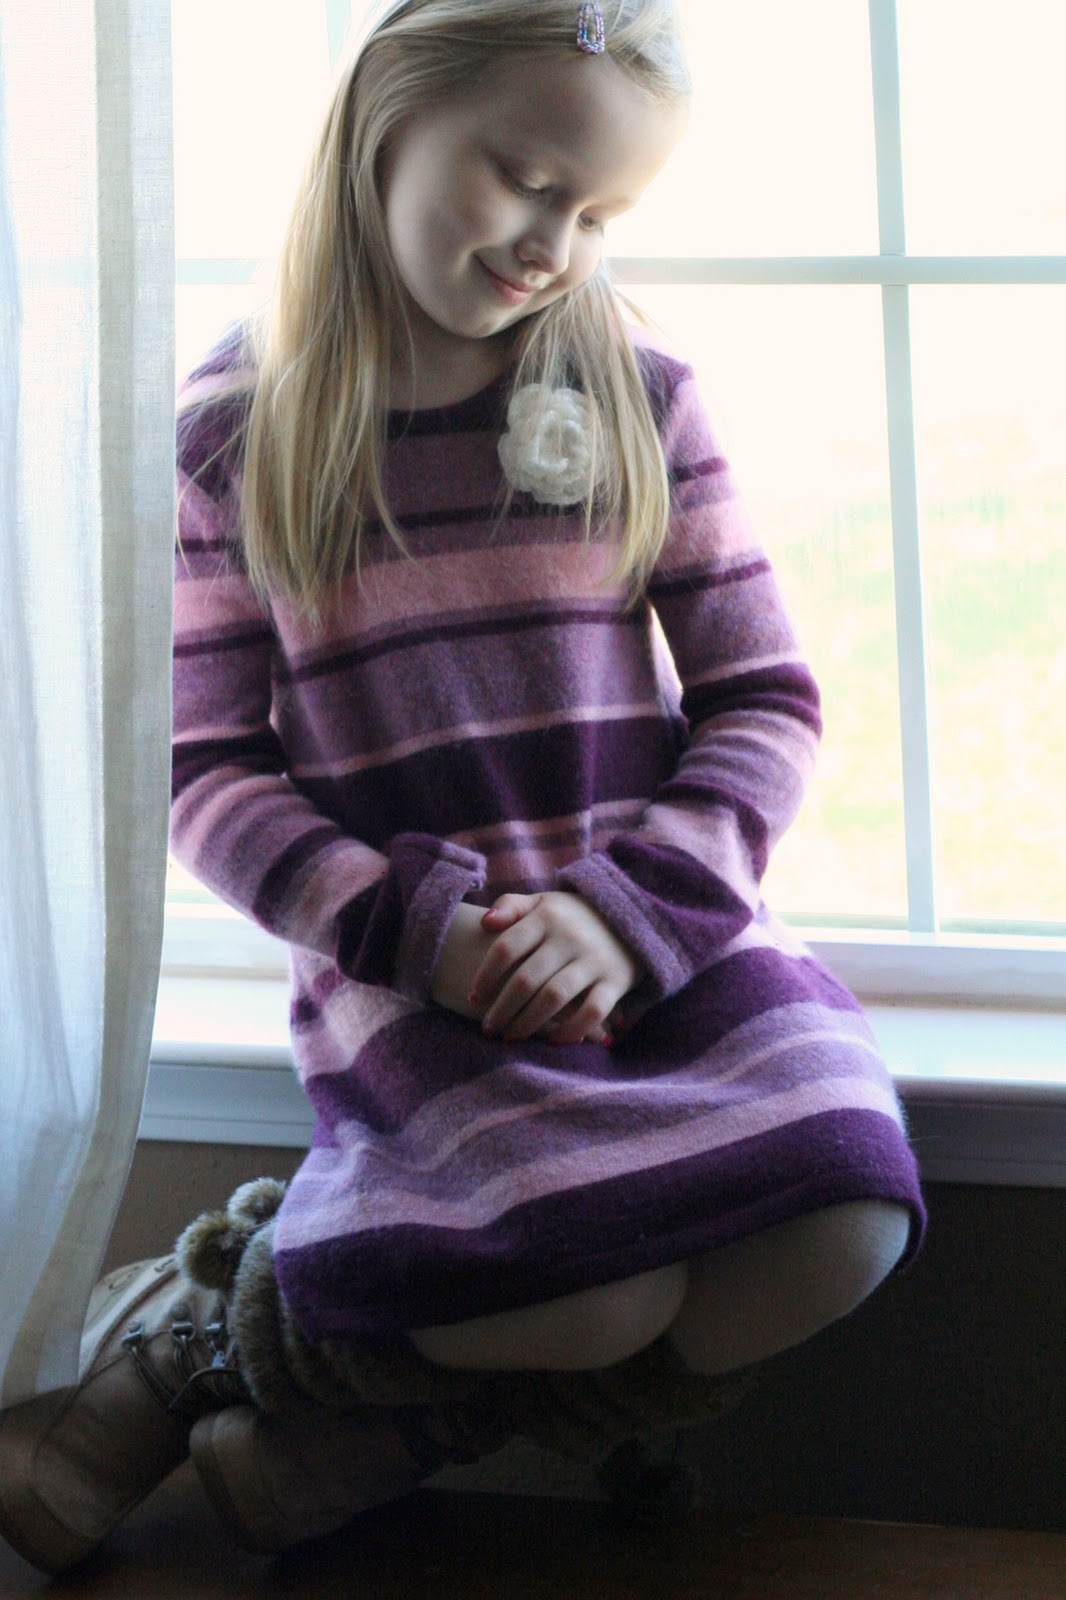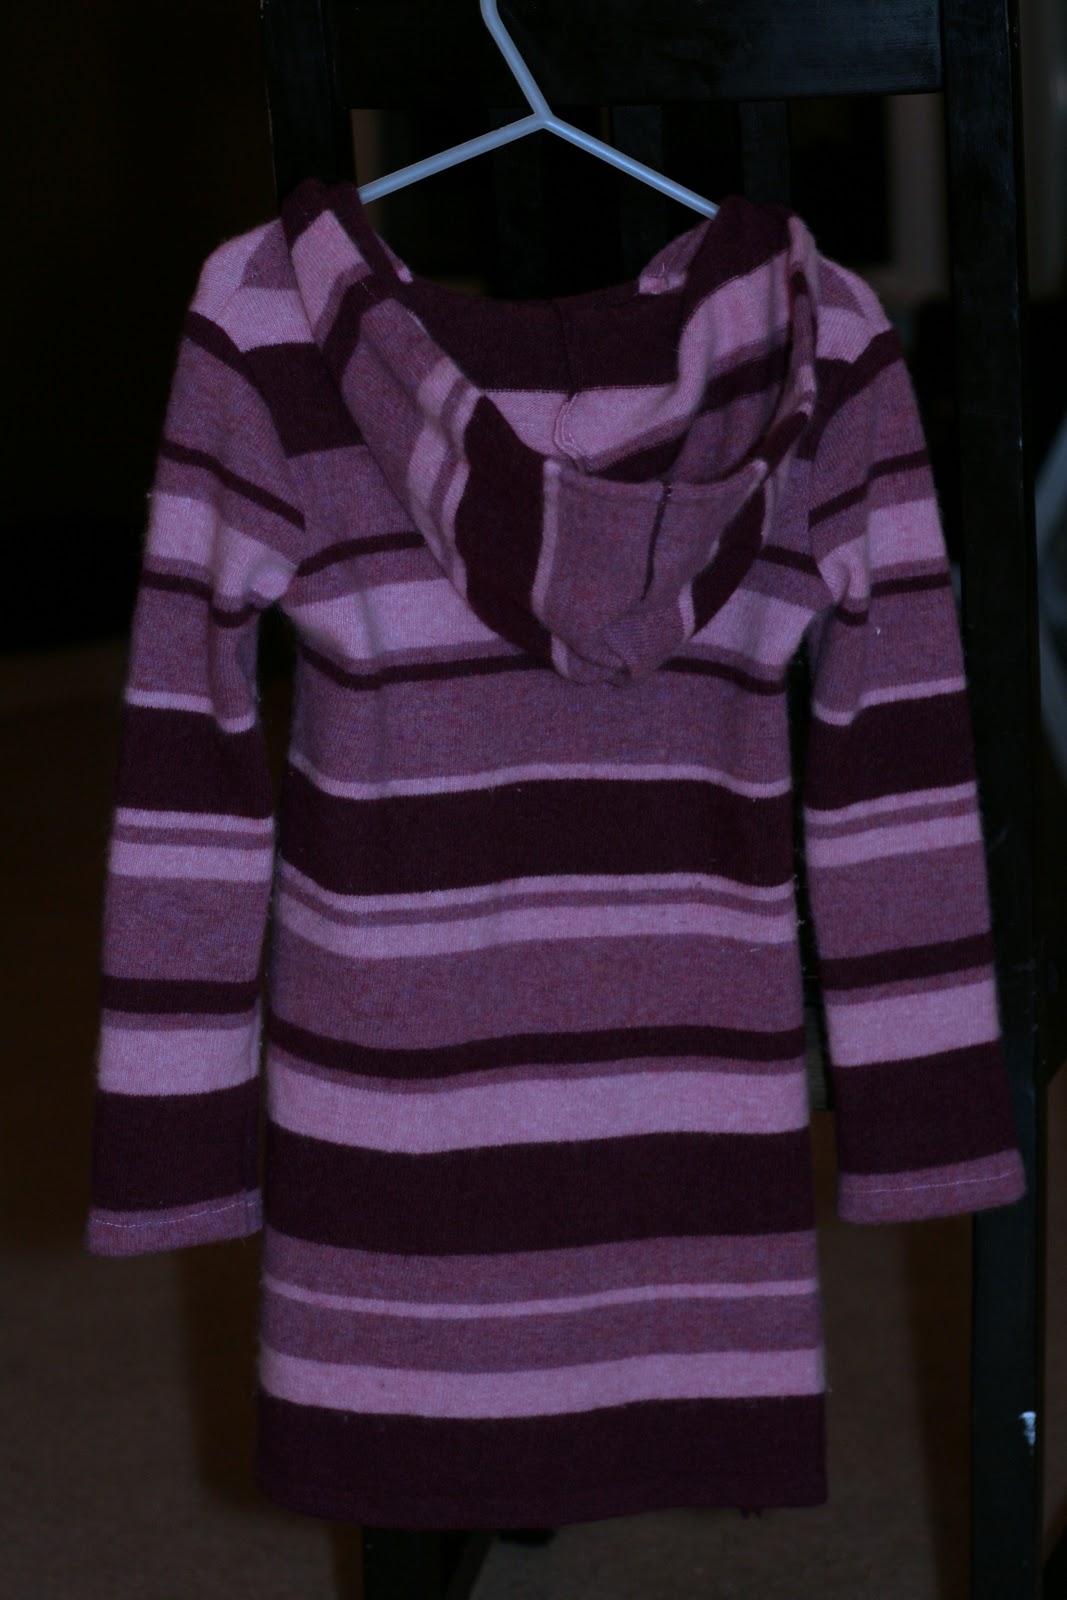
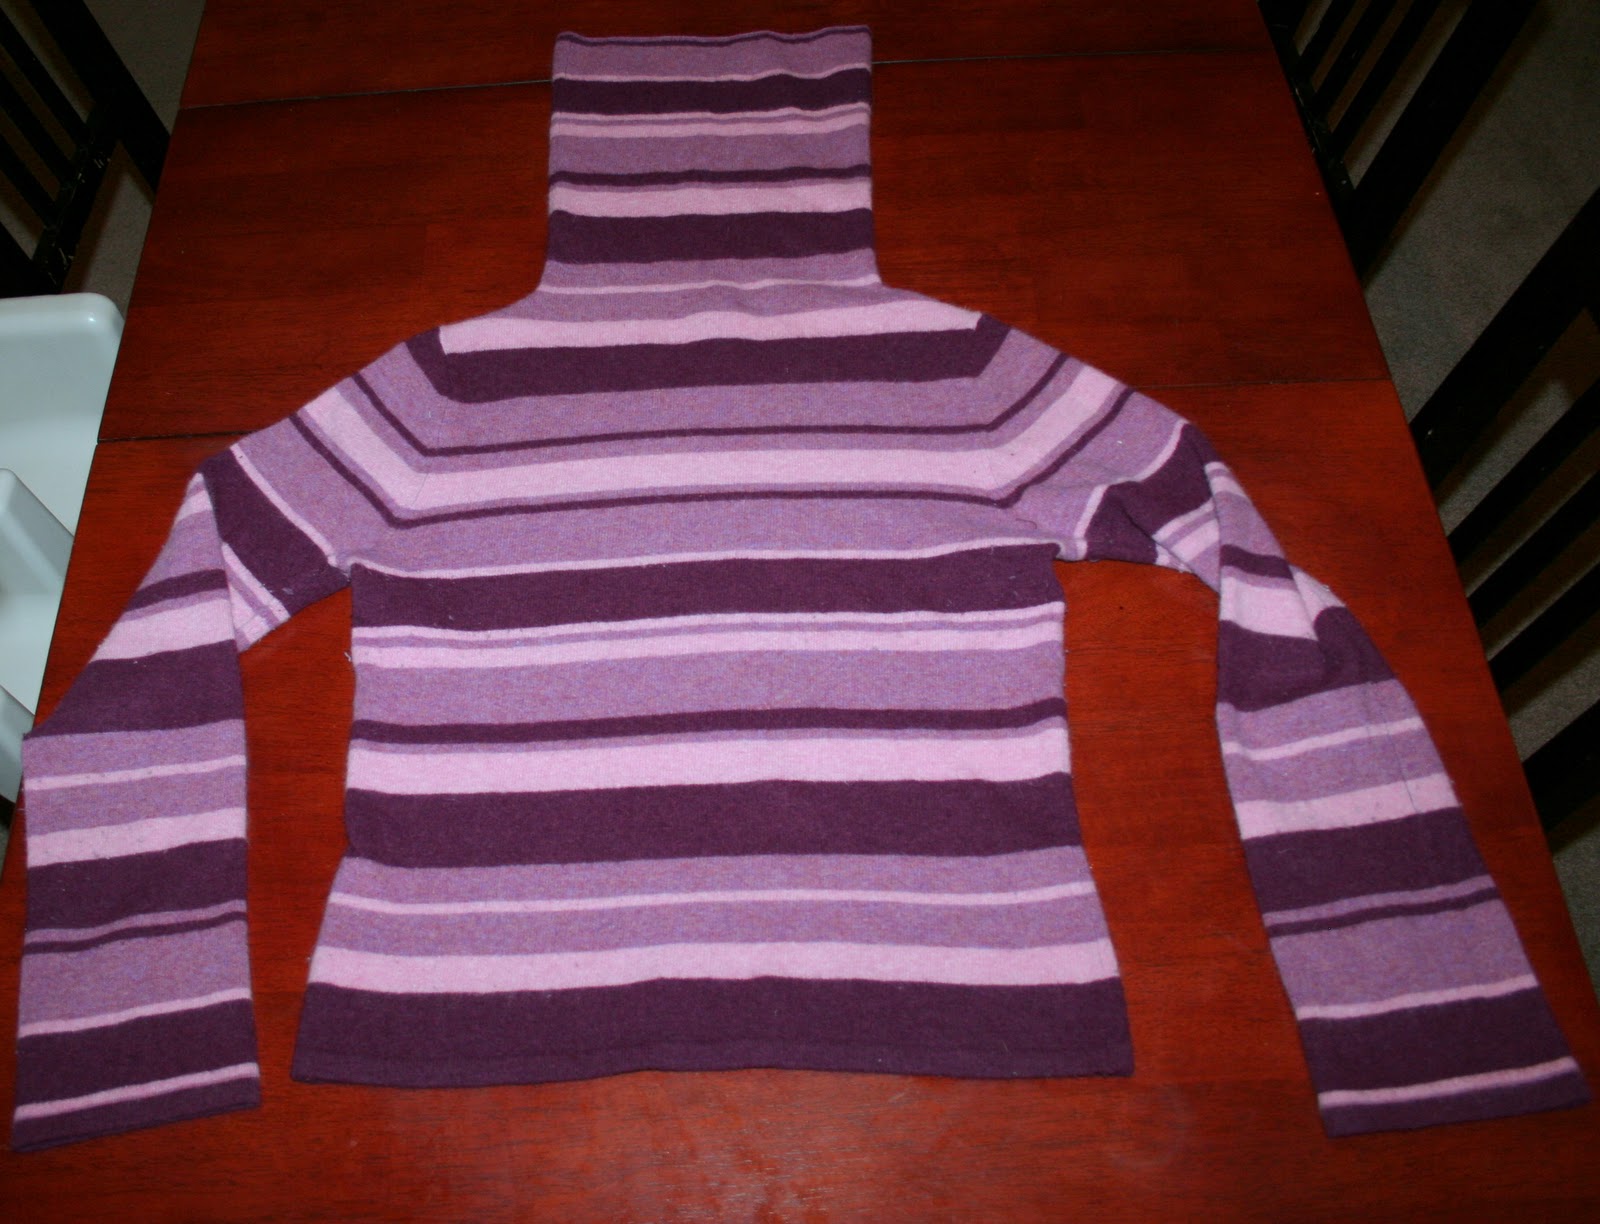
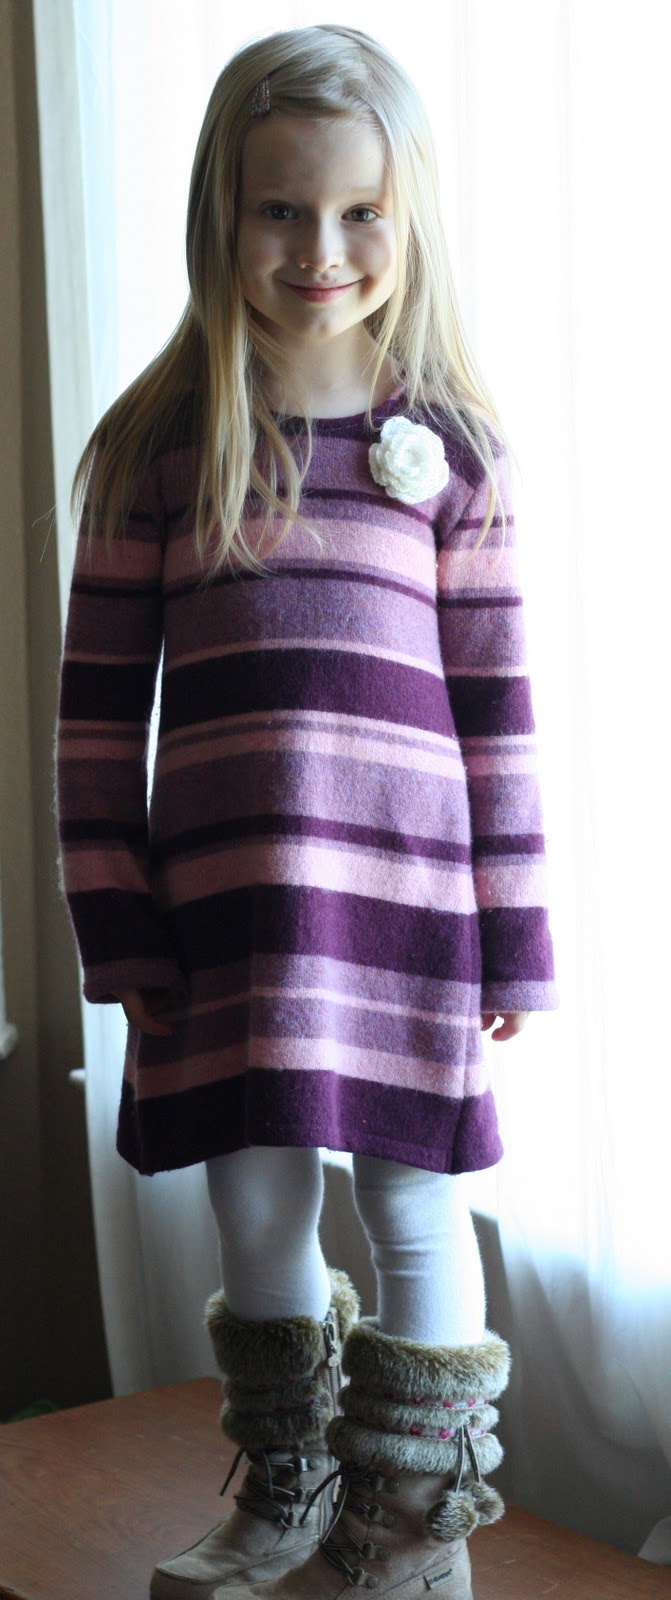
Another blog about something a Christmas present. I got this sweater at a thrift store. It was made of an angora wool blend and was super soft and warm. The material was perfect for a transformation project! I finally decided to use it to make a hoodie sweater dress for my six year old. She has a hoodie sweater dress in a light cotton that I used to make this project easy and quick. And for the how… look below. If your sweater doesn’t have the extra fabric for a hood, you can just make it without. And a hint, thanks to my awesome computer minded husband, if you’d ever like to see one of my blog pictures bigger just click. Try it out. Nice transition, huh? That’s all him!
Sweater to Hoodie Sweater Dress
Tutorial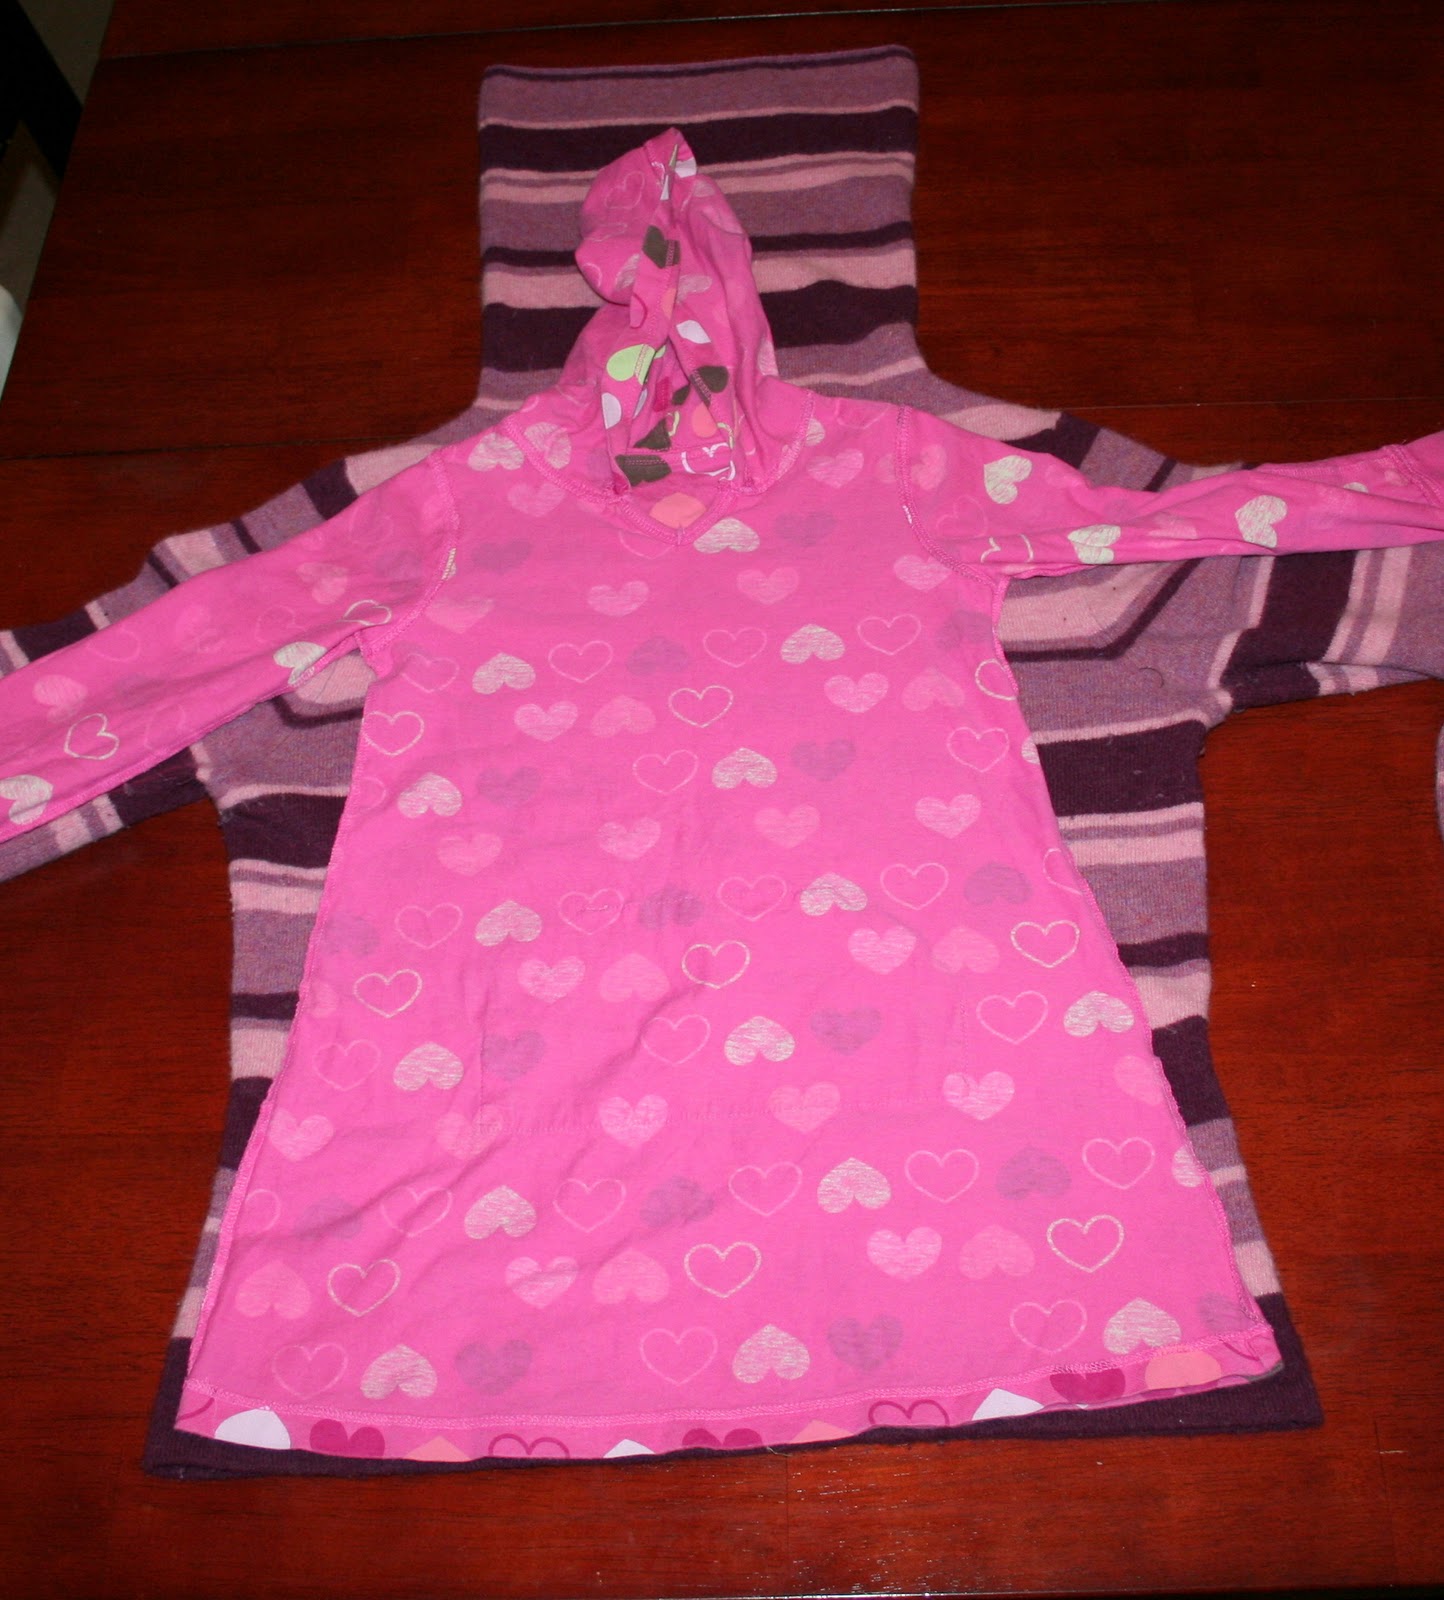
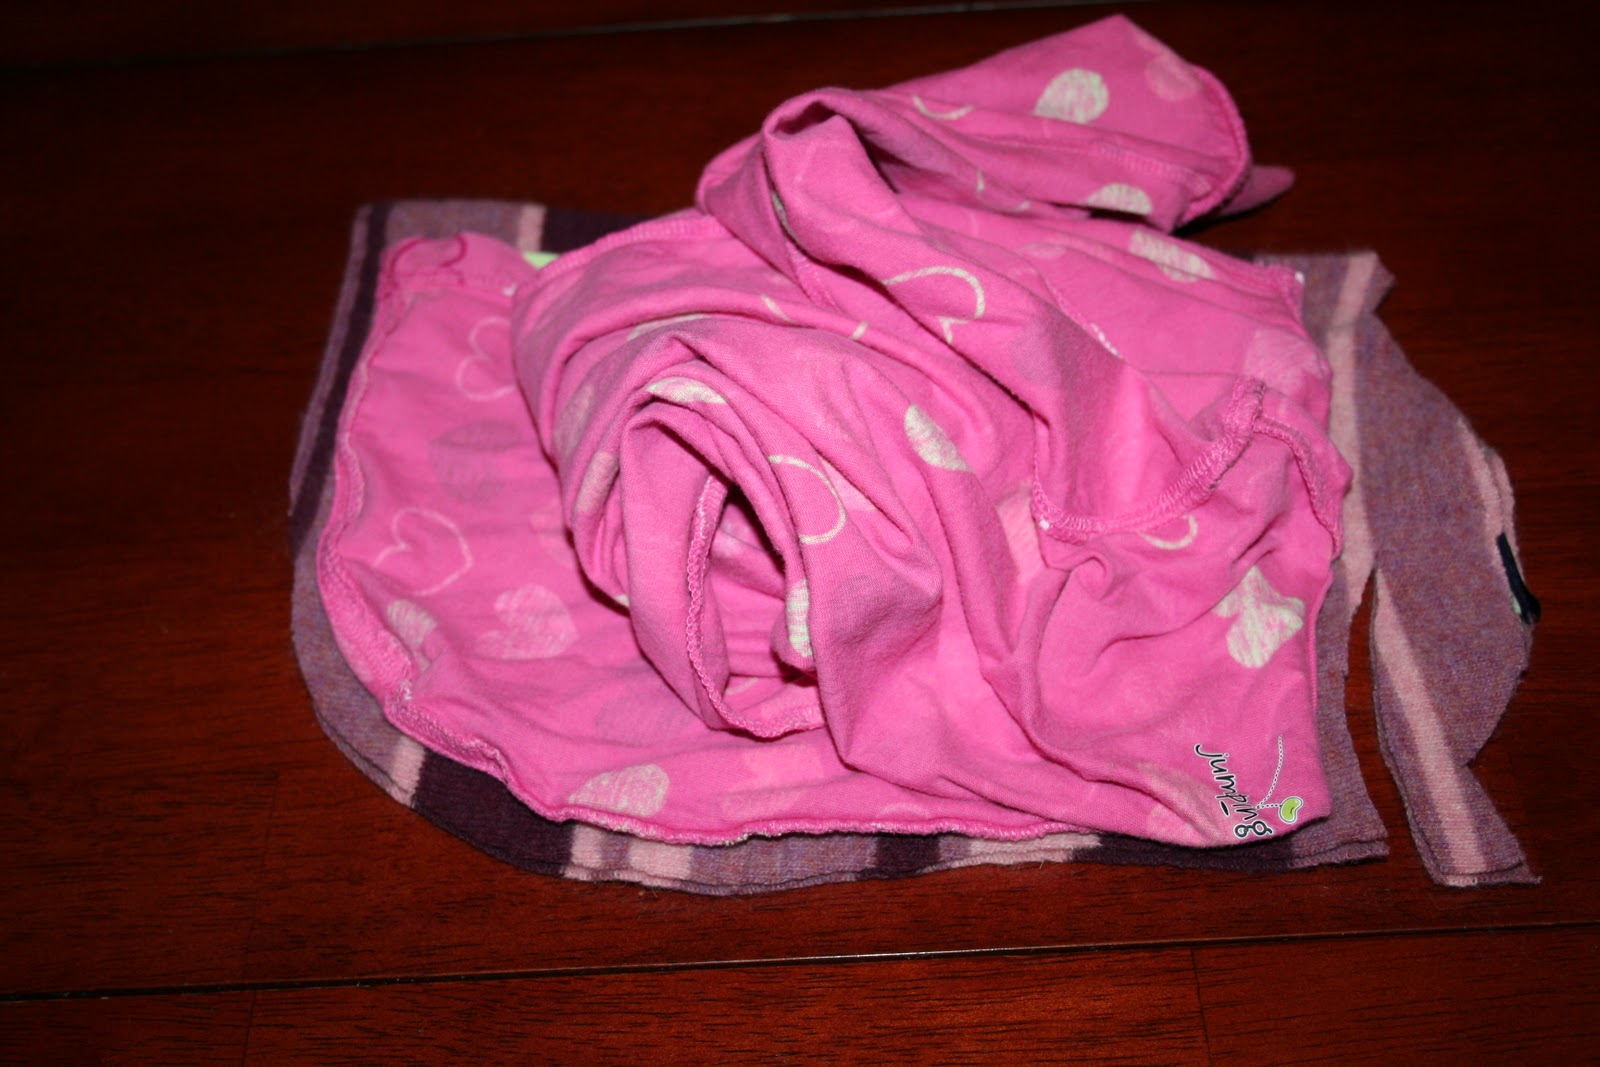
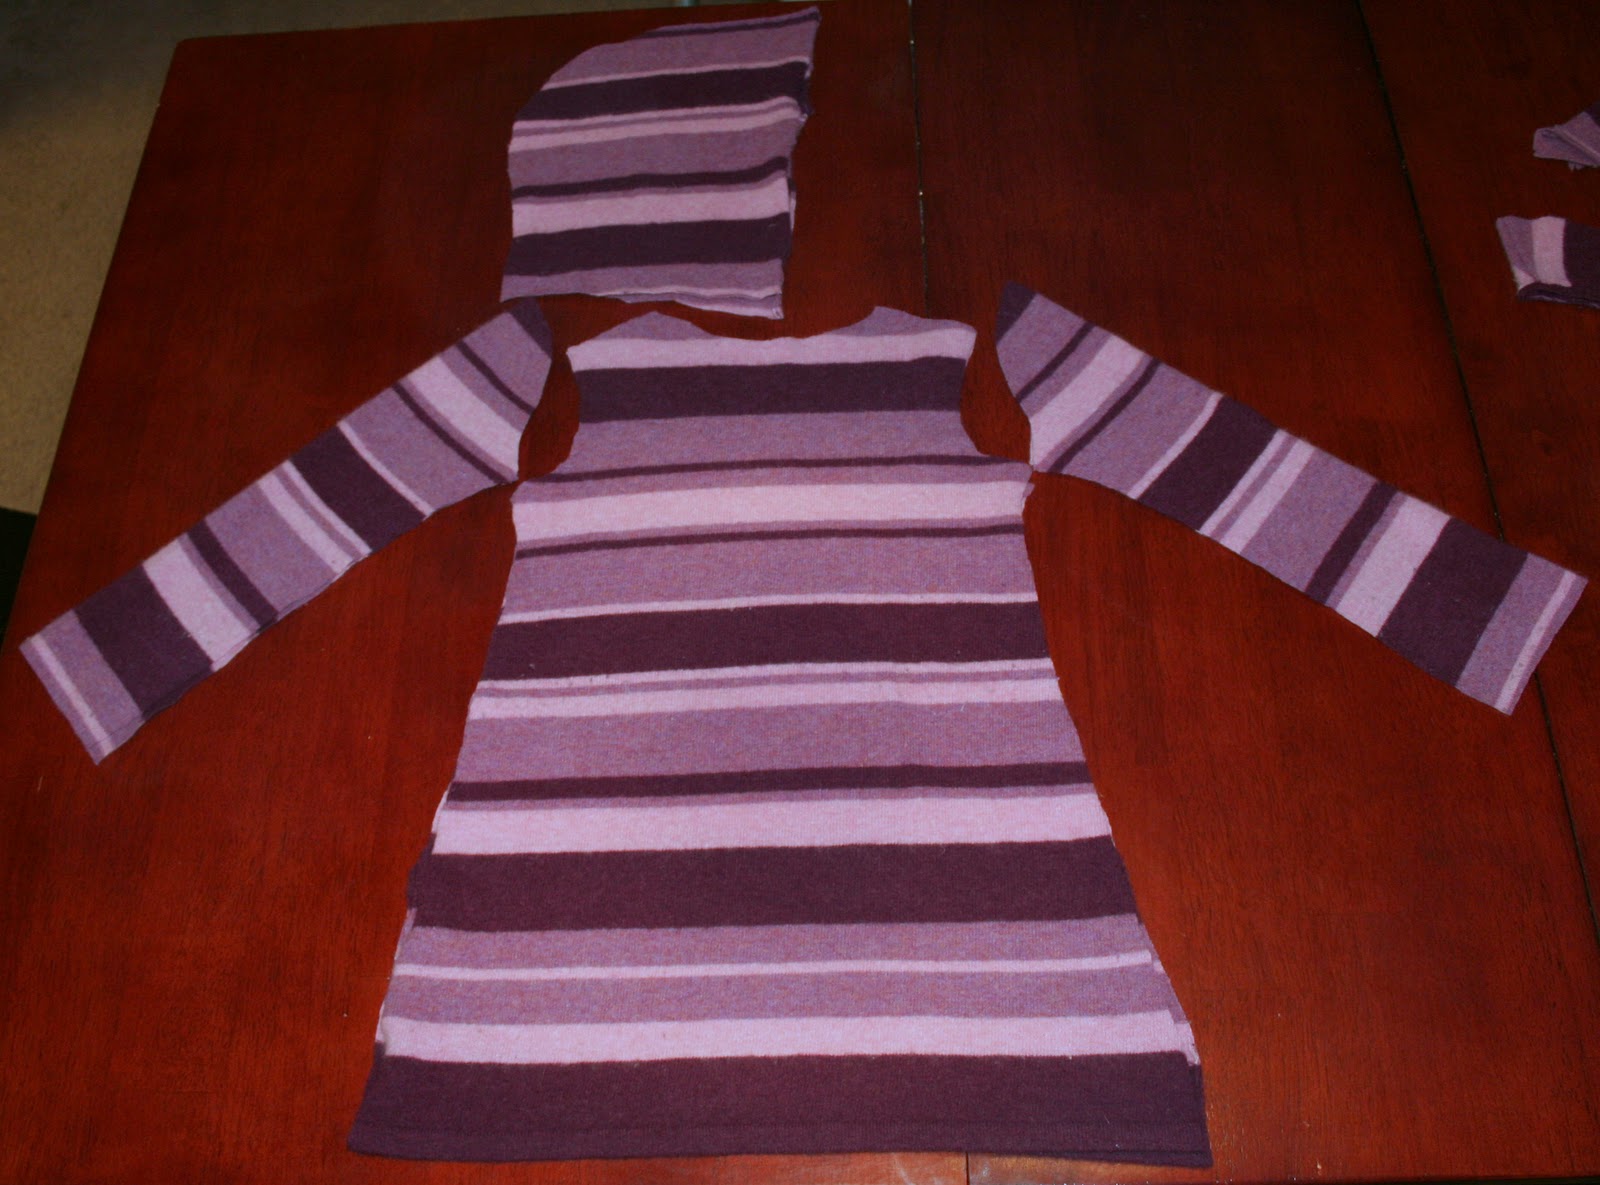
Step 1: Lie out the sweater and dress as shown and cut out the shape for the body of the dress leaving about half an inch extra all the way around for seams. I aligned the dress hem with the hem of the bottom of the shirt so I will not have to sew that edge later. You are cutting through the double thickness of your sweater to make the front and back of the dress, so you will have two pieces when you’re done.
When you get to the arm holes, fold back the arms to see where to cut clearly. Do the same with the neck line. (I followed the back piece neckline because it was more shallow and then got the shape of the front right later.)
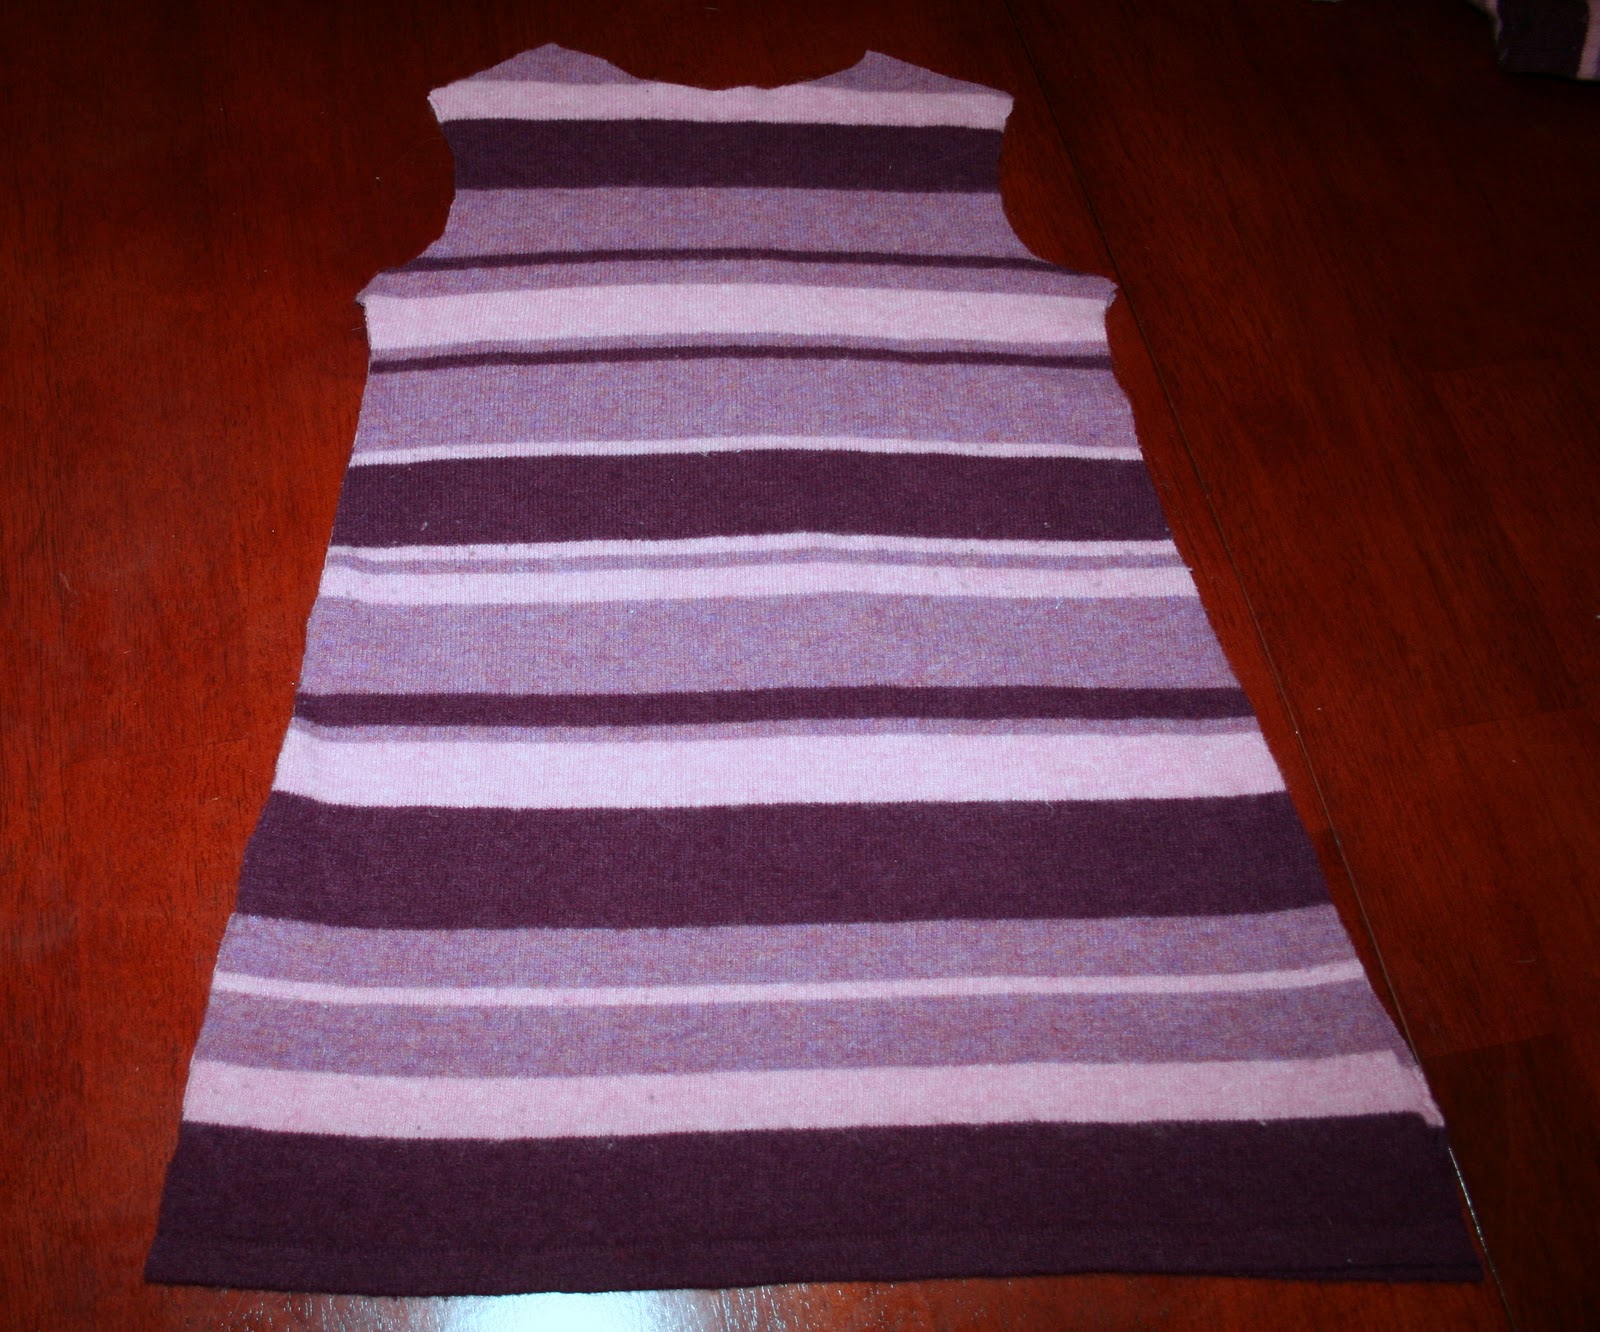
When I had half of the body cut out I folded it then cut out the other half, to make it more symmetrical. Then you can take the front piece separate from the back piece and align the neckline of the dress and cut.
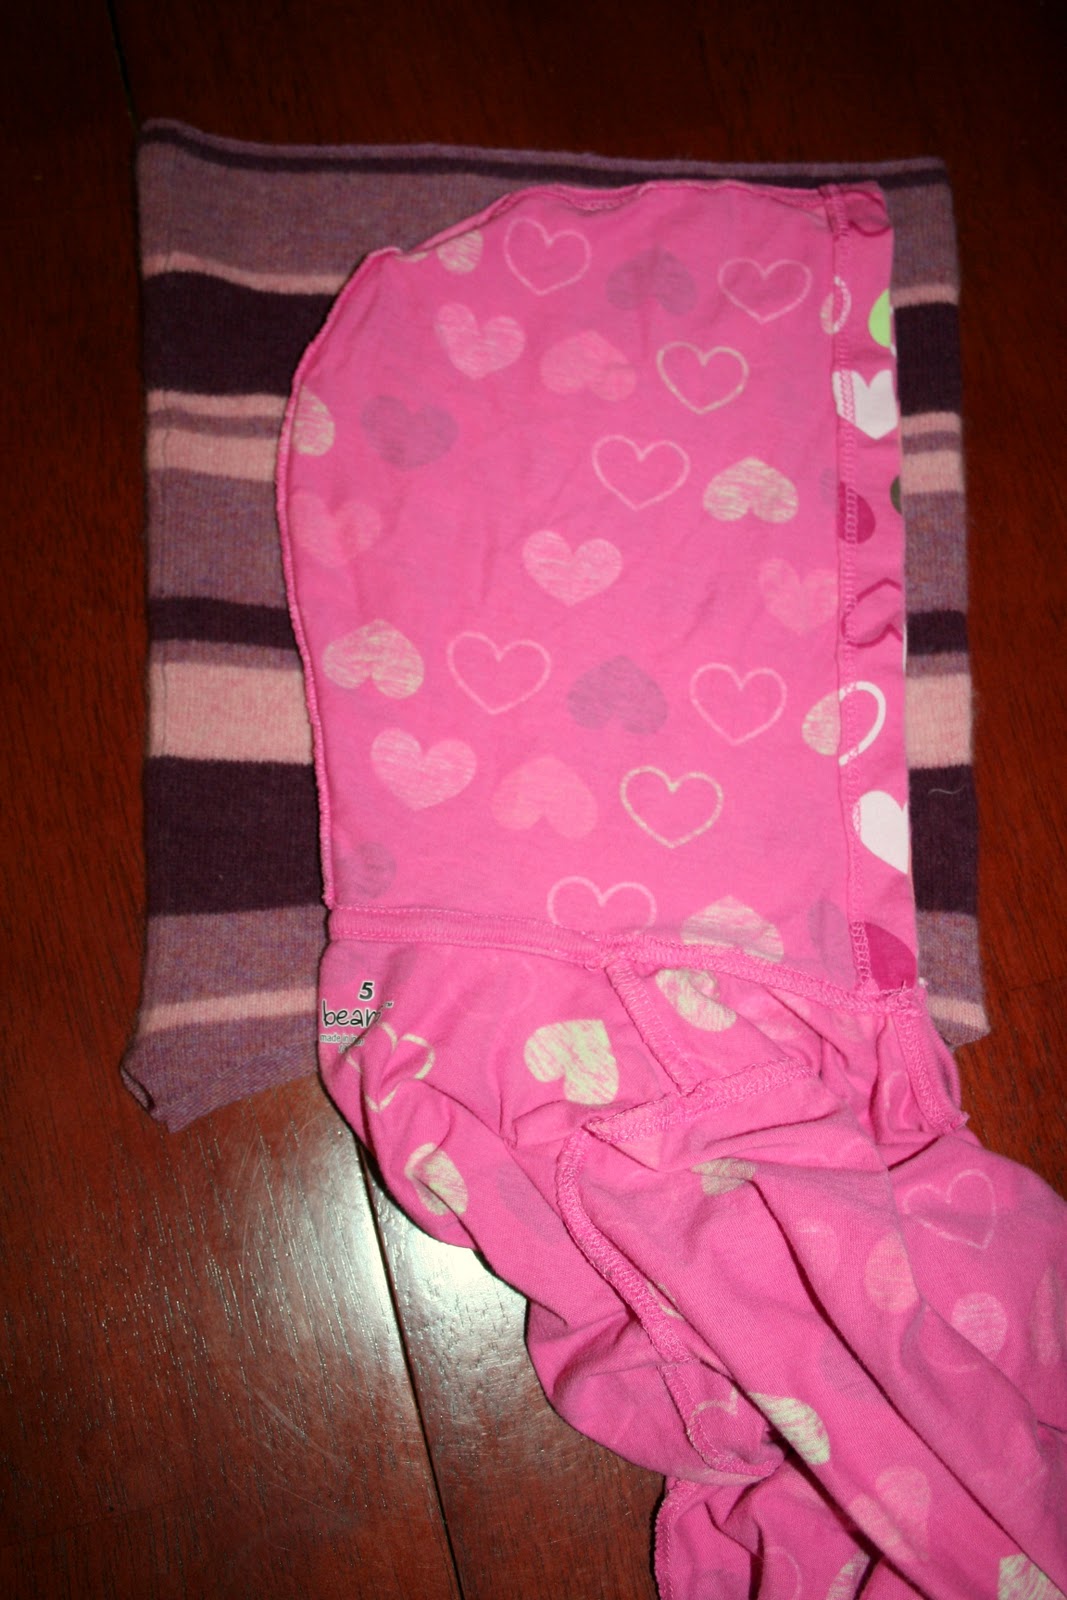
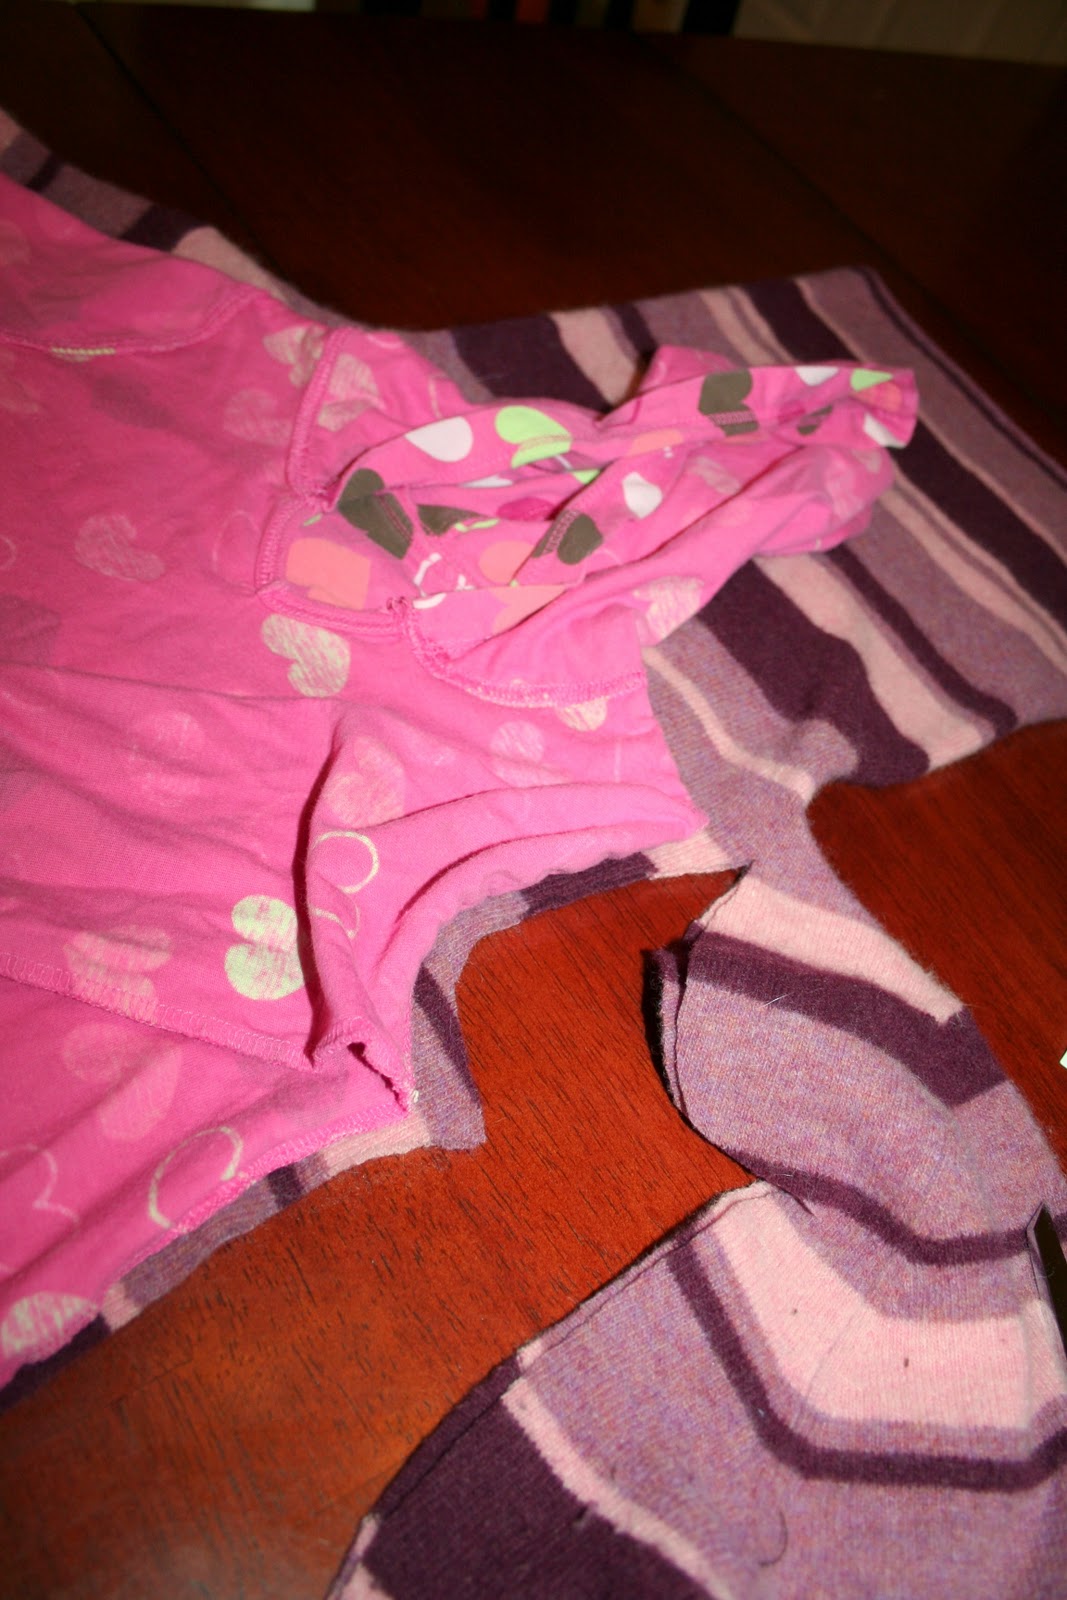
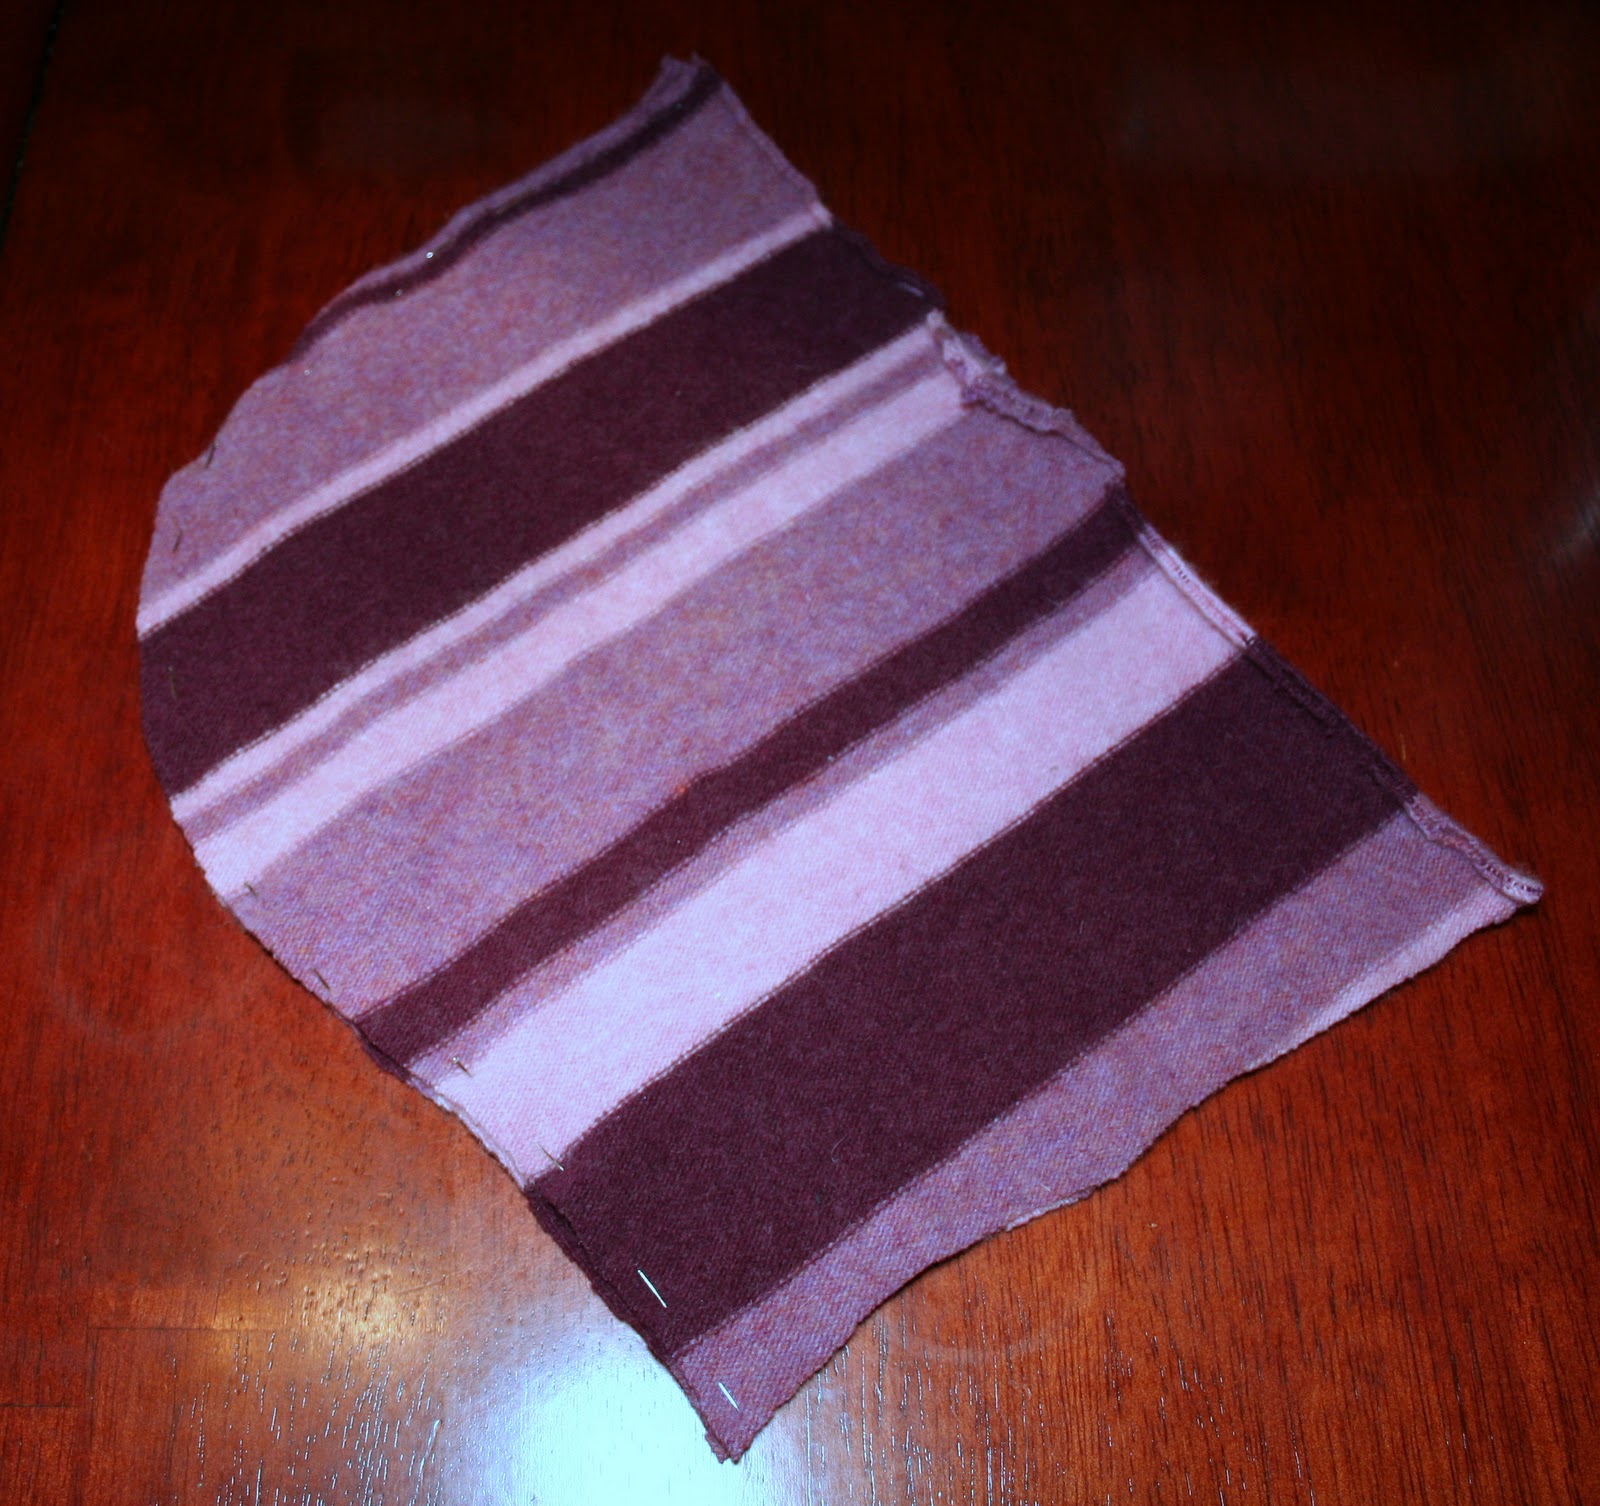
Step 2: Lie out the hood on the sweaters cowl to cut out the hood shape. You are cutting out two pieces as the cowl is double thickness. You can see I placed the front of the hoodie a seams distance from the edge of the fabric, where I had already undone the seam, then cut out the back. Then I cut out the neck by rolling the rest of the dress up out of my way.

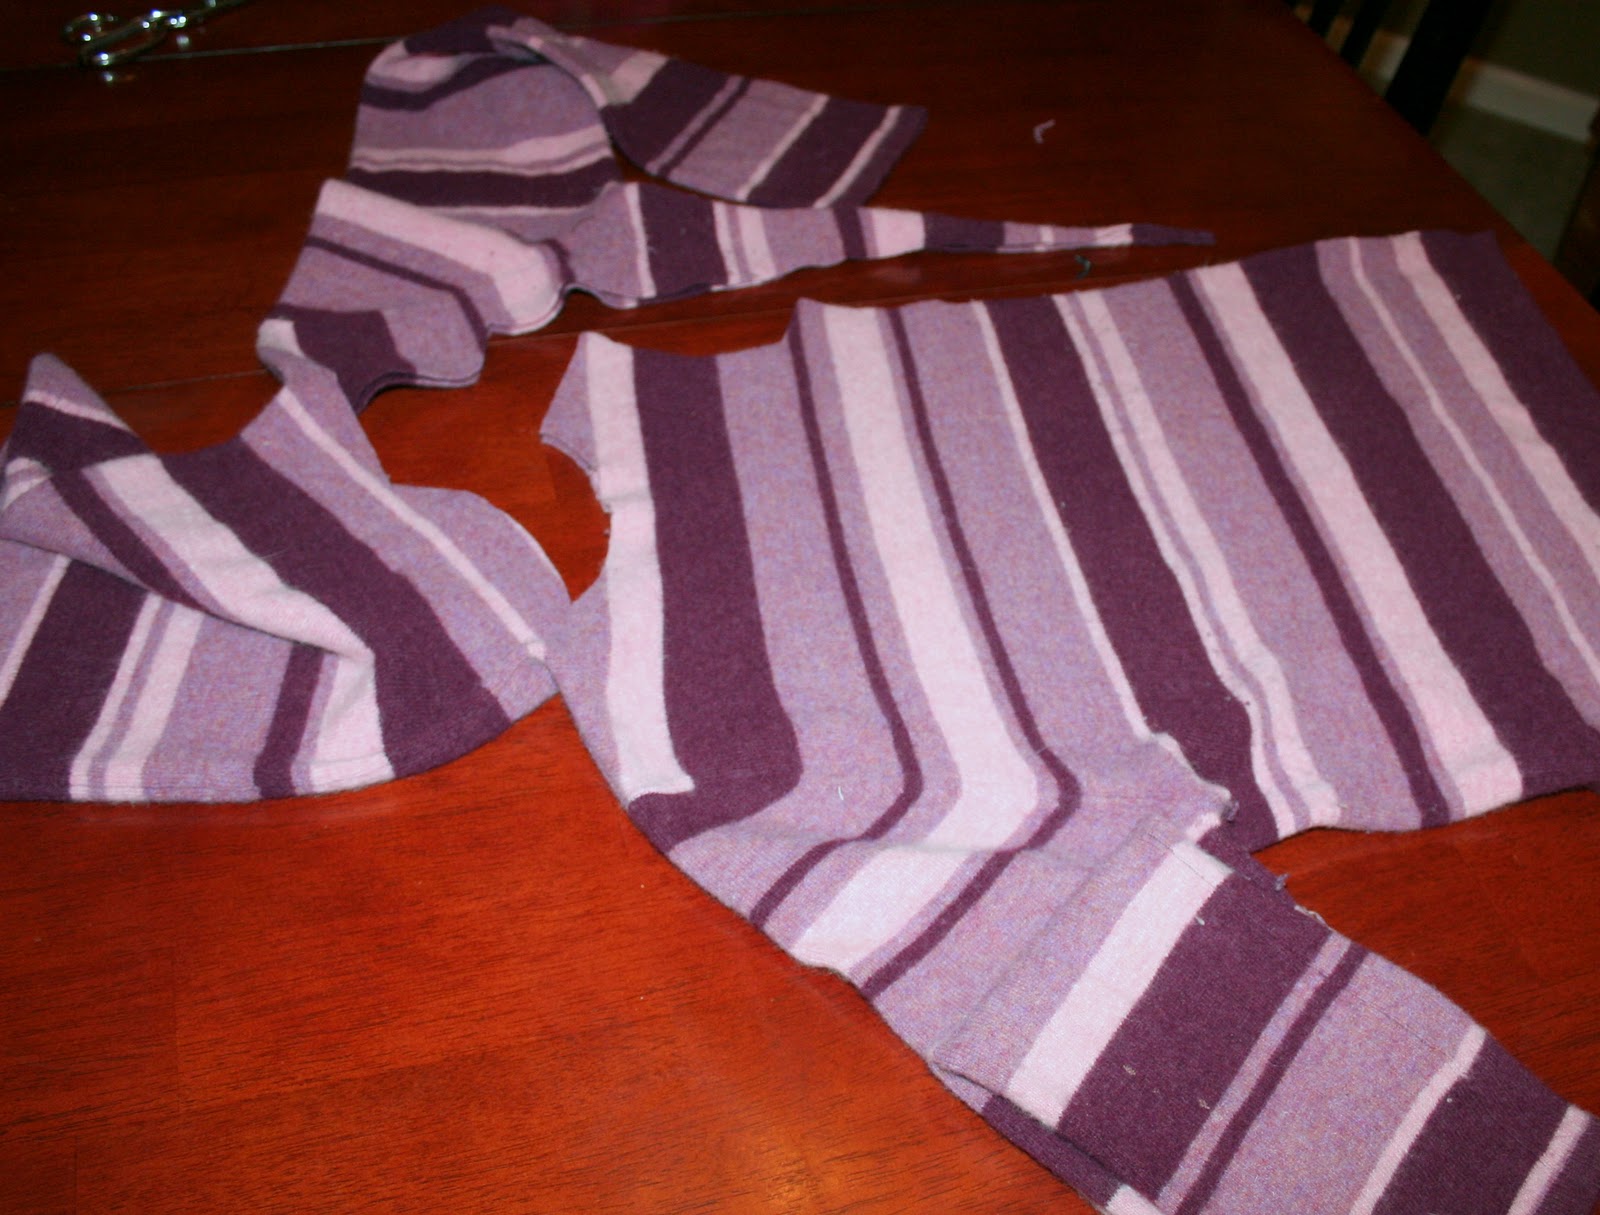
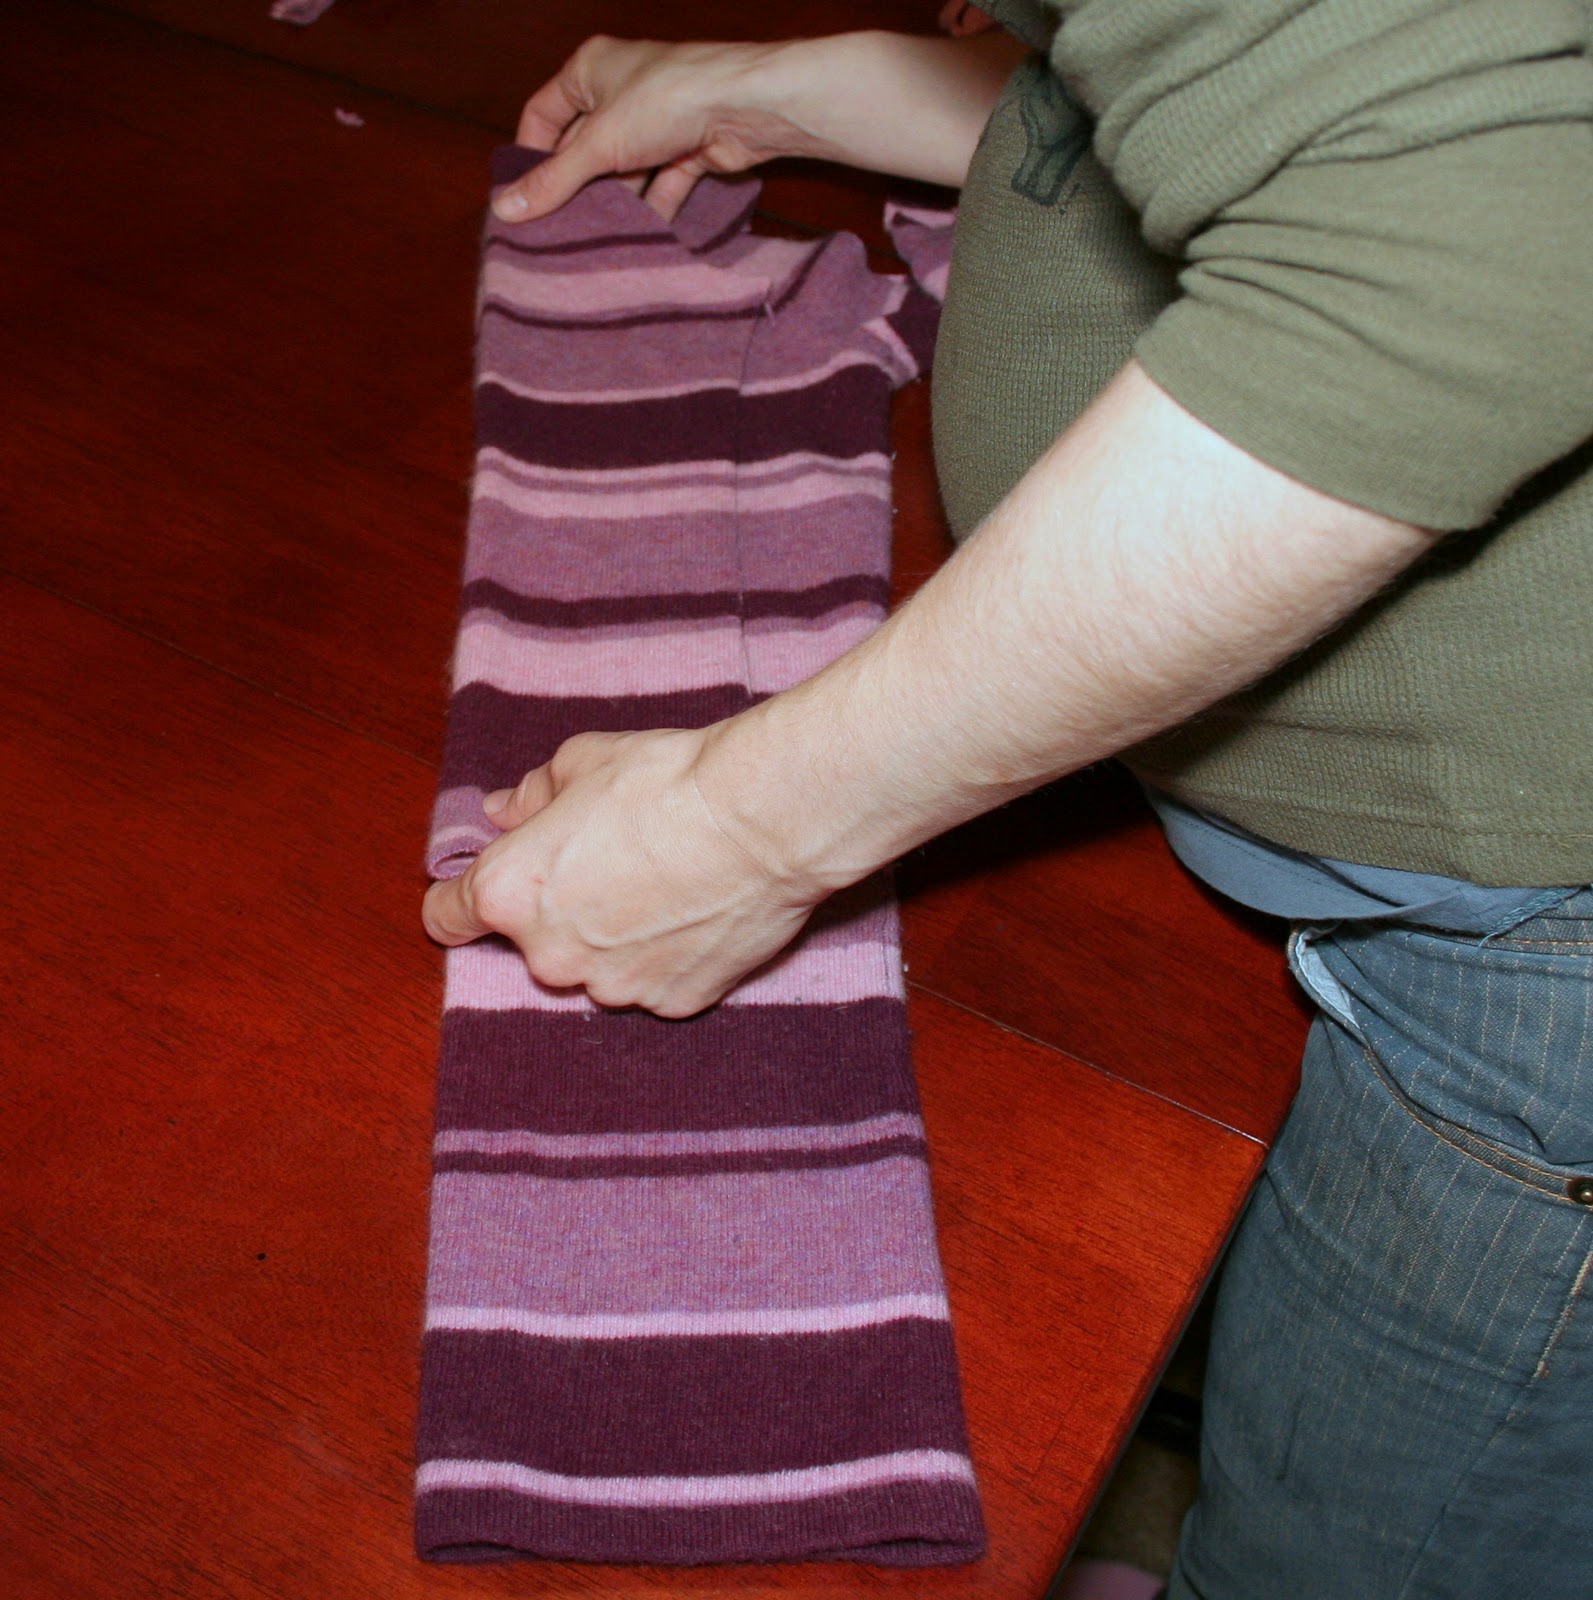
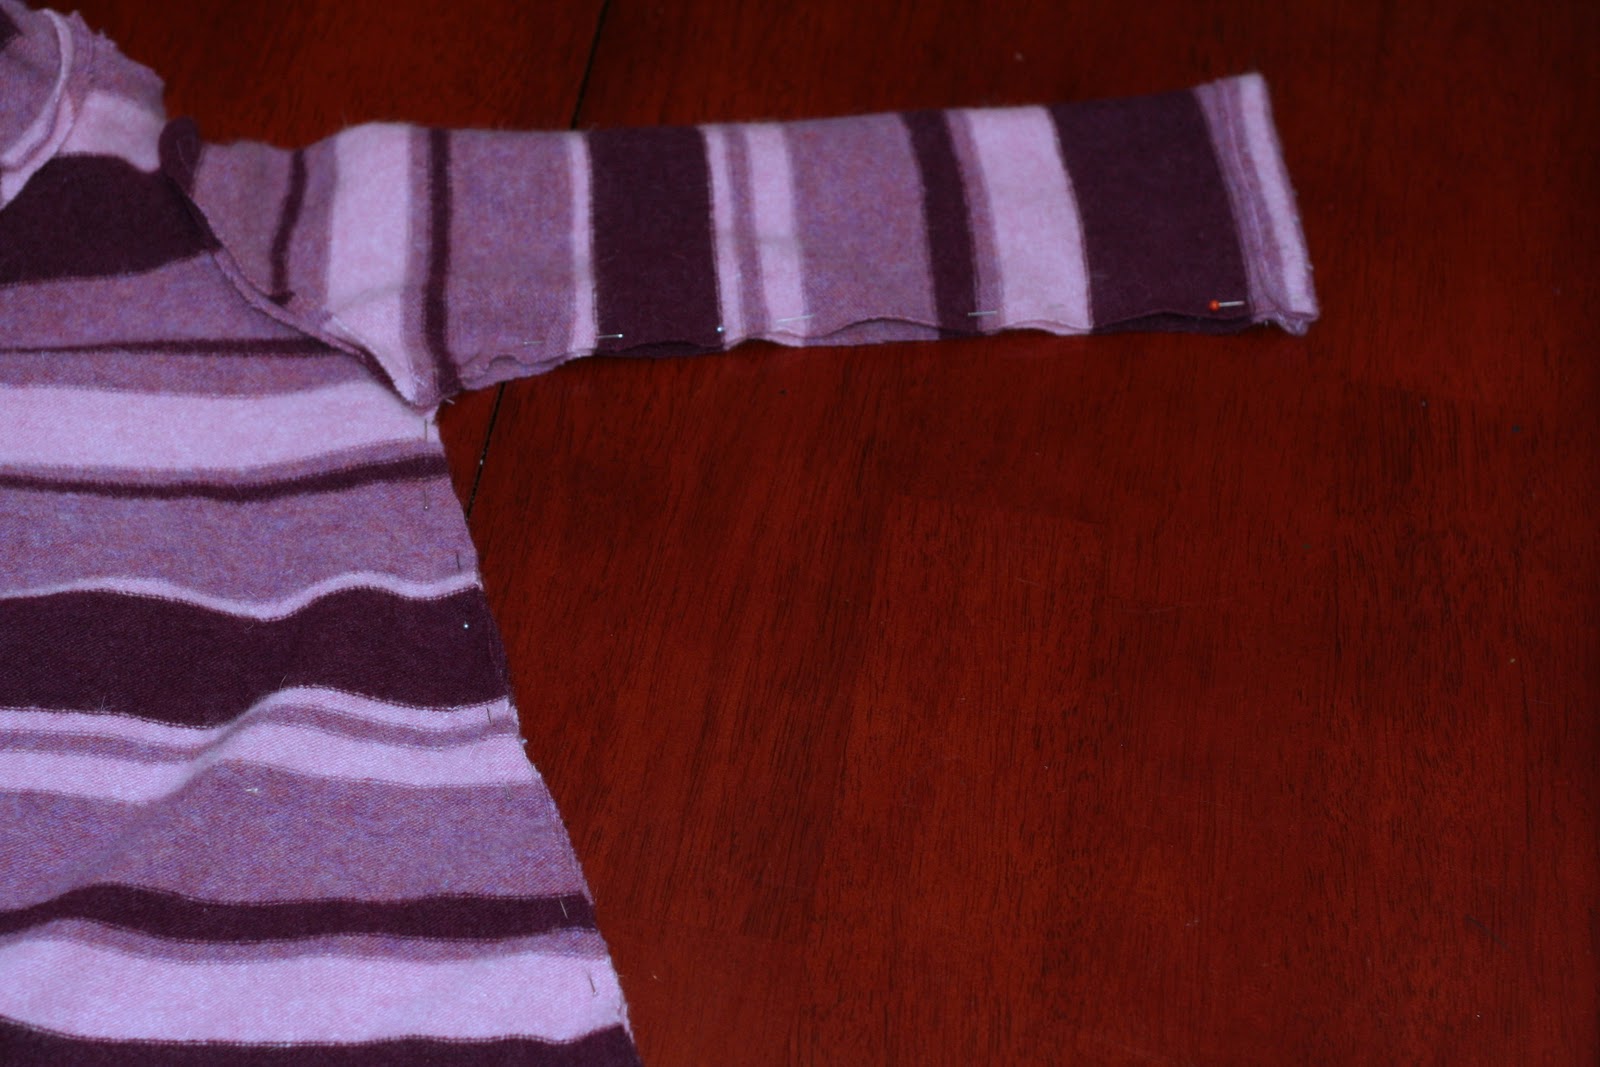
Step 3: Line up one arm of the dress on the sweaters arm. The top edge of the sleeve is on the fold of the sweater arm, so you don’t have to cut there. I ignored the taper of the cuff and cut straight. Leave enough for folding up to make the wrist seam. To cut out the shoulder, roll the dress up out of the way. To make the second arm, use the arm you just cut out as the pattern. Because I was dealing with stripes I was extra careful to align them perfectly.
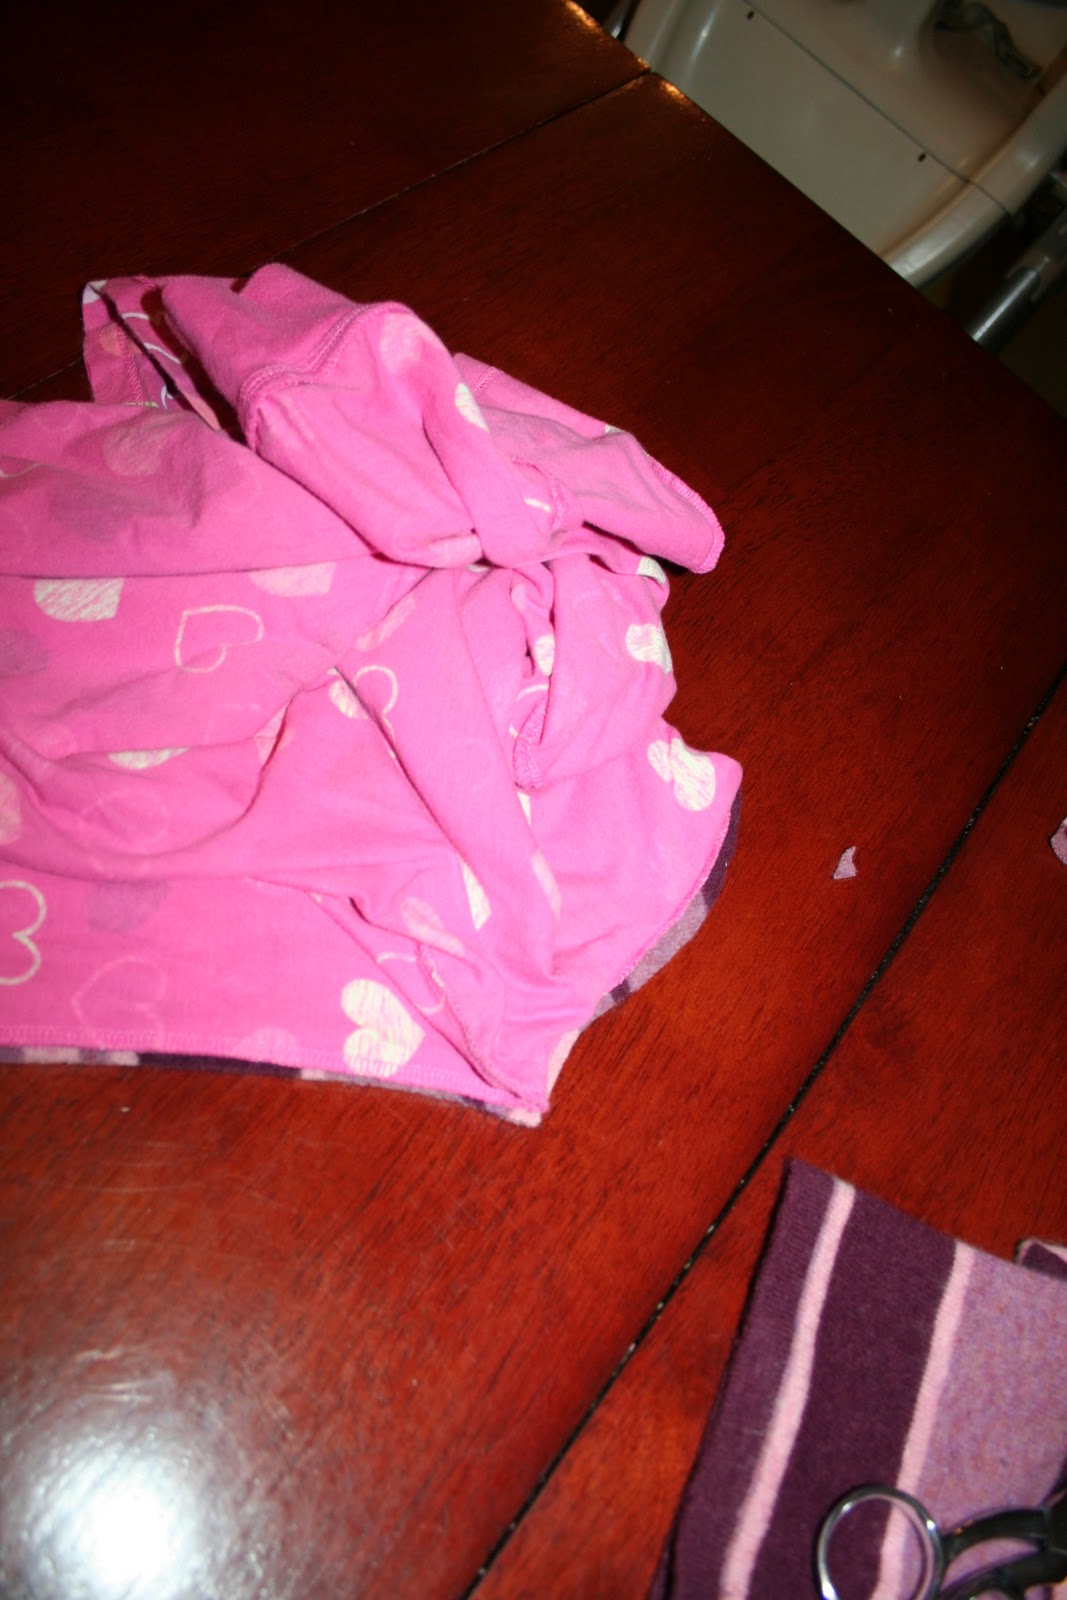
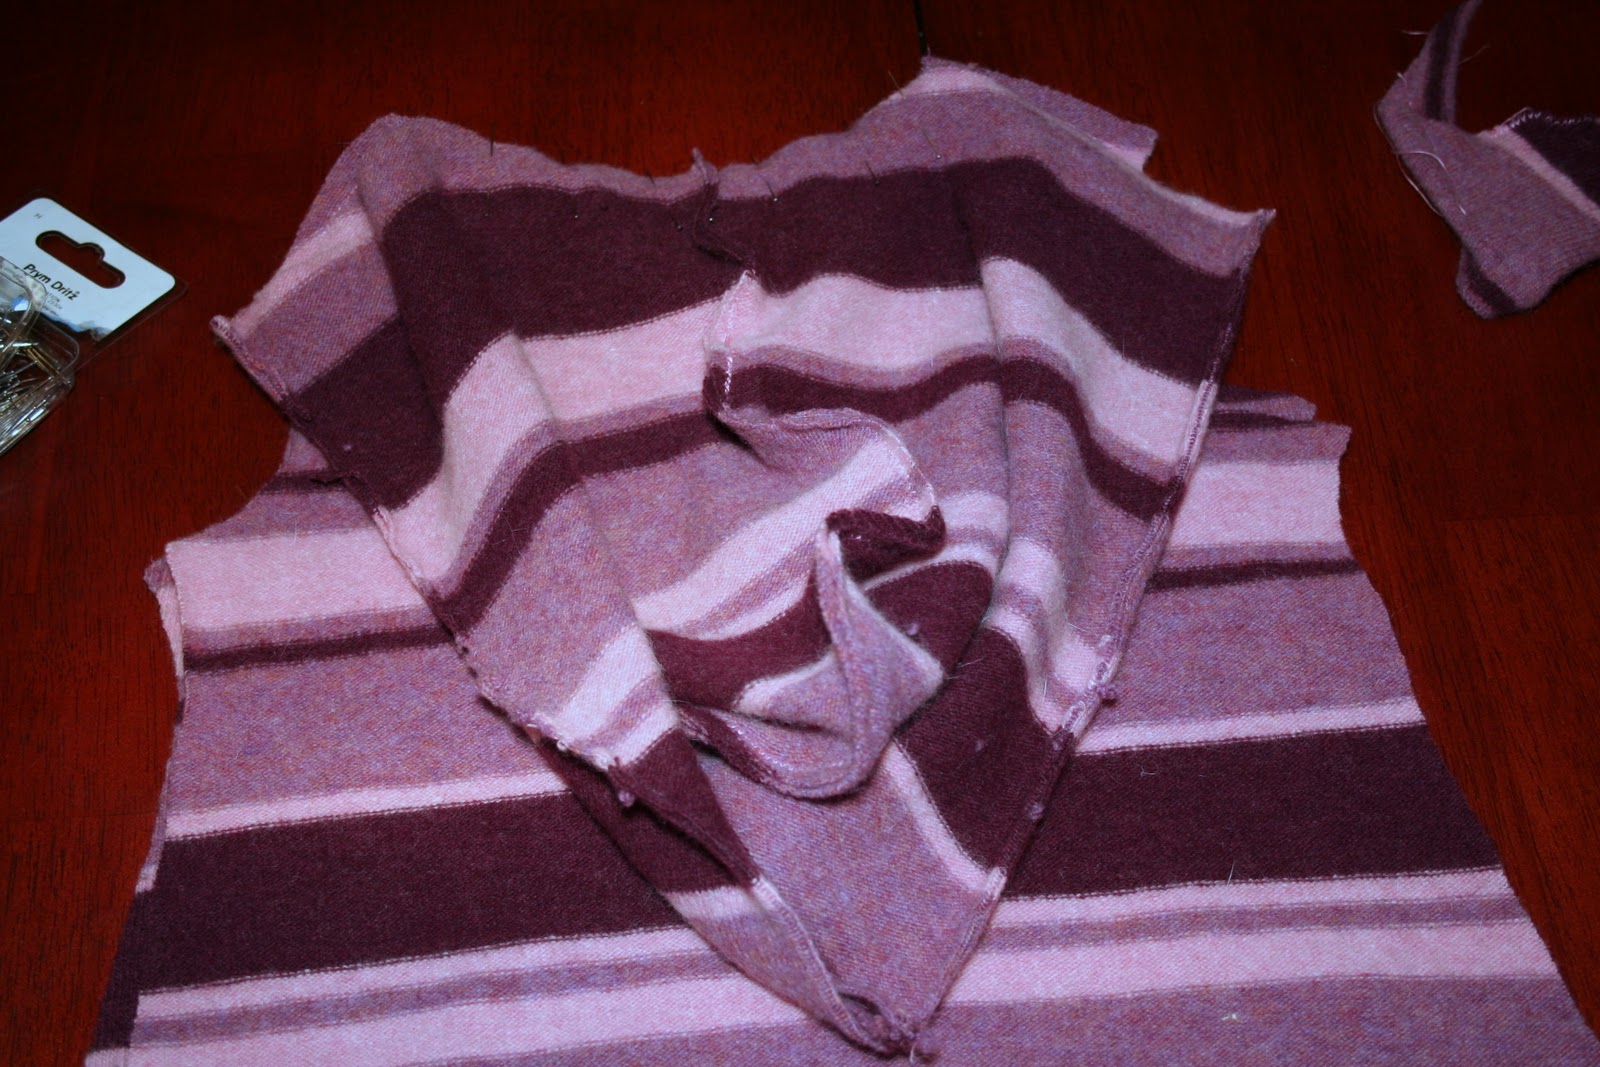
Step 4: Now you have all your pieces cut out. They should look something like the picture immediately below. And it’s time to sew! Pin your 2 hood pieces right sides together along the curved side and sew. Then open up the hood and fold the front straight edge of the hood in and sew.

Step 5: Pin the top of the shoulders right sides together and sew. Then attach the hood to the neckline of the dress. Begin at the center of the back neckline and pin the center of the hood to it, right sides of fabrics together. Continue all the way around, making sure it’s even in the front. Then sew together. Next fold down the little bit of neckline left, in the front, and sew it.
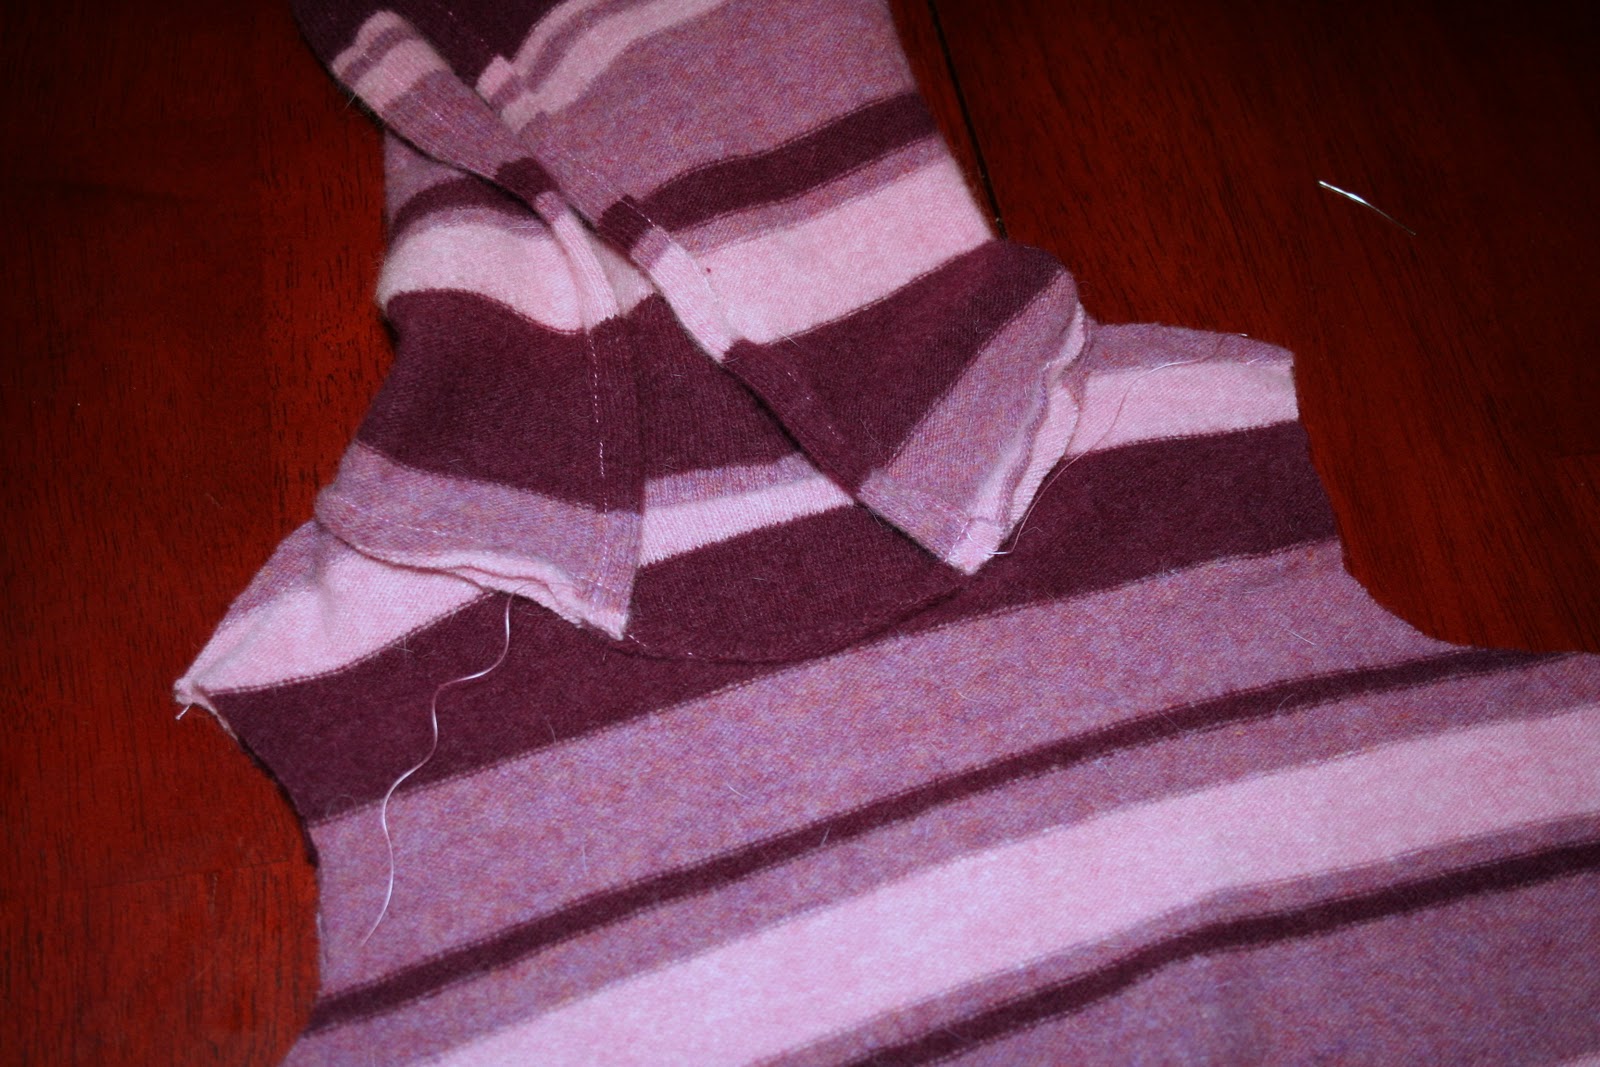
Step 6: Now, sew the arms. Fold up the wrist seams and sew (below.) Then pin the shoulder of the sleeve to the shoulder of the dress. Align the shoulder seam to the middle of the arm piece and pin right sides together and sew.


Step 7: Last step! Lie out the dress inside out and pin the bottom of the arms and the sides of the body together. I stretched and eased to make the stripes match. Done and ready to make a little girl happy! I just have to say that I’m blessed to have a beautiful little girl that makes my creations look good!