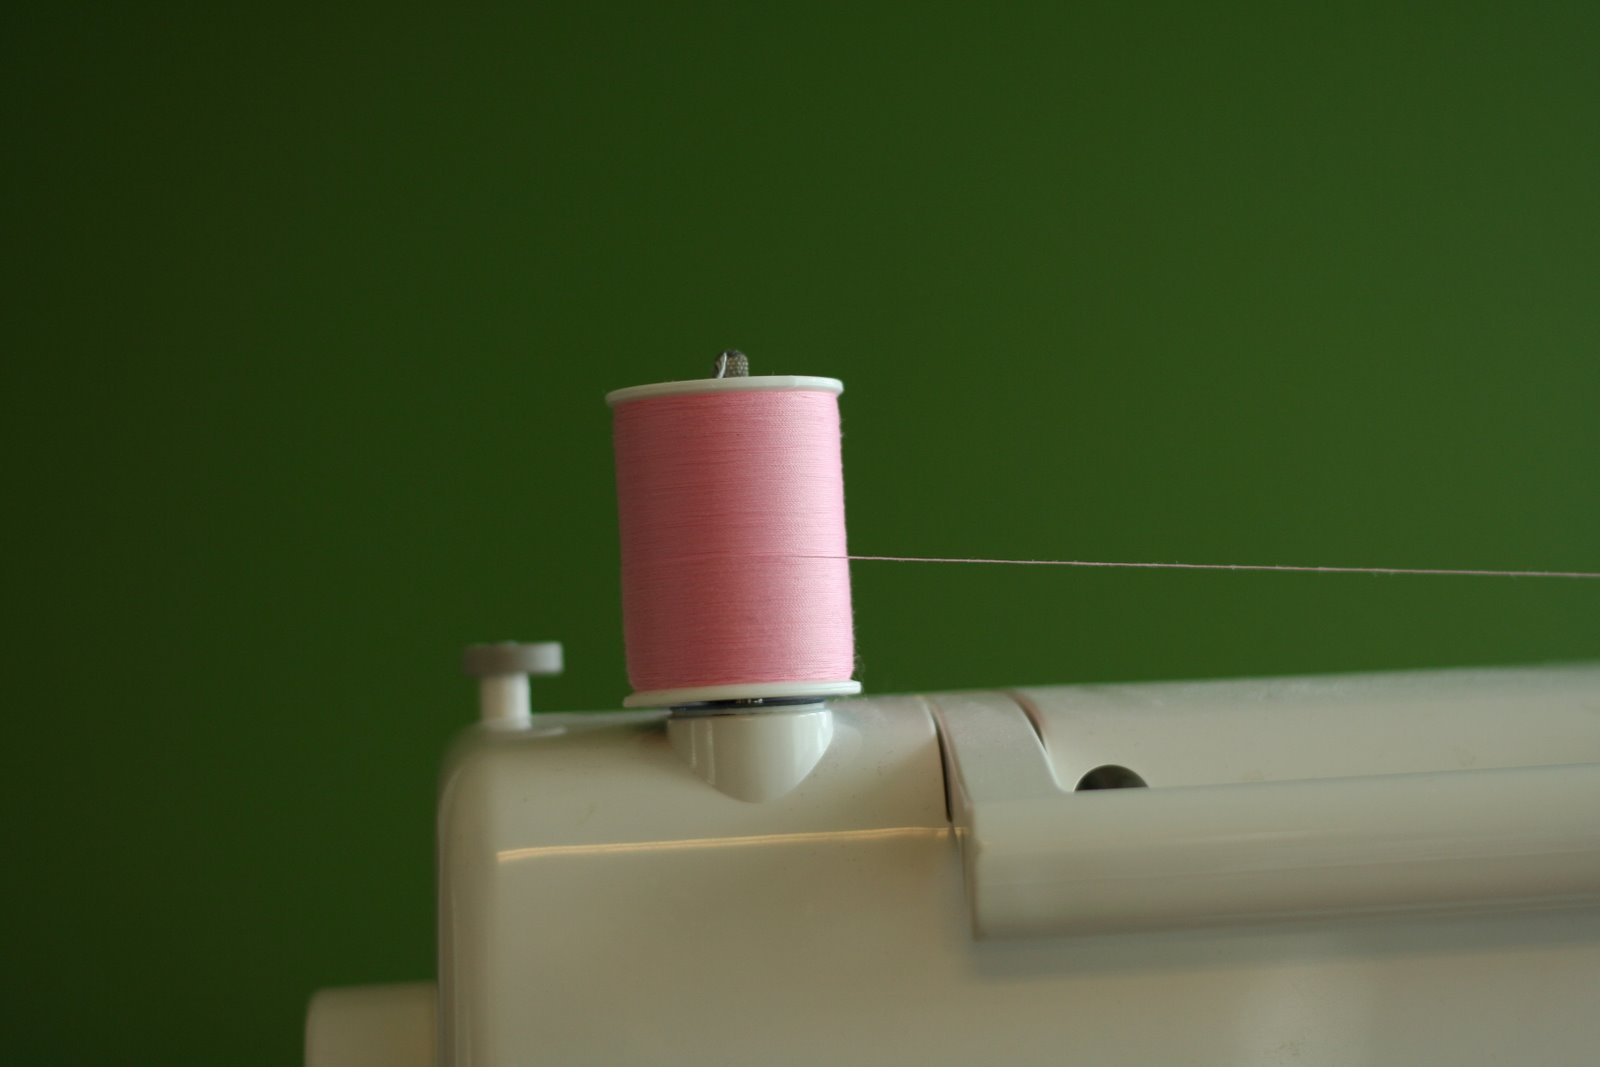
Pink thread in the sewing machine makes me happy!
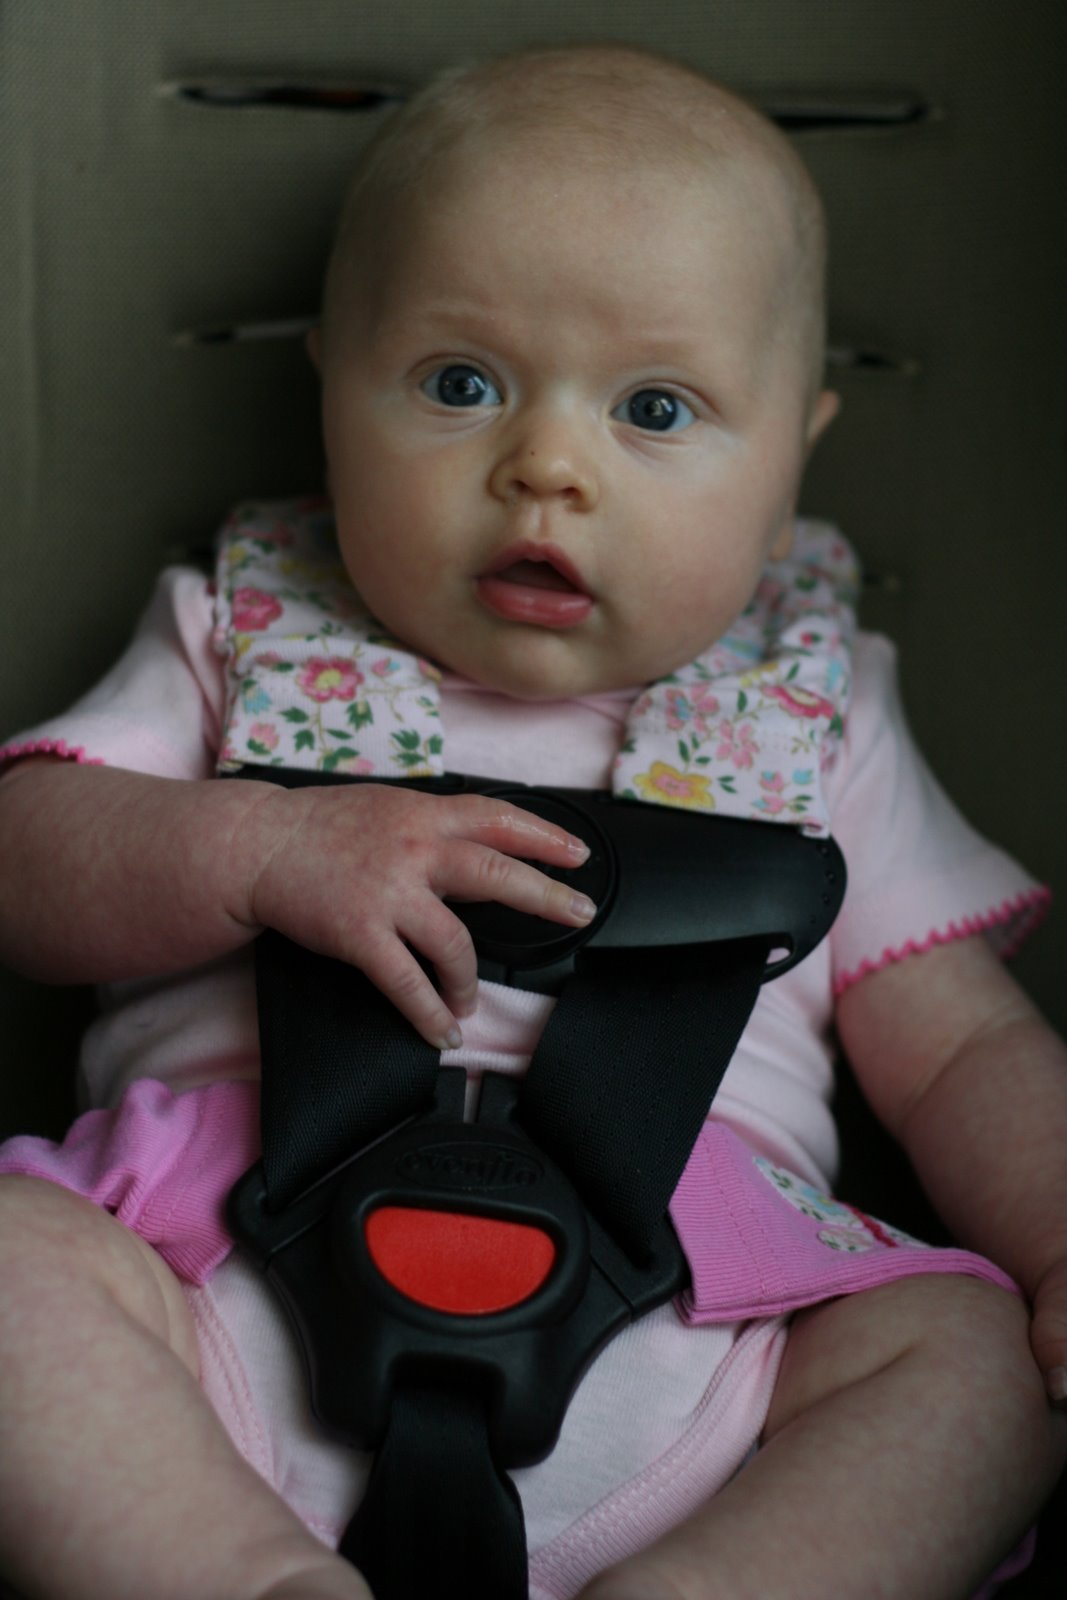
We’ve had crazy weather lately! First it rains for days, even sleets, and is cold like winter. Then we get some 90 degree hot sun-blaring days. One thing I do like about summer heat though is letting the baby live in a onsie or a little dress. Cute! But, the other day my sweet-usually-good-as-gold baby screamed the whole way home in the car. It was one of those hot days and yes, I had her in a onsie. By the time I got home and got her out of the car she was sputtering, stiff, screaming still, and red in the face. It made me very sad, but what was sadder still was to see what had been wrong that whole time. The top of each little thigh had a deep red line across it where the carseat belt had cut into it when she kicked. One sad baby and one sad mama to think I hadn’t noticed that would happen. My next project quickly became carseat belt covers and they came out pretty cute so I thought I’d share.
I love these also because they aren’t bulky or too short or made with synthetic fabric. They are made with cool, soft, absorptive cotton for summer, but cover up the brutal edges of the straps very nicely. For now they are adorable bunched up in a slouchy look but as we let out the straps as she grows, they will still cover any edges that could be uncomfortable against her neck or thighs.
Slouchy Carseat Belt Covers
Tutorial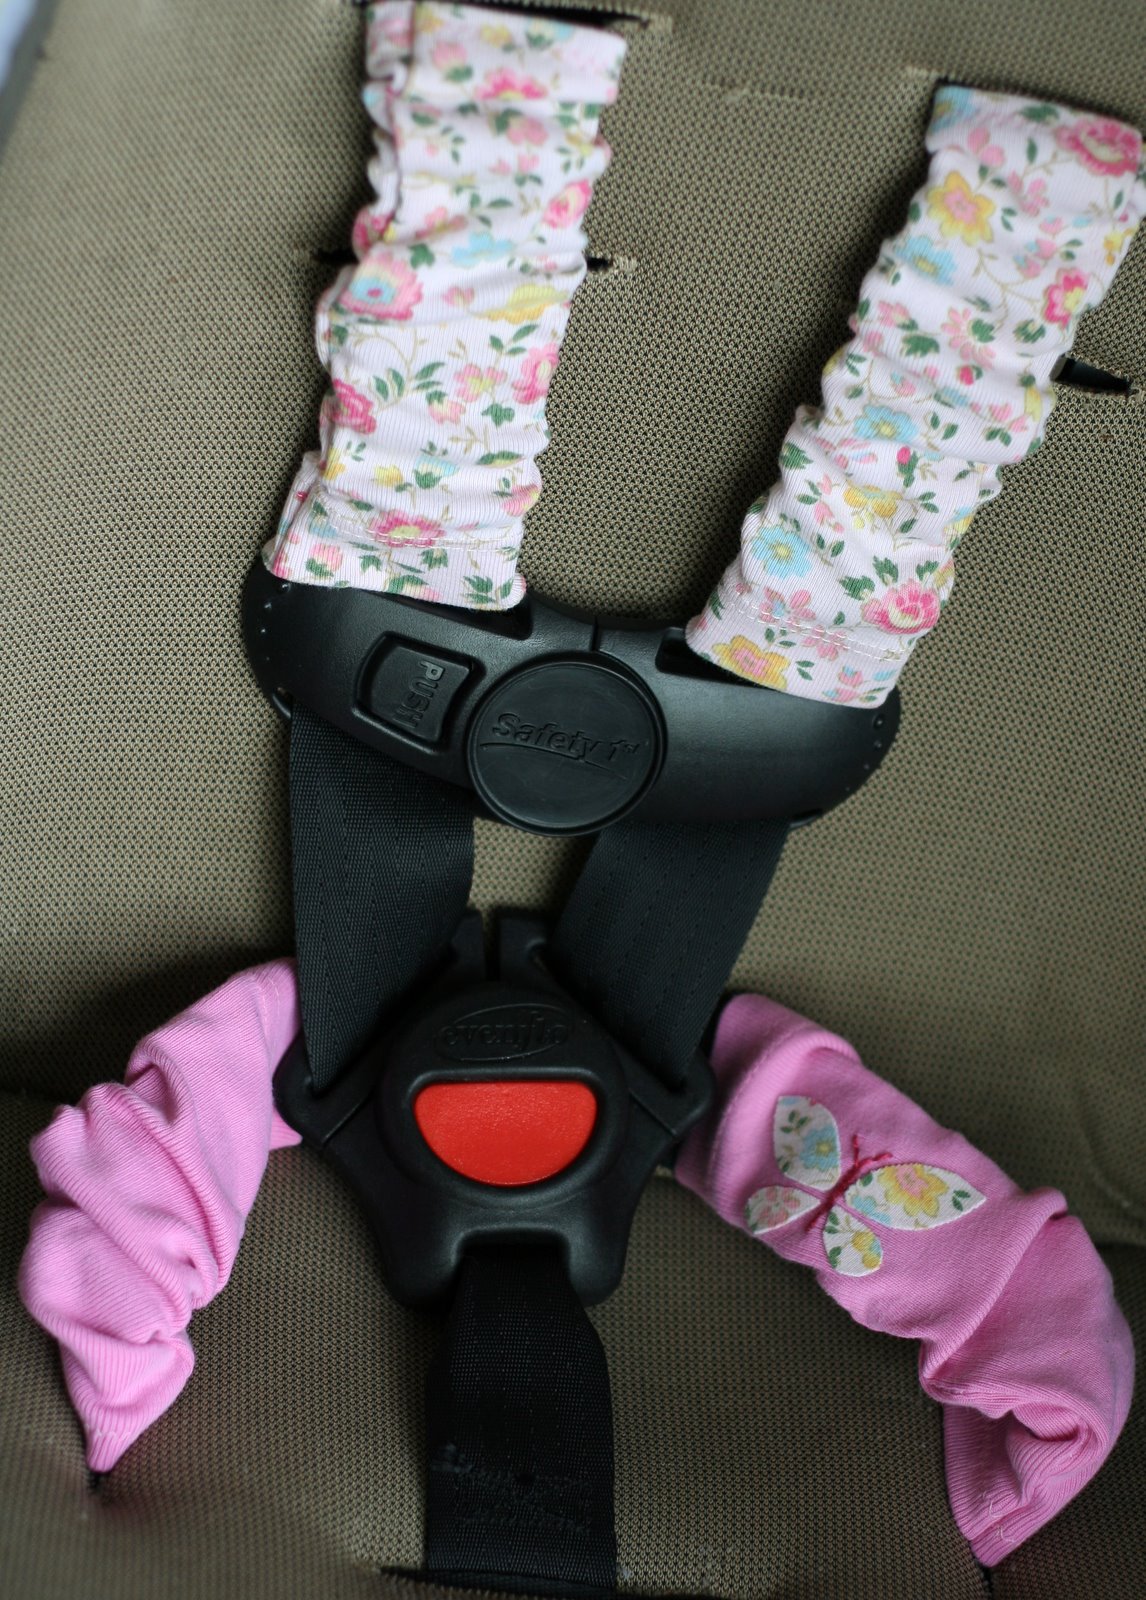
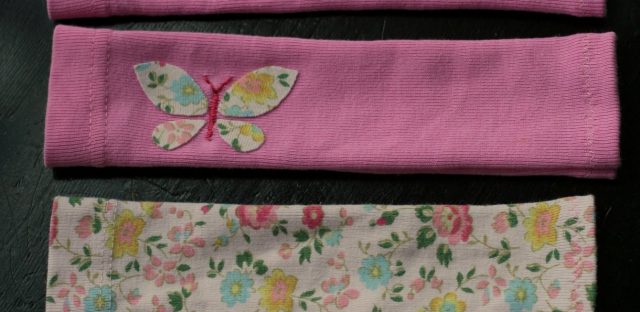
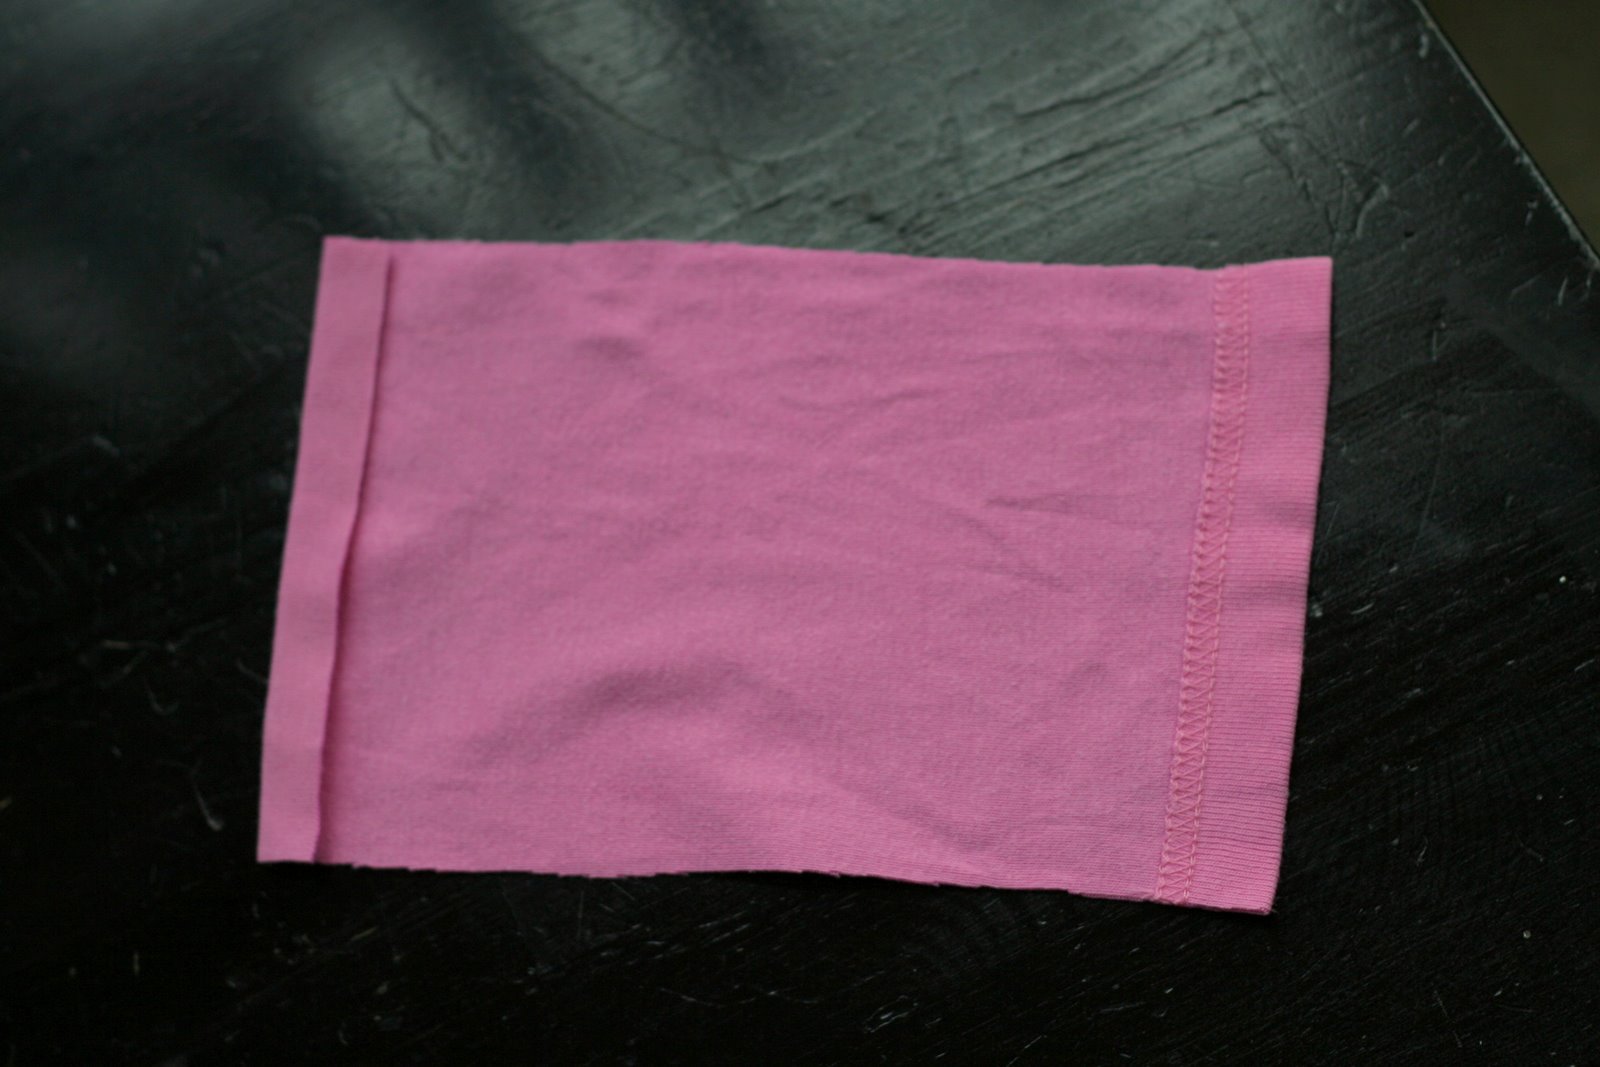
1. The belts of her carseat were 1 1/2 inches wide and I wanted the covers to be about 7 inches long. So, I cut 4 rectangles from the bottom of a shirt with a nice soft good quality outgrown 100% cotton knit shirt. They measured about 7 1/2 inches by 4 inches. I wanted at least one very nice seam so kept the seam from the bottom of the shirt.

2. Next I fold the top down about 1/2 inch and sew. I used a zigzag stitch with about a medium stitch width and medium stitch length. I also pushed/eased the fabric under the foot while sewing to keep it from stretching out as knit fabric has a tendency to do.
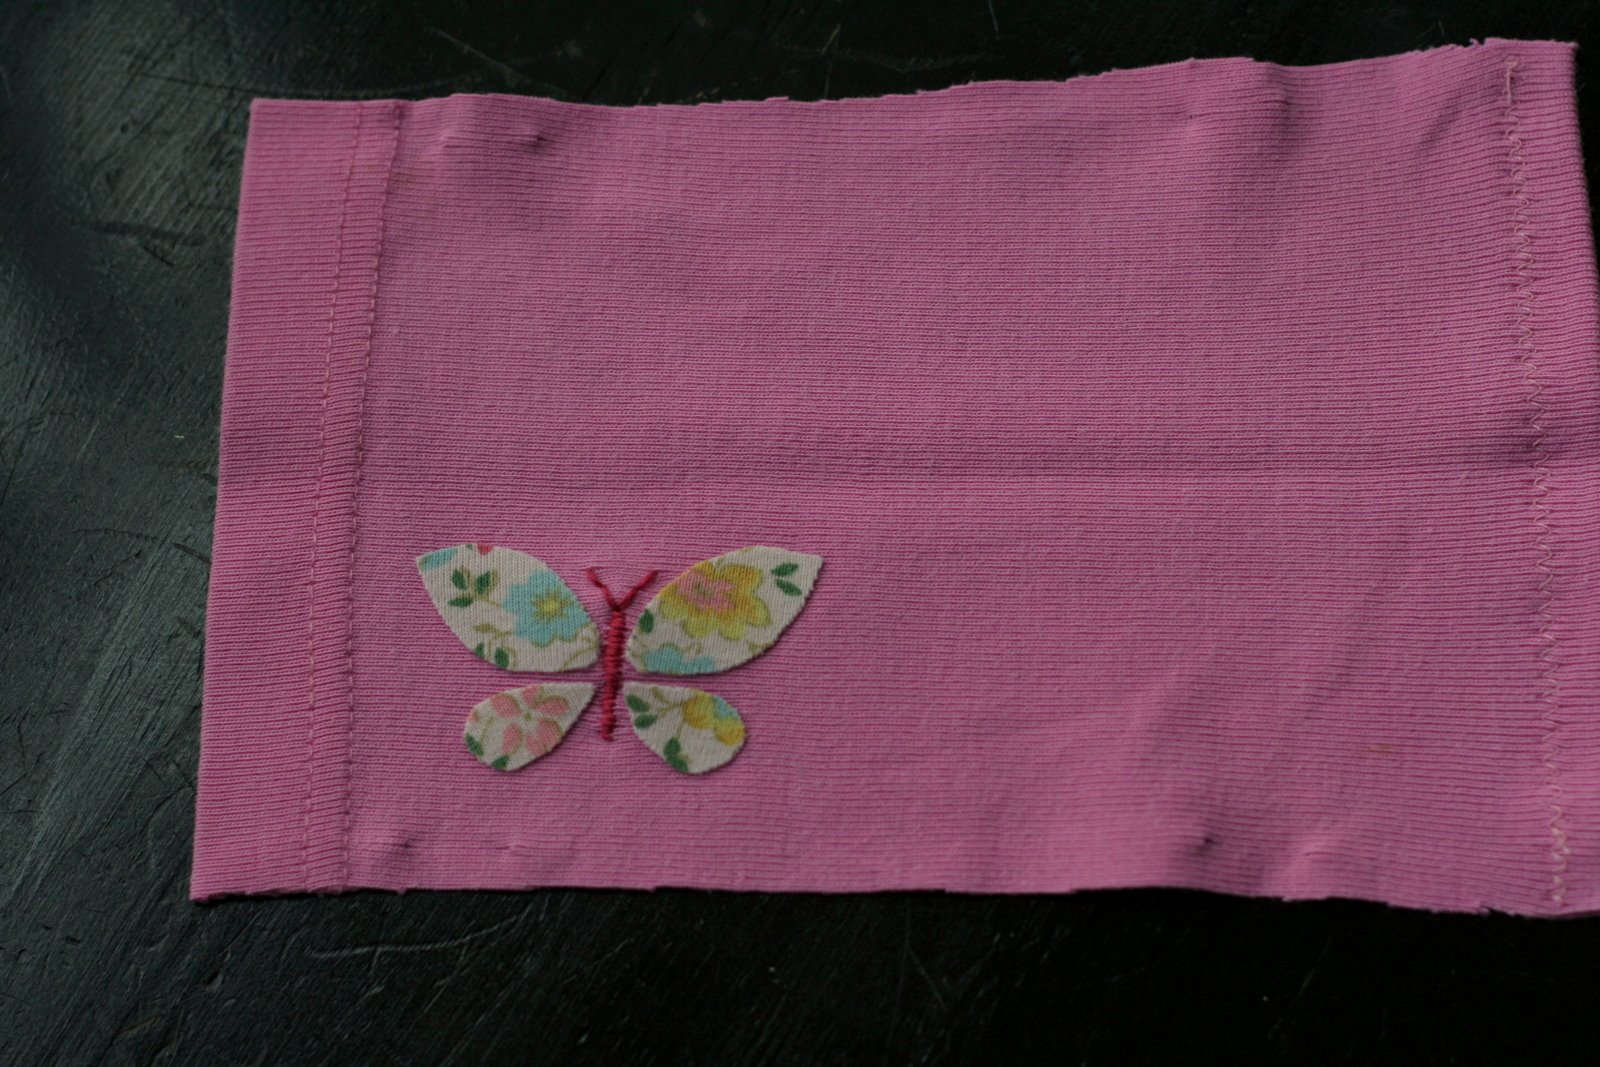
3. Next, optionally, embellish. 🙂 I cut out little butterfly wings and appliquéd them onto the right side of the fabric. Never appliquéd anything before? Well, it’s super easy and now (since discovering appliqué) I pretty much love my iron for the first time in my life. 😉

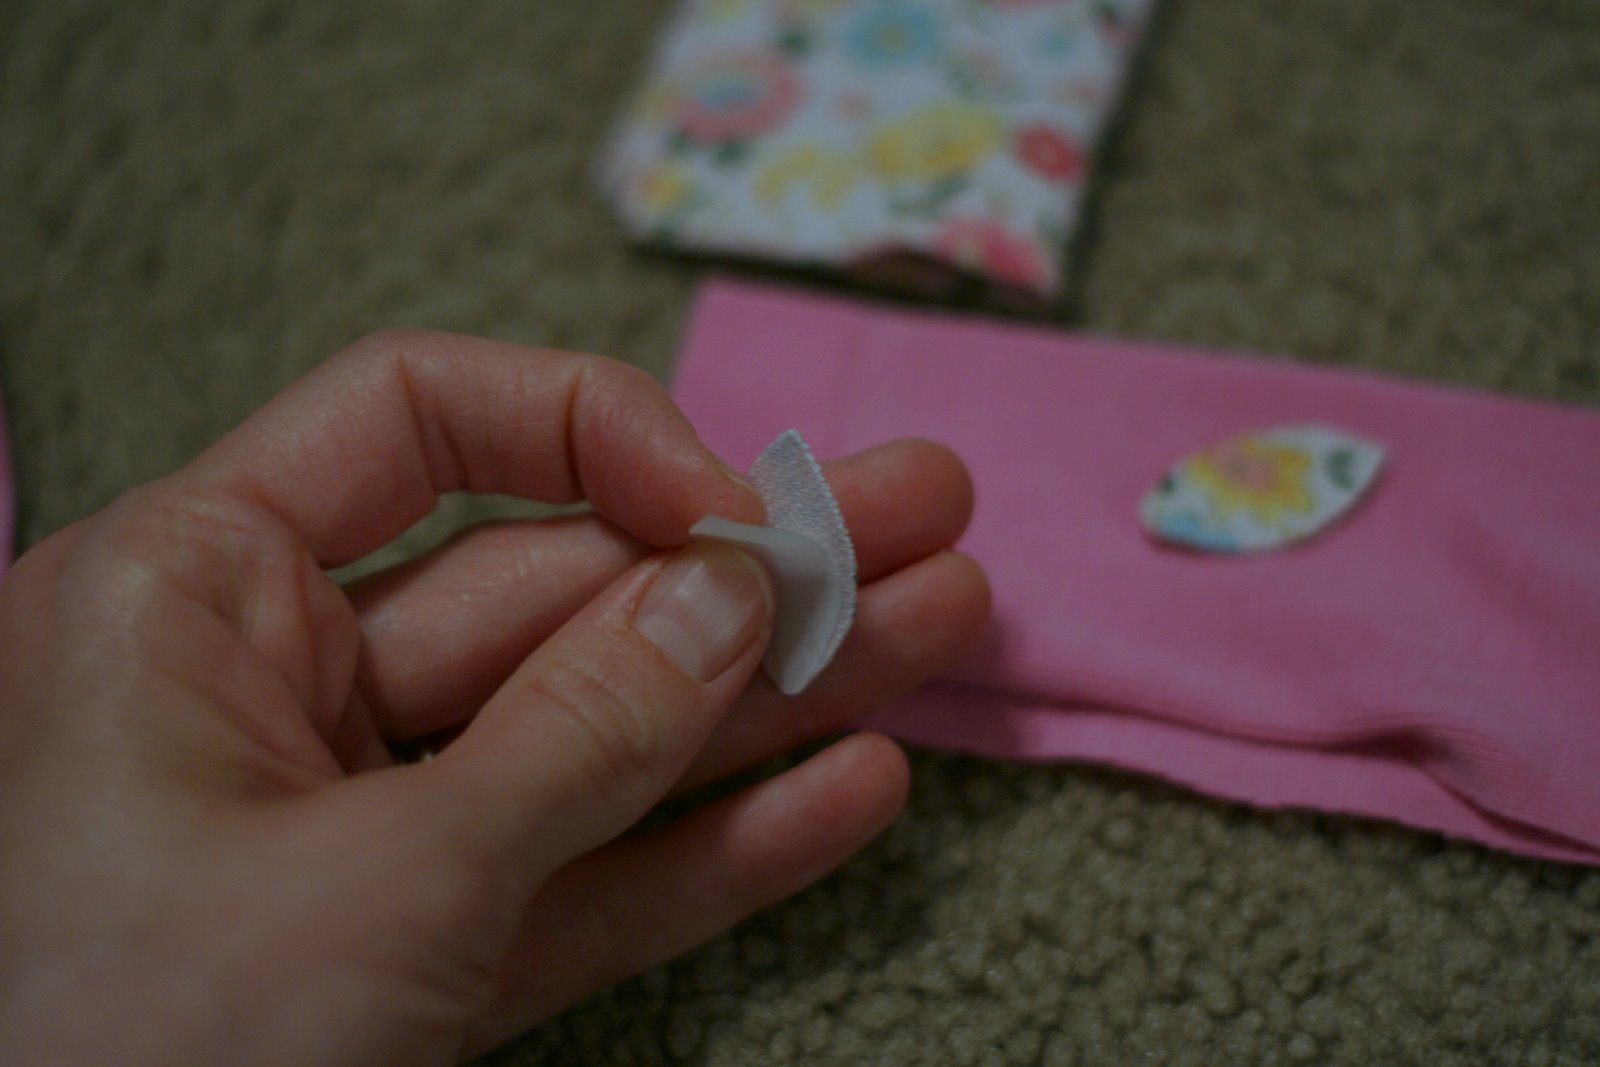
4. To appliqué, pull the paper off one side of your double sided appliqué fusable web, place your little shapes on it and cut around them as close as possible.
(p.s. The color of the fabric did not change from the last picture. Ahem. I just had to finish working on it at night after the children were in bed. Sometimes a project that should take about an hour really takes 2 days..)

Then pull off the paper on the other side and put the pieces back in place. Iron with a steam iron for 20 seconds. Voila! Done and beautiful.
I also embroidered a little butterfly body and antenna.
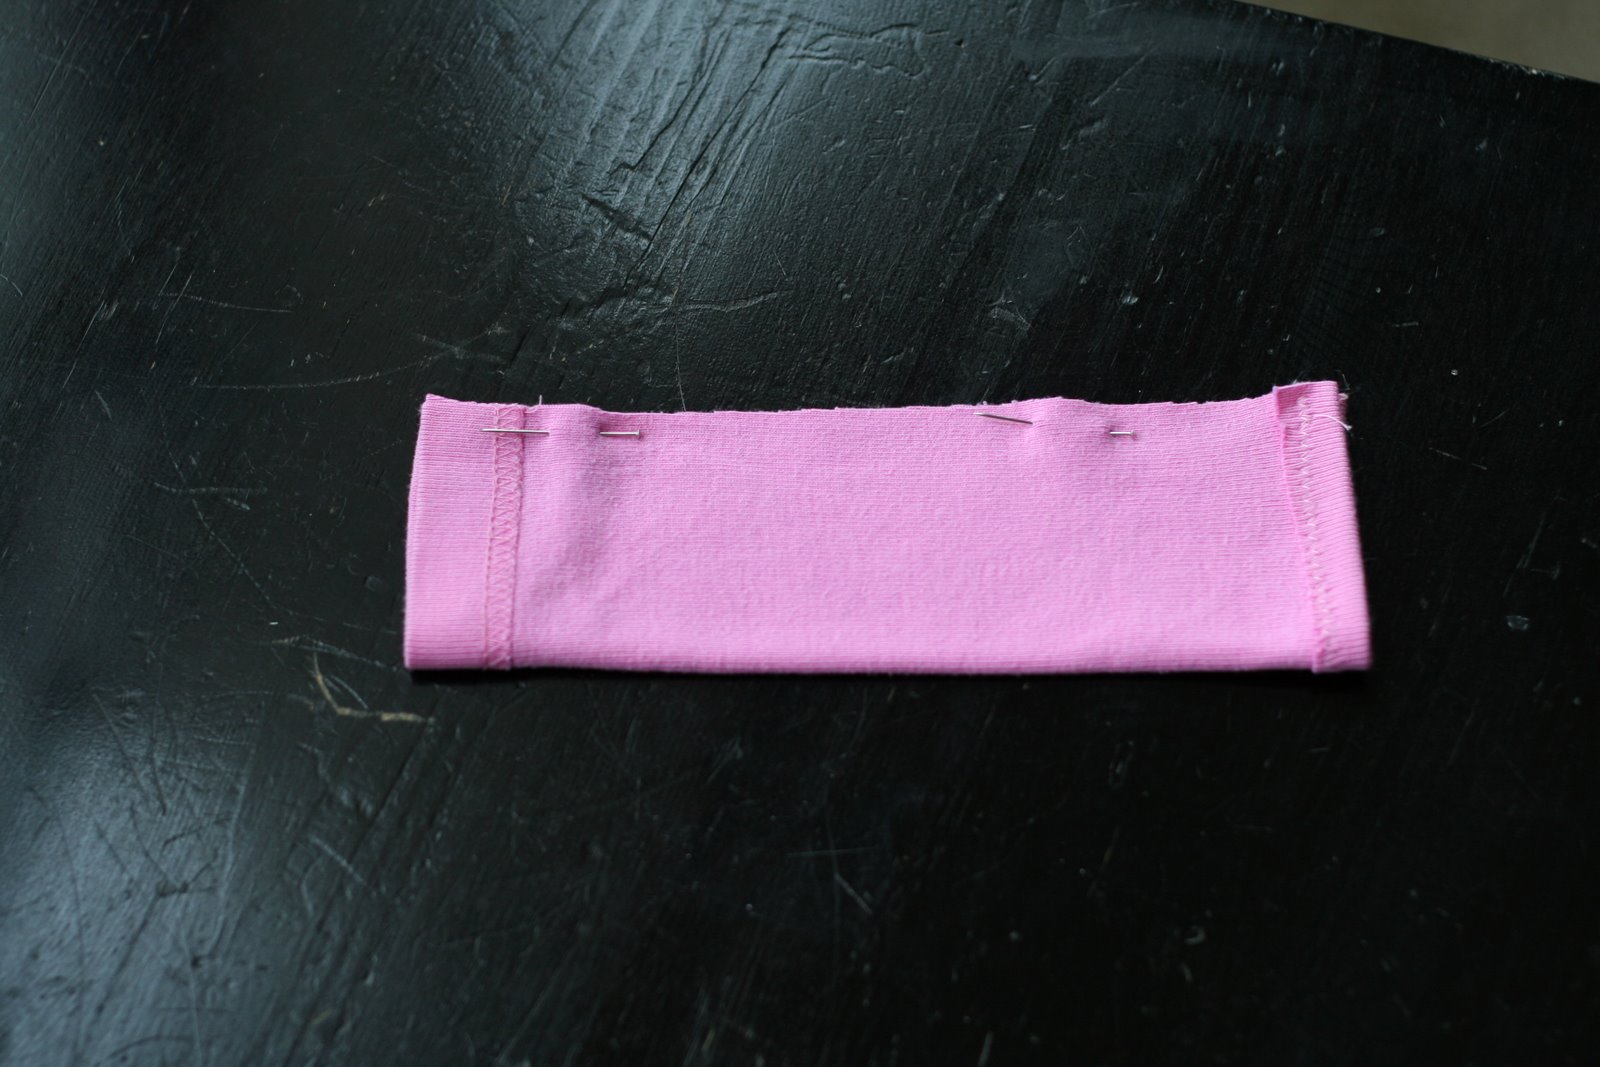
5. Now fold right sides of the fabric together long-wise and pin and sew.
(Yes. No. Once again the fabric color did not change. It was day 2 and the morning sun makes the color pale. All my meager editing skills could not undo the changes even with appropriate camera settings. *Sigh* I am found out.)
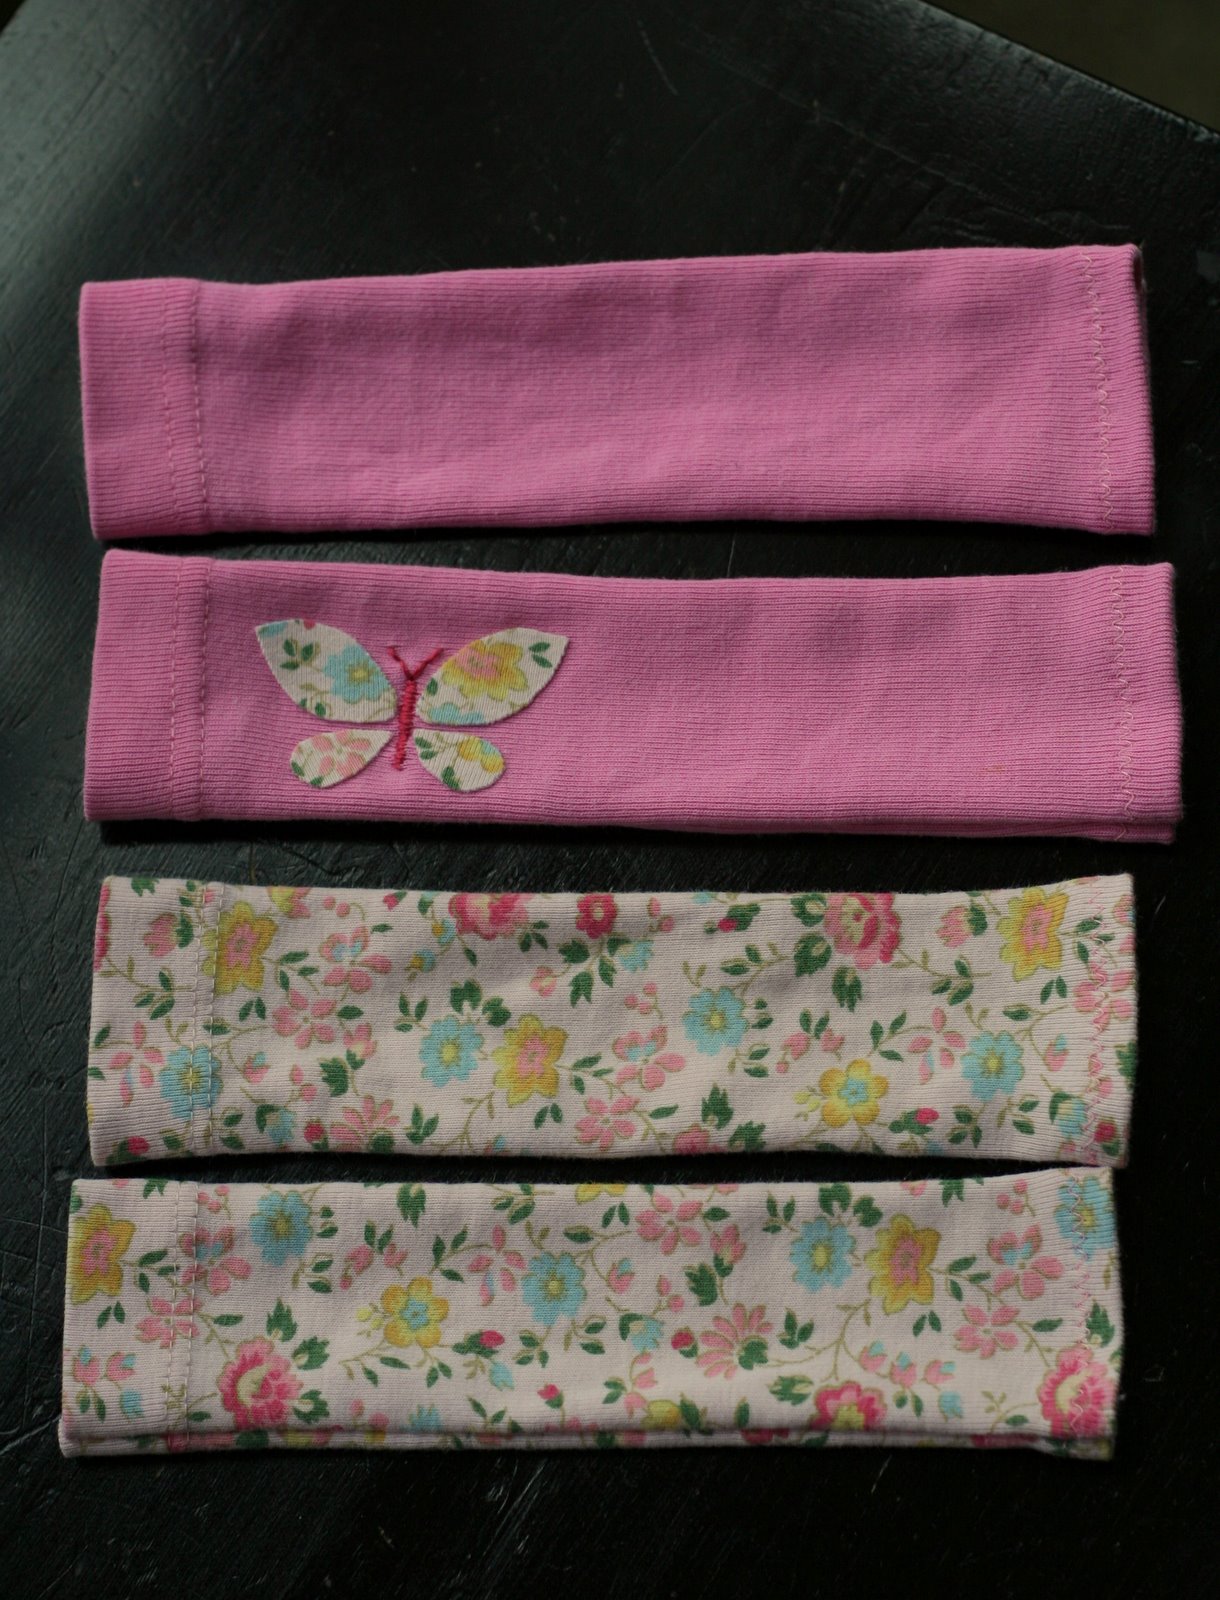
6. Now make a few more… I MAY have made just a few extra to trade out… you know just in case of spit up, etc etc.
Thread them over your carseat straps. And, YAY, a happy baby ready to go! In her onsie. But then, after this picture, I went and changed her. Because it was cold and hailing. Yup. The two year old was excitedly proclaiming “Bouncies!” and I was running to cover my seedlings in the garden with lawn furniture and we were not going anywhere that day! Still, she’s awful cute in a onsie.
this is such a cute idea!
my recent post: another bold step forward