Hairpin Lace Blanket
About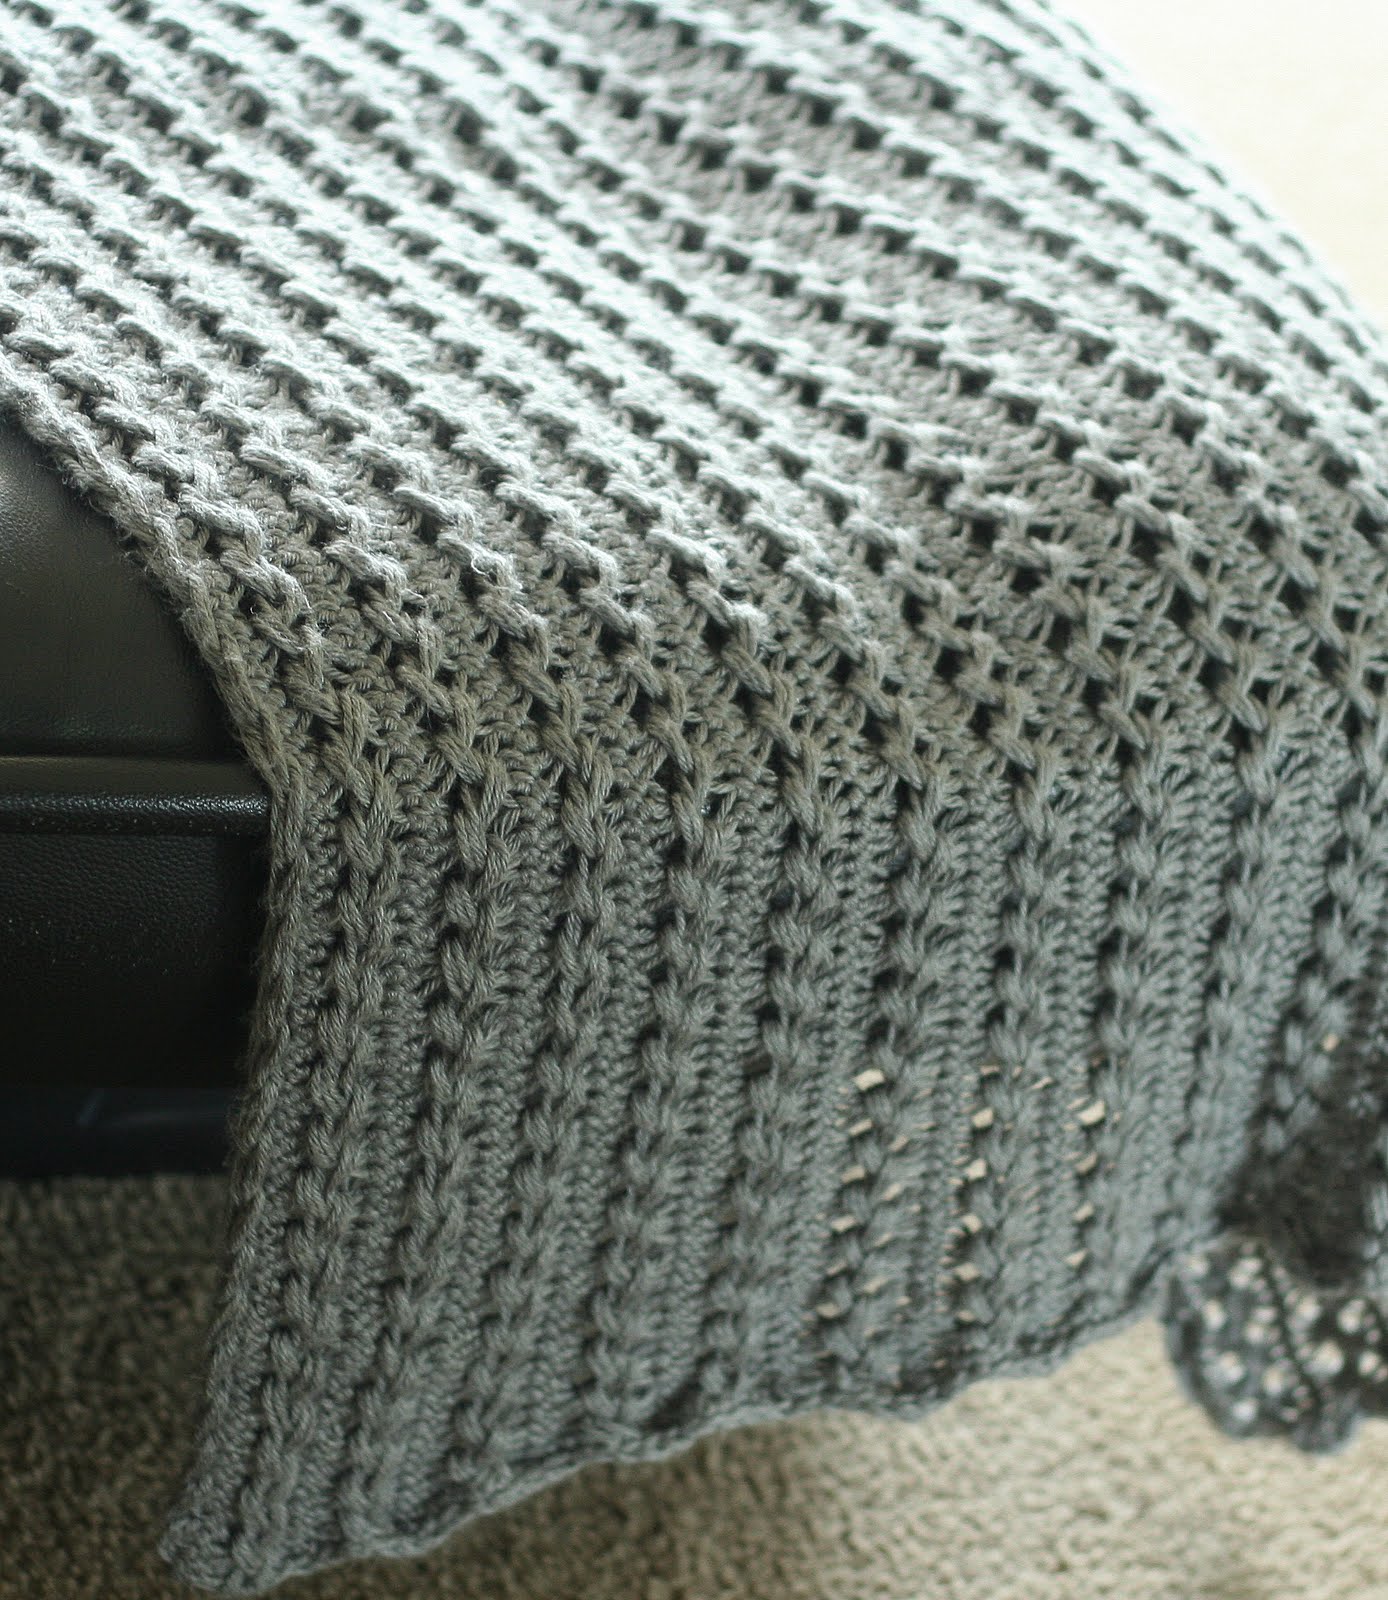
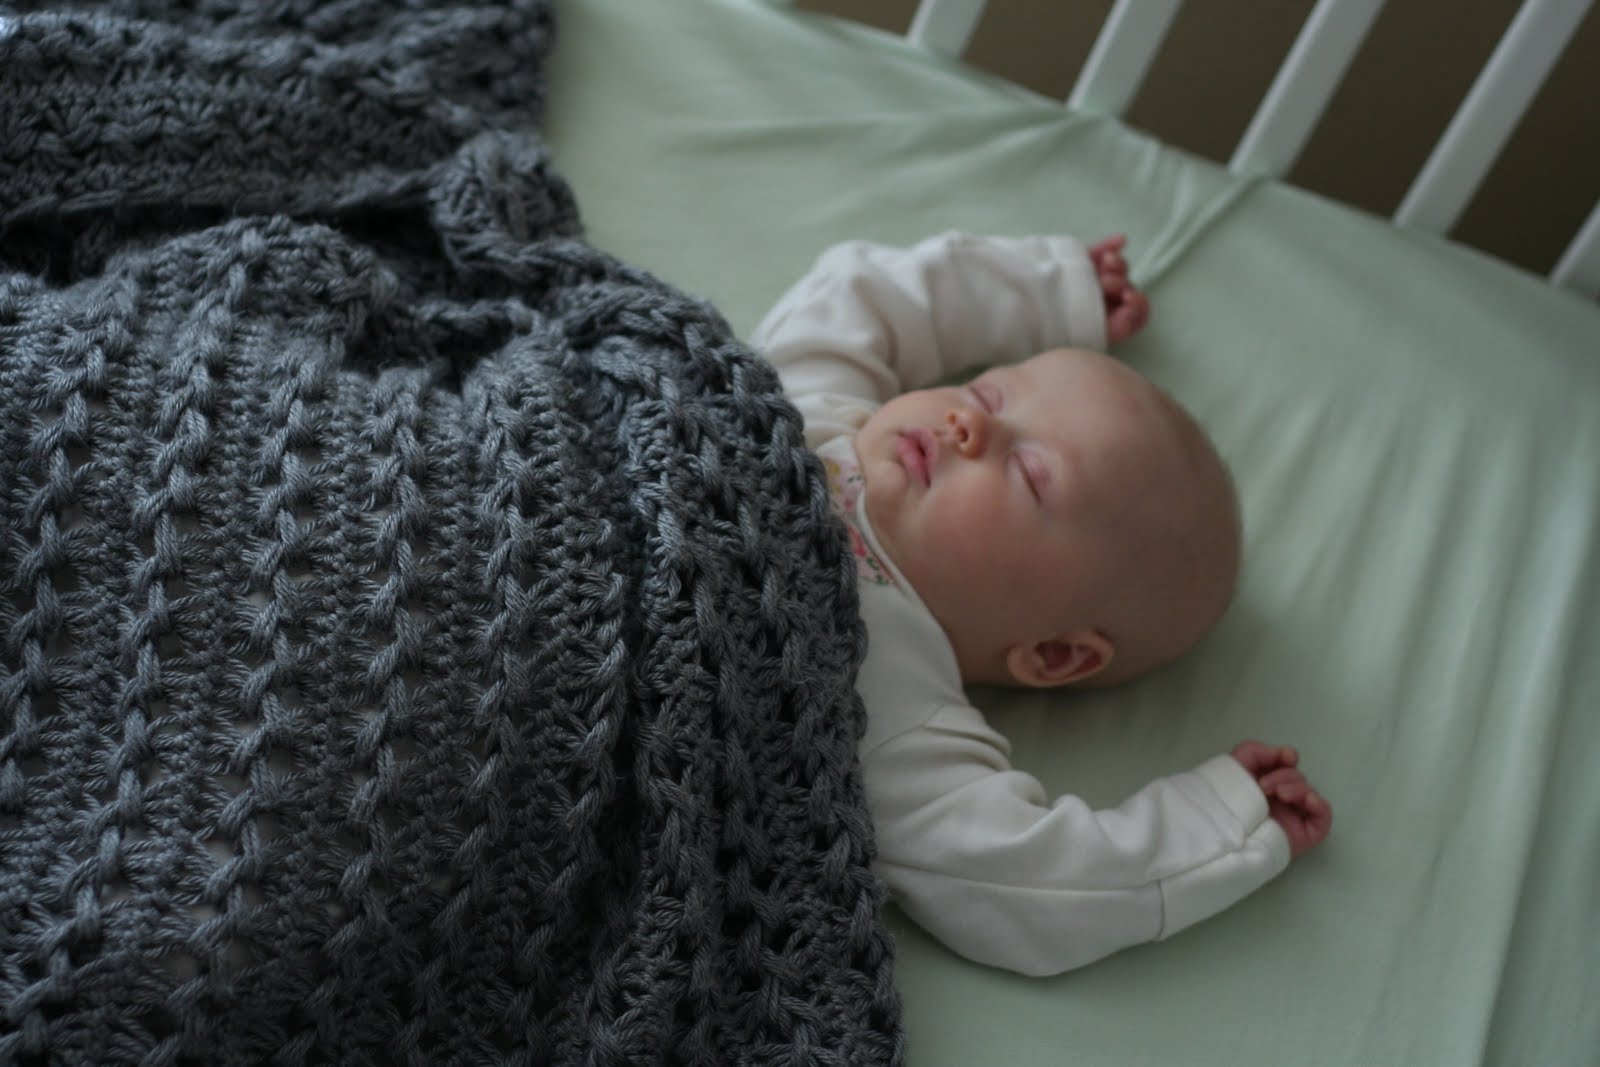
After seeing a few hairpin lace baby blankets, I was very motivated to make my next babe a sweet sleepy blanket. I have to say that I love love the end result of this project! That said, I now see why hairpin lace isn’t everywhere. Though it is beautiful and easy, it is very time consuming. It’s not just for baby blankies though. There are some beautiful hairpin lace scarves among other things. I will share the few tutorials I found most helpful when learning it and pass on some hard earned tips to perfect it… if indeed you are obsessed with the details… also known as perfectionist… like me… ahem.
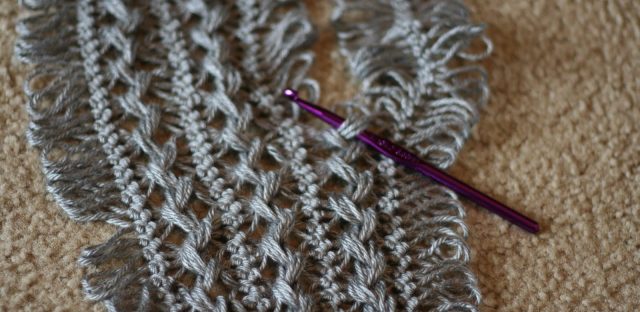
Basics: Hairpin lace is a kind of crochet. It’s made in long strips with a loom and crochet hook. Though it’s a little awkward to use the loom at first, it got easy quickly. After the strips are made they are woven, or crocheted, together. Then the edges are finished. I used Simply Soft yarn for my project. I love the sheen of the yarn with the lace look. And I used grey. Love grey!
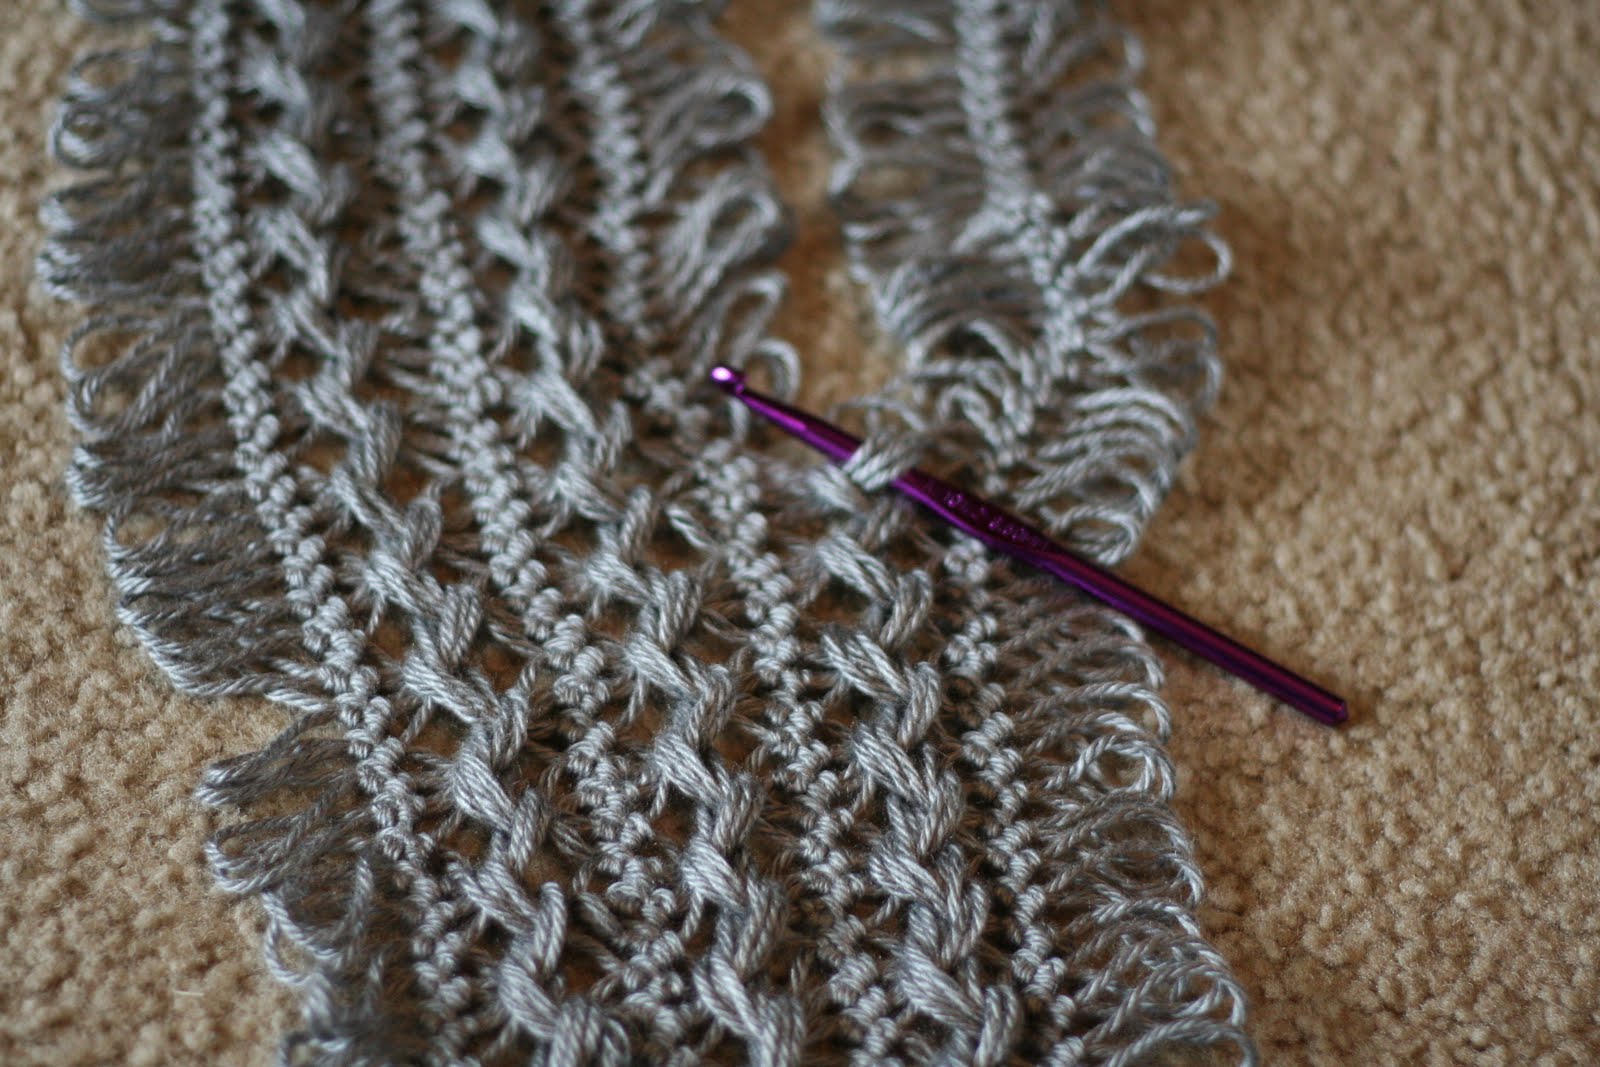
Joining tips: I discovered, after much trial and error, the easiest way for me to weave the strips together. I got a very stiff neck and shoulders from trying to bend over the blanket on the floor or table top… and it didn’t work to do it in my lap. I had no lap at the time as I was quite pregnant! It did work very well to sit on a chair at my dining table with the blanket and strips on the table top in front of me. When weaving the strips together, there is an important trick to ending up with a square/rectangle shaped blanket. You can see (picture on the right) that you use a hook to pick up loops to weave together. When starting to add a strip do not always begin the weave from the left, or always start from the right. You have to alternate or you will end up with a very wonky diamond shape. So when you join your first two strips together begin the weave by picking up loops from the strip on the left. When beginning to join the third strip to the second, begin the weave by picking up loops from the strip on the right. Alternate the beginning loops as you go, drawing from left then right then left etc. Hope that makes sense. It’s difficult to explain.
Finishing tips: I did not want tassels on the ends of my blanket so did a bit of research. I was liked all the finishing possibilities and tried several on my blanket before I decided to weave the side edges and sc with a triple strand of yarn on the ends. Single crocheting on the ends turned out to be a little more work than I thought it would be, only because I had to untie the threads holding the loops together and arrange the loops how I wanted at the end, and hold them there while I crocheted each in place. This has to be done one row at a time or it will start to unravel. Tedious! But in the end I thought it was worth it.
Links:
-Especially good for those who need the visual! A youtube video showing how to crochet the strips for hairpin lace: http://www.youtube.com/watch?v=exkDF2oiPR8
-Hairpin lace tutorial showing how to crochet hairpin lace strips, weave them together, and finish with woven sides and tasseled ends: http://weefolkart.com/content/hairpin-lace-instructions
-A few different ways to join the strips (another youtube video but not great quality) None of these are really innovative but it did help me begin to realize the possibilities: http://www.youtube.com/watch?v=NqV0arafa4E
Hope that inspires or helps… or amuses… or something!
What a beautiful technique, well worth the massive effort!
what a great idea, wonderful!
♥Petra
Thank you for the links!
This is just absolutely exquisite. I’ve never attempted hairpin, but this design, coupled with that GORGEOUS gray yarn may just push me off the cliff. Beautiful work! Thank you for sharing! x
Beautiful!! I really like your ends much better than the tasseled ends. (I hate tassels lol) I definitely want to try this technique now. Hopefully I can figure out what to do to avoid tassels.
What width was your loom set at? 3 inches or 4? Beautiful blanket!
Thank you. I believe it was 3 inches.
How many loops did you put on the loom for each row. How many rows and what was the finished size.
The blanket was about 30″ x40″. I had 20 rows and each row had approximately 129 loops (a multiple of three as I picked up 3 loops at a time when weaving the strips together.) I don’t remember what crochet hook size I used. Hope that helps!
Do you remember how much yarn this took.
No sorry I don’t…
Hello there. Very beautiful!!! I was wondering
what bulk of yarn did you use?
Thanks! I’m not sure what bulk… It was Caron Simply Soft yarn.
thank you!!!