Introducing…
Drum roll?
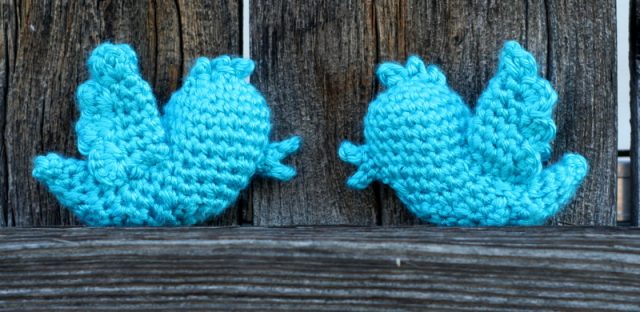
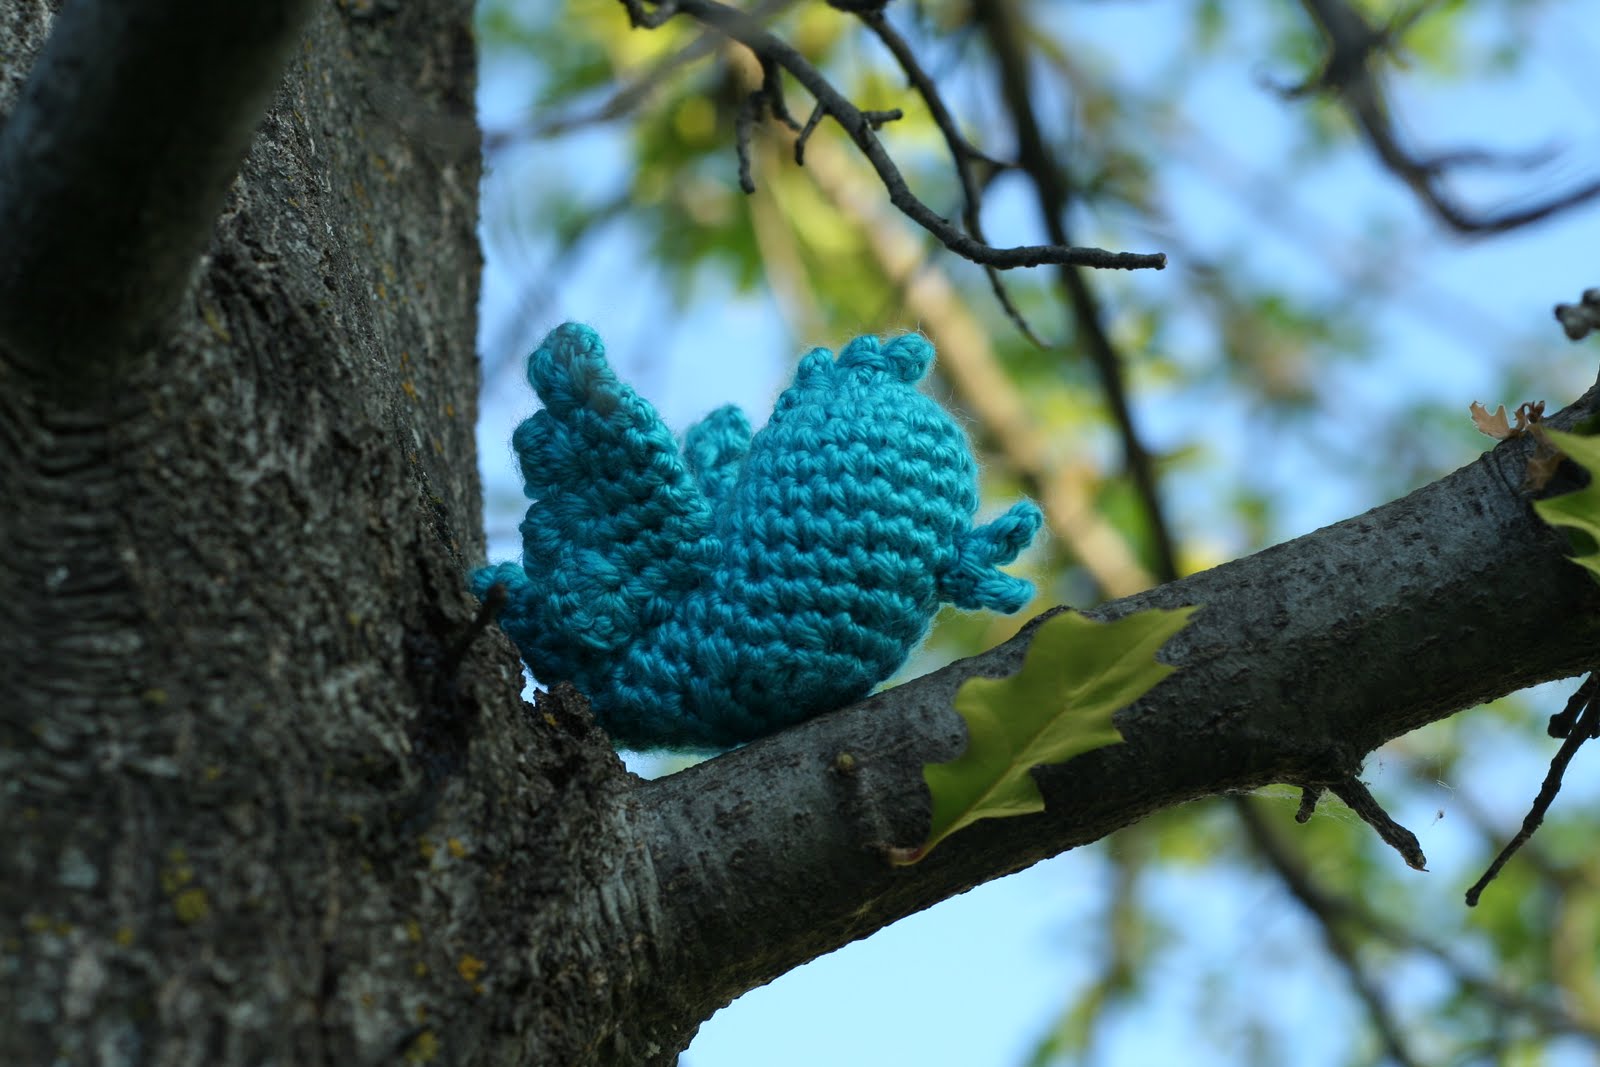
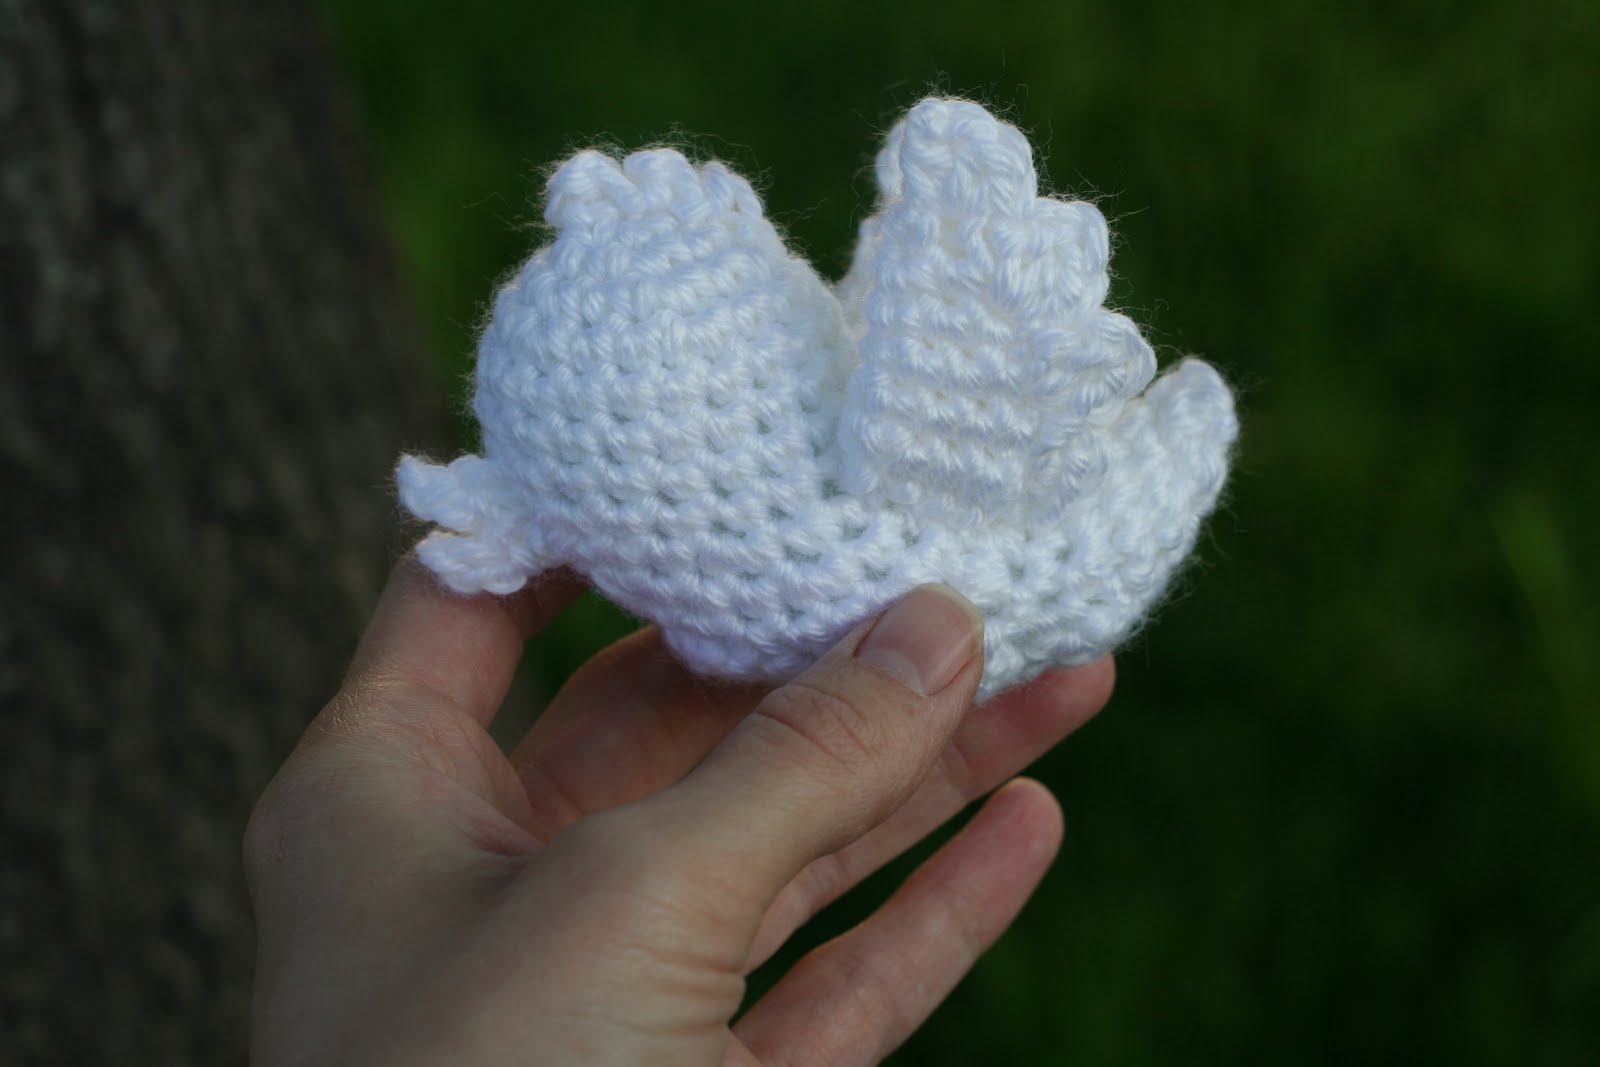
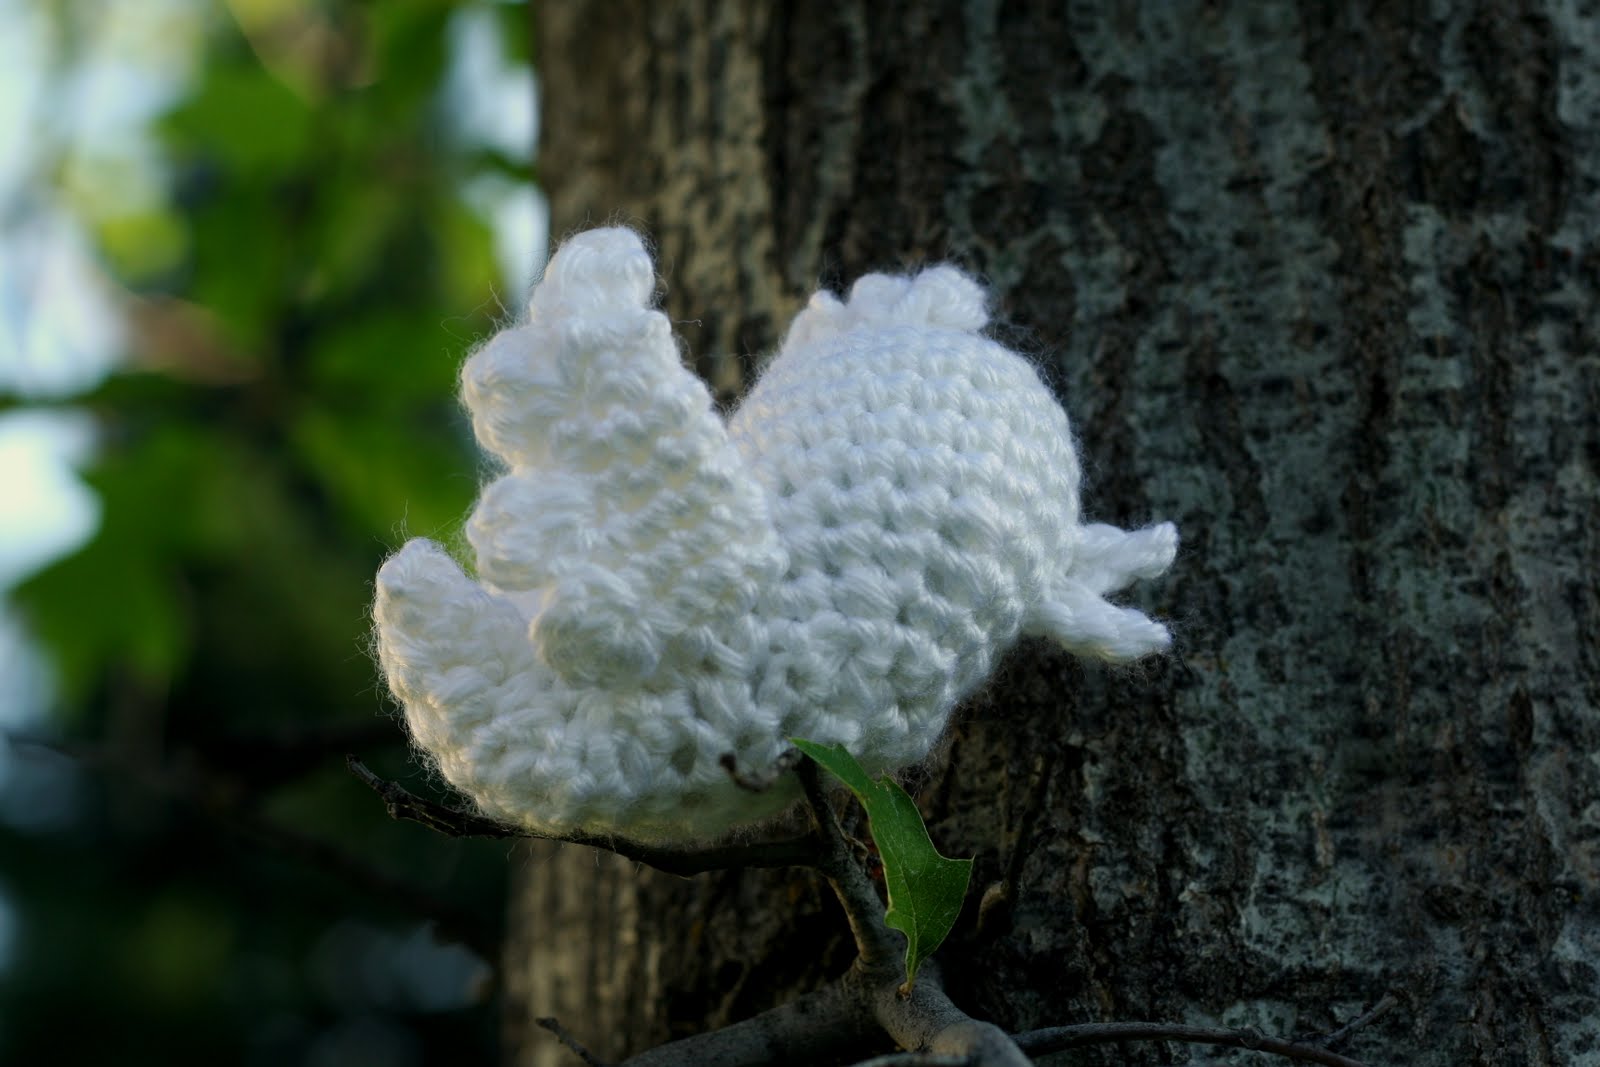
Twitterpated! My crochet version of the Twitter logo bird.
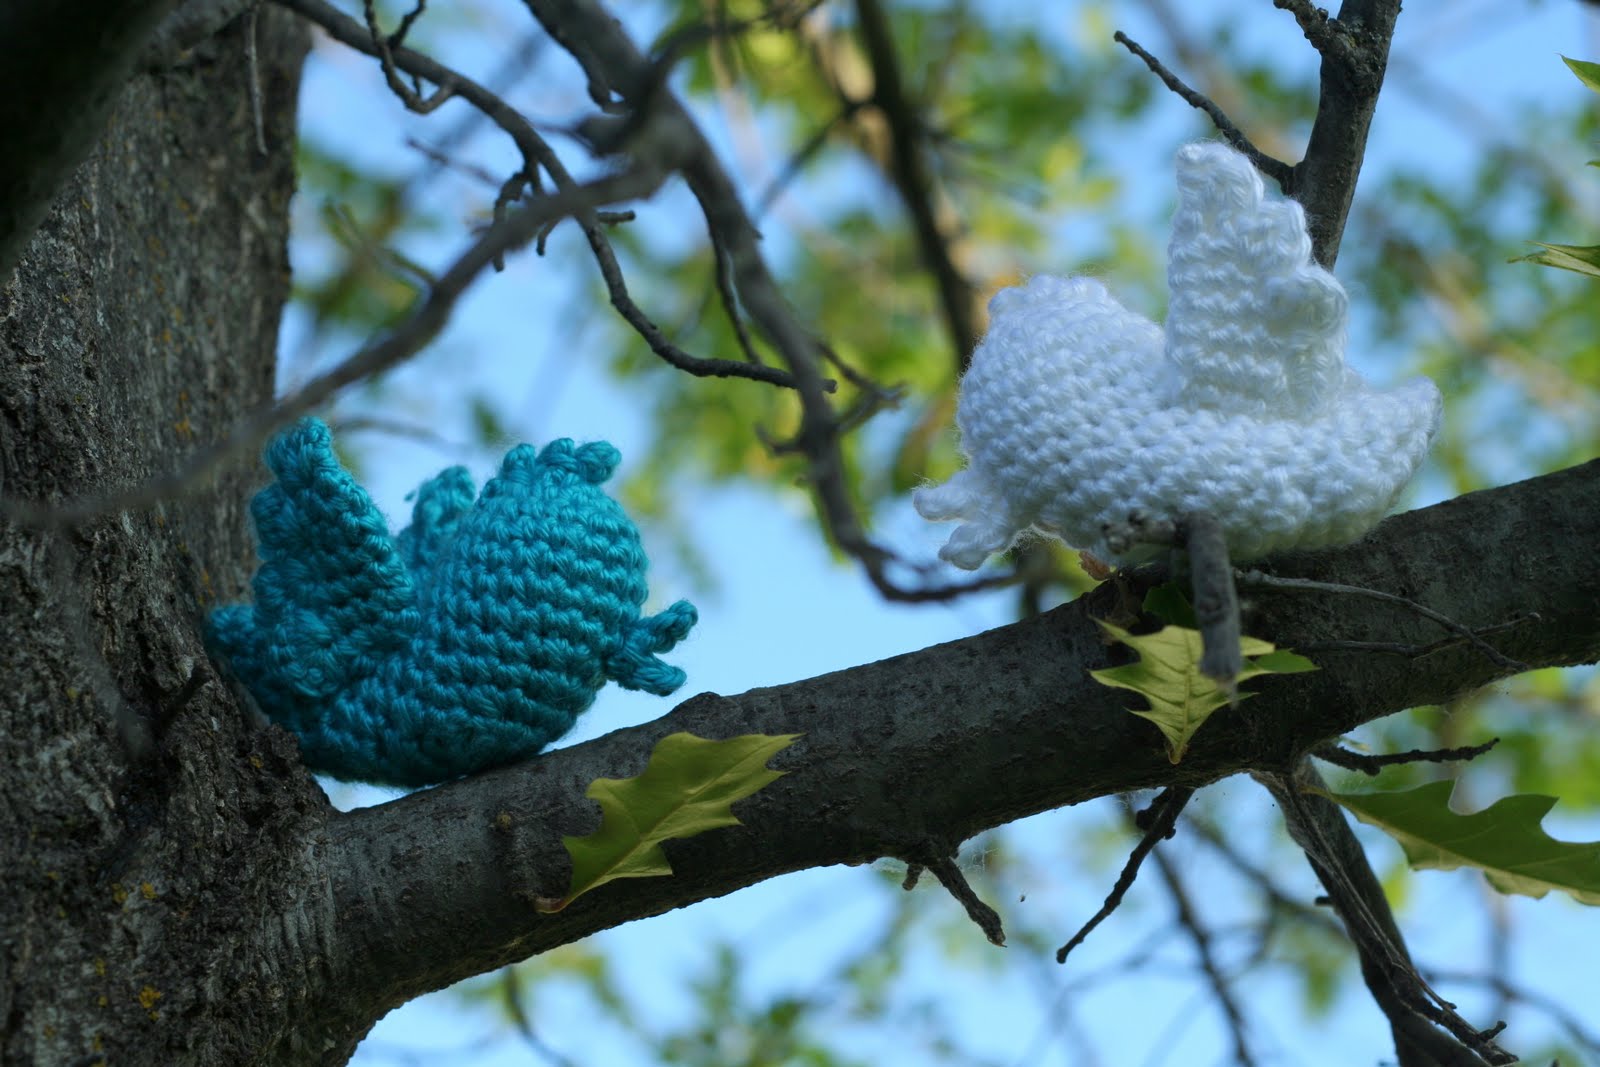
Don’t know what Twitterpated means? Originally from Bambie, it means “confused by affection or infatuation.” Twitter + -pated =’pertaining to the head.’ I like words. 🙂 So maybe you love Twitter? Maybe Twitter has “gone to your head” so to speak. Maybe you feel the need to have your own Twitterpated. Or two so they can keep each other company. It is all about being social after all. You can find them in my store.
And just for fun here’s some Bambi Twitterpated Videos
http://www.youtube.com/watch?v=9Qq-dGMVOzc
http://www.youtube.com/watch?v=lRhbjUzucec&feature=related
If you love Twitter and can crochet, check out the free pattern if below.
Twitterpated
PatternYarn: Simply Soft Blue Mint or Simply Soft White
Hook: G hook (if you crochet very loosely you may want to try an F hook instead)
My finished product is about 4 inches from beak to tail and 3 inches from belly to wing tip.
Tips: This pattern is a bit more difficult to understand than my usual ones because of the shapes and detail. I’ve tried to take lots of pictures to illustrate what I’m saying but feel free to ask questions if you don’t understand. It will help the appearance of the bird if you keep a fairly tight tension throughout but especially on decrease stitches (sc2tog) and details like the beak, and head and wing feathers.
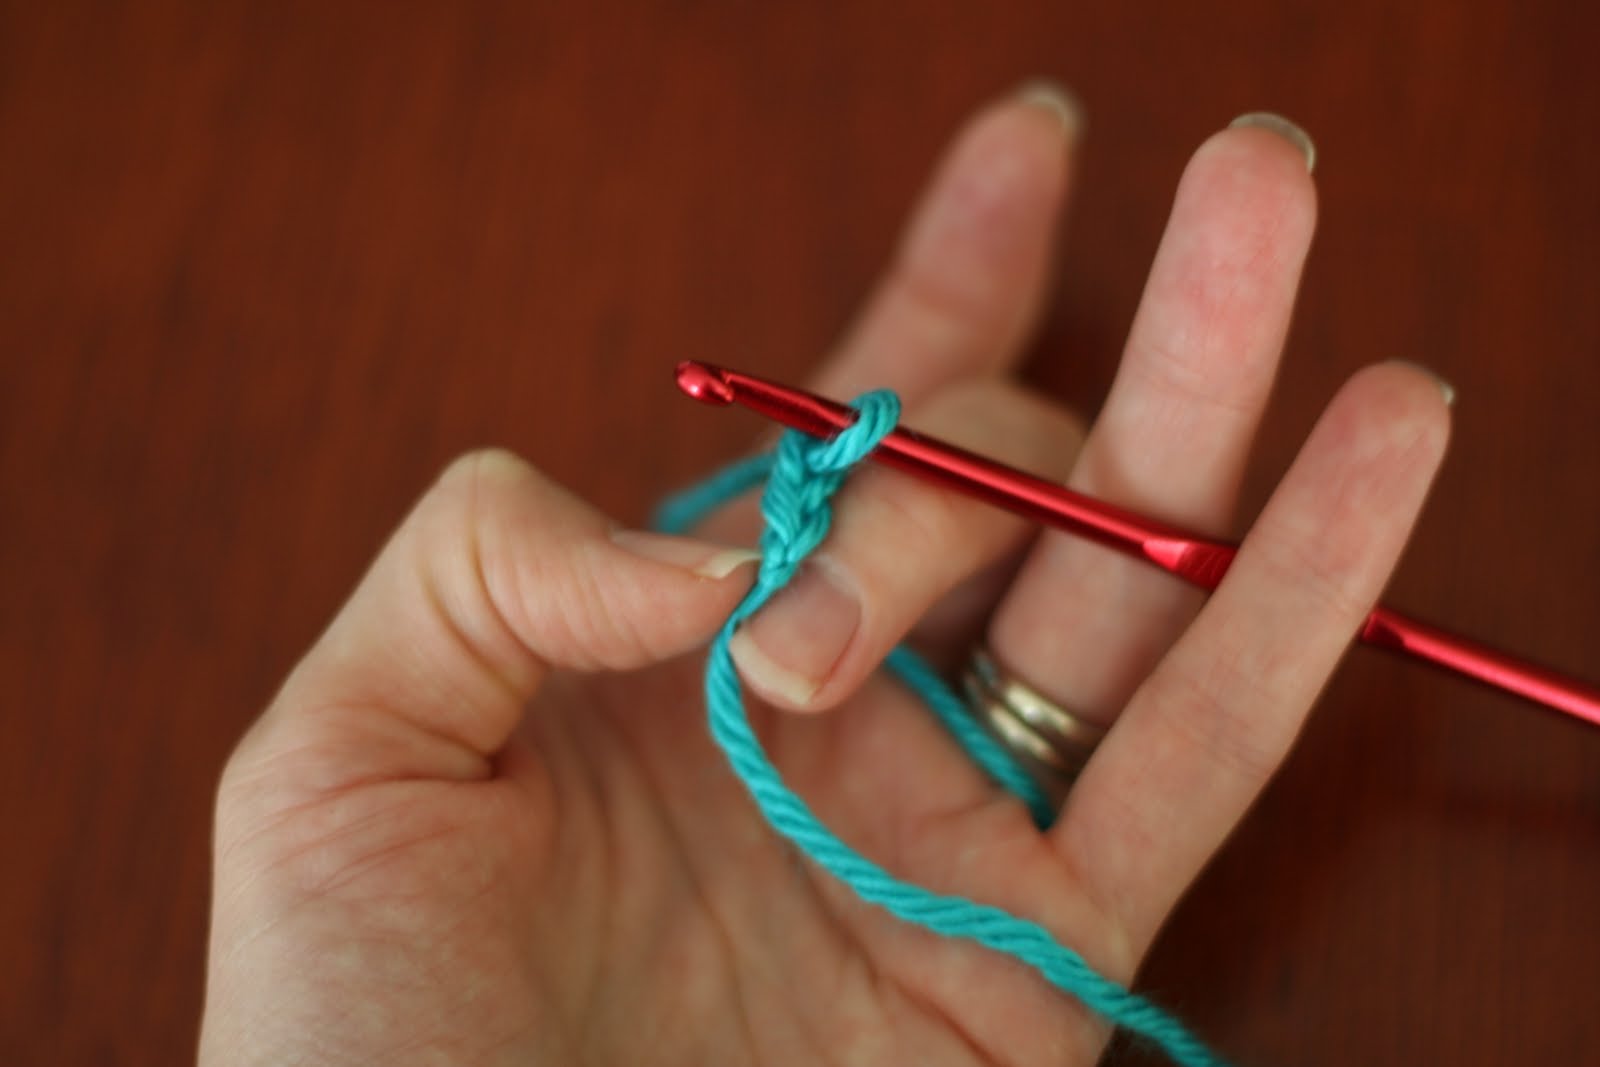
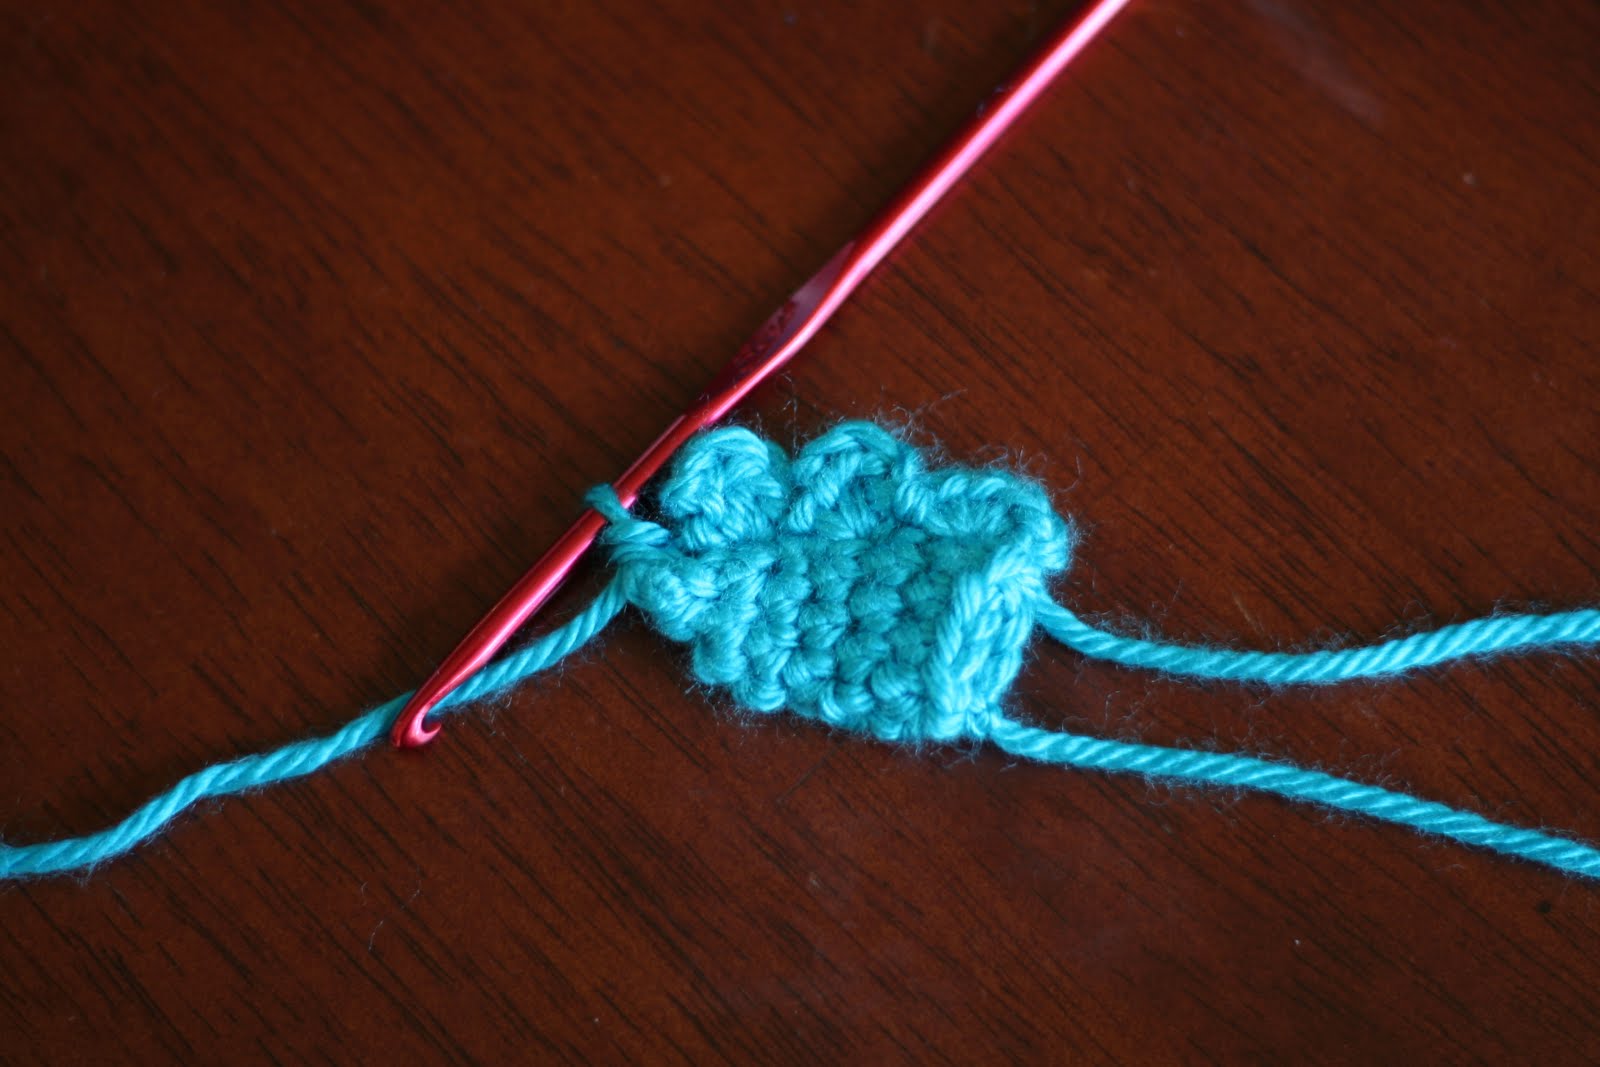
You will need to know how to “sl st in back and spine loops only” of a chain to make the beak and head feathers in this pattern. Let’s see if I can explain. Take a really good look at a chain first. You are familiar with the V look of both loops you usually go under to make a stitch (pic below.) The loop furthest away from you when you’re crocheting is the back loop.
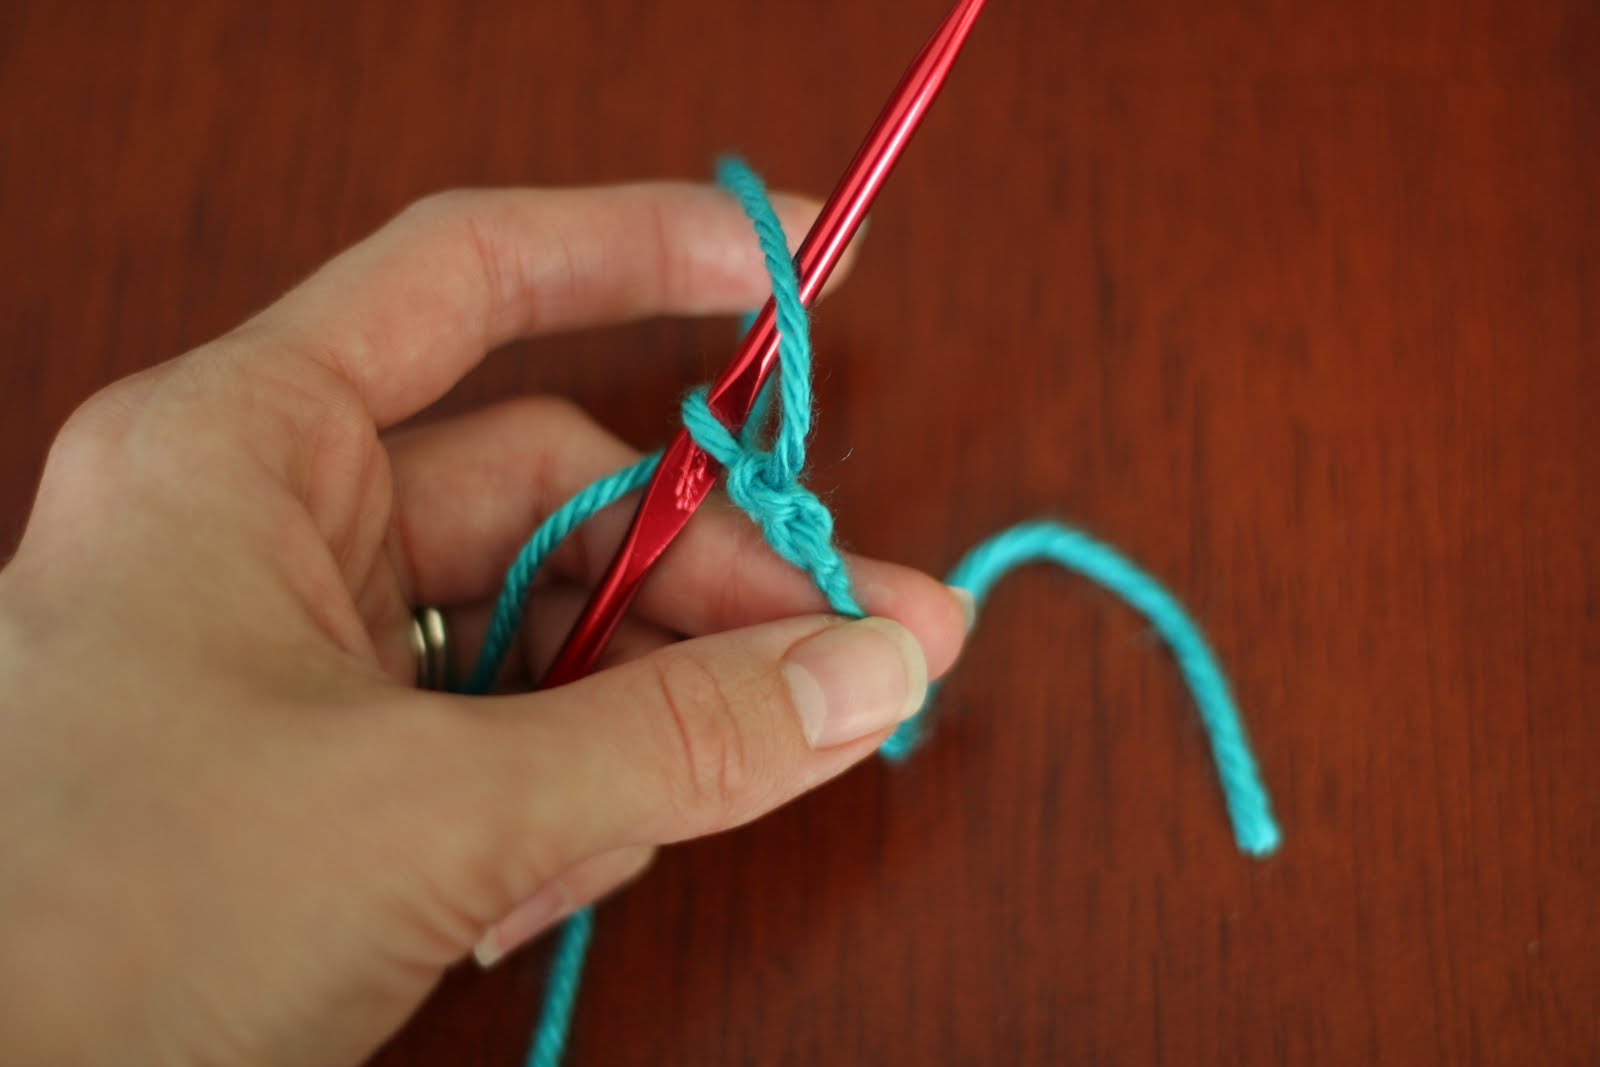
Well, turn your chain over and you’ll see one more loop that I call the “spine loop.”
So.. put your crochet hook under the back loop (pic below.)

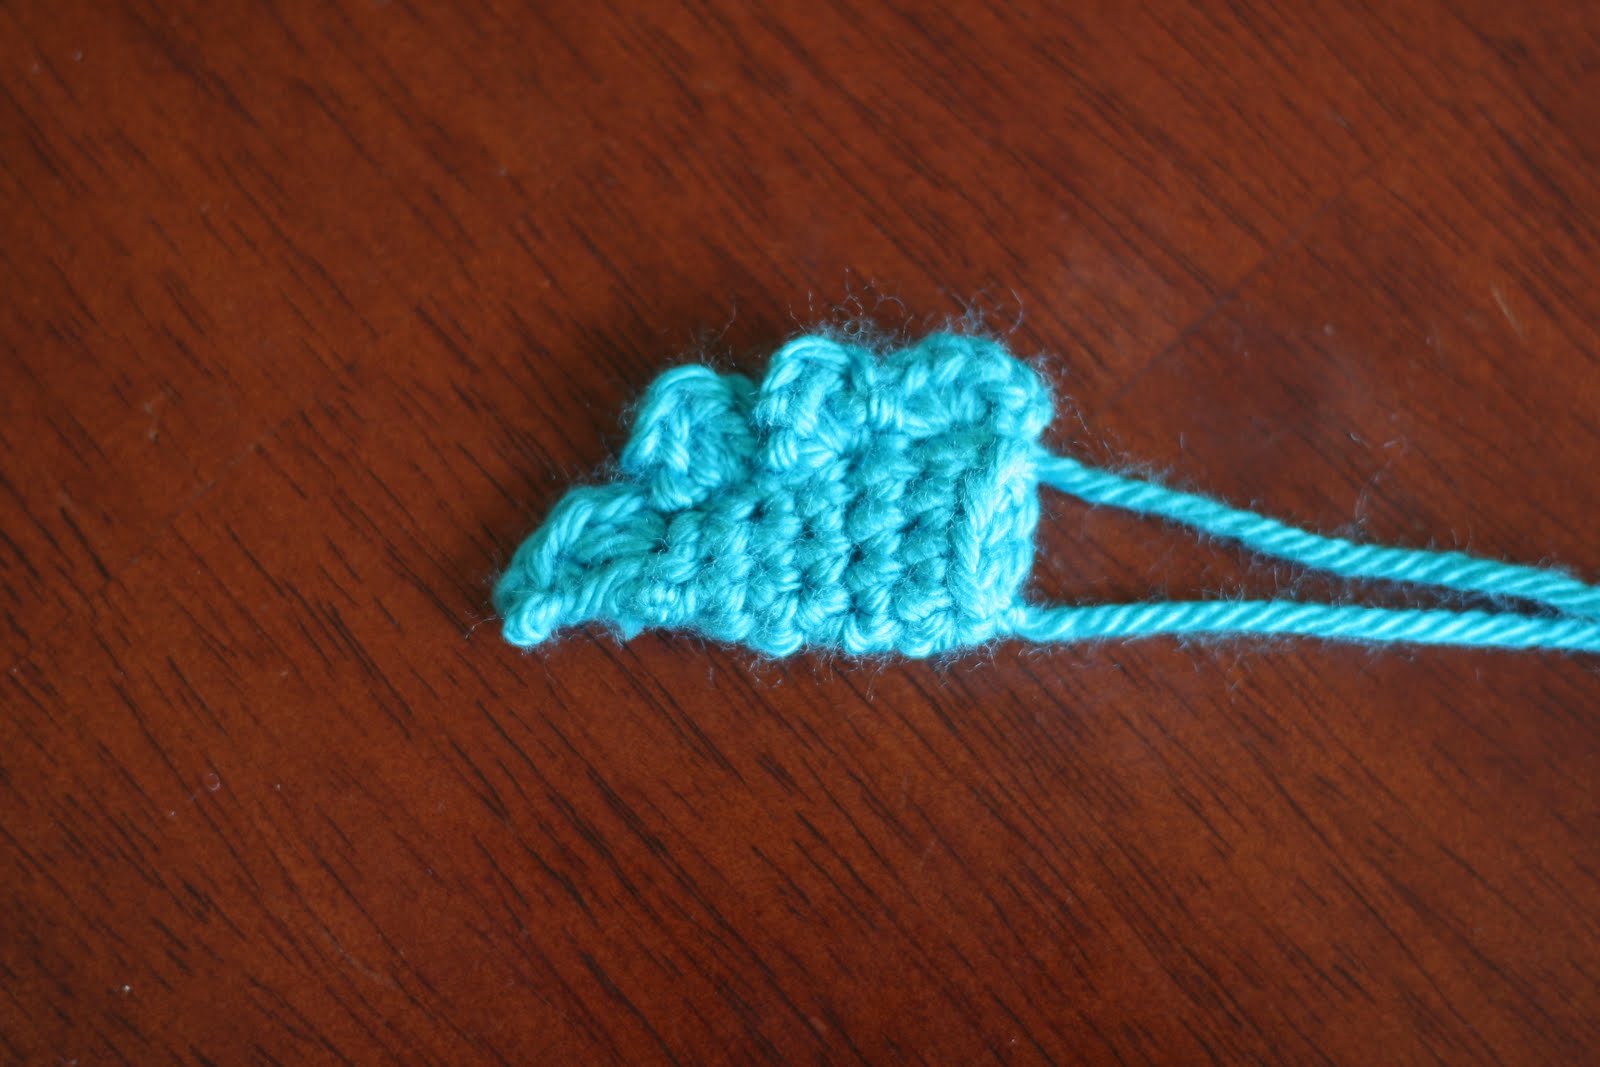
Then go under the spine loop too. It’ll be directly next to the back loop. Below is a picture of the back of the chain when you have gone under both the back and spine loops. Then yarn over and pull through all loops. Now you’ve done a “sl st in back and spine loops only.” Keep a good tension while doing this and your details will look great.
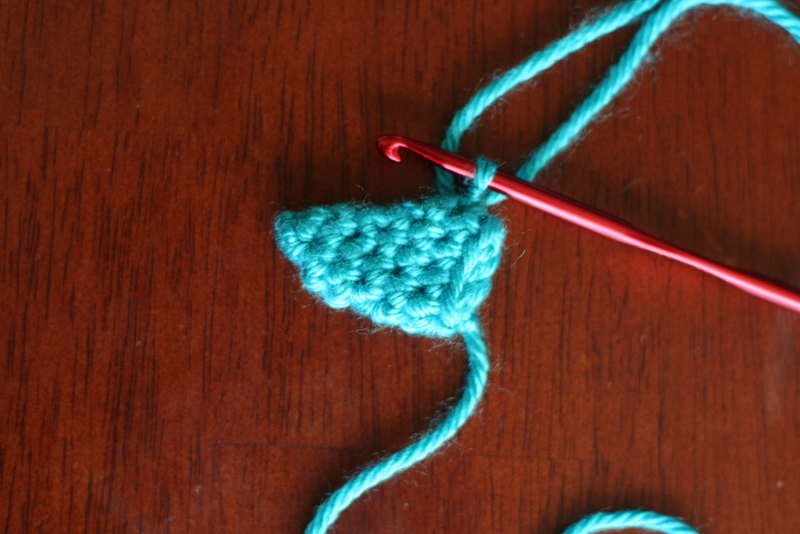
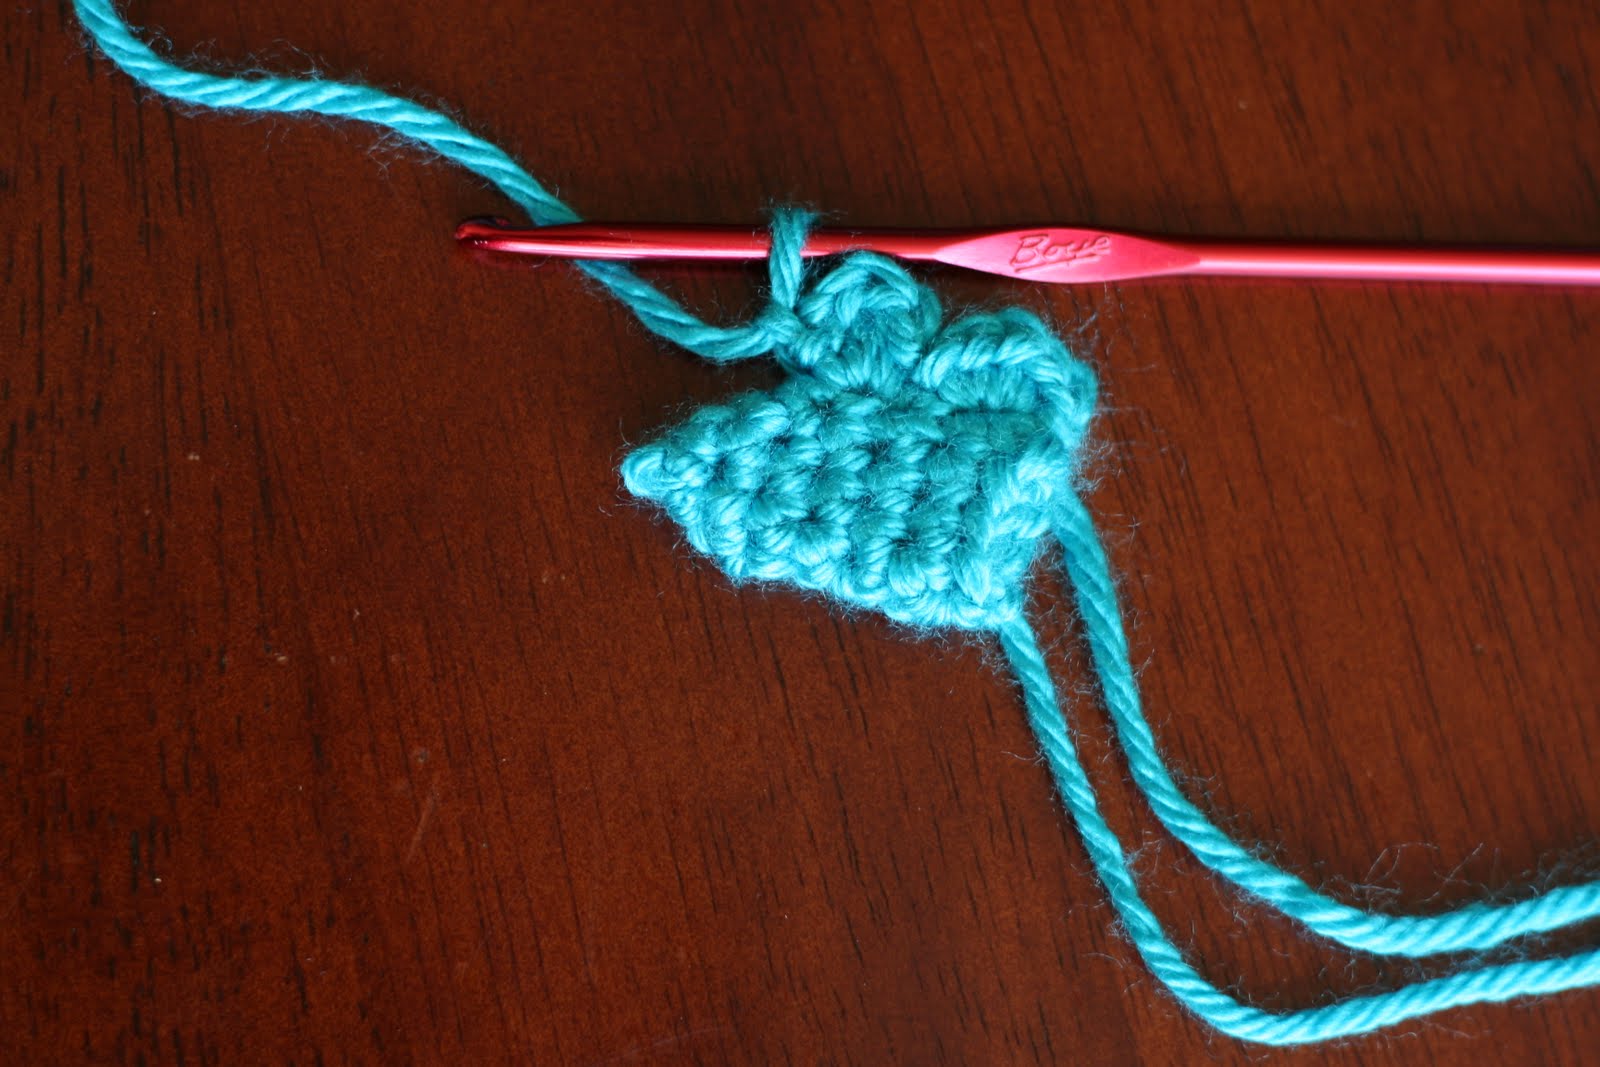
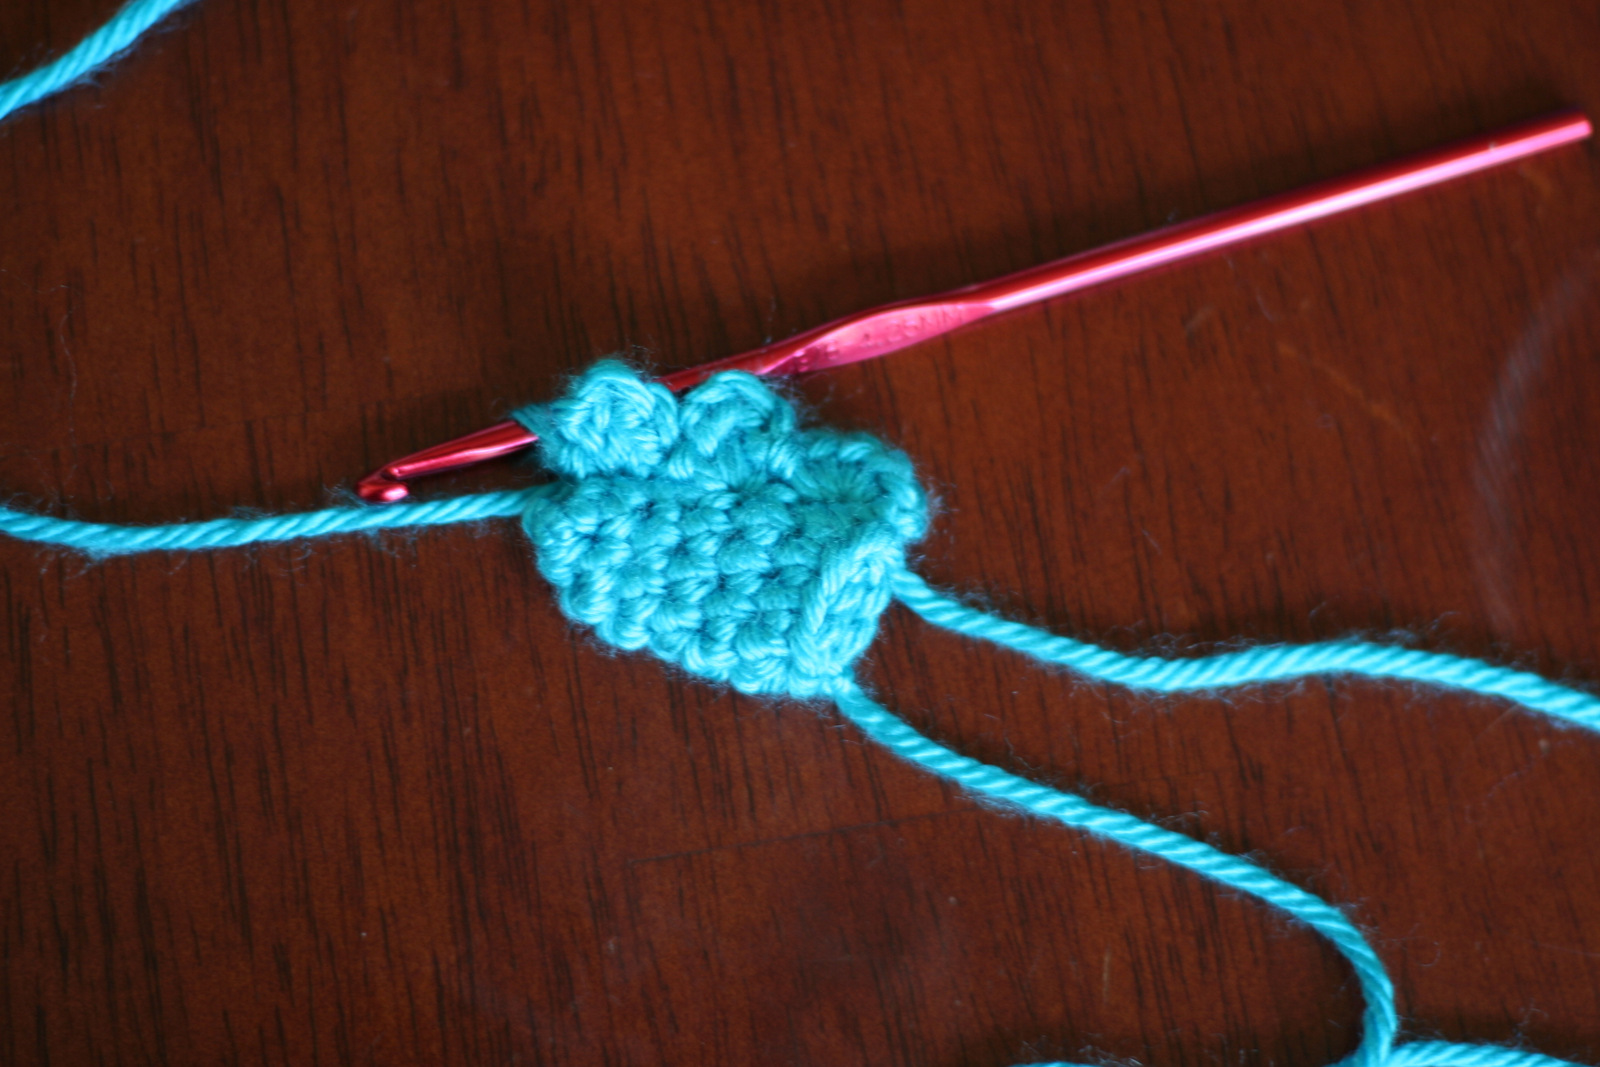
Body
Row 1: 5 sc in loop, tighten loop
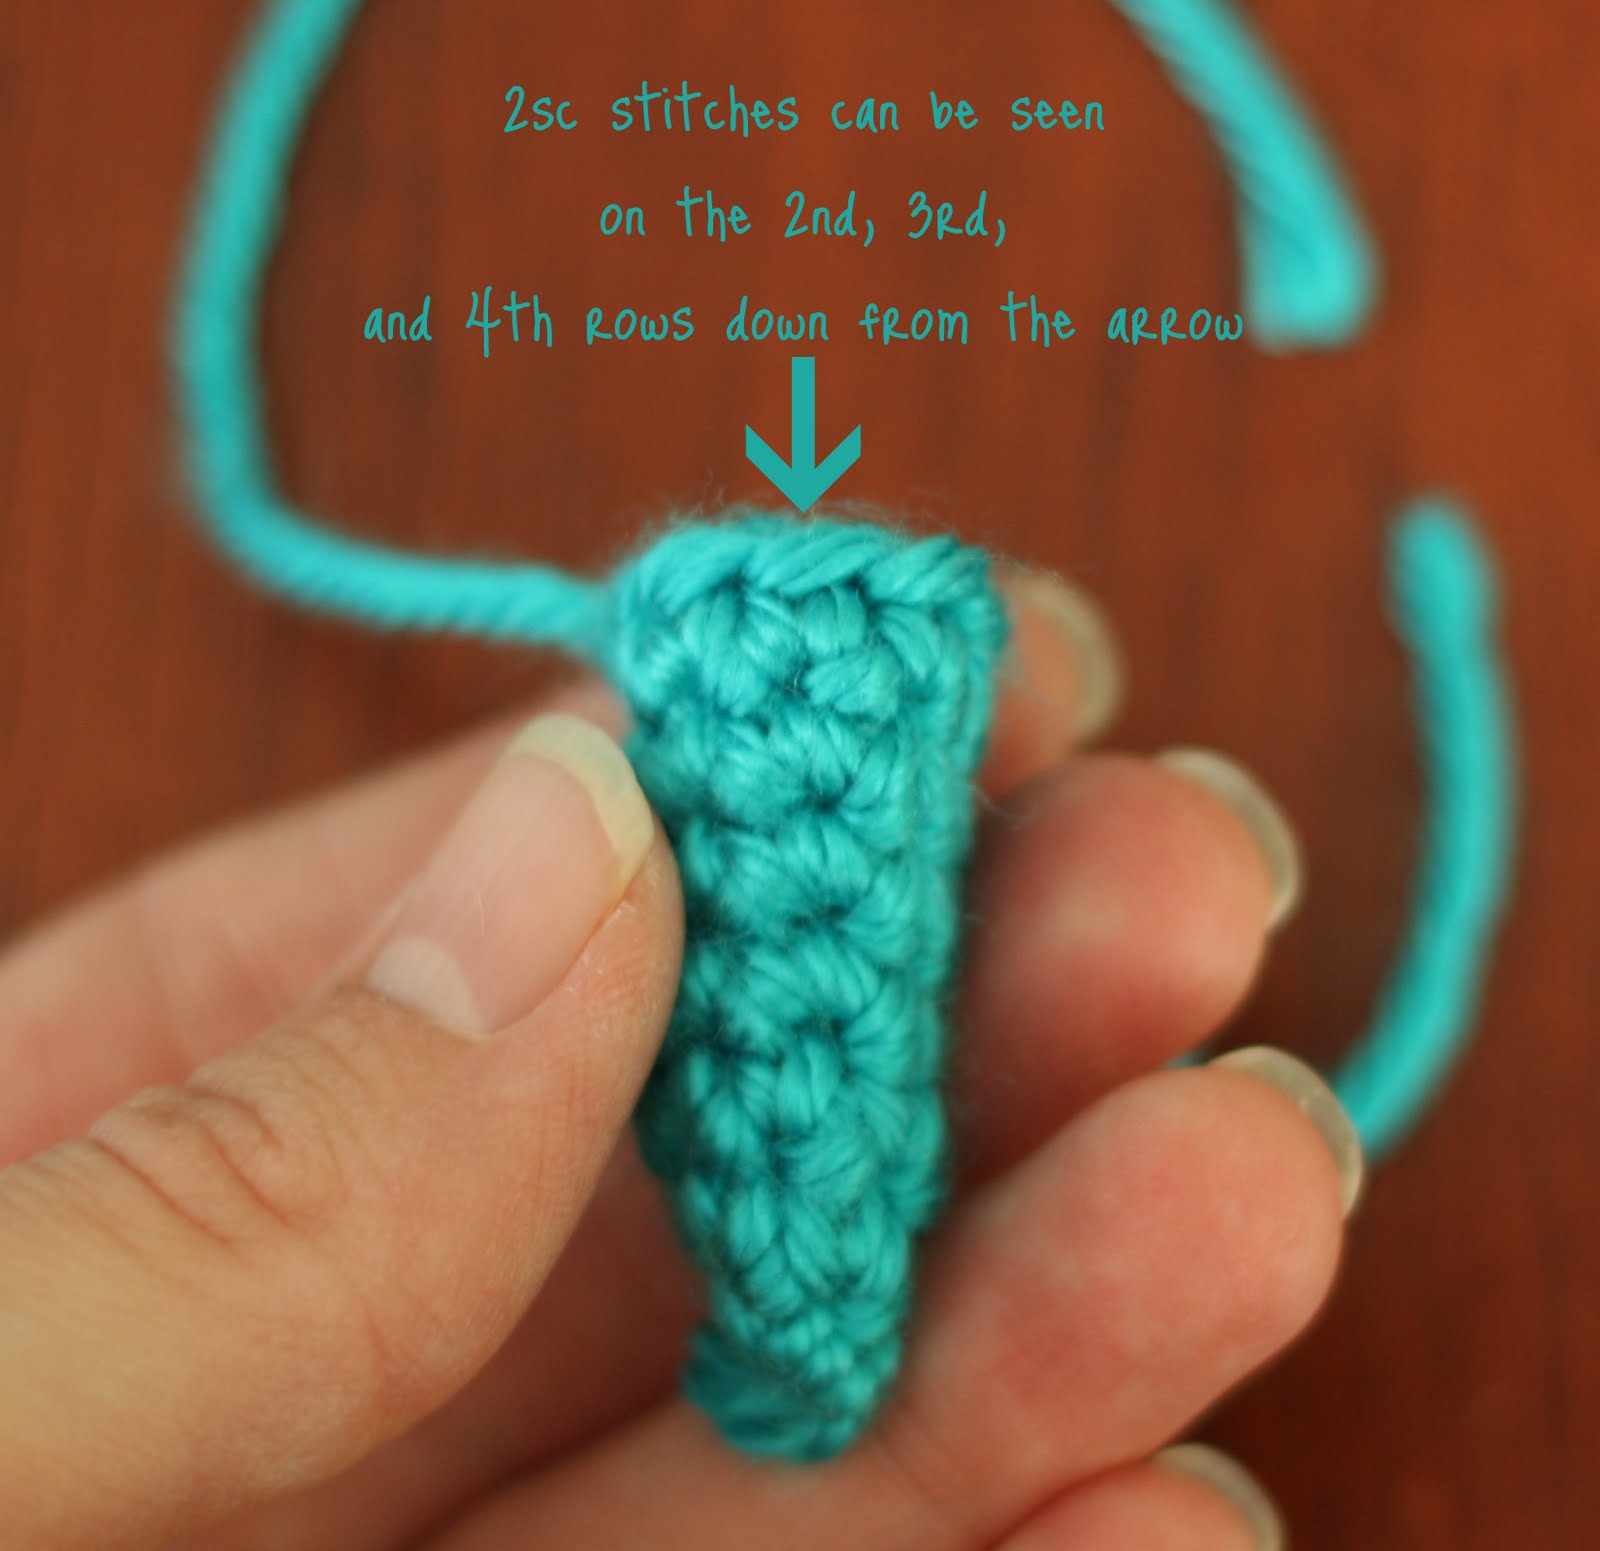
Row 2: 2sc in each around (10 total)
Row 3: *sc, 2sc* repeat around (15 total)
Row 4: *sc, sc, 2sc* repeat around (20 total)
Row 5-8: sc even
Row 9: sc, sc, sc2tog, sc, sc, sc2tog, sc, sc, sc, 2sc, sc in each
next 7, 2sc (20 total)
Row 10: Repeat row 9
Row 11: (partial row) sc2tog, sc, sc, sc2tog, sc, sc, sc, ch 1, turn (7 total)
Row 12: (partial row) sc2tog, sc, sc2tog, sc, sc2tog, ch 1, turn (5
total)
Row 13: sc2tog, sc, sc2tog, sc in side of row 11, (rest of row will
resume working in the un-worked part of row 10) sc, sc, 2sc, sc, 2sc,
sc, 2sc, sc, sc2tog, sc in side of row 11 (17 total) OFF?
Row 14: sc2tog, sc, sc, sc2tog, sc, sc, sc2tog, sc, 2sc, sc, 2sc, sc,
sc2tog (15 total)
Row 15: (partial row) sc2tog, sc2tog, sc, sc, sl st, ch 1, turn (5 total- including sl st)
Row 16: (partial row) sc, sc2tog, sc2tog, sc2tog, sl st, ch 1, turn (5 total)
Row 17: sc2tog, sc, sc2tog, (rest of row will resume working in the
un-worked part of row 14) sl st in stitch previously slip stitched in,
sc, sc, 2sc, sc, sc, sc in stitch previously slip stitched in (11
total)
Row 18: (partial row) sc each next 4, sl st, ch 1, turn (5 total)
Row 19: (partial row) sc2tog, sc, sc2tog, sl st, ch 1, turn (4 total)
Begin to stuff
Row 20: sc2tog, sc2tog, sc side of row 18, (rest of row will resume working in the un-worked part of row 17) 2sc, sc, sc, 2sc, sc (10 total)
Row 21: sc, sc2tog, sc in each next 6, sc2tog (second part of this
sc2tog is on 1st sc of row 20th, so though there are 9 stitches total
in this “row”, if you count around, you’ll count 8)
Row 22: sc2tog, sc2tog, sc, sc, sc (5 total)
Row 23: sc2tog, sc2tog, 2sc, sc (5 total)
Now stuff a little more (I poke the stuffing in with the end of a large crochet hook or an un-sharpened pencil), sew up, and finish off
Wing (make 2)
Row 1: 3 sc in loop, tighten loop
Row 2: 2sc in each around (6 total)
Row 3: sc in each around (6 total)
Row 4: sc,sc, 2sc, sc, sc, sc (7 total)
Row 5: sc, sc, sc, 2sc, sc, sc, sc (8 total)
Row 6: sc, sc, sc, sc, 2sc, sc, sc, sc2tog (9 total)
Row 7: sc in each next 7, sl st to round off (8 total)
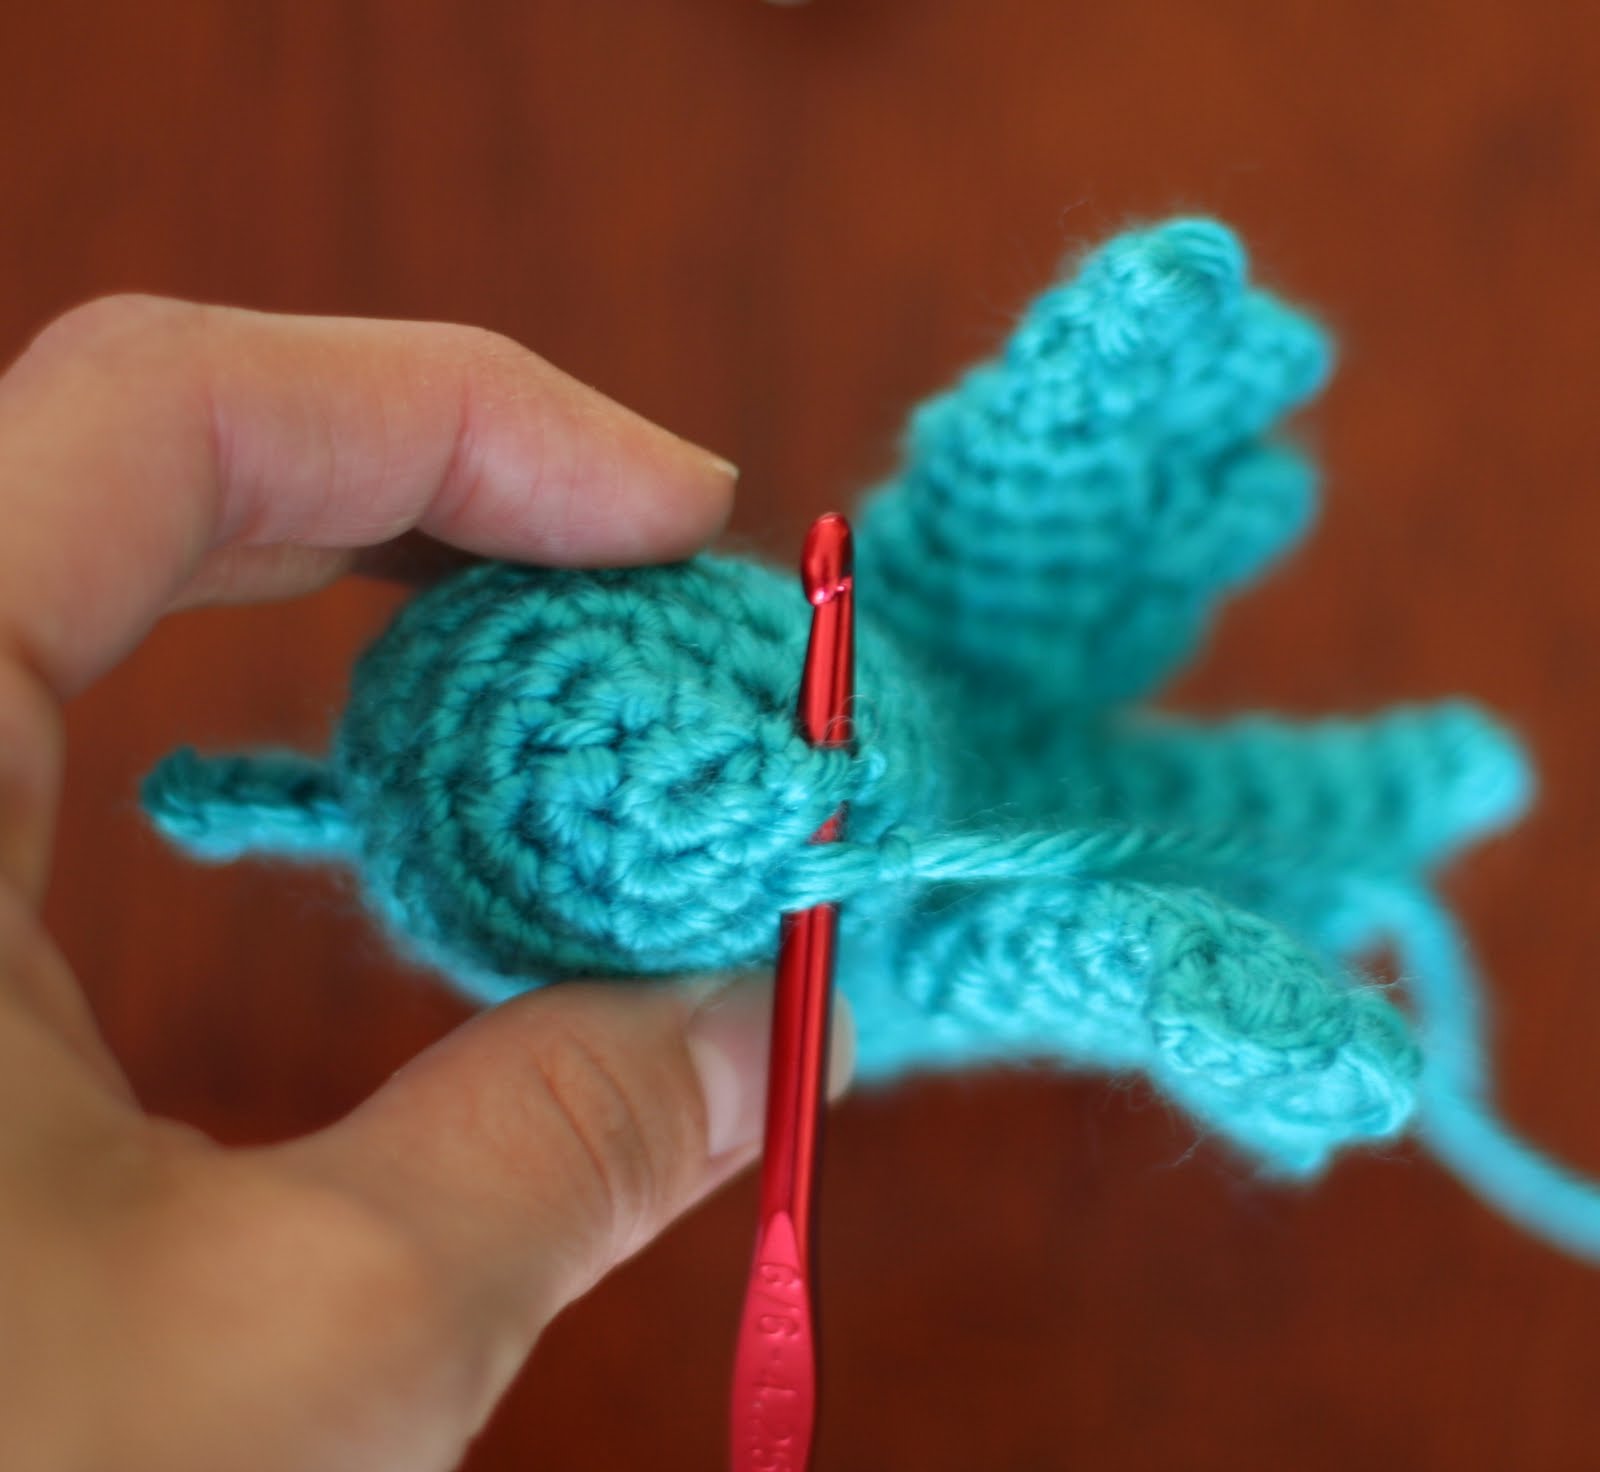
Flatten the wing with the increases along one edge. See pic below:
Working in the edge of the wing where increases are,
sl st to join (in space shown below), ch 1, 4sc, sl st, ch 1 in same space,
sc, hdc, dc, ch 2, sl st, ch 1 in next space (shown below)
sc, hdc, dc, ch 2, sl st, ch 1 in next space (shown below)
sc, hdc, dc into space at the tip of the wing
Done with the wing feathers!
finish off, fold bottom of wing slightly and sew to body.
Beak
ch 3, sl st in back and spine loops of 2nd ch from hook, sc next ch,
ch 3, sl st in back and spine loops of 2nd ch from hook, sc in back and spine loops of next ch
finish off, sew to body.
Head feathers
sl to join to body in space between row 2 and row 3 on top back of head (see pic),ch 2, sl st in back and spine loops of 2nd ch from hook,
sl st to space between row 1 and 2 (see pic)
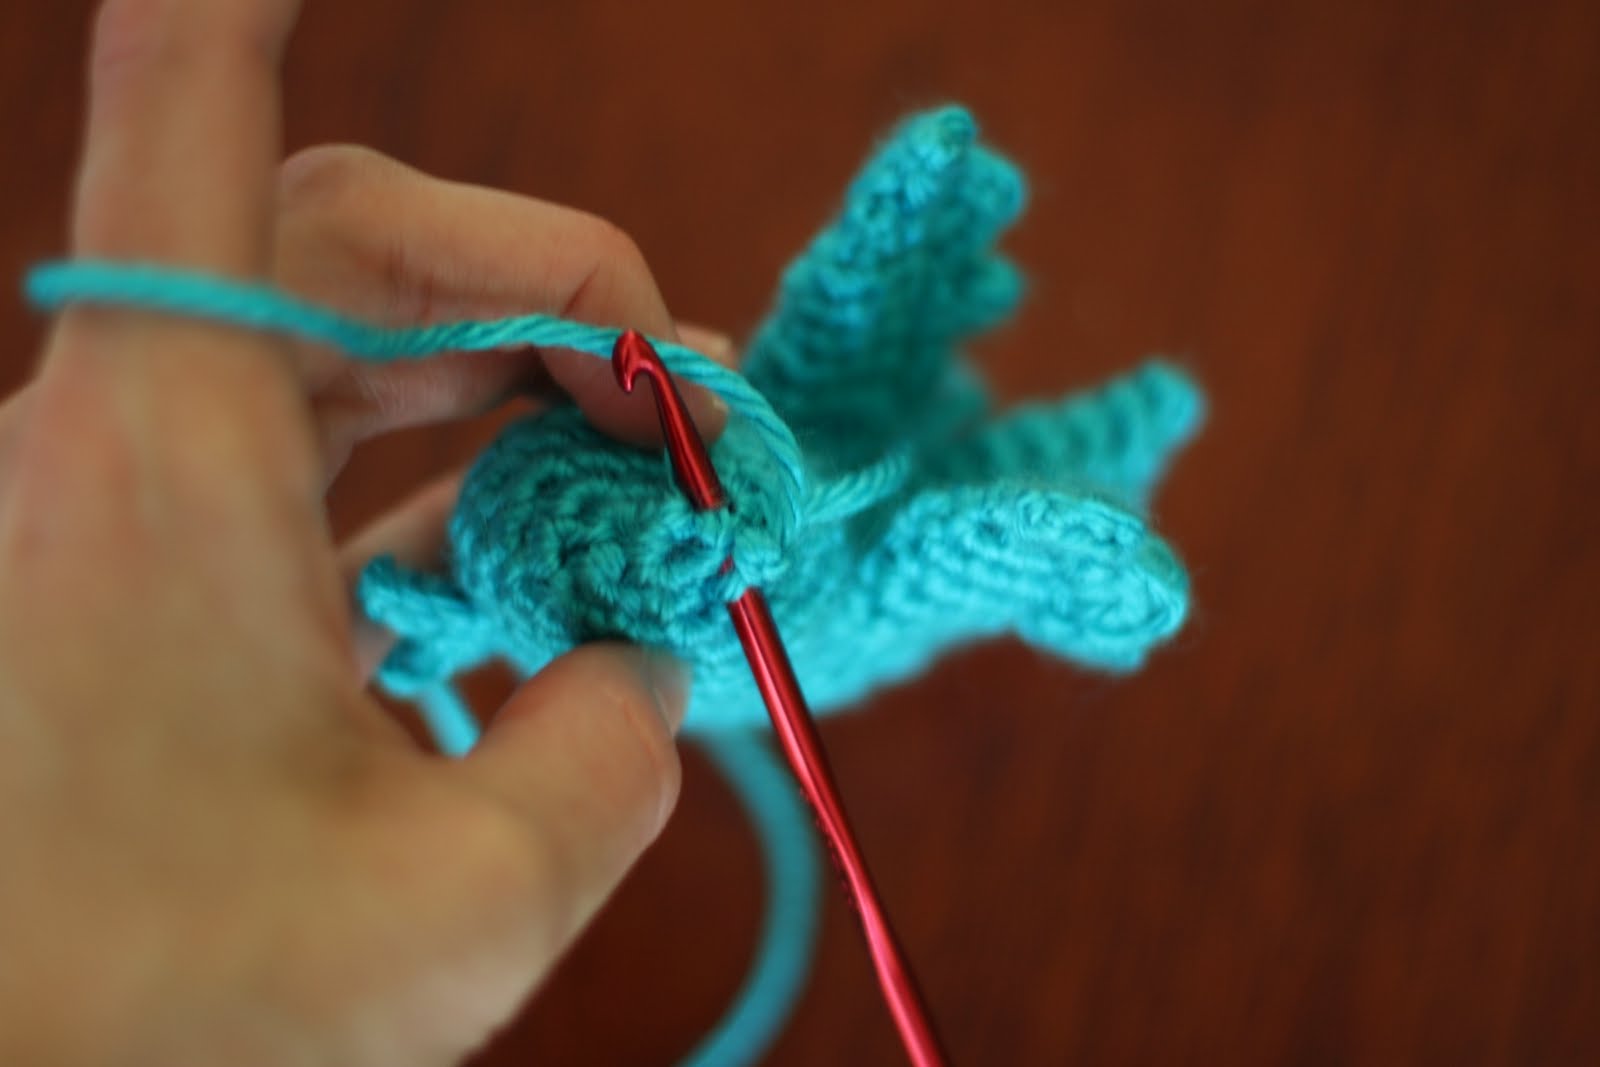
ch 2, sl st in back and spine loops of 2nd ch from hook, sl st to loop on very top of head, ch 2, sc in back and spine loops of 2nd ch from hook, sl st to body in same space
as last sl st, finish off
they are way too cute! so creative beth. hope you sell lots of them.
my recent post: dear simeon
thank you, Bethany, for the sweet bird pattern.
Sweet bird pattern! Love it
Thanks!
Intertwitter, Buy twitter followers
Thanks!
thanks, is really nice!
Wow! Thanks! I was just thinking it would be neat to make this bird! Awesome!
Awesome! Thank you for sharing your pattern.