Once again I got inspiration from Pinterest for this project and I give credit where due for this awesome idea. Here is where I saw the idea to turn a child’s drawing into a pillow/stuffed doll-ish thing. Unfortunately there was no instructions or more info about them there so I decided to do it my own way.
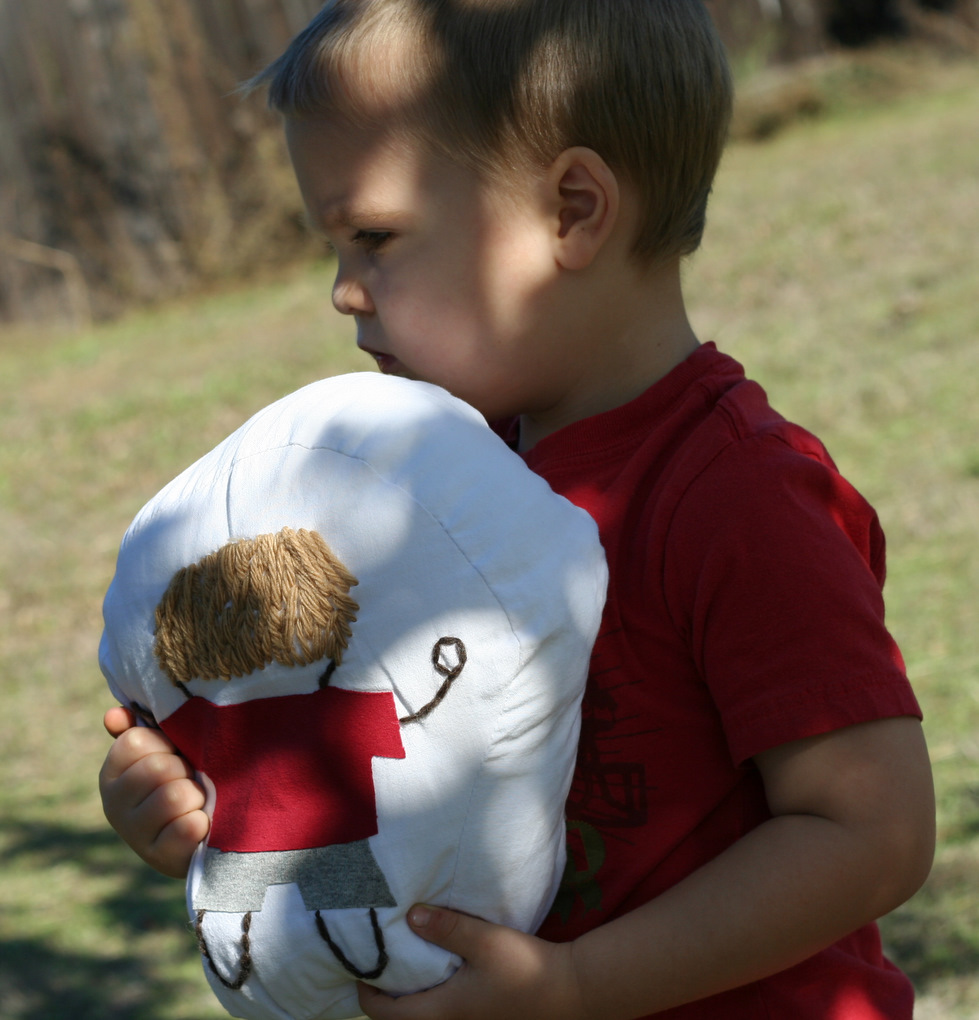
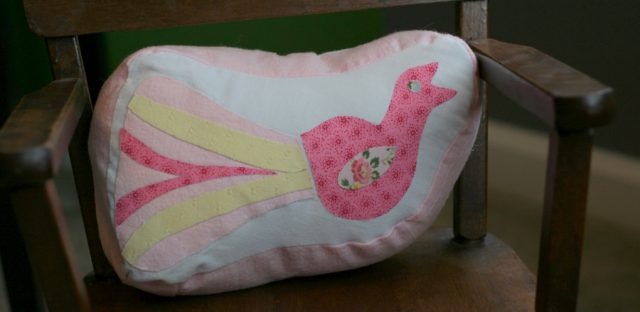
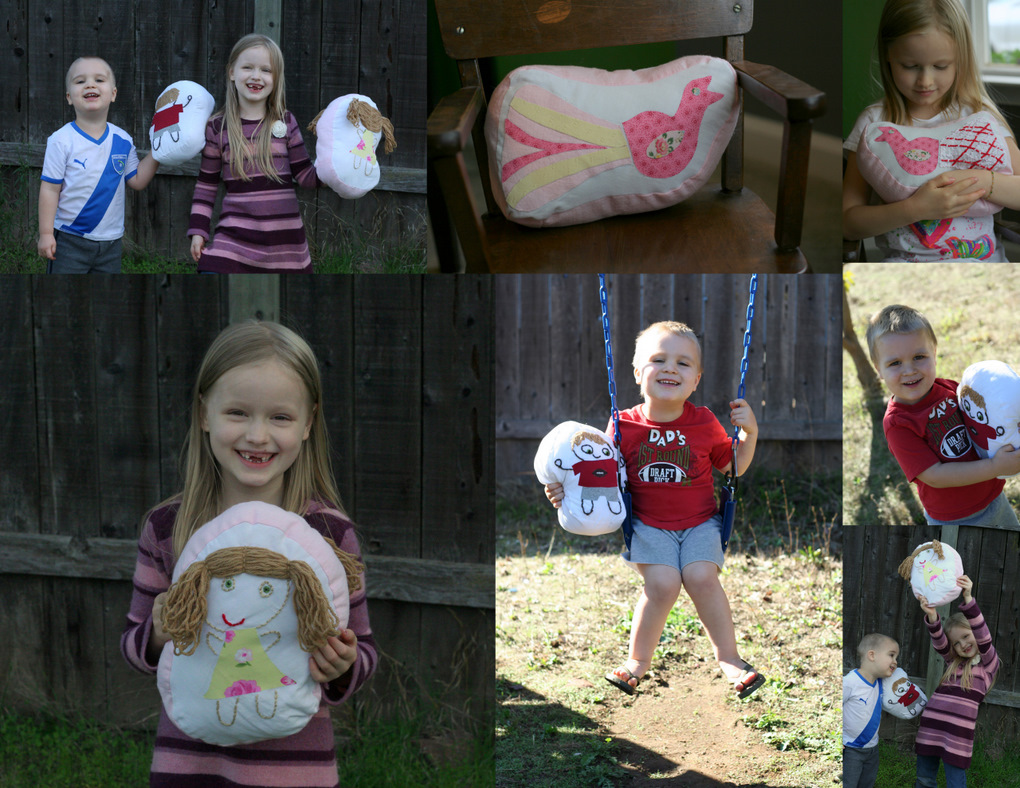
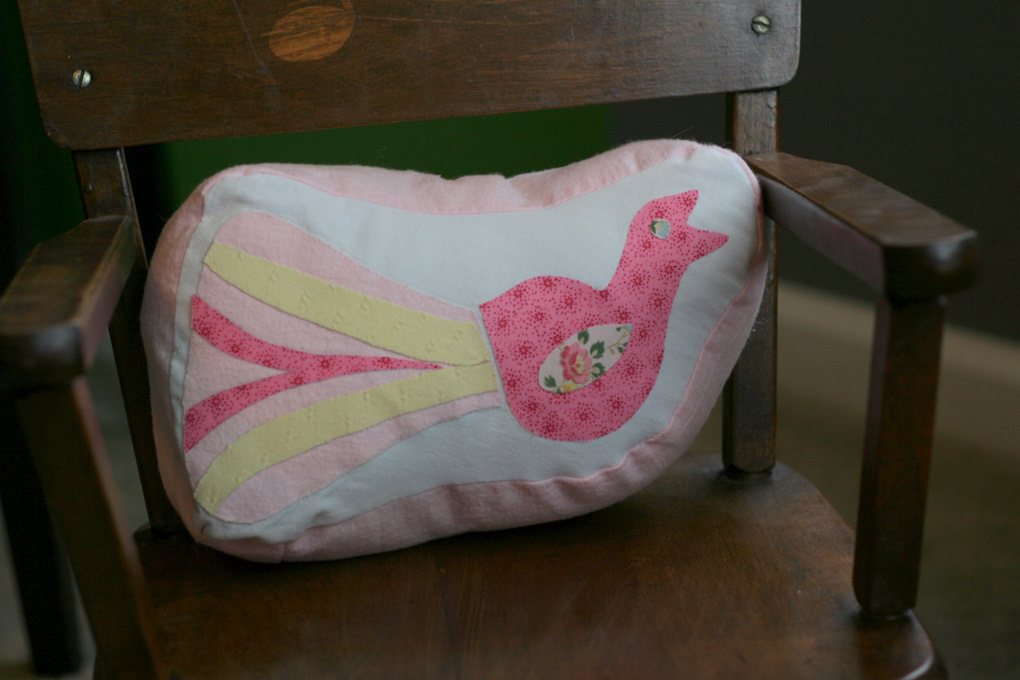
The kids loved the idea and started drawing. Drew made the bird for her cousin’s one year old birthday. It’s a great way to give art to a baby! I can’t count the times Drew’s been sad that her gift (a picture she drew) to a baby got torn up and chewed on. And she made the Little Girl for herself. Israel wanted to make a “Little Dude.” I helped him draw it… we both held the pencil. We dressed him up just like Israel in his favorite football shirt! And Israel even helped embroider him with yarn!
We gave them backs too which was a lot of fun, especially for the little boy and girl pillows. Just in case you’d like to make one of your little artist’s creation into a huggable art pillow, I shall tell you how I did.
Huggable Art
TutorialI bet this could be made using something clever like photo transfer paper. You could scan the drawing into the computer and print it on the transfer paper then iron the image on fabric. But that’s not how I did it…

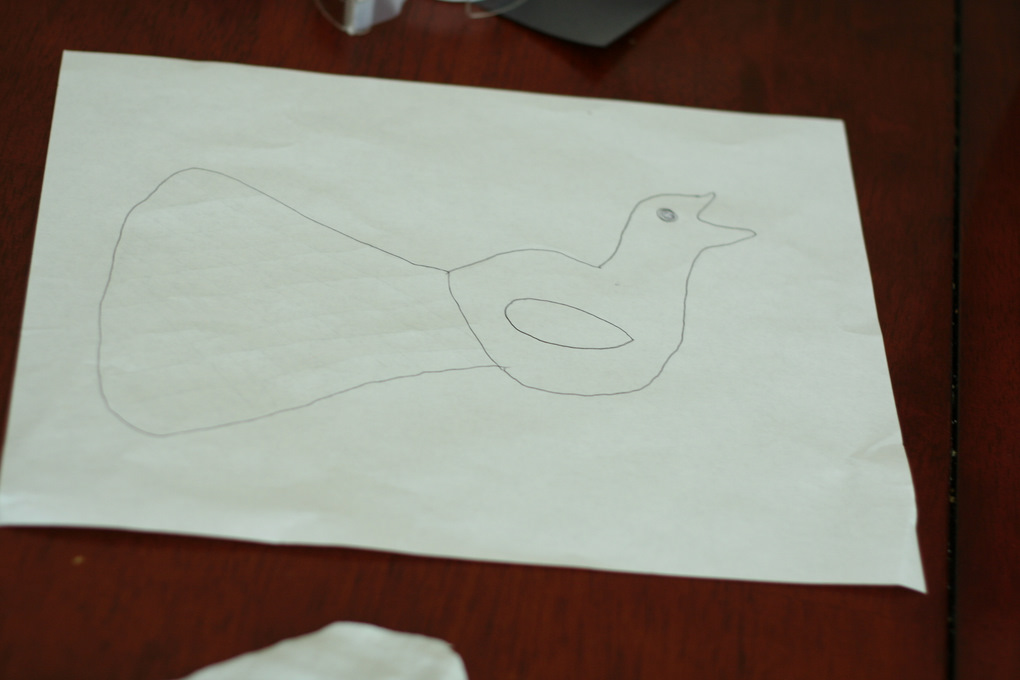
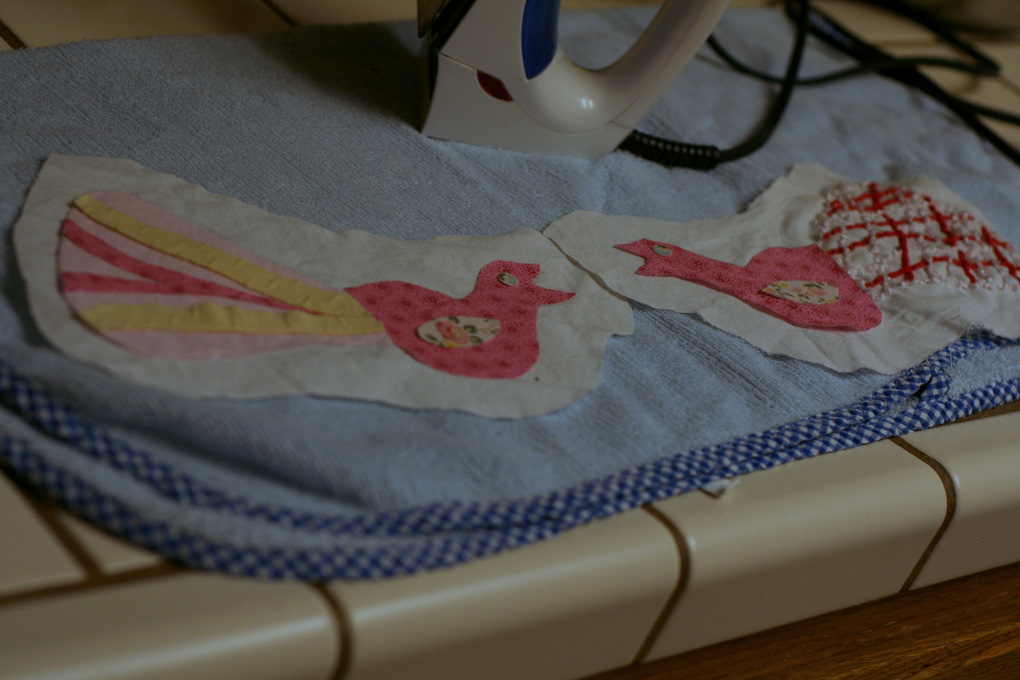
I made the drawings darker with a dark pen.
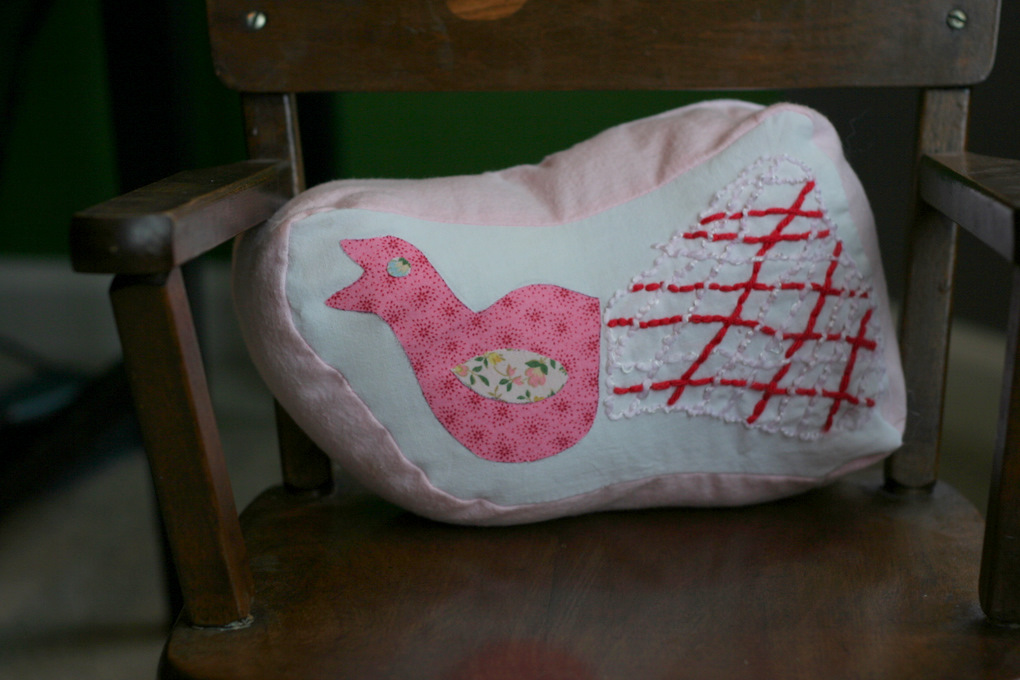
Then, I turned the paper over and traced the lines I could see through the paper to make the mirror image of the picture. This is for the back of the huggable art. You can see I left out the lines on the tail. Drew wanted to do a different design on that side.
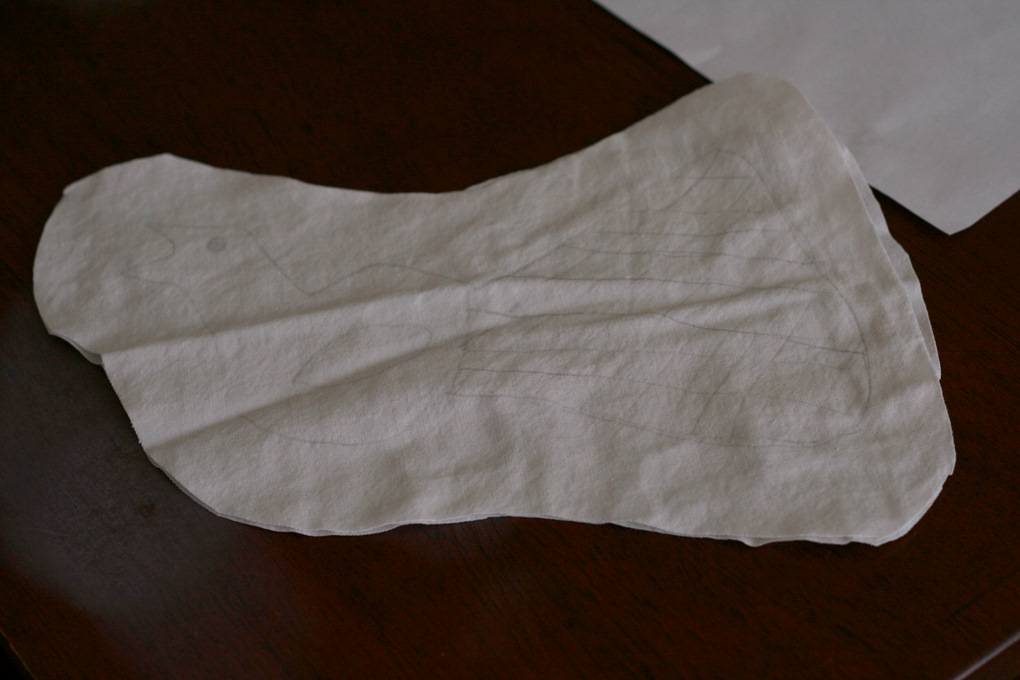
I used a very lightweight white cotton fabric I had leftover from a laundry bag. It was much like a soft pillowcase fabric. I laid fabric over each drawing and traced the lines lightly with a pencil. It is easiest to see to trace with good indirect natural lighting. Which is funny because my pictures are really dark. Sorry about that…
Stack your two fabrics, right sides out and drawings lined up and cut around them leaving extra space around the drawings (below.) You could leave more or less space depending on the size of the drawing. I always leave too little when doing pillows and I solved that problem this time by adding a strip of fabric to make sides and a more 3 D effect. I liked it in the end. But all this to say, if you’d rather keep it a simple pillow, leave more space around the drawing to account for seams plus stuffing.
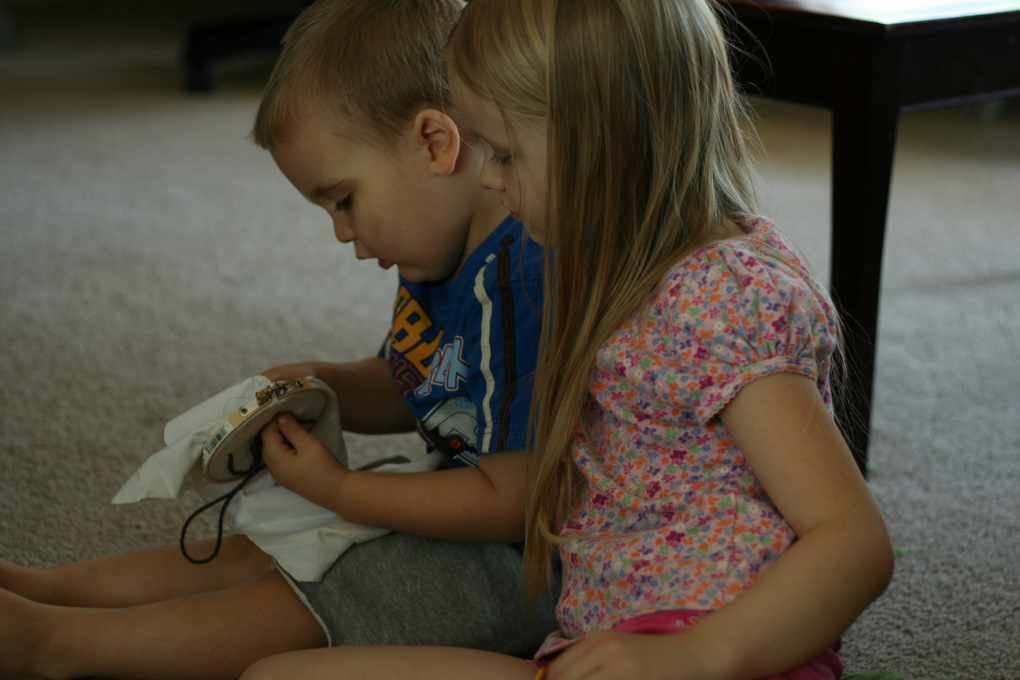
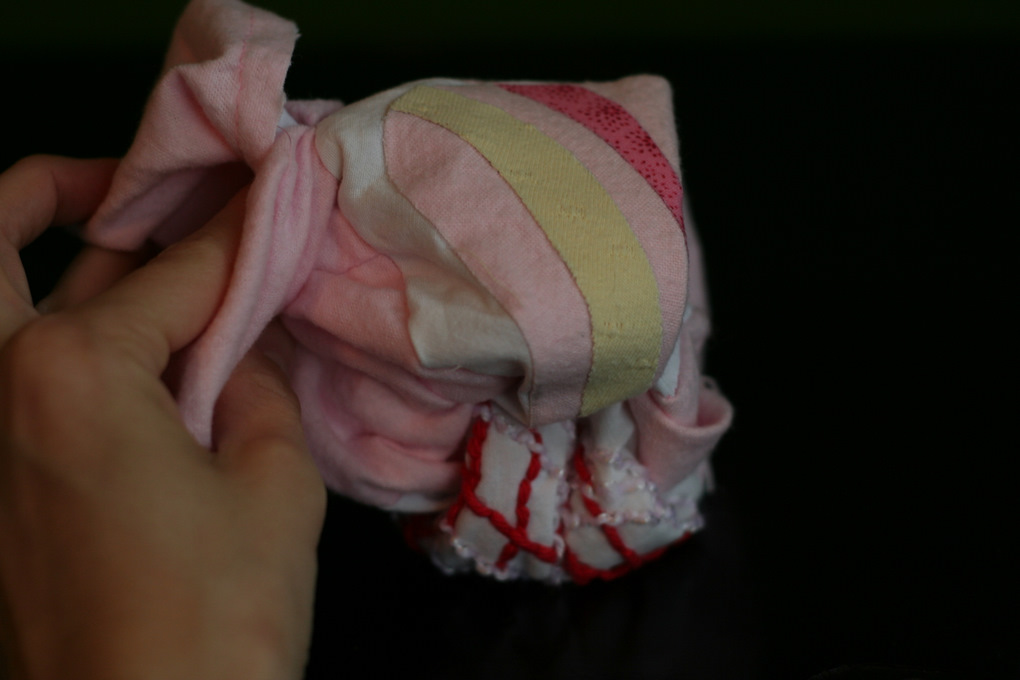
Drew decided what parts of the bird she wanted to embroider (with yarn) and what part she wanted to choose fabrics for. I must say after embroidering the tail on one side, she was pretty excited about the ease of appliqueing fabric. I was too!
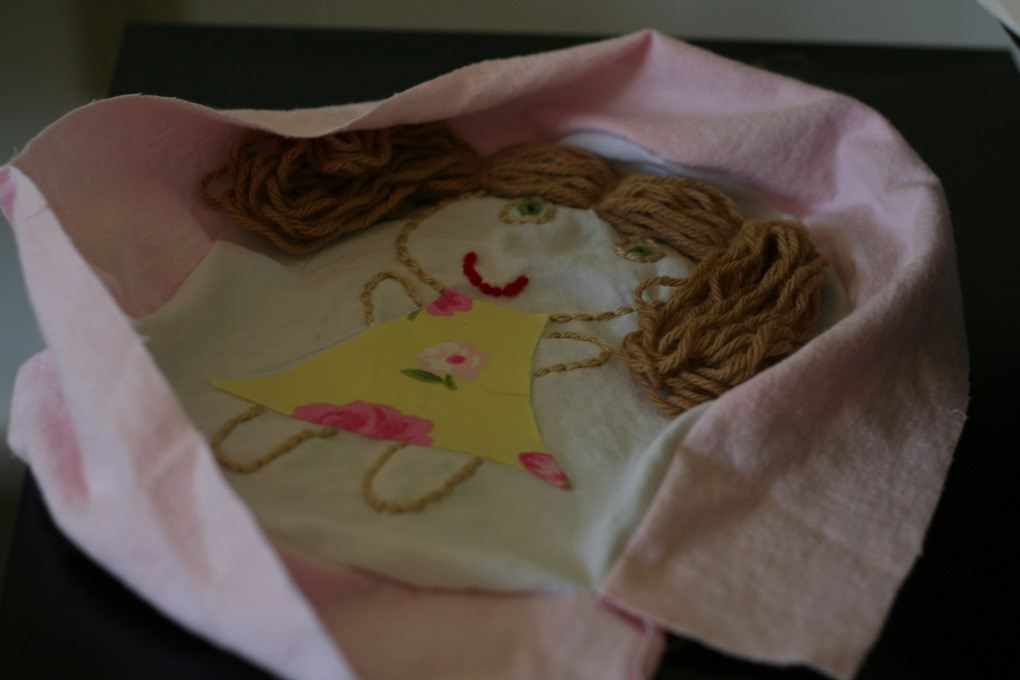
It doesn’t matter much whether you embroider or applique first. Just do both before you sew it together! If you are going to do hair on your doll (like the girl doll above) check out this post on how to make the hair before you sew your pillow together.
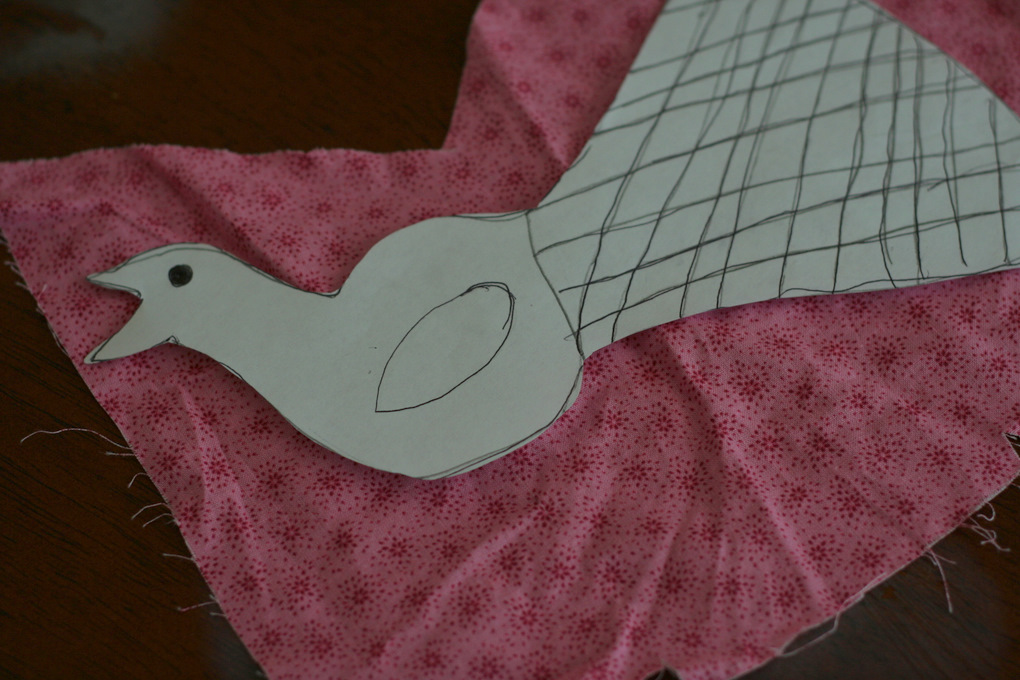
To applique, I used the original drawings cut out as a pattern to trace the fabric shapes.
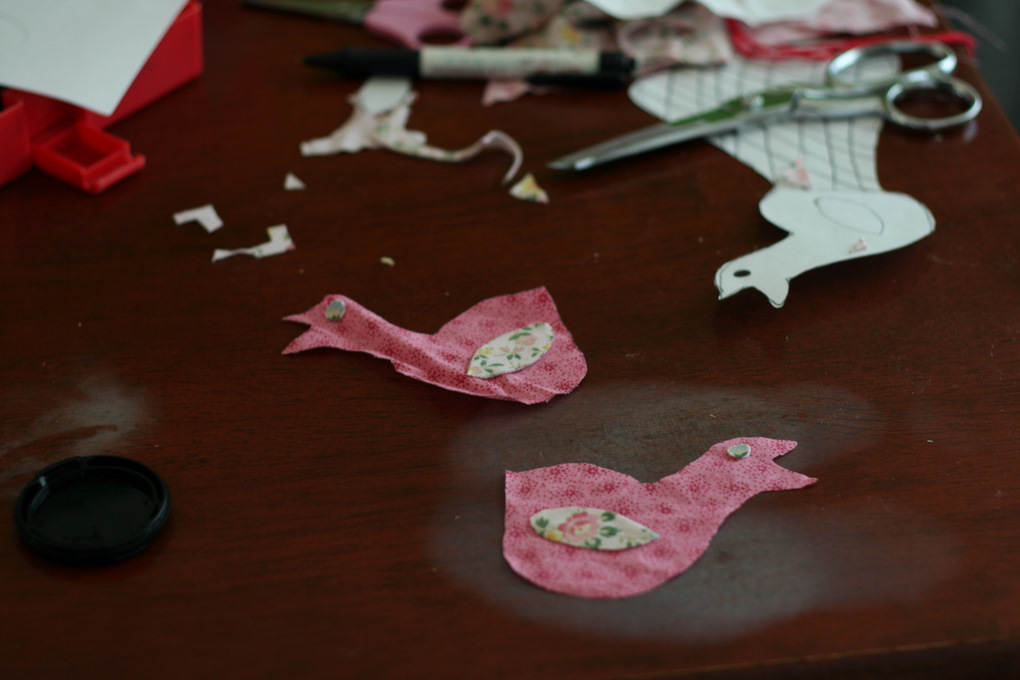
We cut out the shapes and put them on double sided fusable web for appliqueing and cut out around them.
Then we ironed them on. At this point you really could just put them right sides together and sew around leaving a hole for turning and stuffing… then sew up the hole after. But, no such ease for me, I was stingy with the fabric when cutting and really had a feeling it wouldn’t turn out well without more fabric.
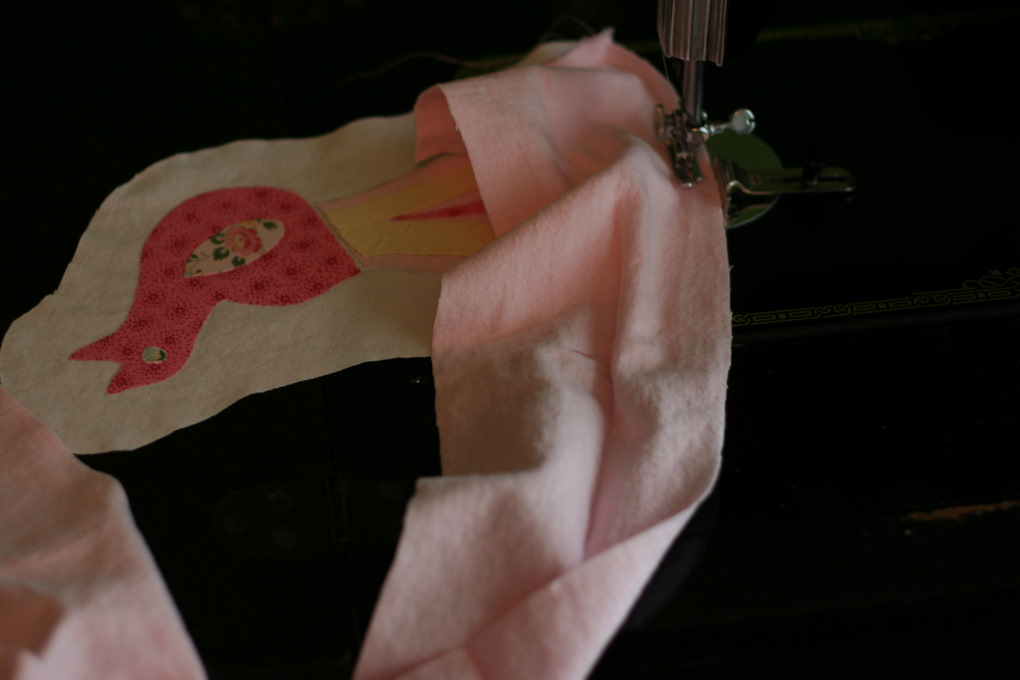
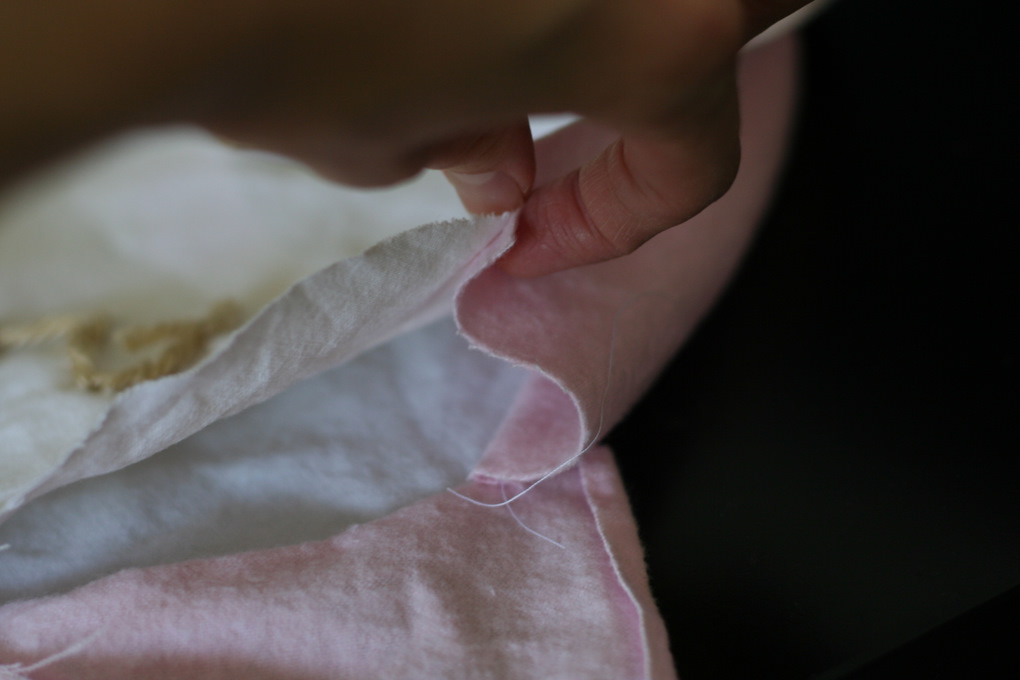
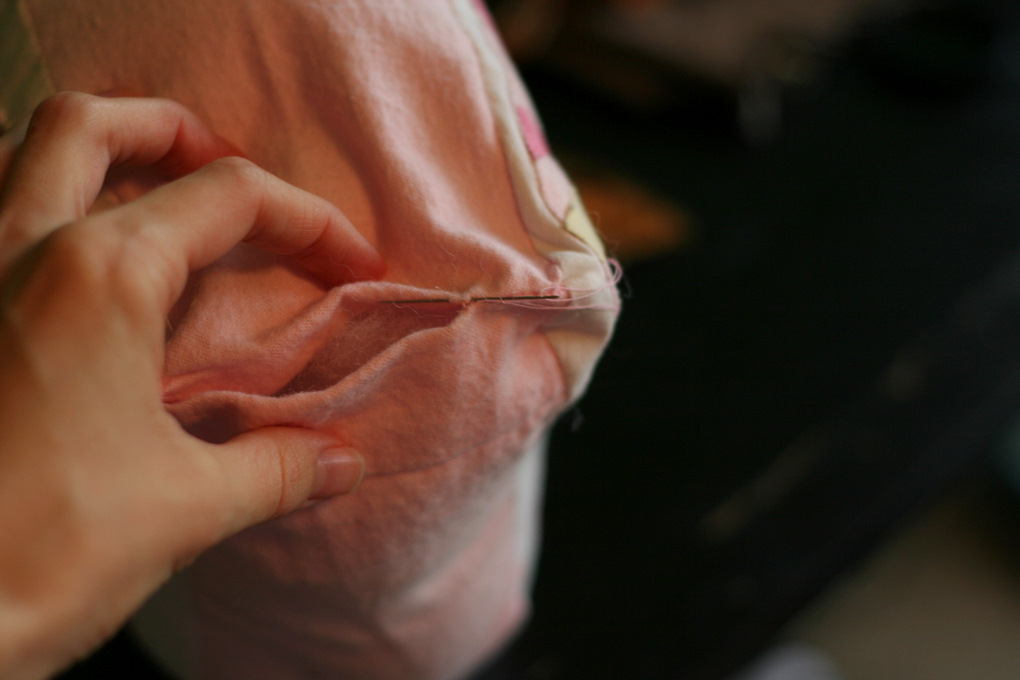
So I measured the circumference (around the drawing) and cut a 3″ wide strip of coordinating fabric that was long enough to go all the way around. I sewed this right sides together to one of sides. When you start sewing it, make sure to leave a bit of the end of the strip un-sewn. You can see it sticking up there below. That’s for the seam later. You can pin it around but I just eased it into place as I sewed.
When you get that sewed all the way around you want sew the other side of the strip to the other side of the fabric. See below to see how I matched it up to the right place…

Do make sure you line them up correctly or the pillow will be… wonky. I did come up with a better way to do this by huggable art #3 so please excuse the project switch as I show you how…
After you sew the strip on the front, lie your project like below.
Then place the back over it right sides together matching them up.
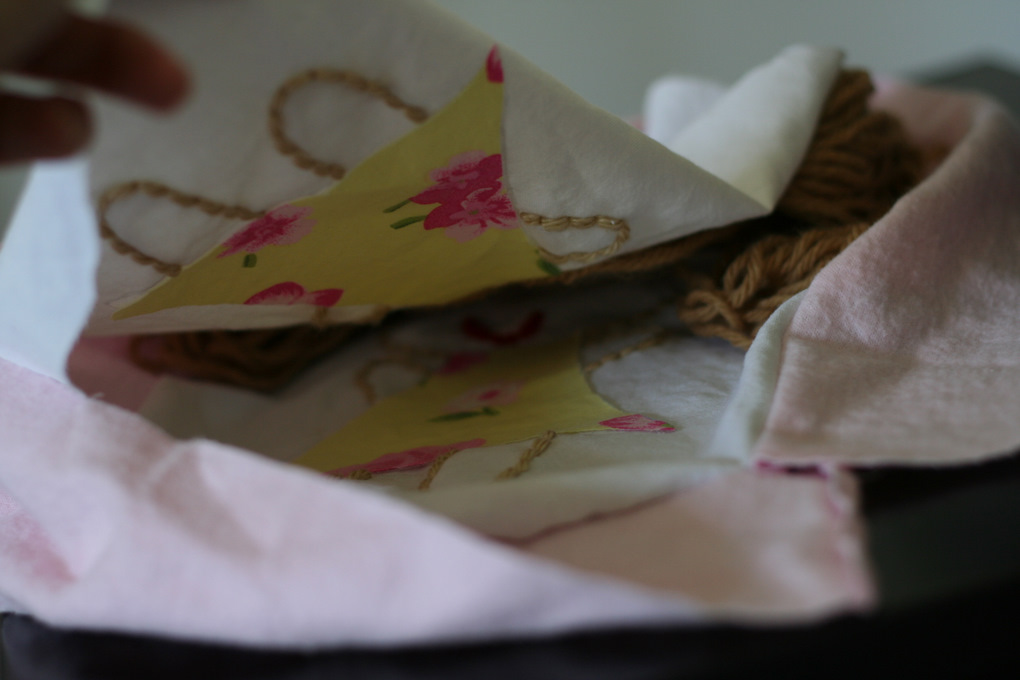
It should now be pretty easy to see where to begin sewing the strip to the back. Pinch them together and pin and sew around.
I used the hole left in the side… at the un-sewn ends of the fabric strip to turn the pillow right side out…
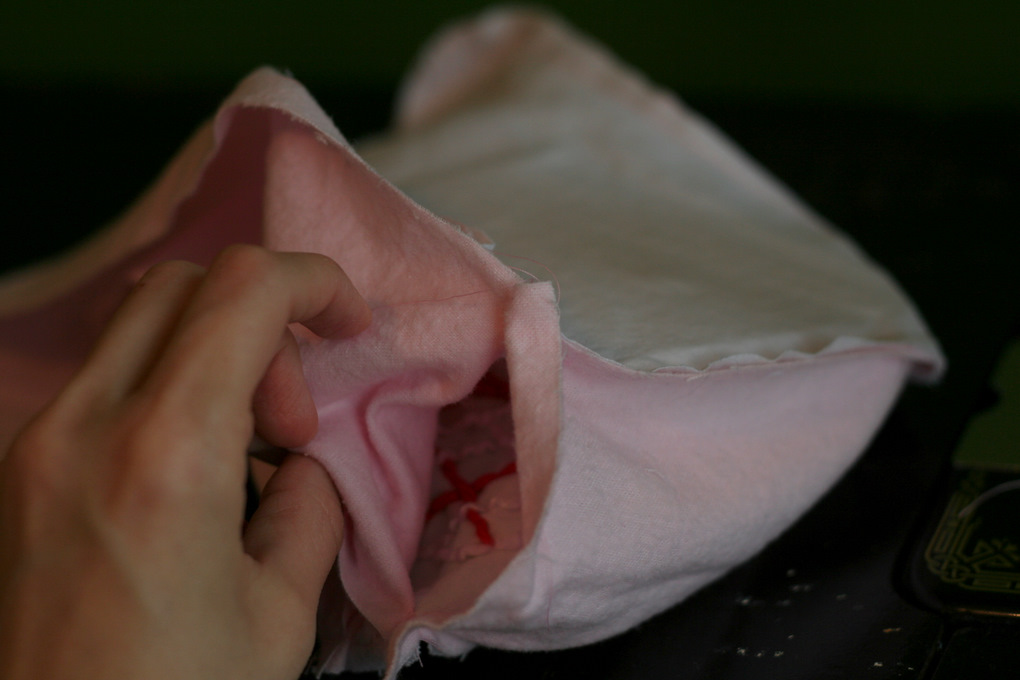
And stuff it. And then I sewed it up by hand.
Voila! I love my kid’s drawings!
Oh, wait! The hair. Oh, the hair… Little Dude’s hair was just a LOT of random stitching. The Little Girl’s hair… I will leave to tomorrow. 🙂