 |
| Hooded Monkey Towel |
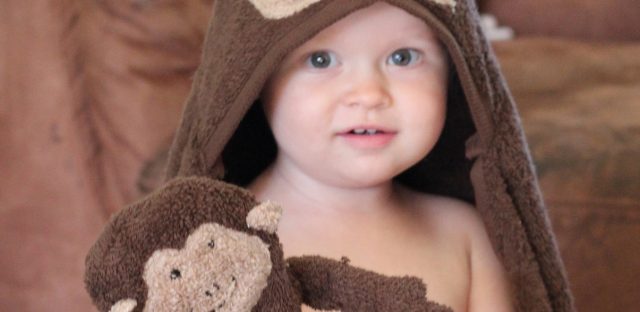
When my youngest child was born a friend made me a most brilliant thing. It was a hoodie towel. The grand thing was that it was huge. It was pink with some sweet brown trim. My baby loves it, and my other kids wish they had some. I never did like the puny little baby towels. She loves coming out of the bathtub and being bundled snug in her towel. The other thing I loved was that this towel was made of a standard size bath towel and a washcloth. I wanted to try it myself.
So, making a hoodie towel in this fashion is not my idea, but I wanted to share with how I did it. I also decorated the one that I made with a monkey face and made a monkey washcloth puppet to match. I’ll share a tutorial for the washcloth another day.
Hooded Monkey Towel
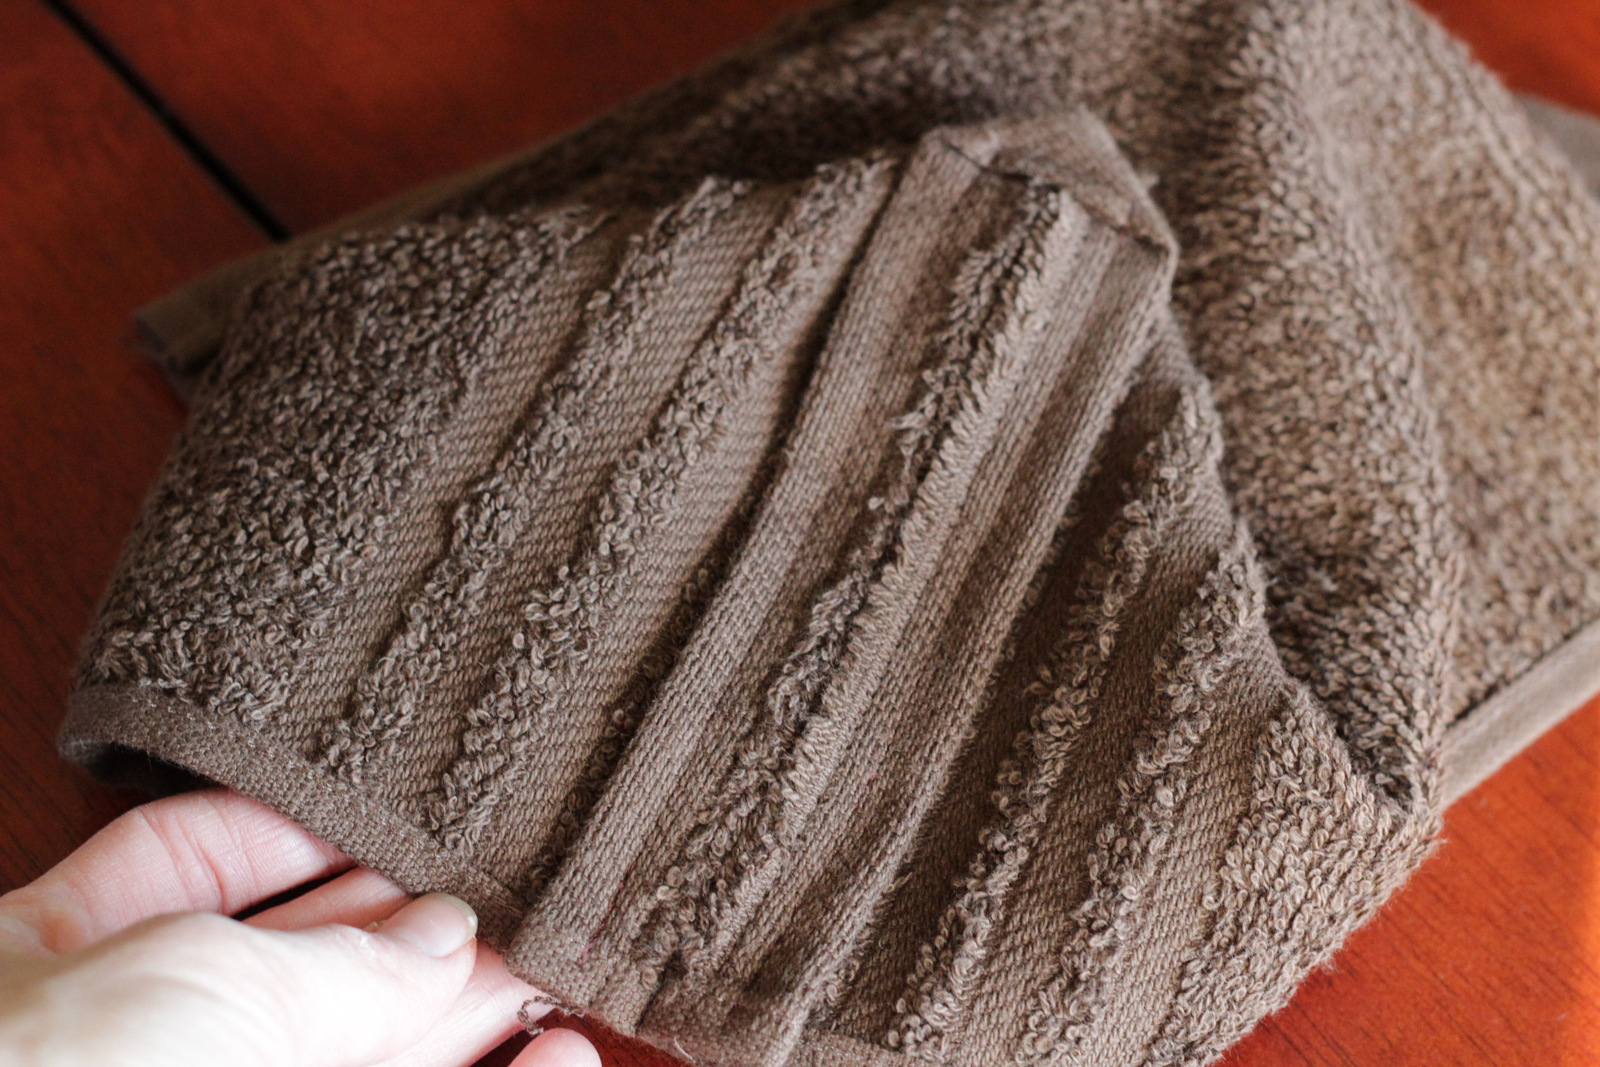
TutorialI used one standard size brown towel, one tan washcloth, and 3 brown washcloths for the whole project. If you are just making the hoodie towel you only need a towel and washcloth. If you want to make the monkey face on it, get a tan washcloth too.

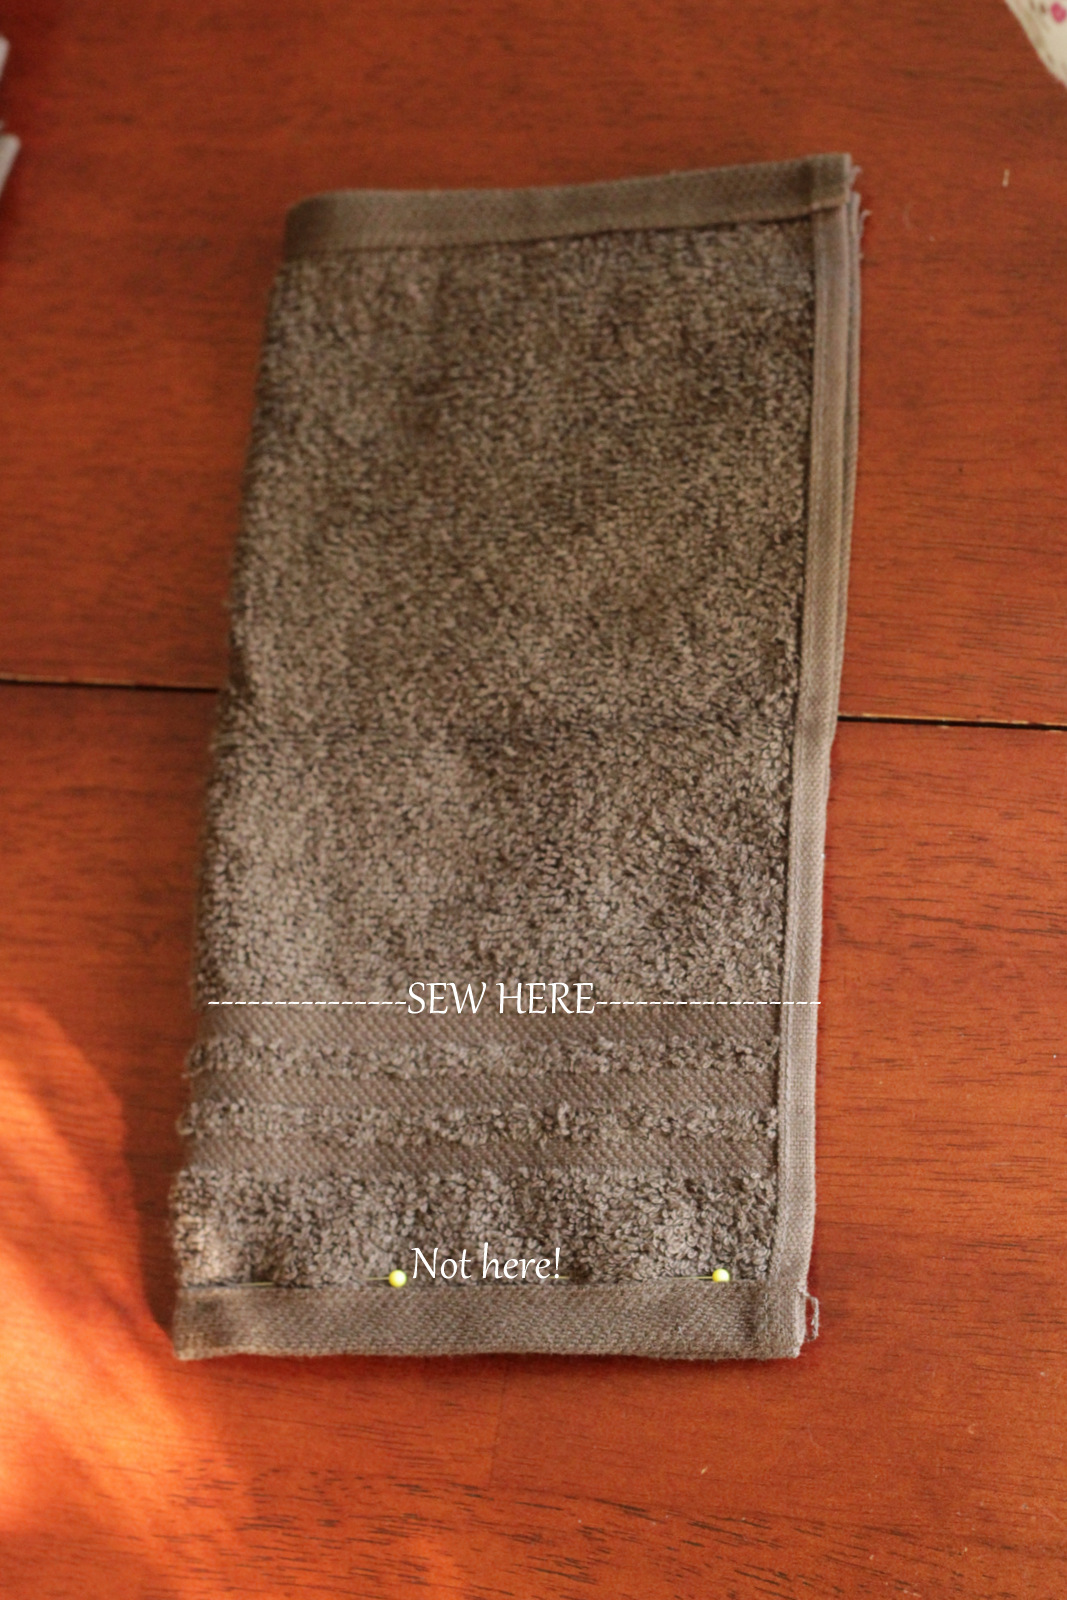
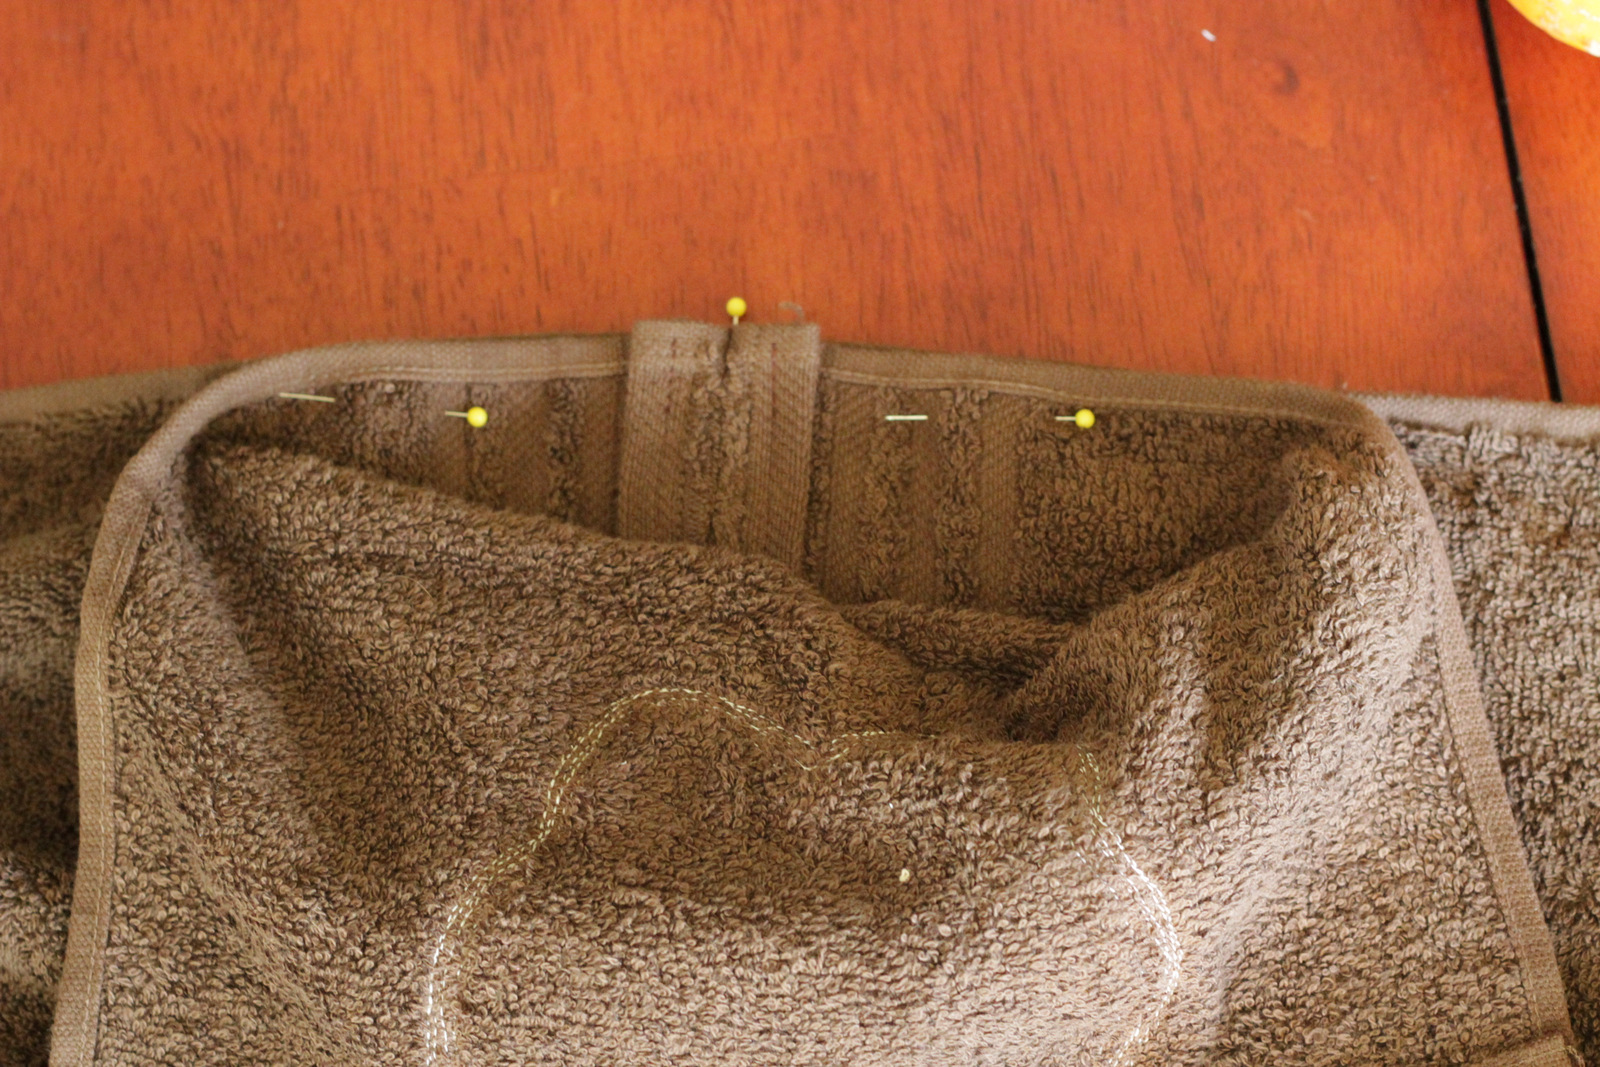
The first step is to fold the washcloth in half and pin one of the shorter sides of the resulting rectangle. The picture shows that I pinned it at the edge, but I’m going to tell you what I learned after I’d sewn the whole thing together… Because I had to take it all apart and fix it. No bueno. Turns out, if you use the whole washcloth the hood ends up too big. Way too big for a baby but even too big for a kid. So, save yourself from my mistake and sew a few inches in… like just past all the stripes. Check out my little picture that tells where to sew.
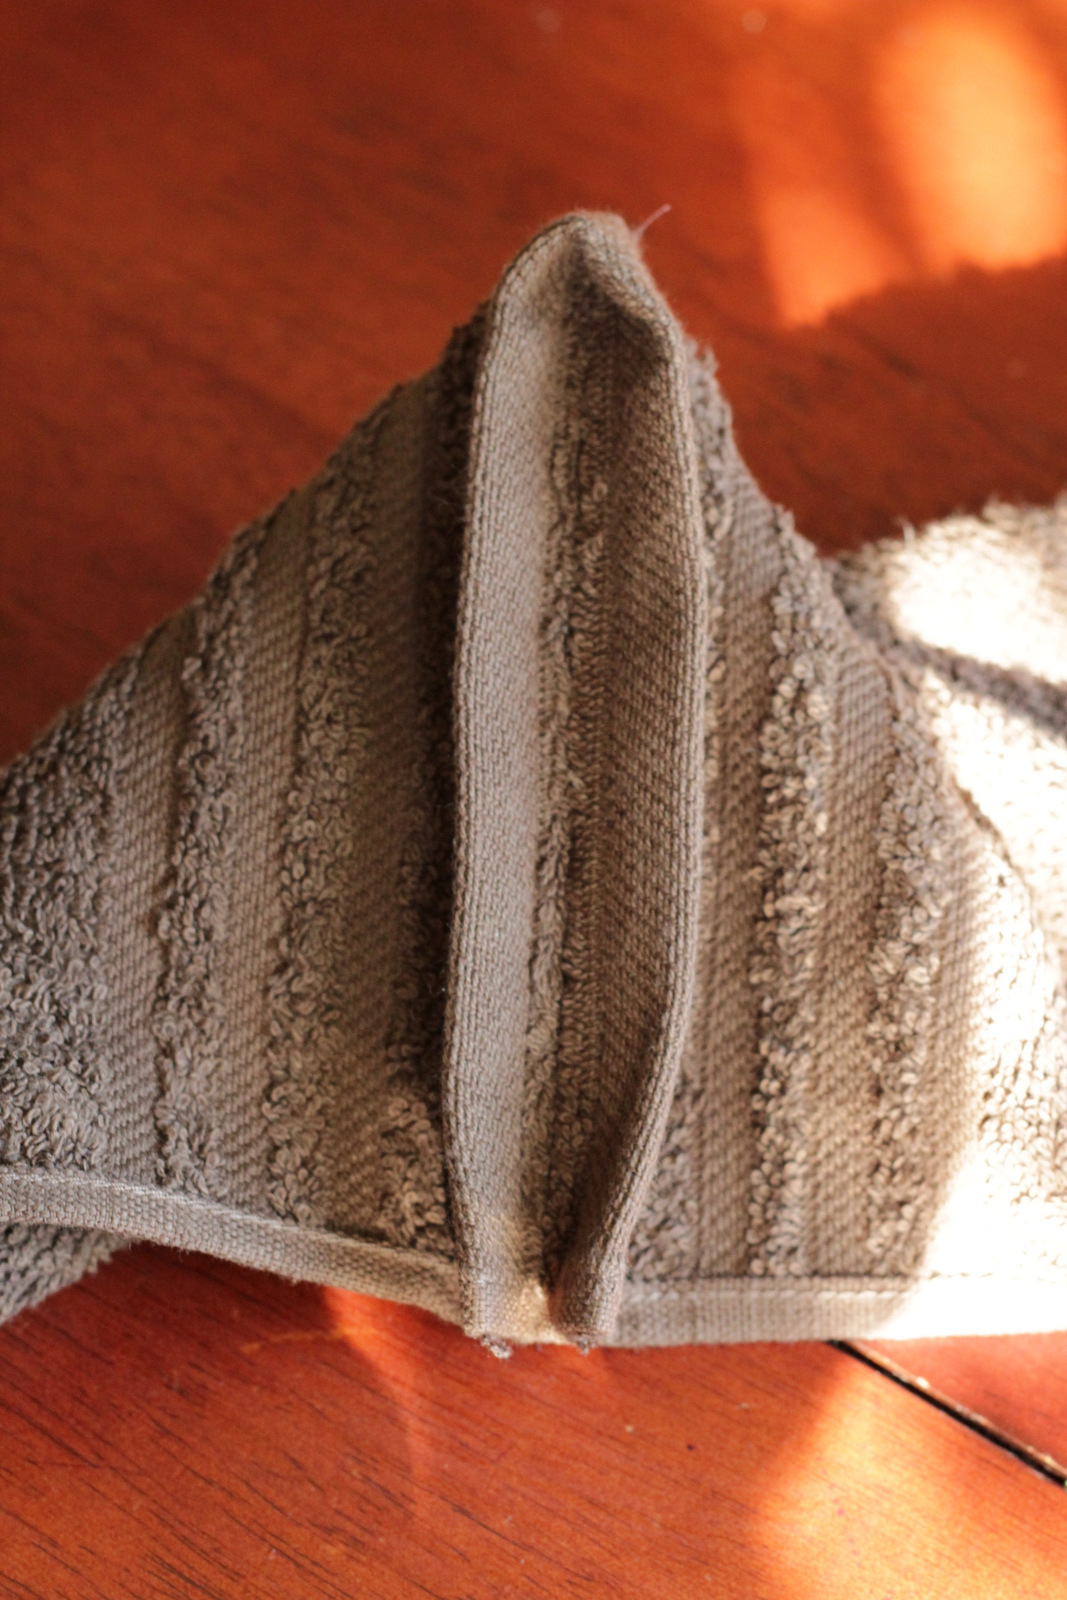
Then you want to trim the extra… leave about an inch and open your seam and sew it down like below. Mine doesn’t show the extra trimmed. This was before I had to redo it. If you have zigzag, use it. Otherwise, if your zigzag capable sewing machine is acting up like mine, (so sad) just go over the edges a few times with straight stitch.
Then you want to make a monkey face and ears. I cut them out of paper first. Cut half circles for ears and cut about this shape on a folded edge for the face. Or you can use my free patterns and print them. On the download, the small face and ears are for the washcloth puppet and the large ones are for this towel.

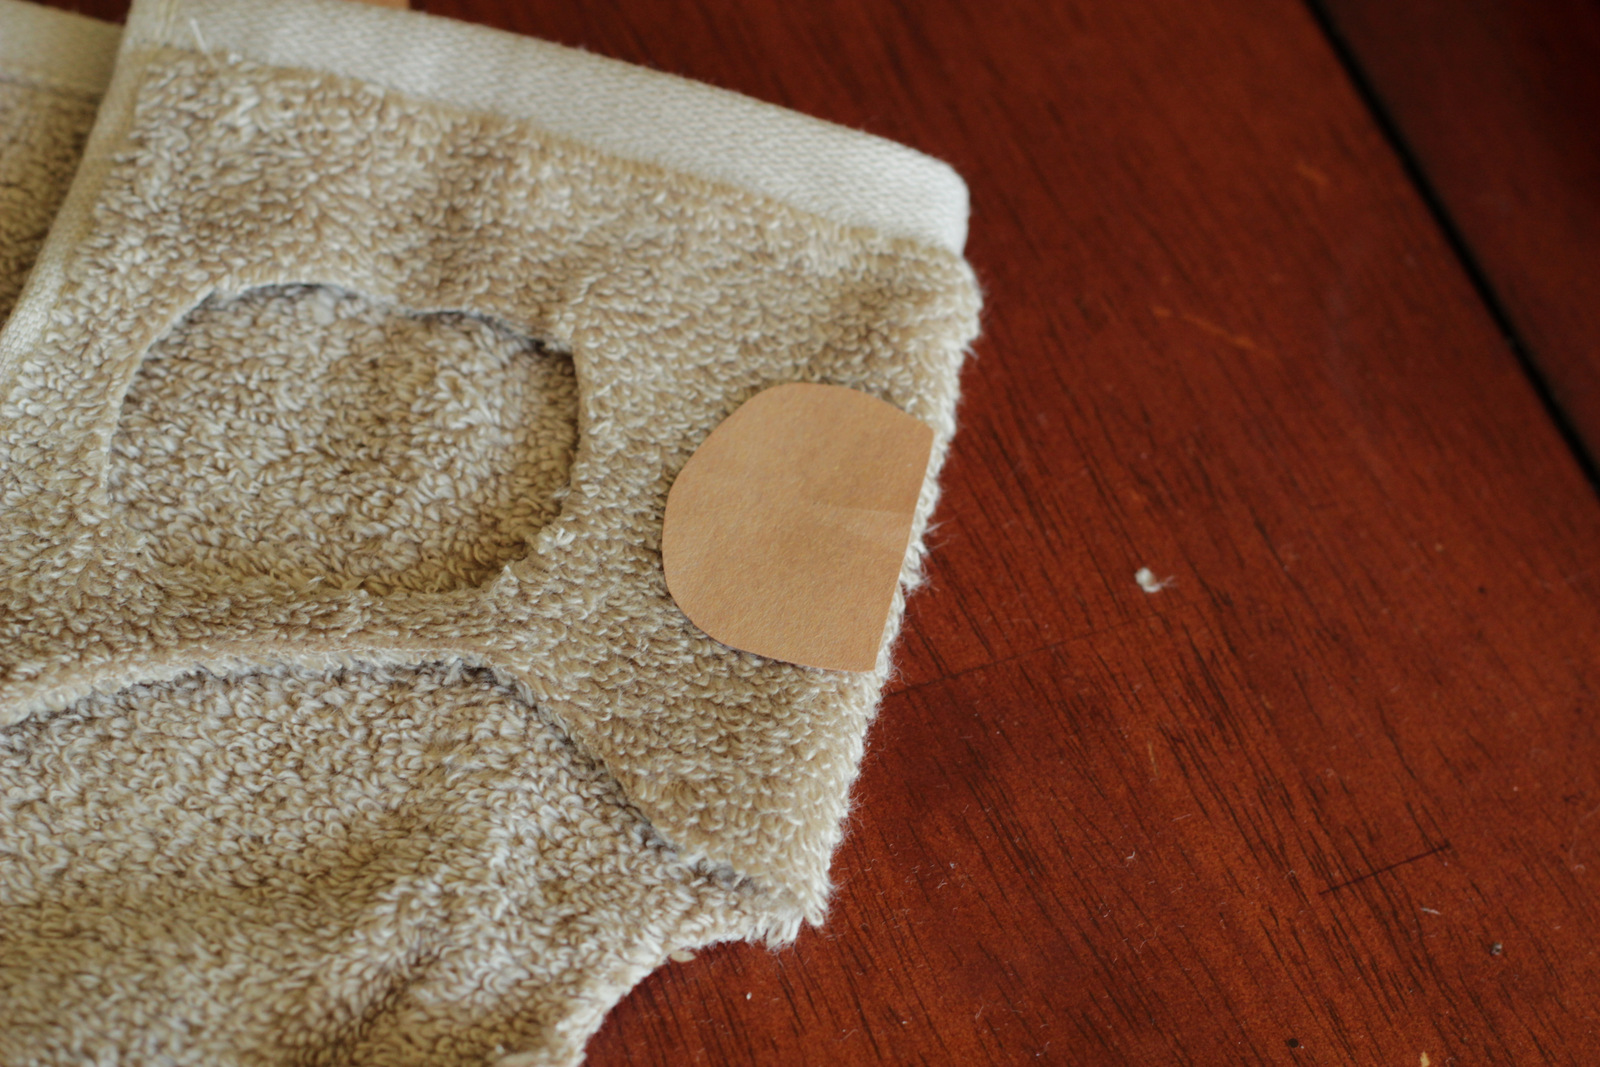
Cut out face and ear shapes from the tan washcloth. I cut both ears with the straight side on a fold as I wanted a double thickness. The face I cut on the fold as well.
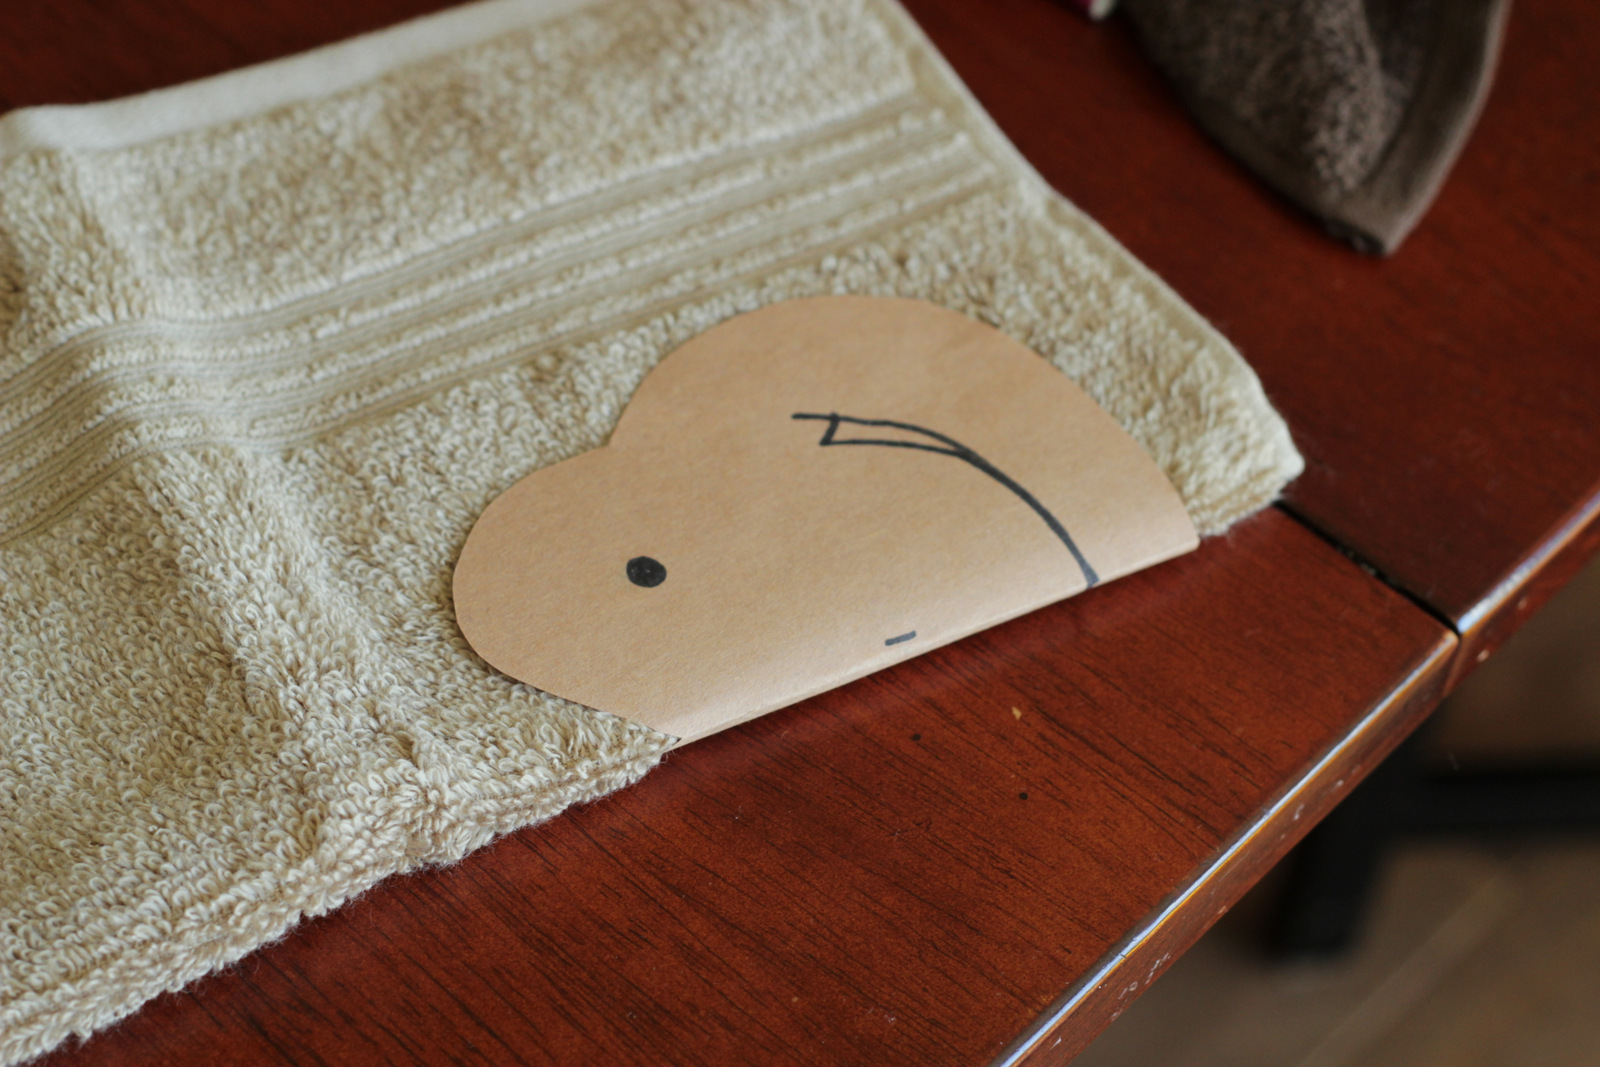 |
| Ignore the messed up monkey mouth on my pattern piece… I was practicing. |
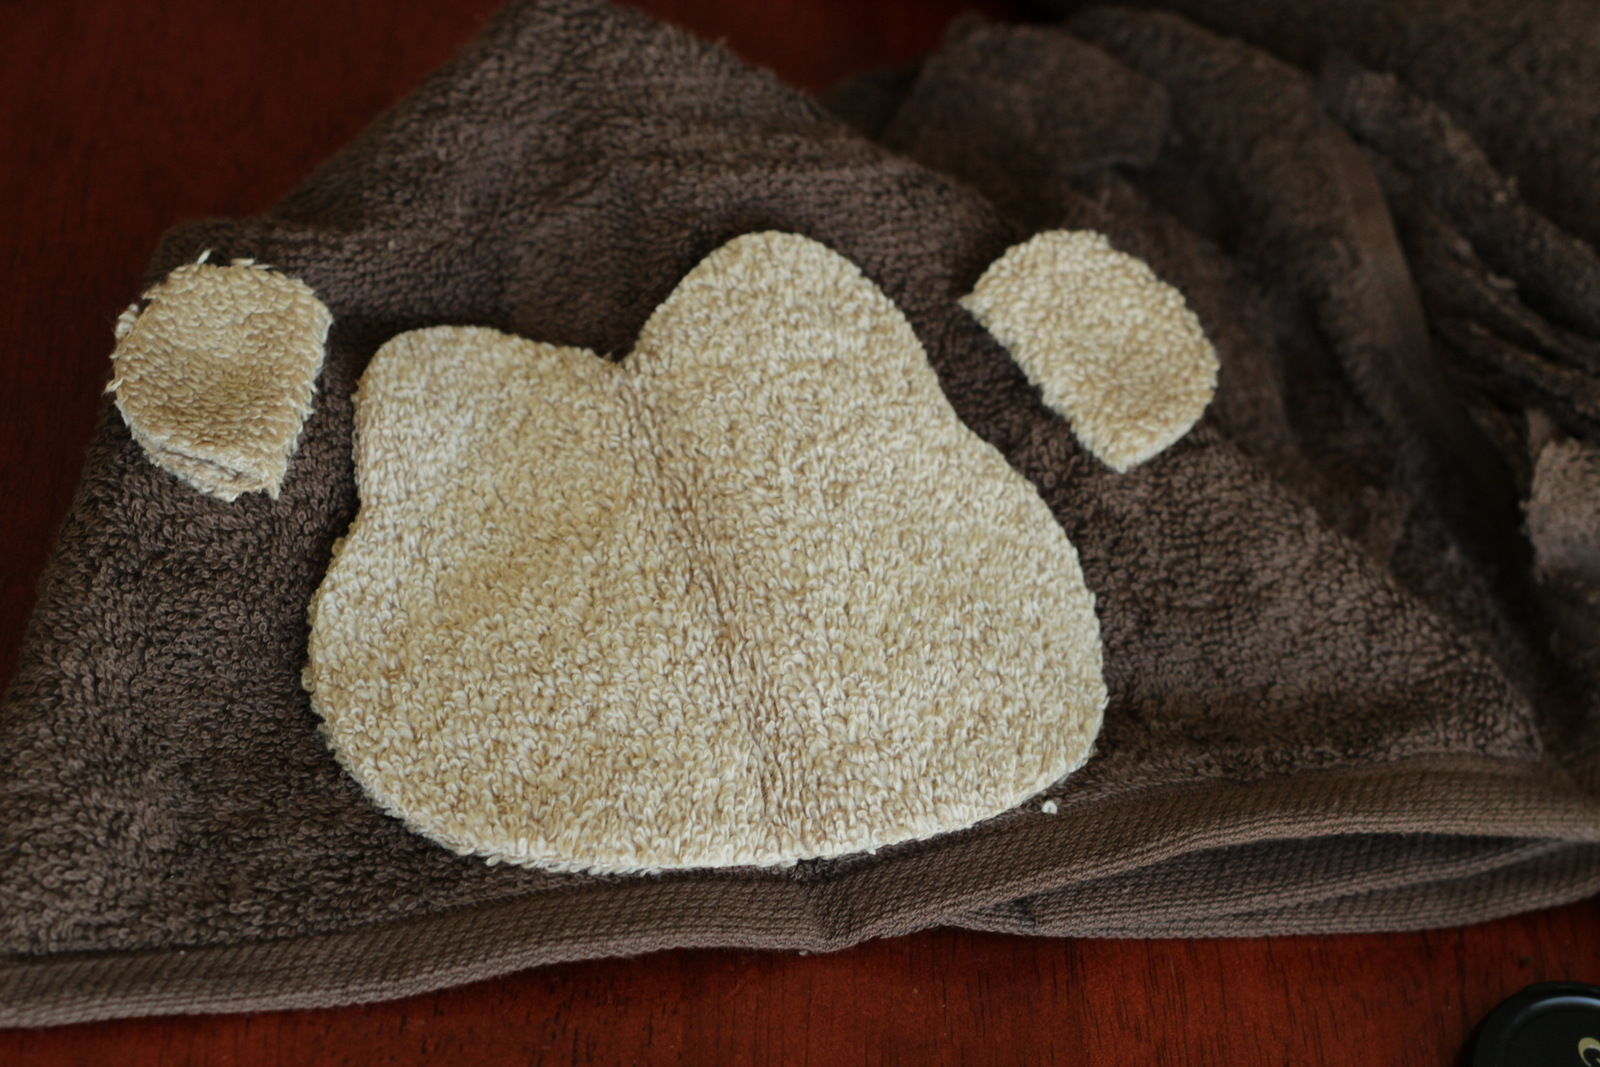
Here’s my mock up test.
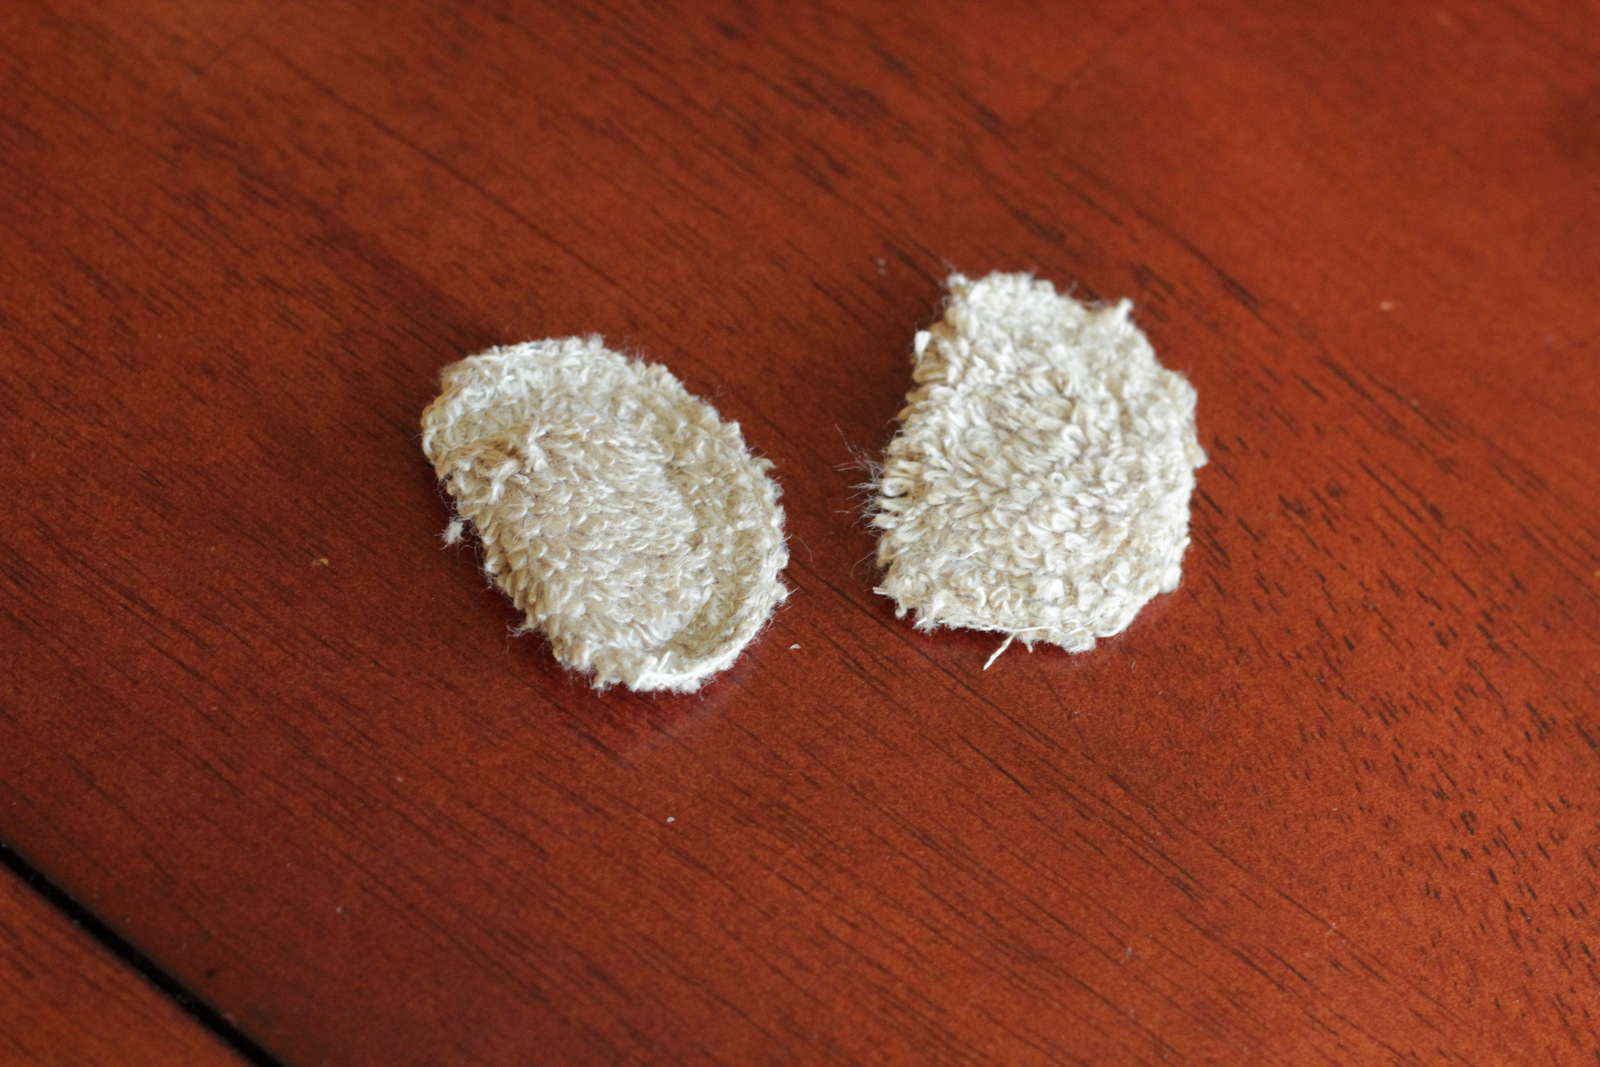
Next, I sewed the raw curved edges of the ears together. I went back and forth with my straight stitch machine a few times to keep the edges from fraying, but again zigzag stitch would have worked well.
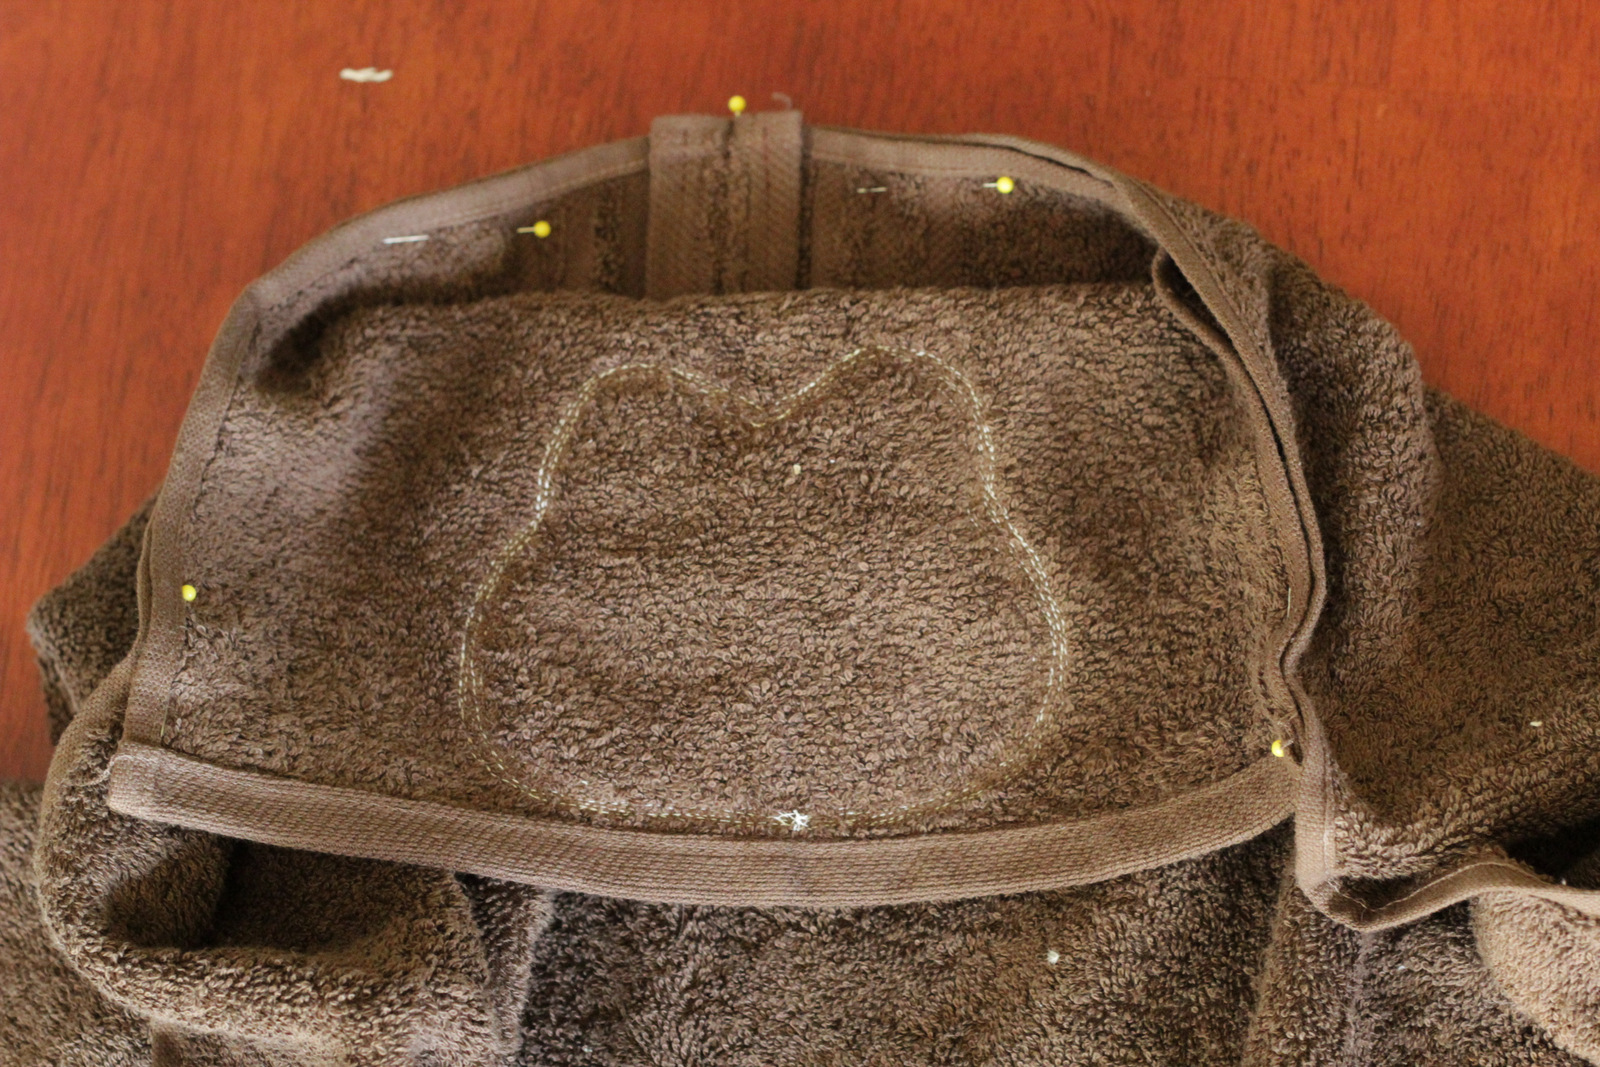
Then I sewed the face onto the middle front of the hoodie. To explain where exactly the middle front of the hoodie is at is rather tricky. The seam you’ve already sewn is the back of the hood. The two sides of the washcloth that you joined together by sewing that seam are what will be attached to the towel. So the front looks about like this when you have it laying right.
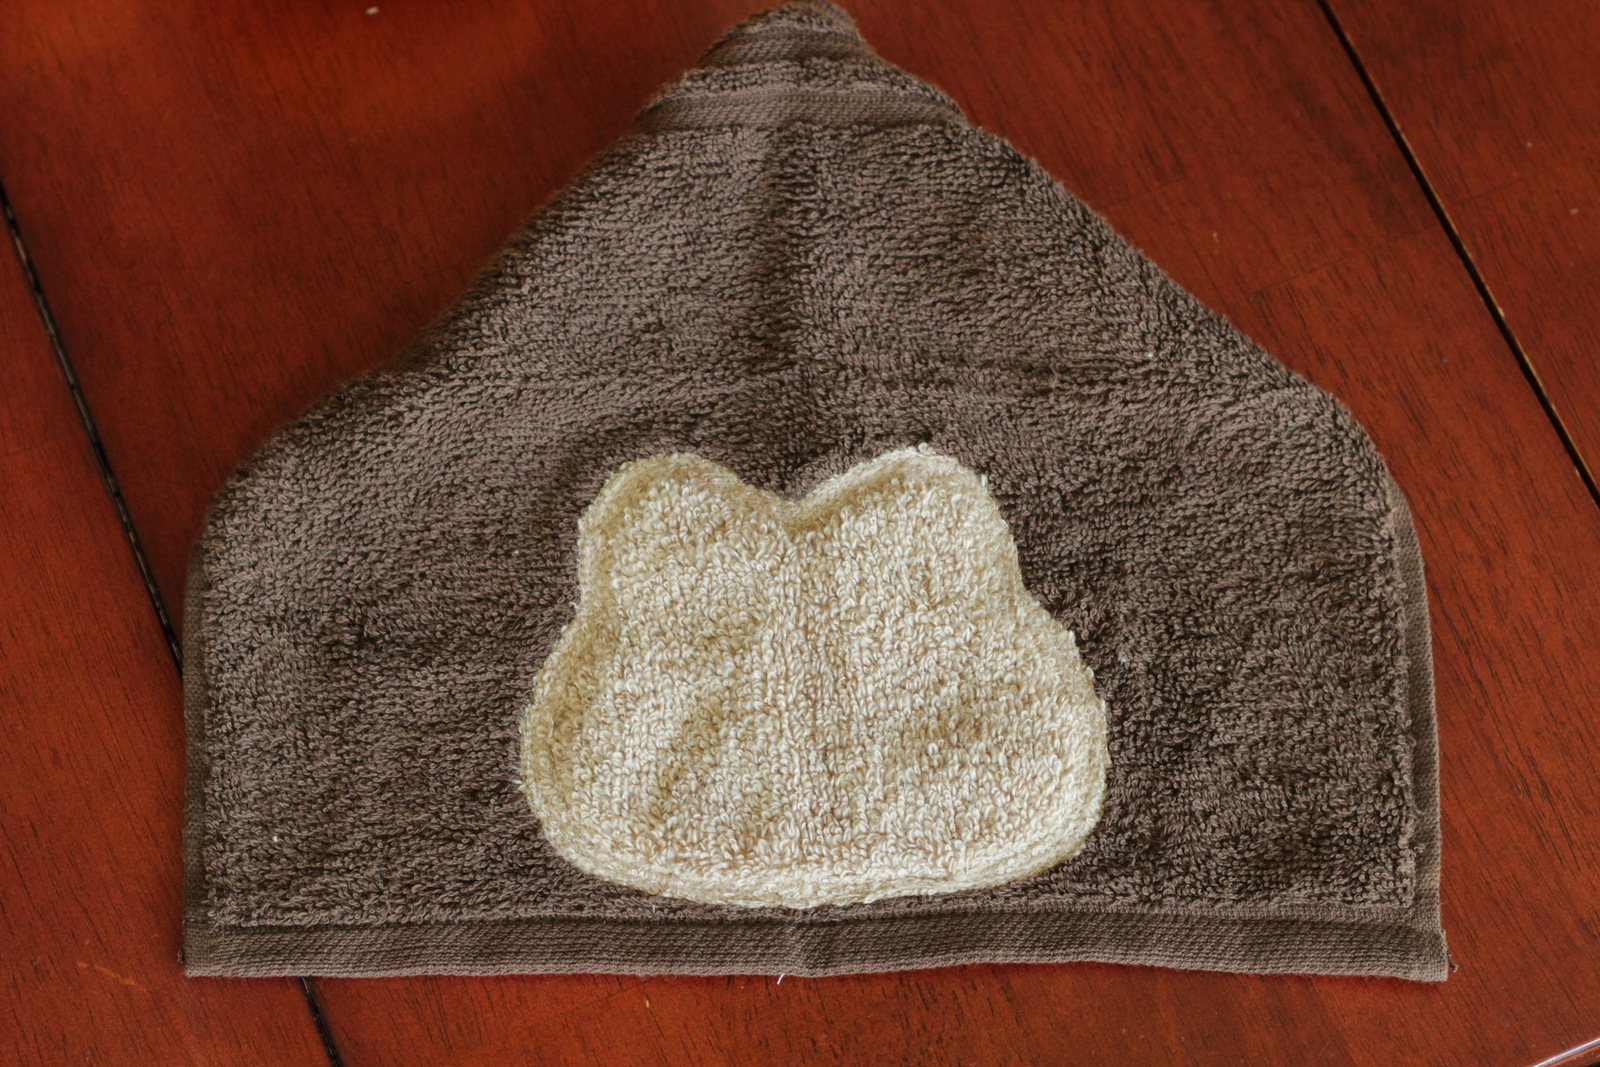
And will look more like the mock up above when it is attached to the towel. Keep reading below to understand better… If you really need to, for clarity’s sake, I’m sure it would be fine (just not as easy) to sew the monkey on after the hood is already attached.
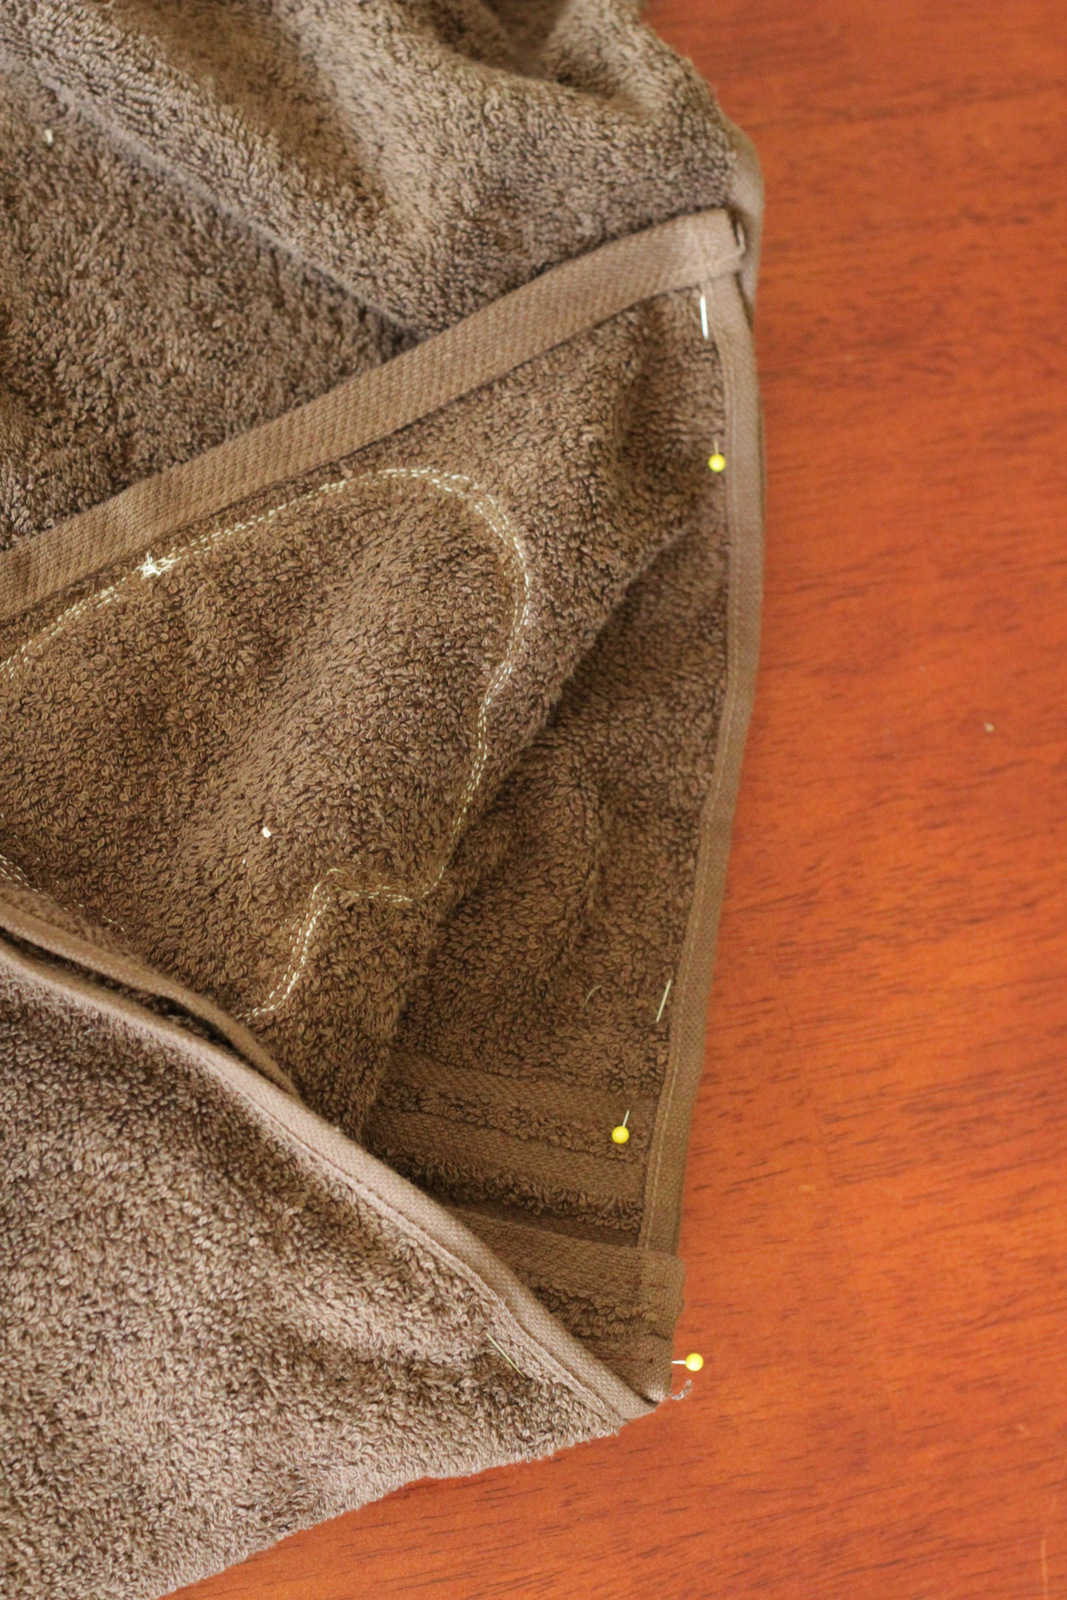
Next, to attach the hoodie to the towel, mark the middle, on the right side, of one of the long sides of the towel.
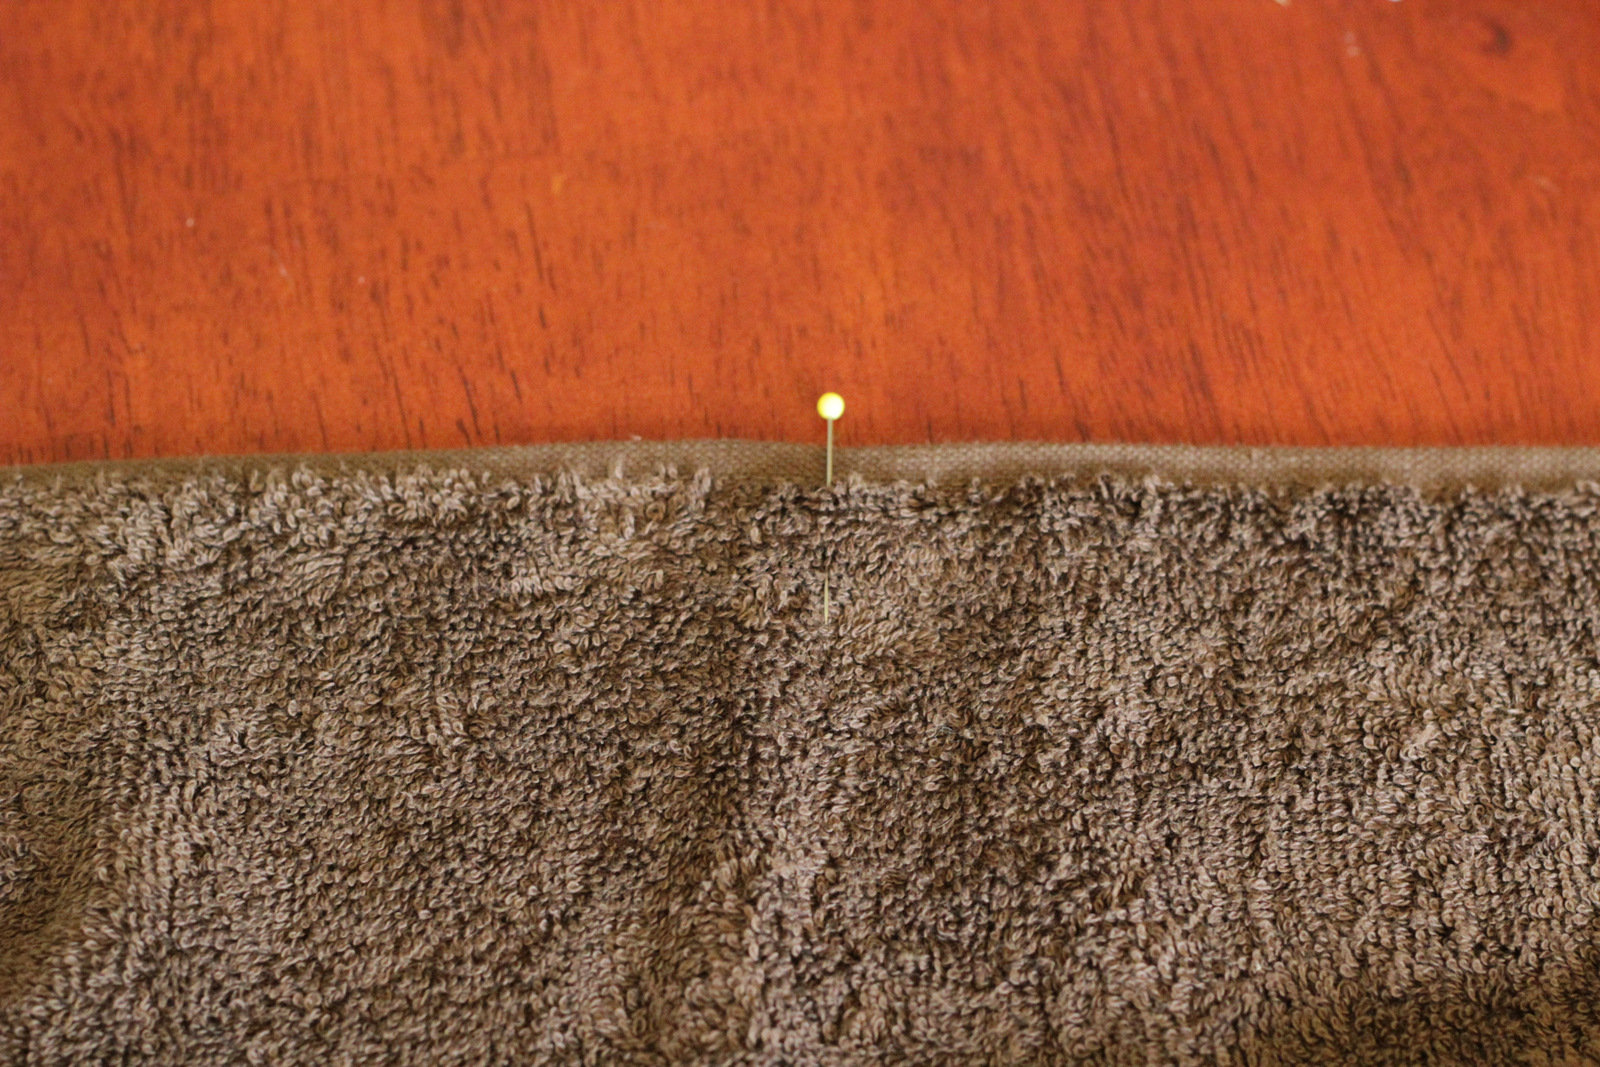
Then line up the middle of the towel with the bottom of the seam you sewed. Keep right sides together.
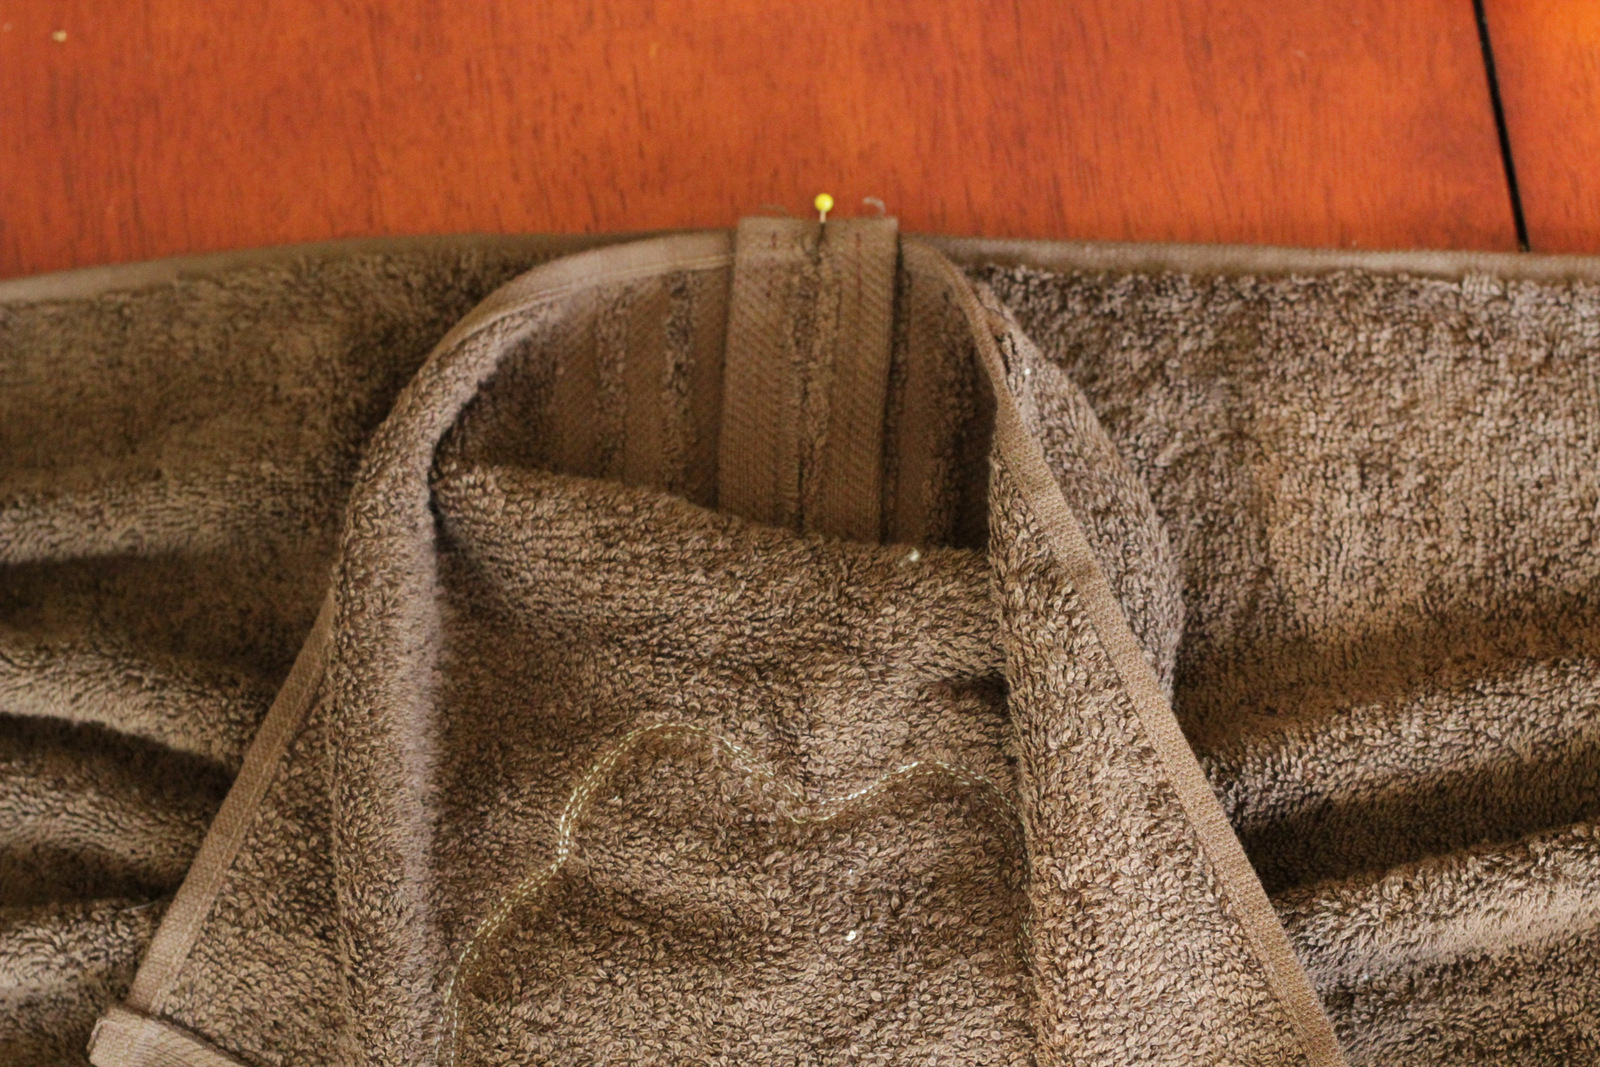
Start pinning from that seam out to the sides.
Then pin both sides out to the corners. Just FYI, The towel won’t lie completely flat when pinned to both sides, it will be pulled out to meet the sides of the hood and that is what you want.
Sew the washcloth to the towel just as you pinned it.
Then sew the ears in place on the hoodie. I folded them a little to make them look cupped, more ear shaped, as I hand stitched them on. I only stitched the straight side to the hoodie and left the curved side free.
Next, I embroidered the eyes, nose, and mouth in place.
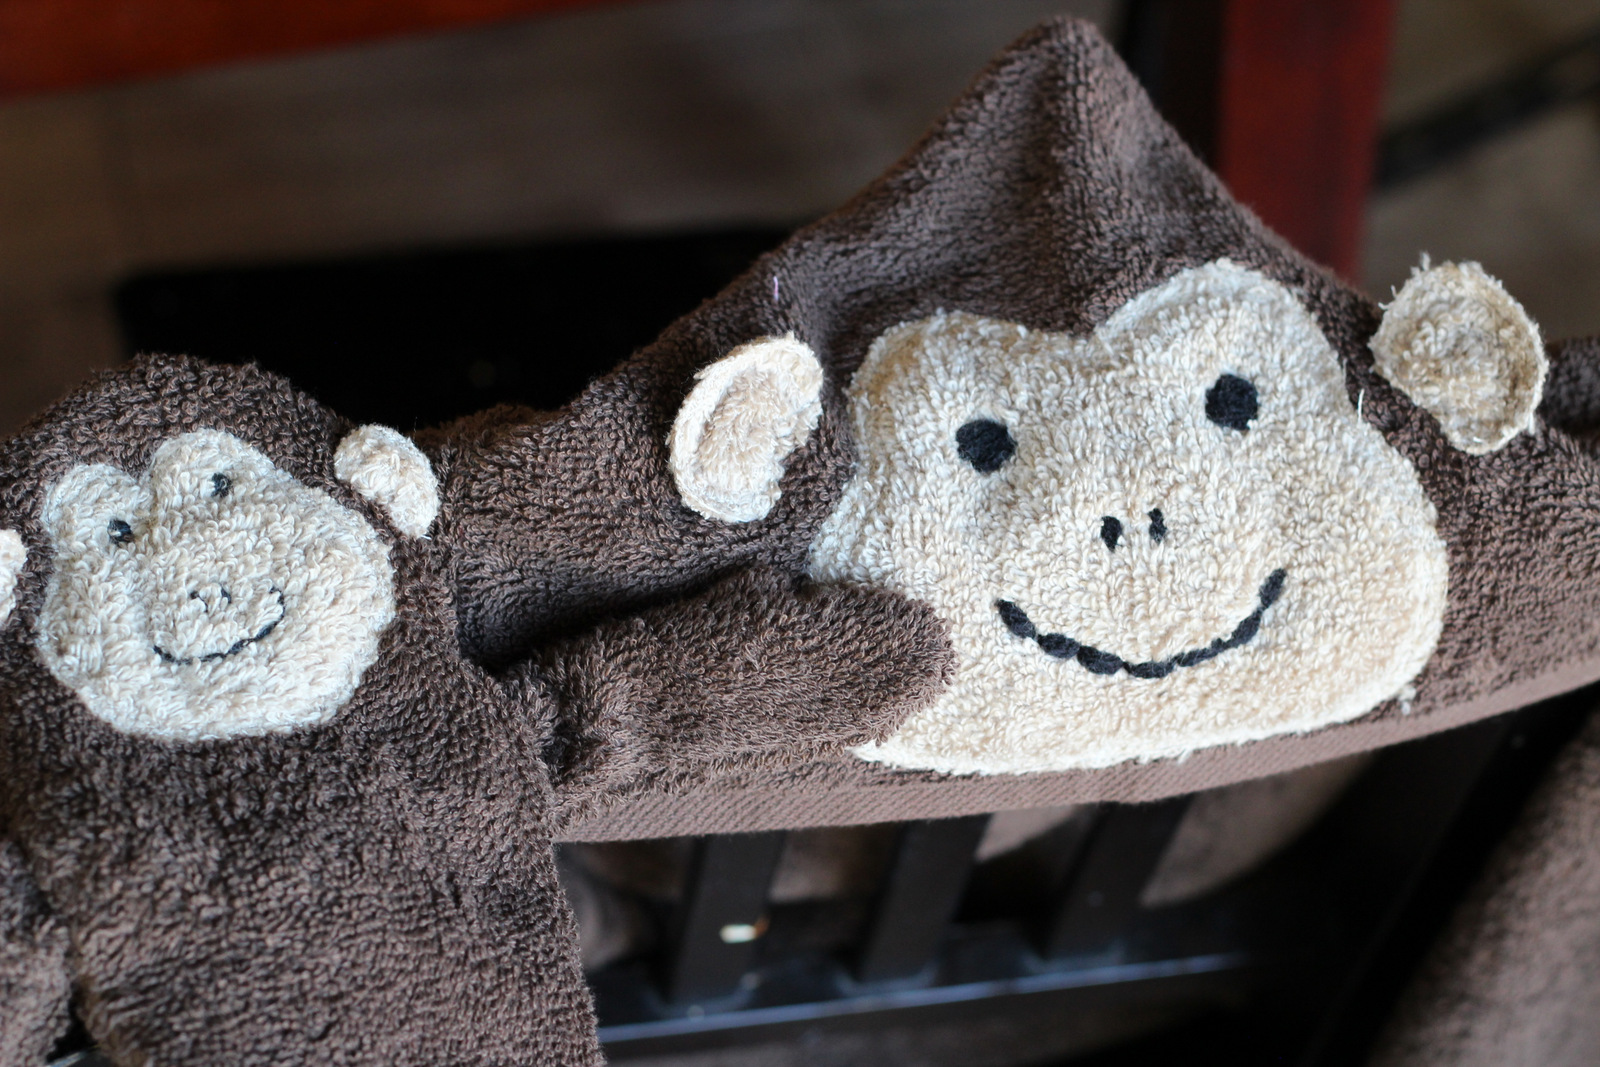
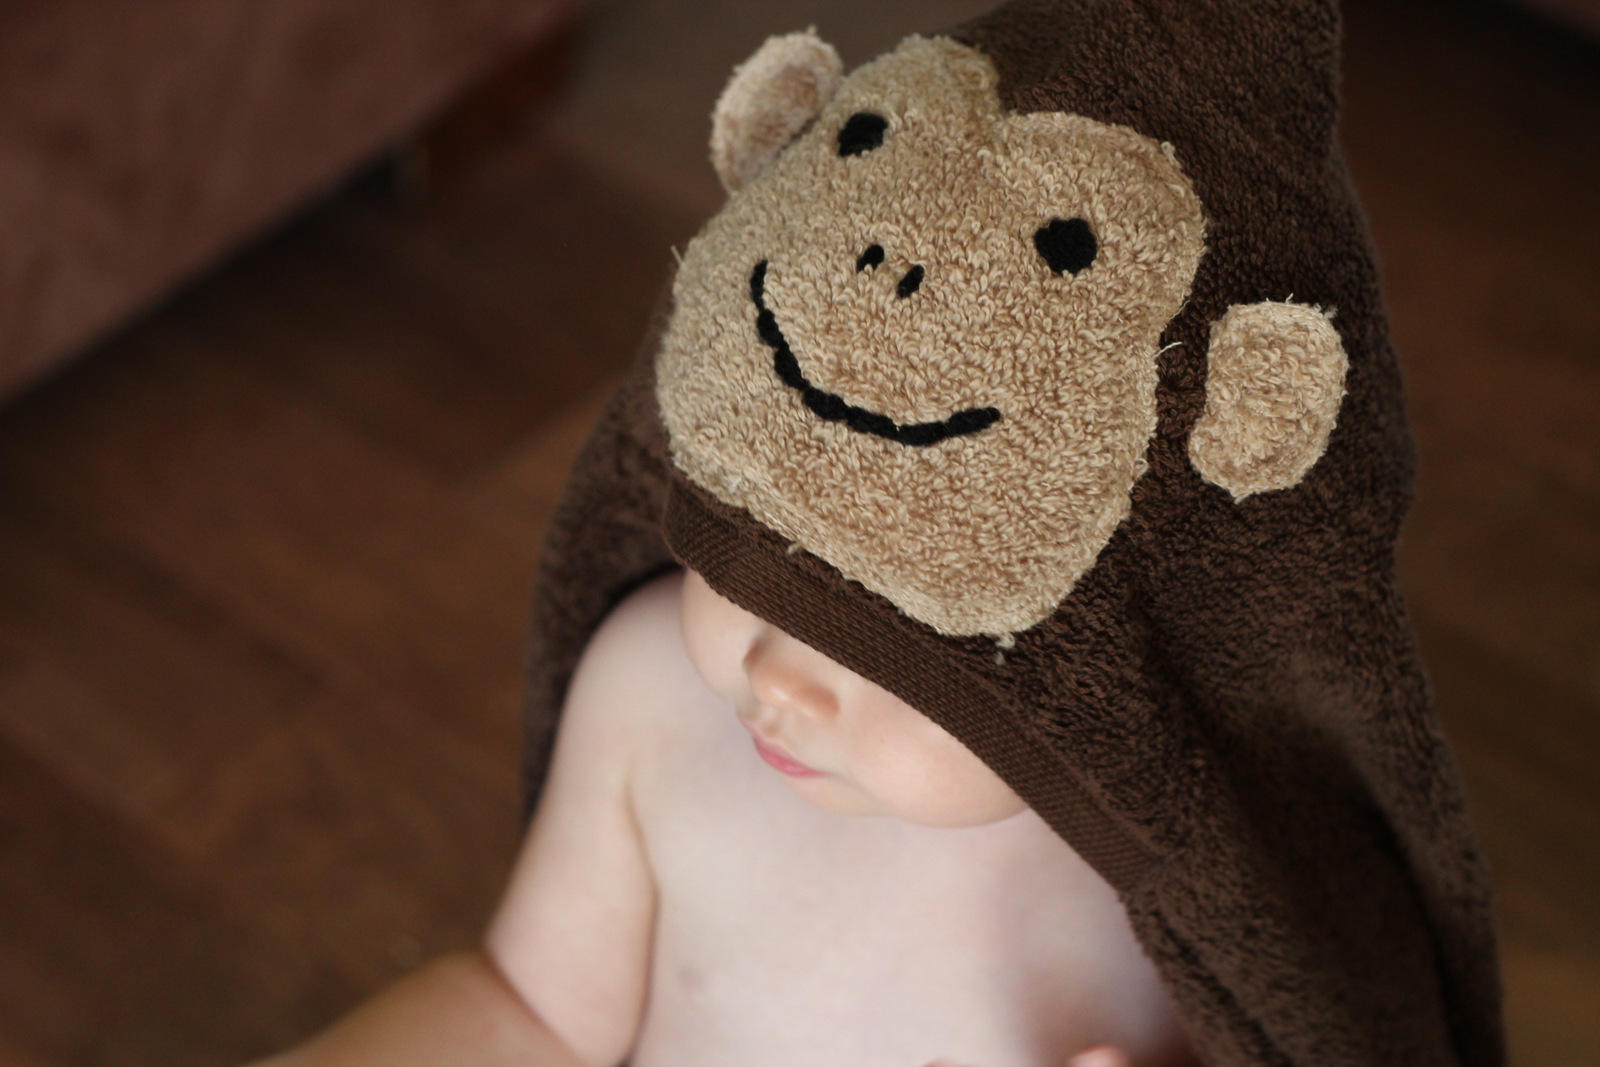
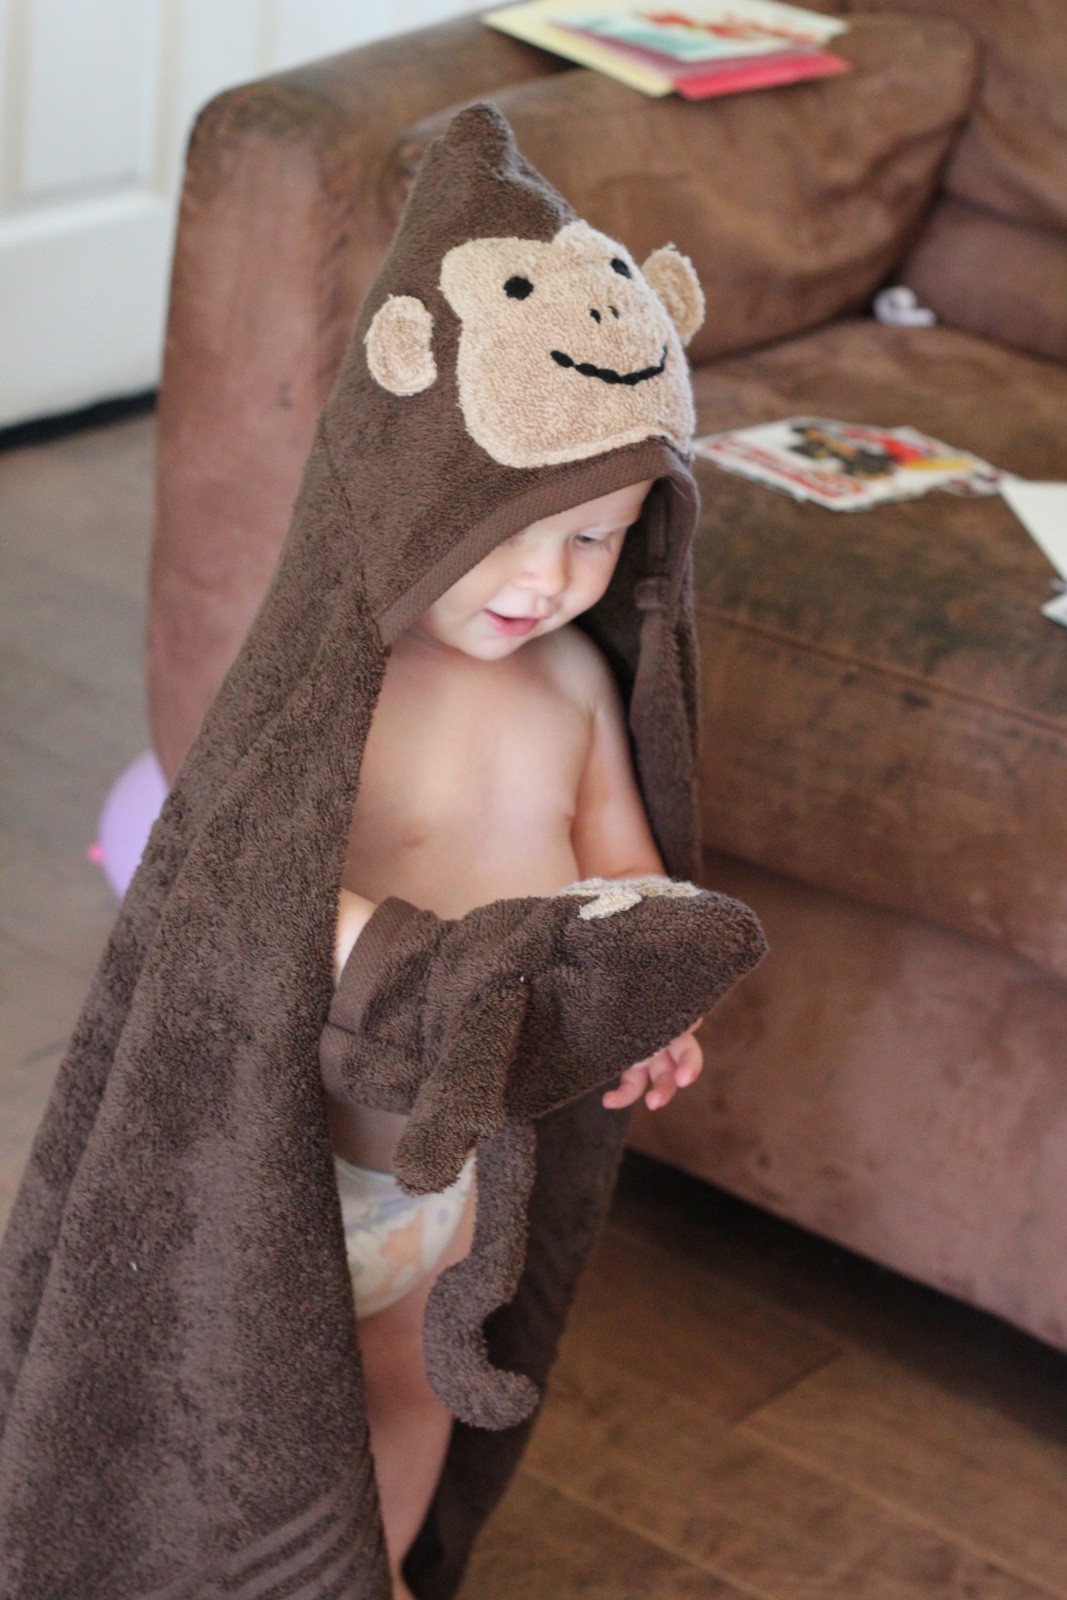
I love the result and my little model did too. It seems I may need to make a few more of these for my kids.


The tutorial for the monkey puppet will be coming soon!
(Update: Monkey Washcloth Puppet Tutorial now blogged here!)
genius. seriously.
So cute! Perfect for twin boys.
Just made these this weekend – thanks so much for the instructions. My only issue has been a ton of fraying of the face – any tips?
Glad to hear you used my tutorial! I sewed around the outside of the face 3-4 times with straight stitch. One time being on the very edge and each of the others about 1/8th inch apart from each other. Then after the first wash I trimmed any frayed strings. I’ve not had more fraying since. If you are using zigzag try sewing around again with a smaller stitch length and sew over the edge. Hope that helps!