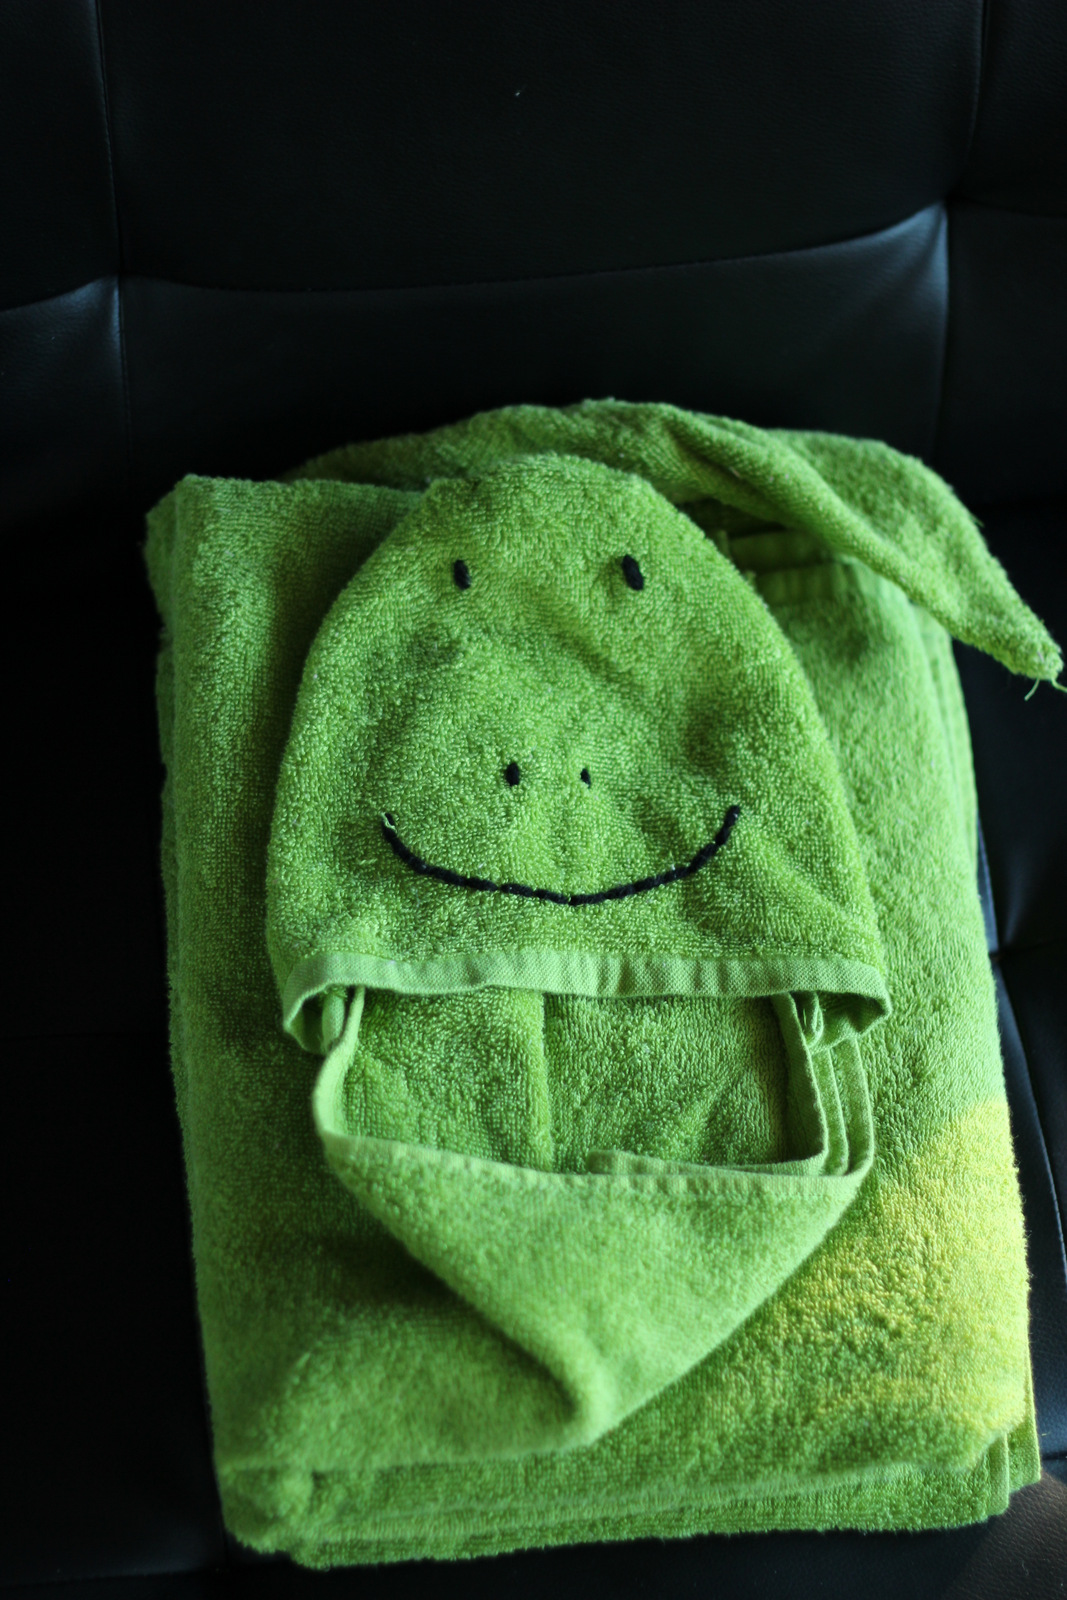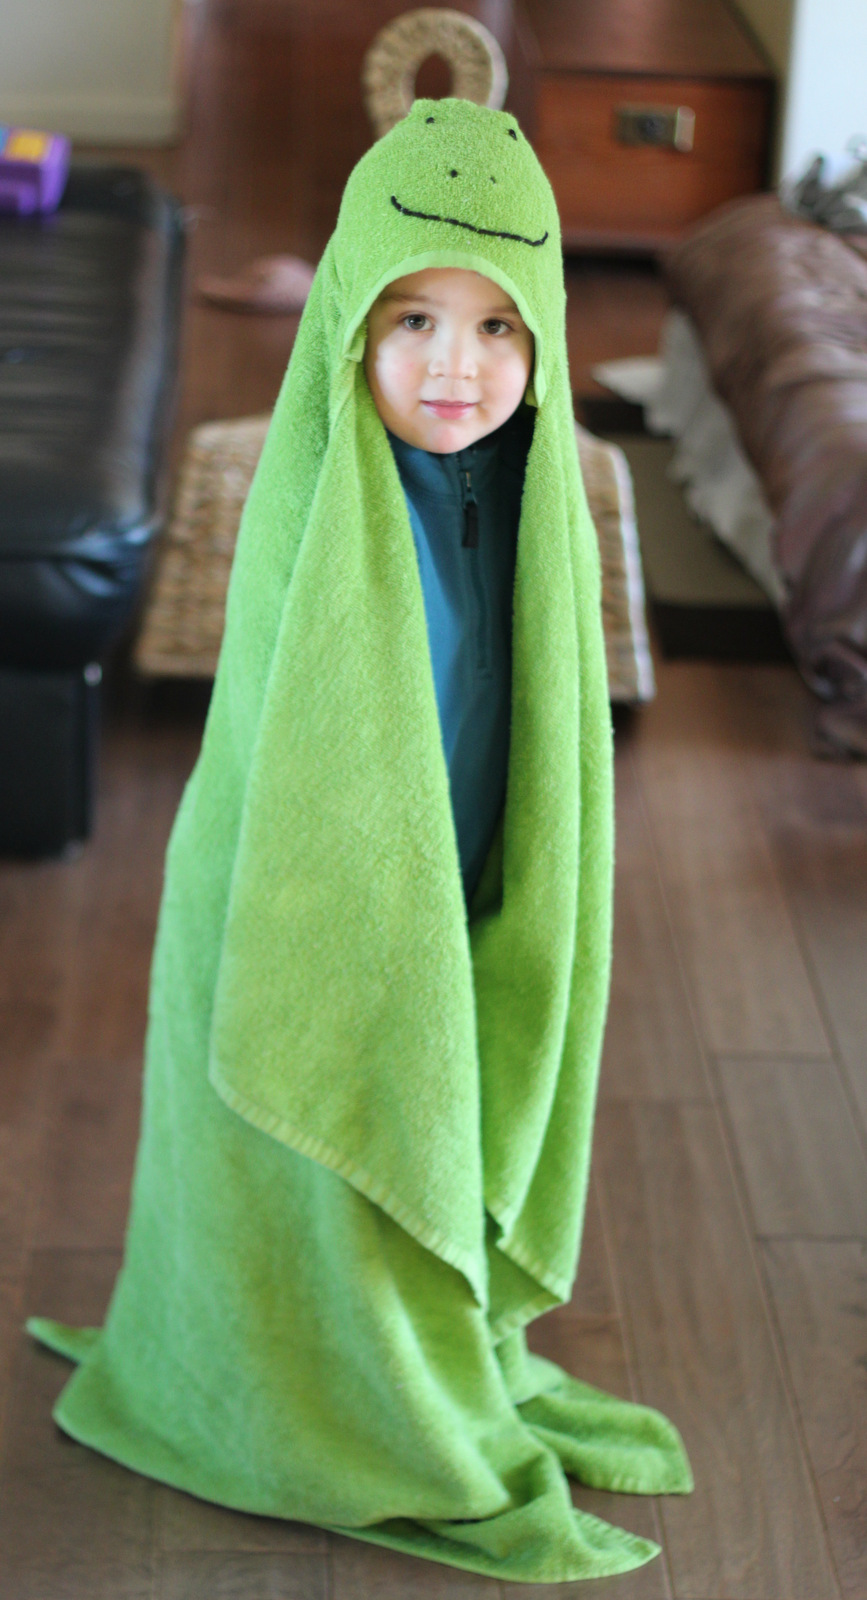
A while back I shared an adorable hooded monkey towel and washcloth. This Christmas I made different character towels for each of my kids. The boy got a dinosaur one!
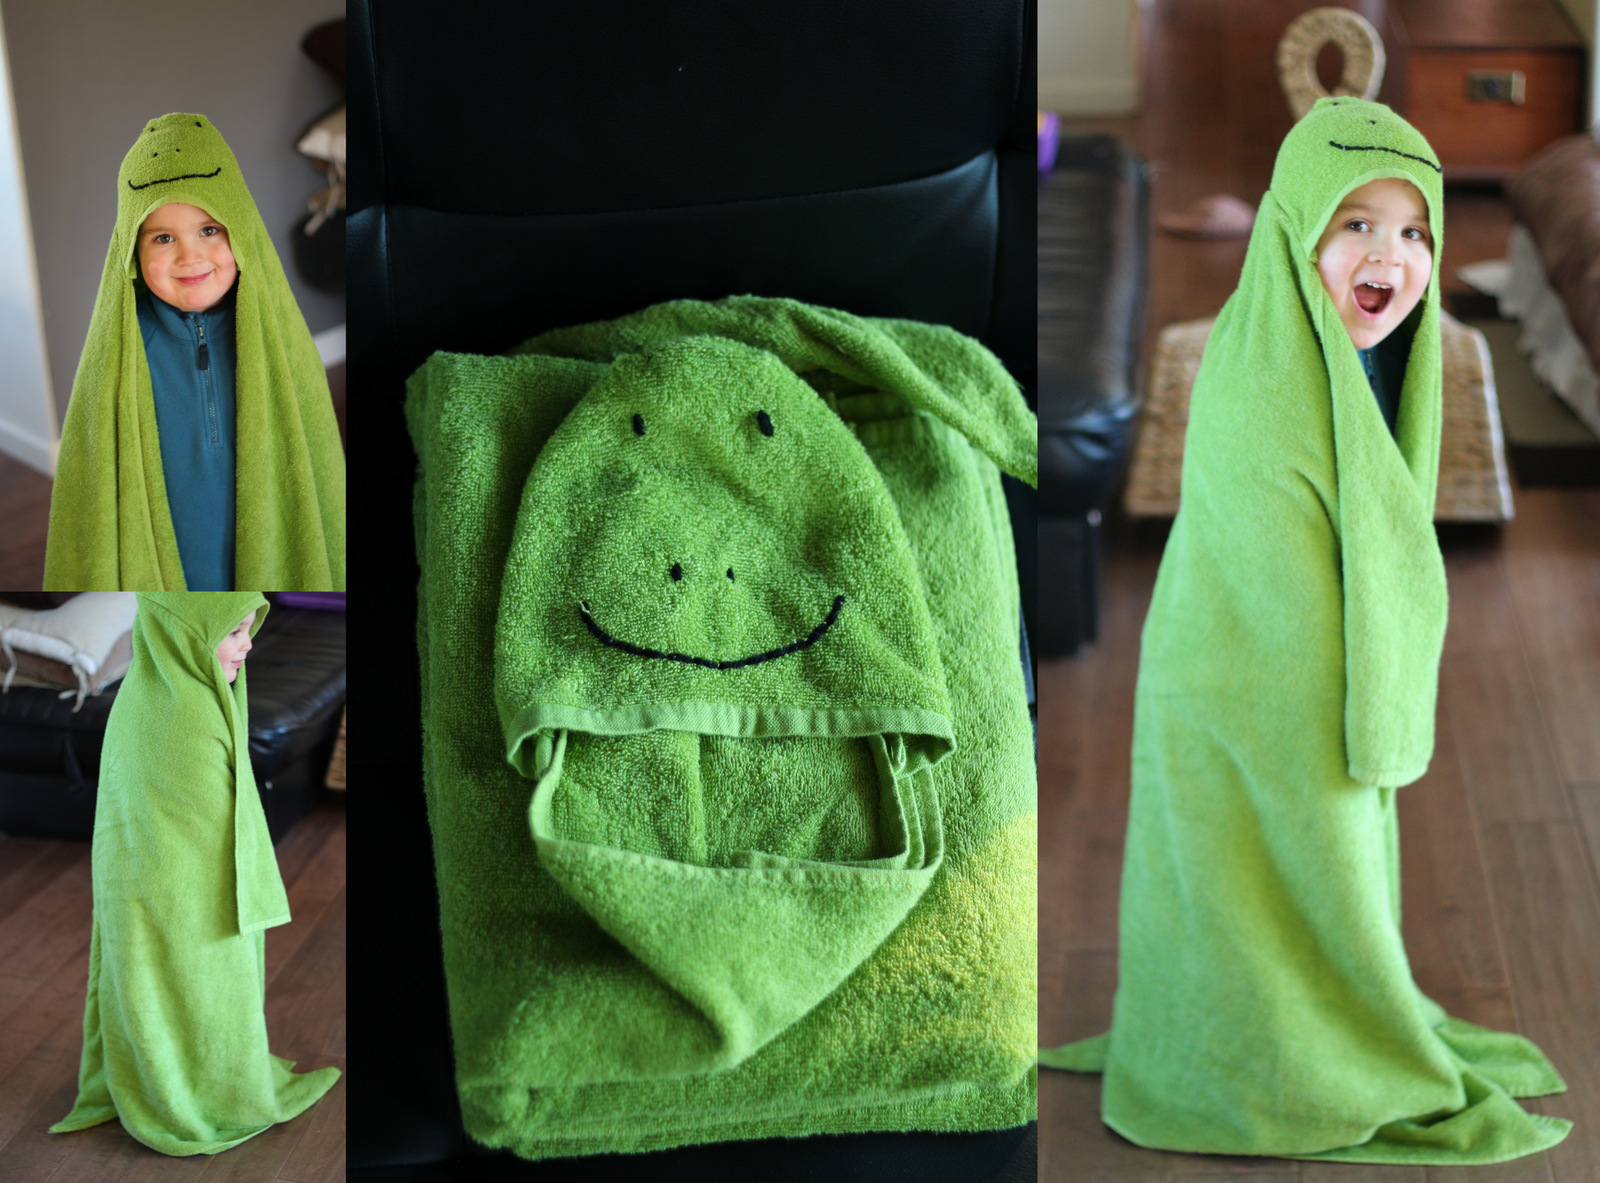
He loved it and proceeded to wag his dinosaur tail around and growl. It was fast and easy to make and was made from just a standard size towel and a hand towel. I’ll tell you how I did it here in case you’d like to try it! Let me know if you do. I’d love to see how they come out. Also, I must really apologize for my camera. I had major focusing/depth of field issues which were not helped by the fact that I was making this 2 days before Christmas and it was a cloudy dark day.
Dinosaur Hooded Towel
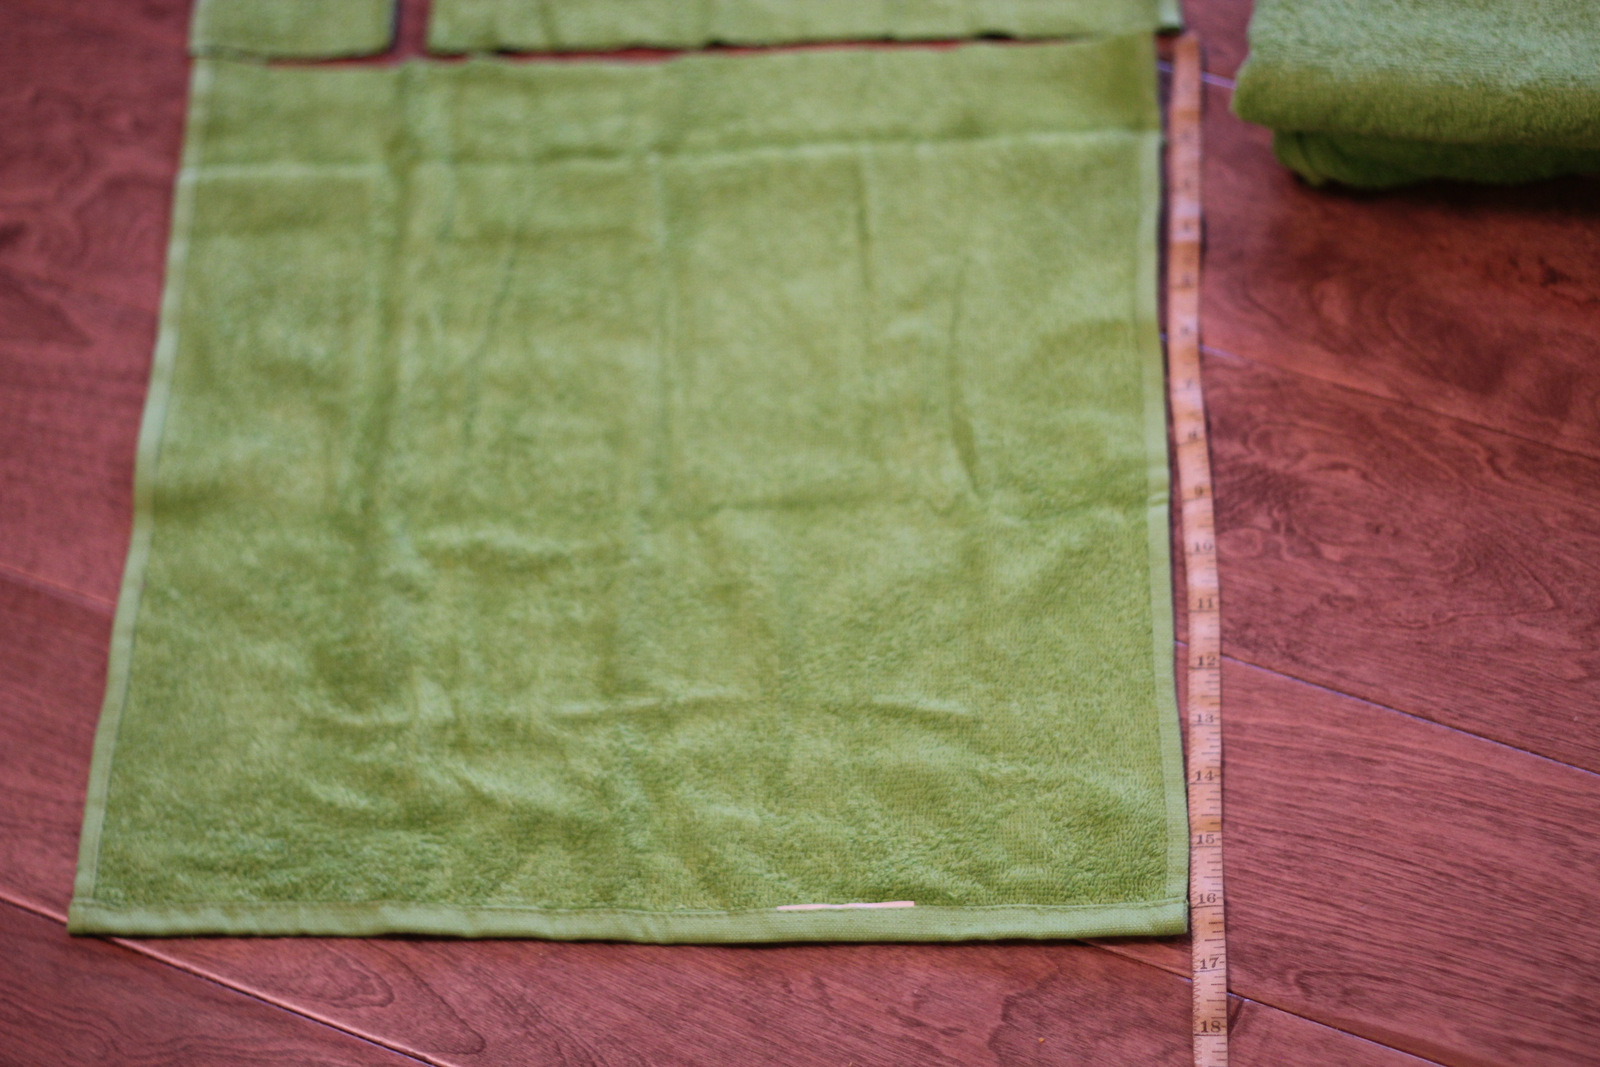
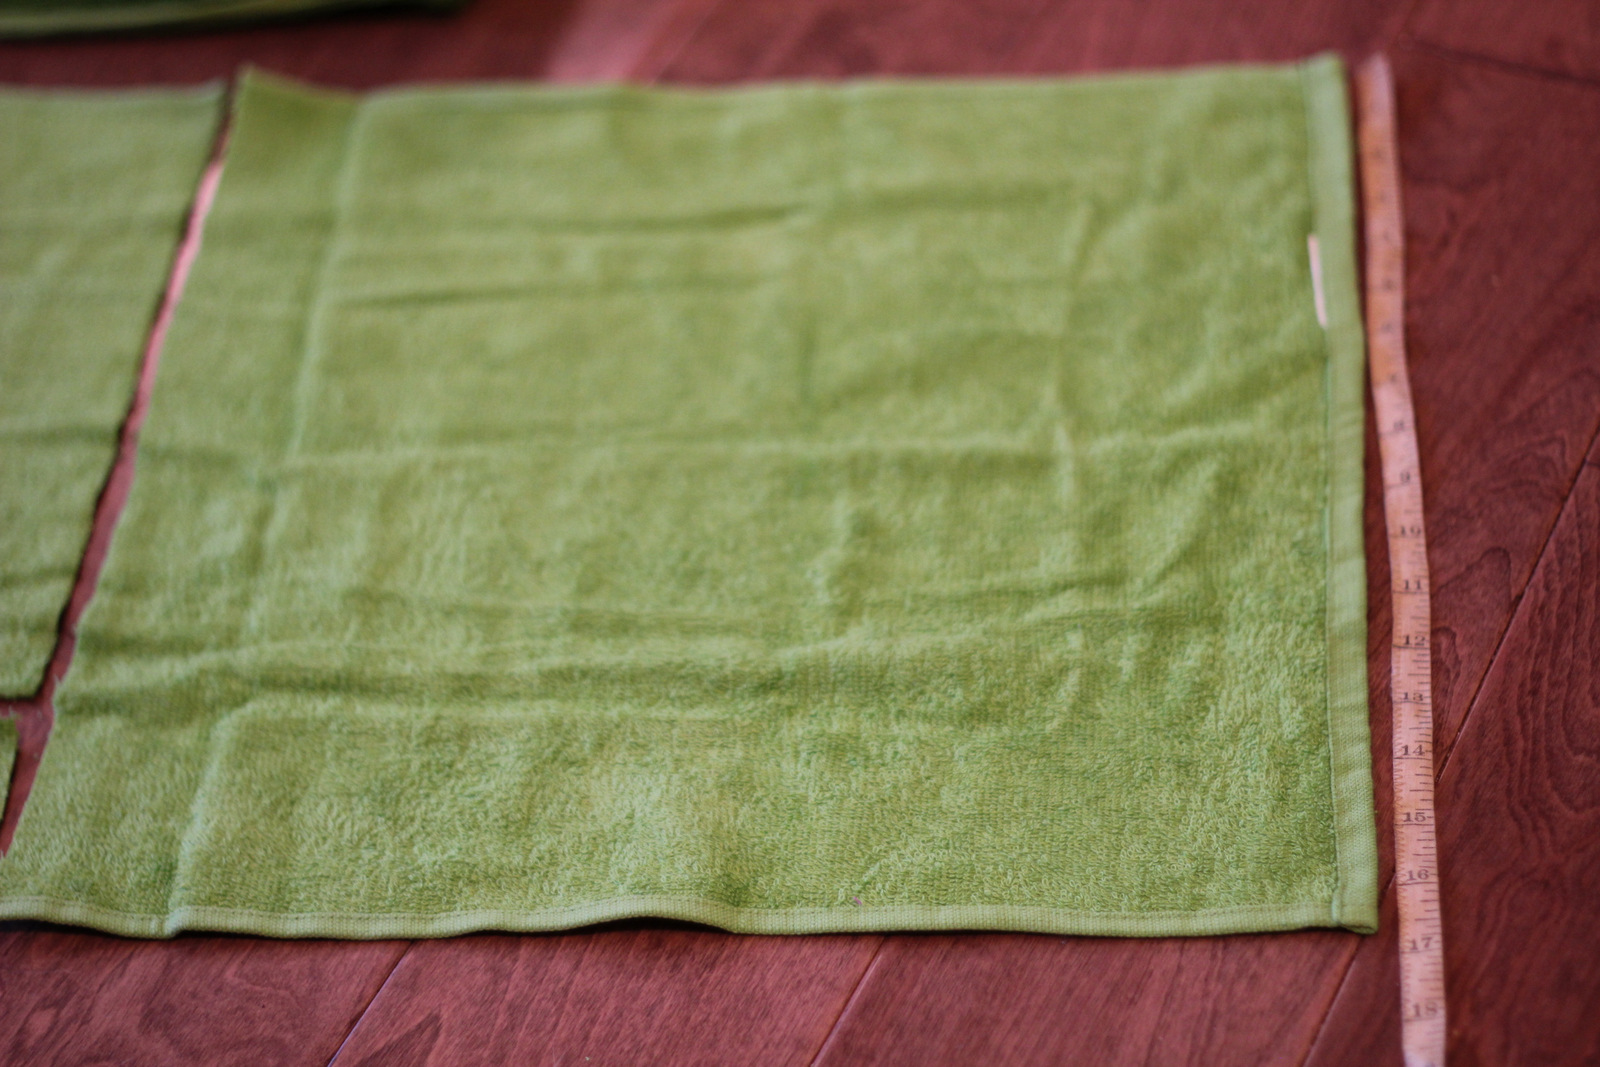
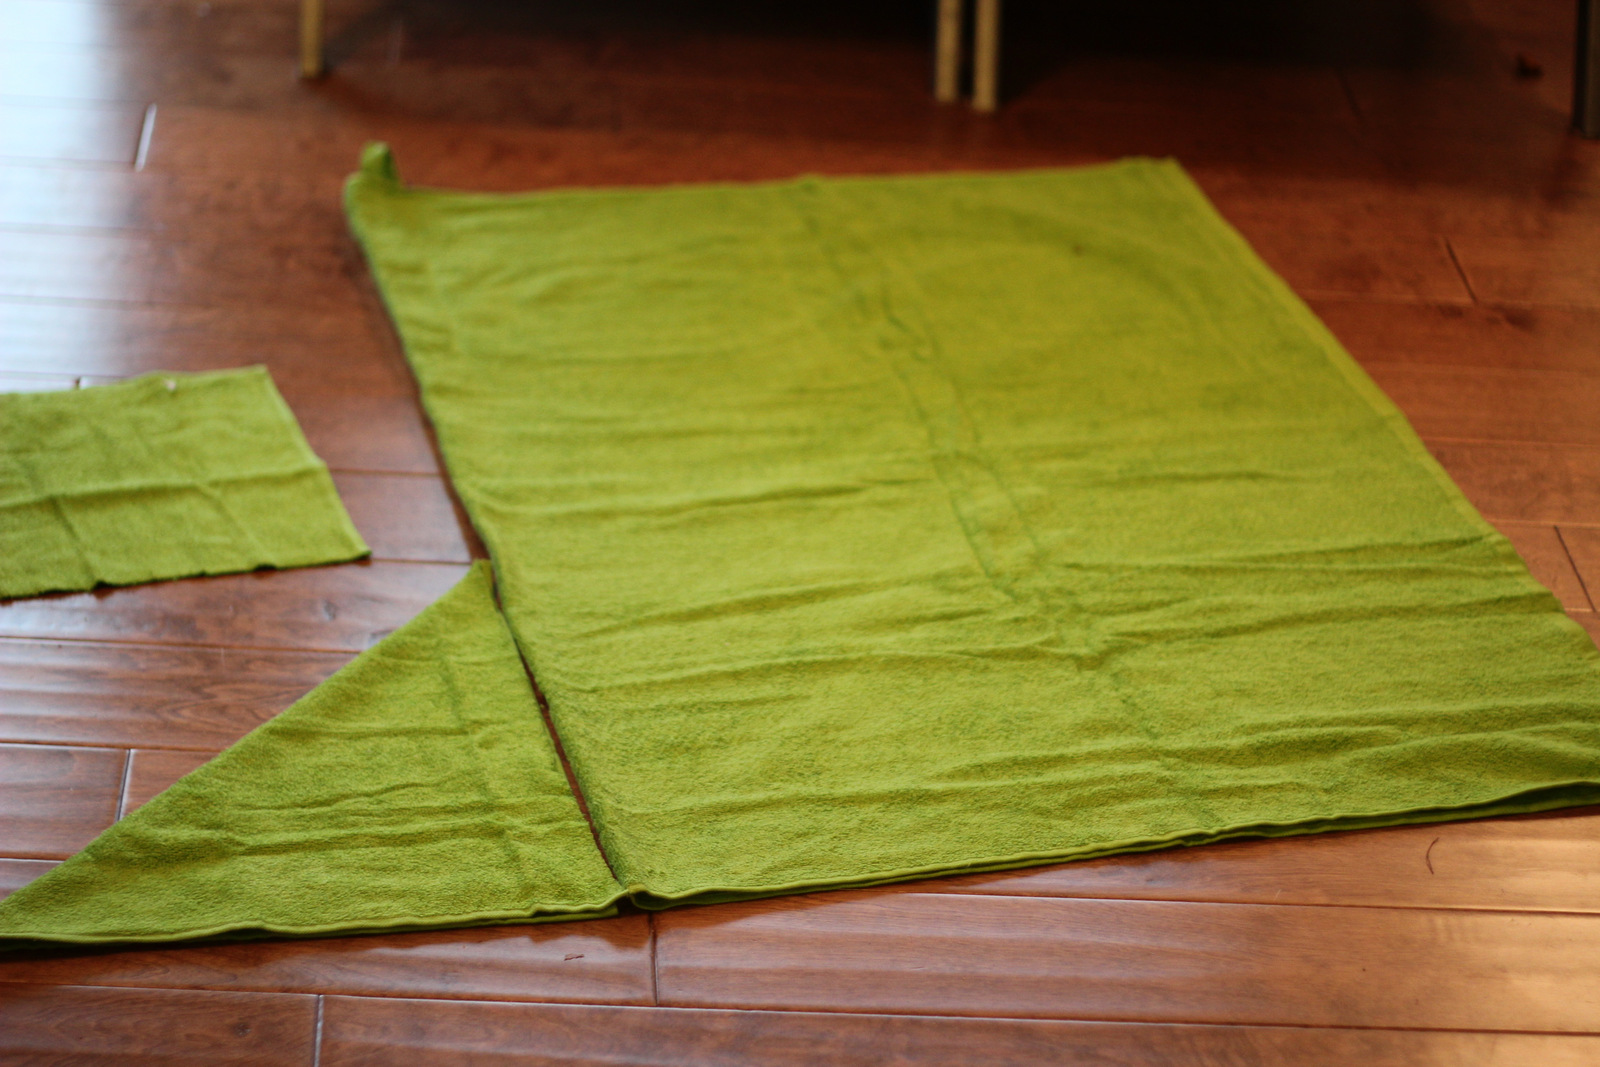
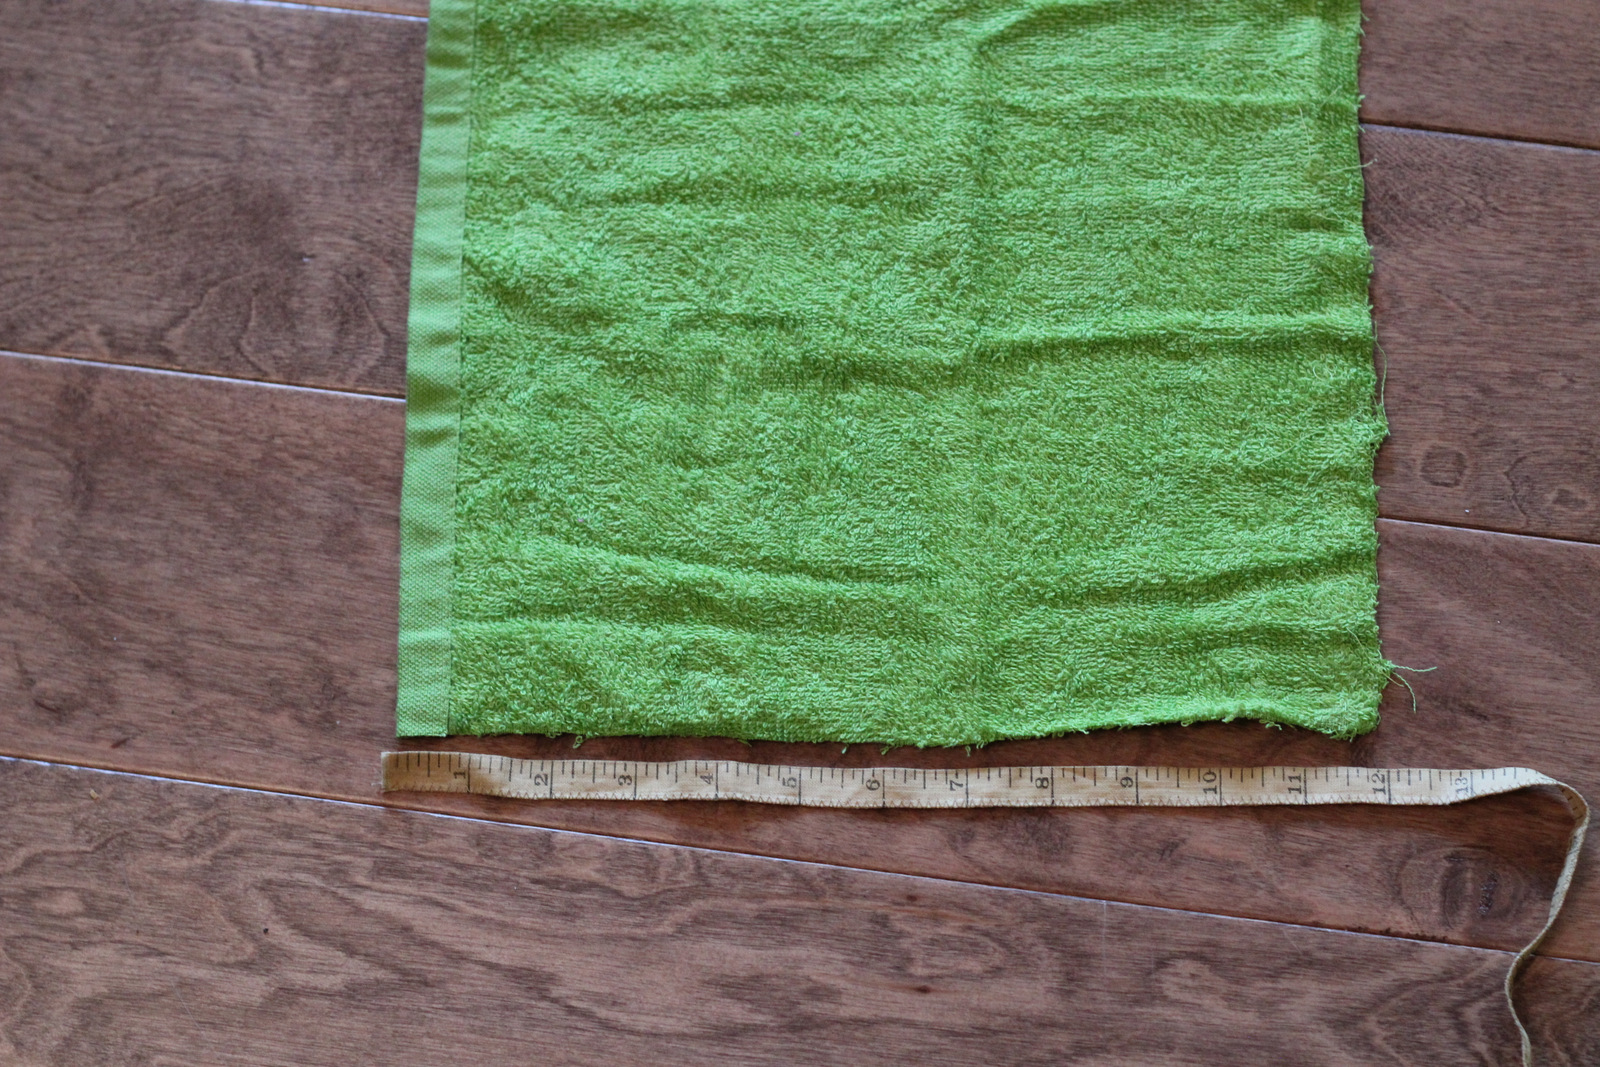
TutorialFirst, I cut out a 12 inch by 13 inch rectangle from one end of the hand towel.
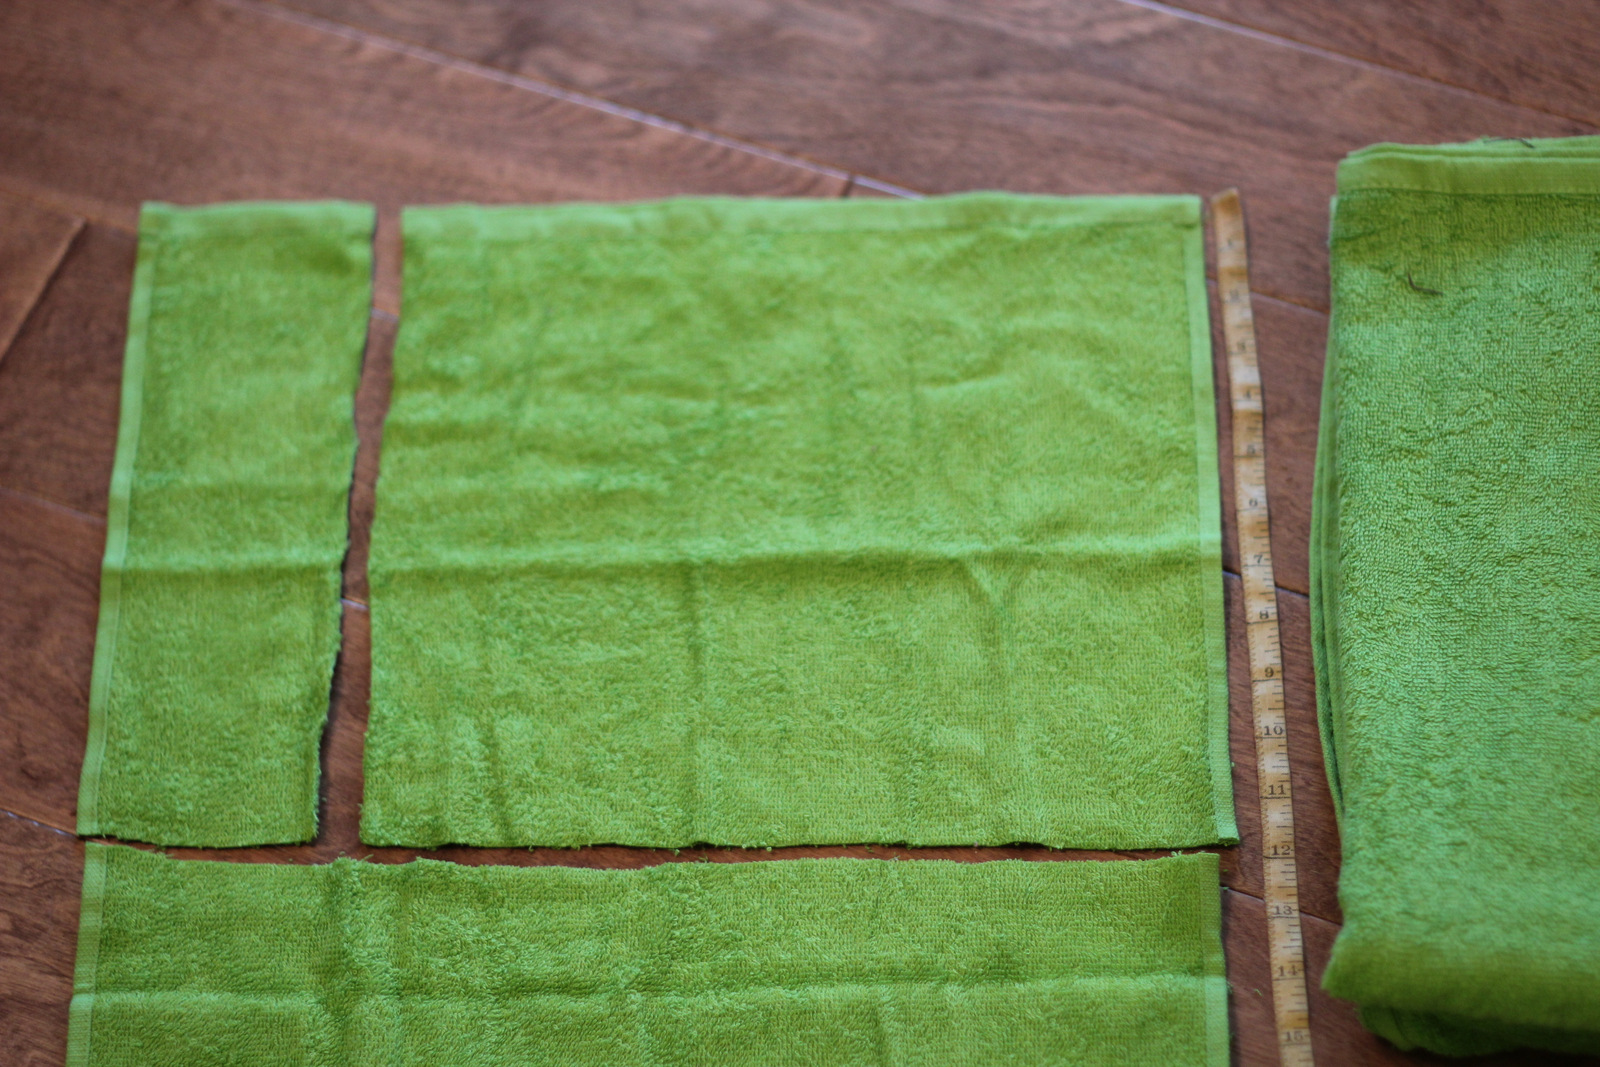
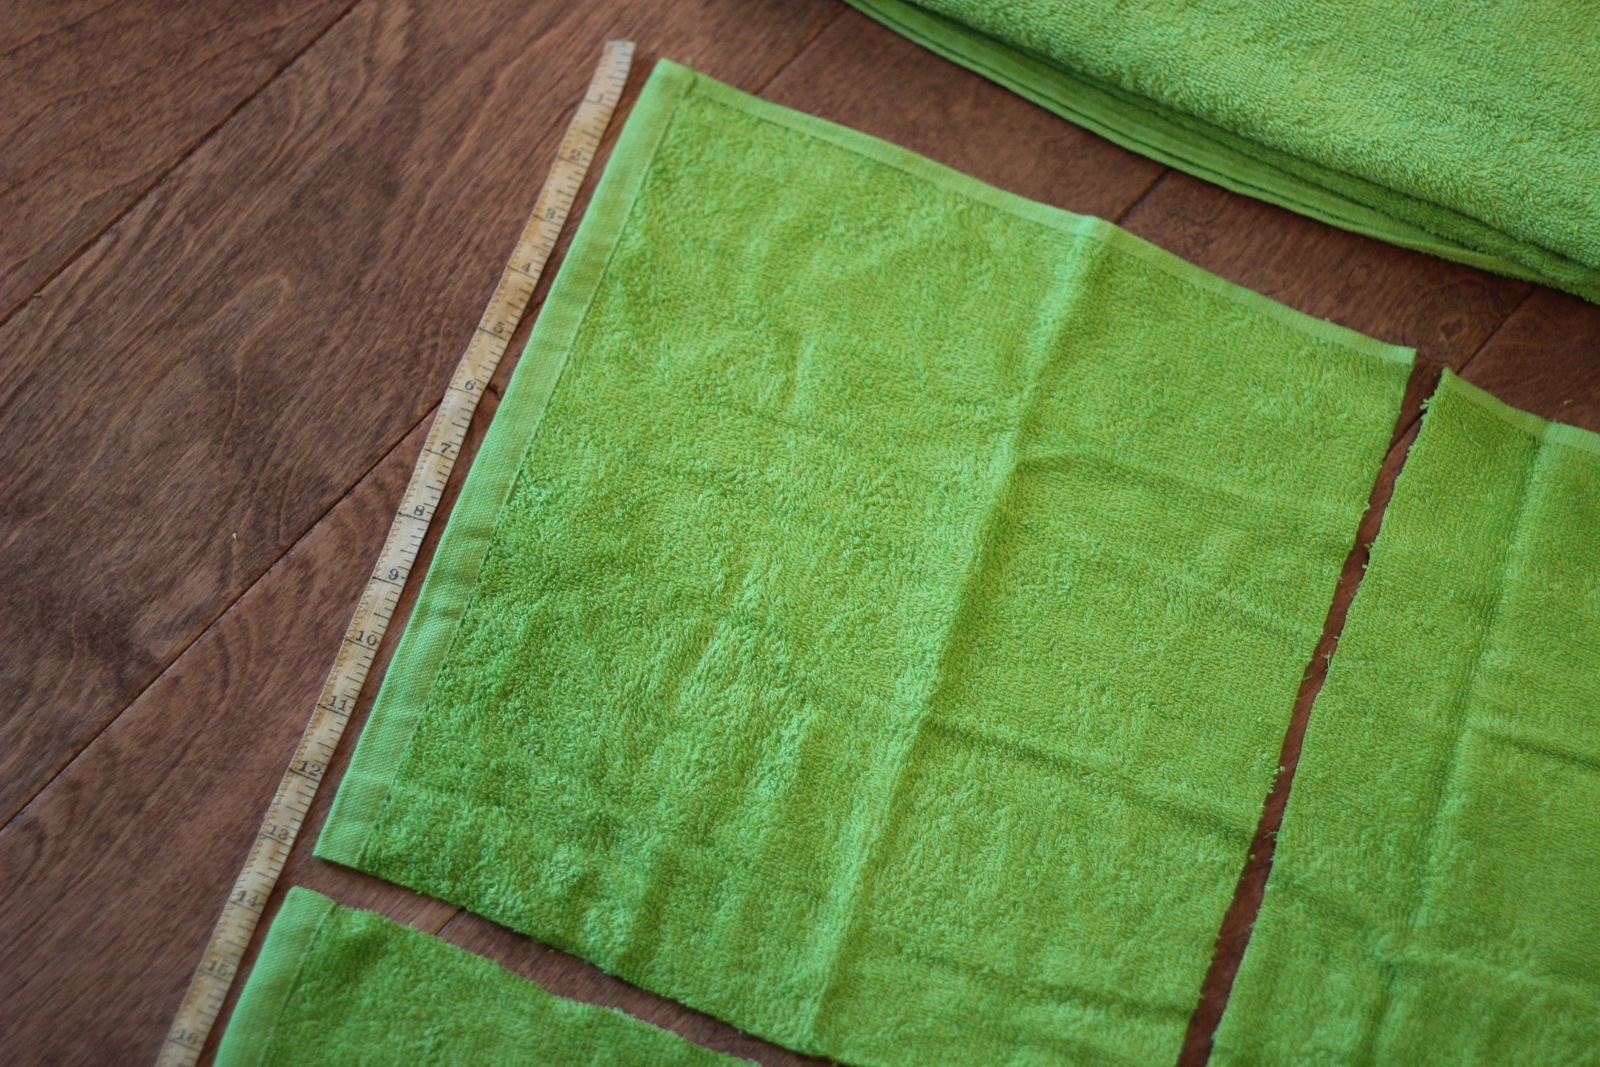
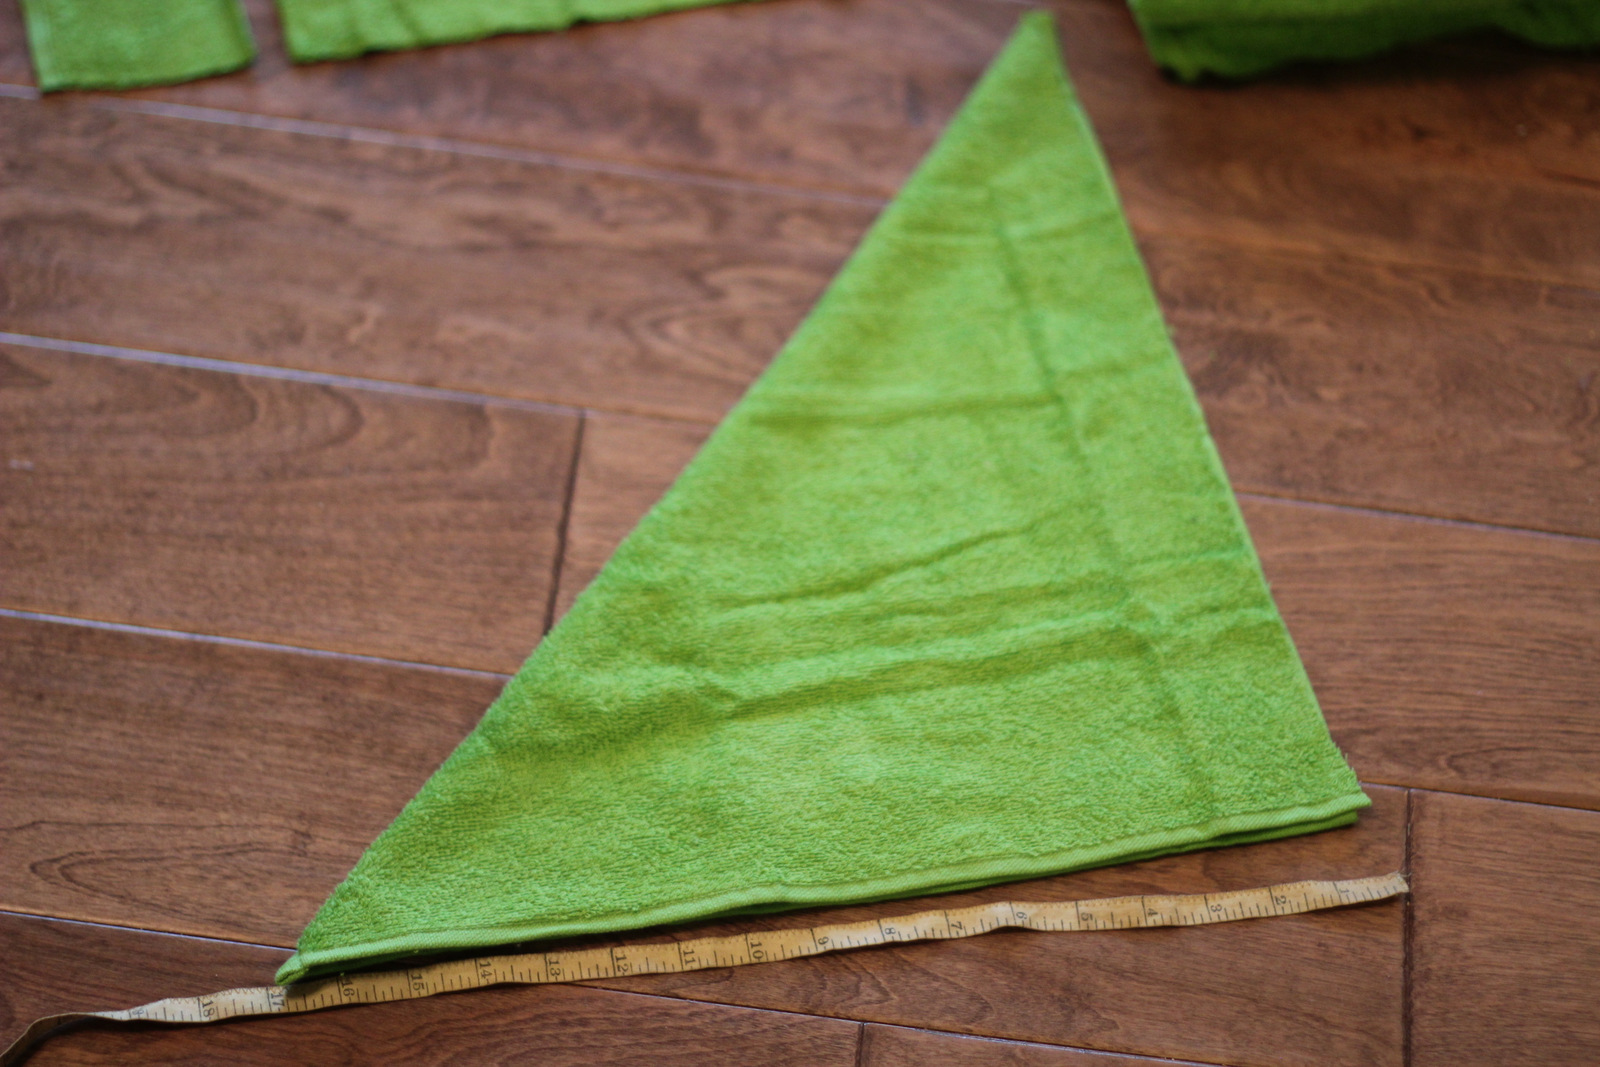
Then a 16 1/2 inch square from the other end of hand towel. I discarded the unused portion of the hand towel (that thin little rectangular piece).
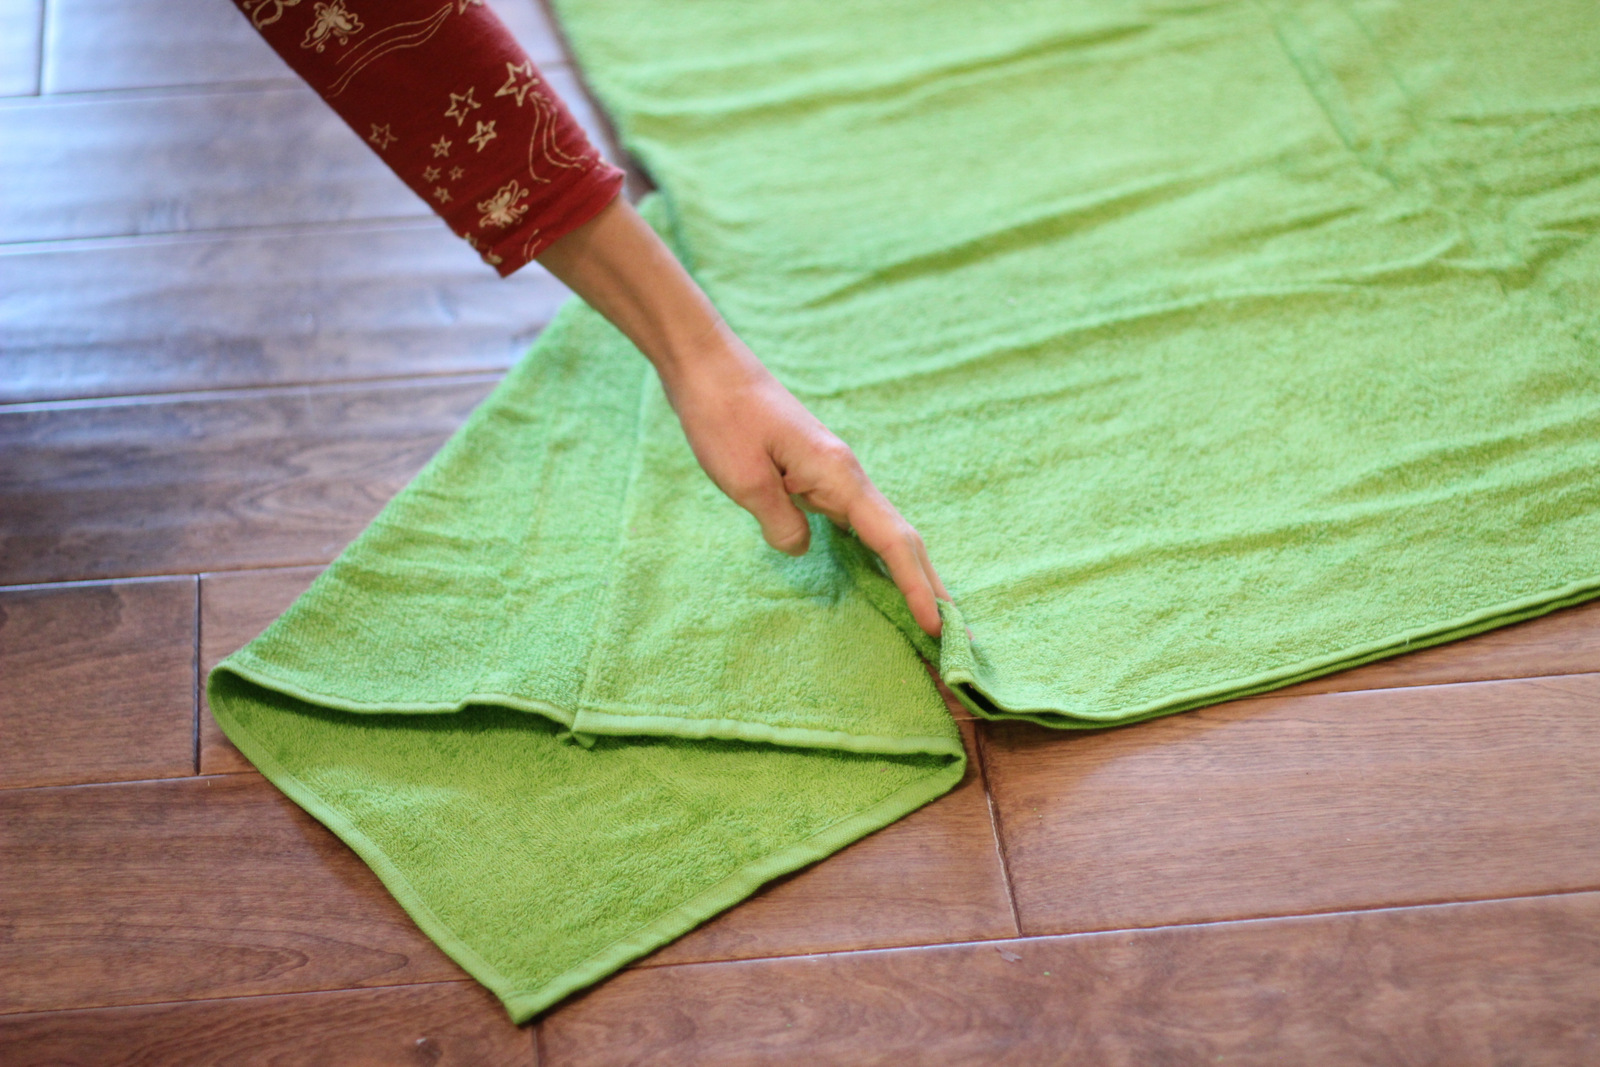
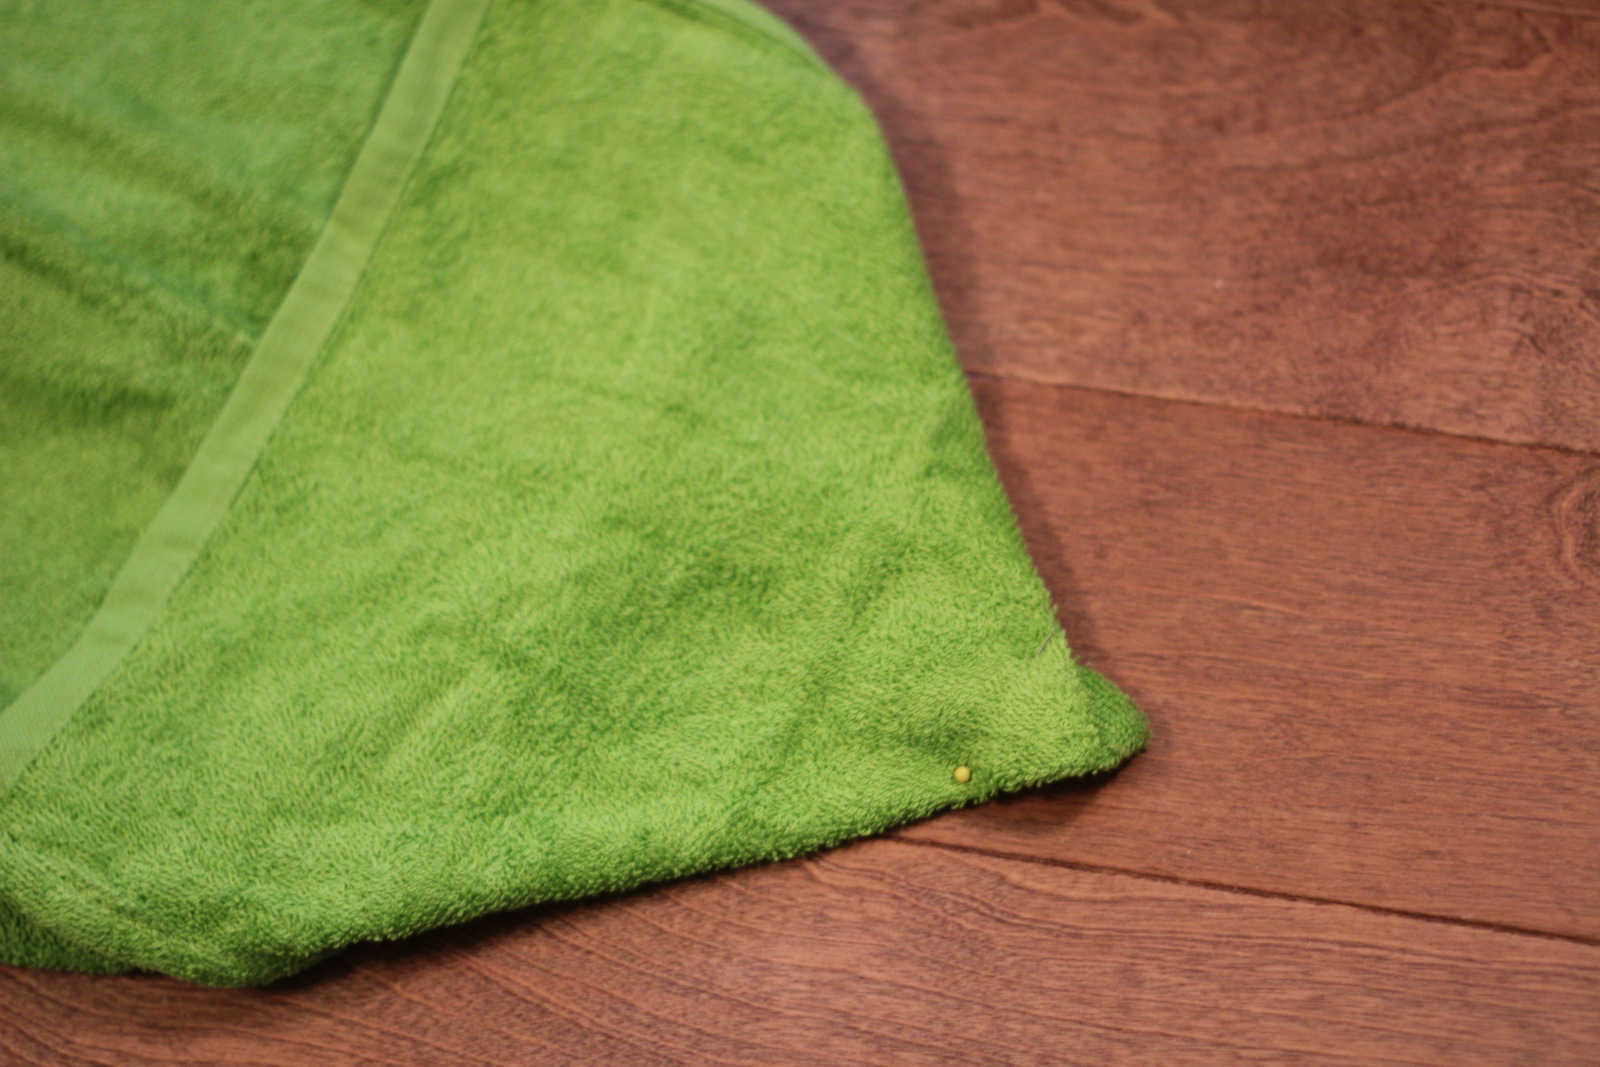
Then I made the tail by folding the 16 1/2 inch square in half diagonally. Next, I sewed up the side of the triangle that had the raw edge.
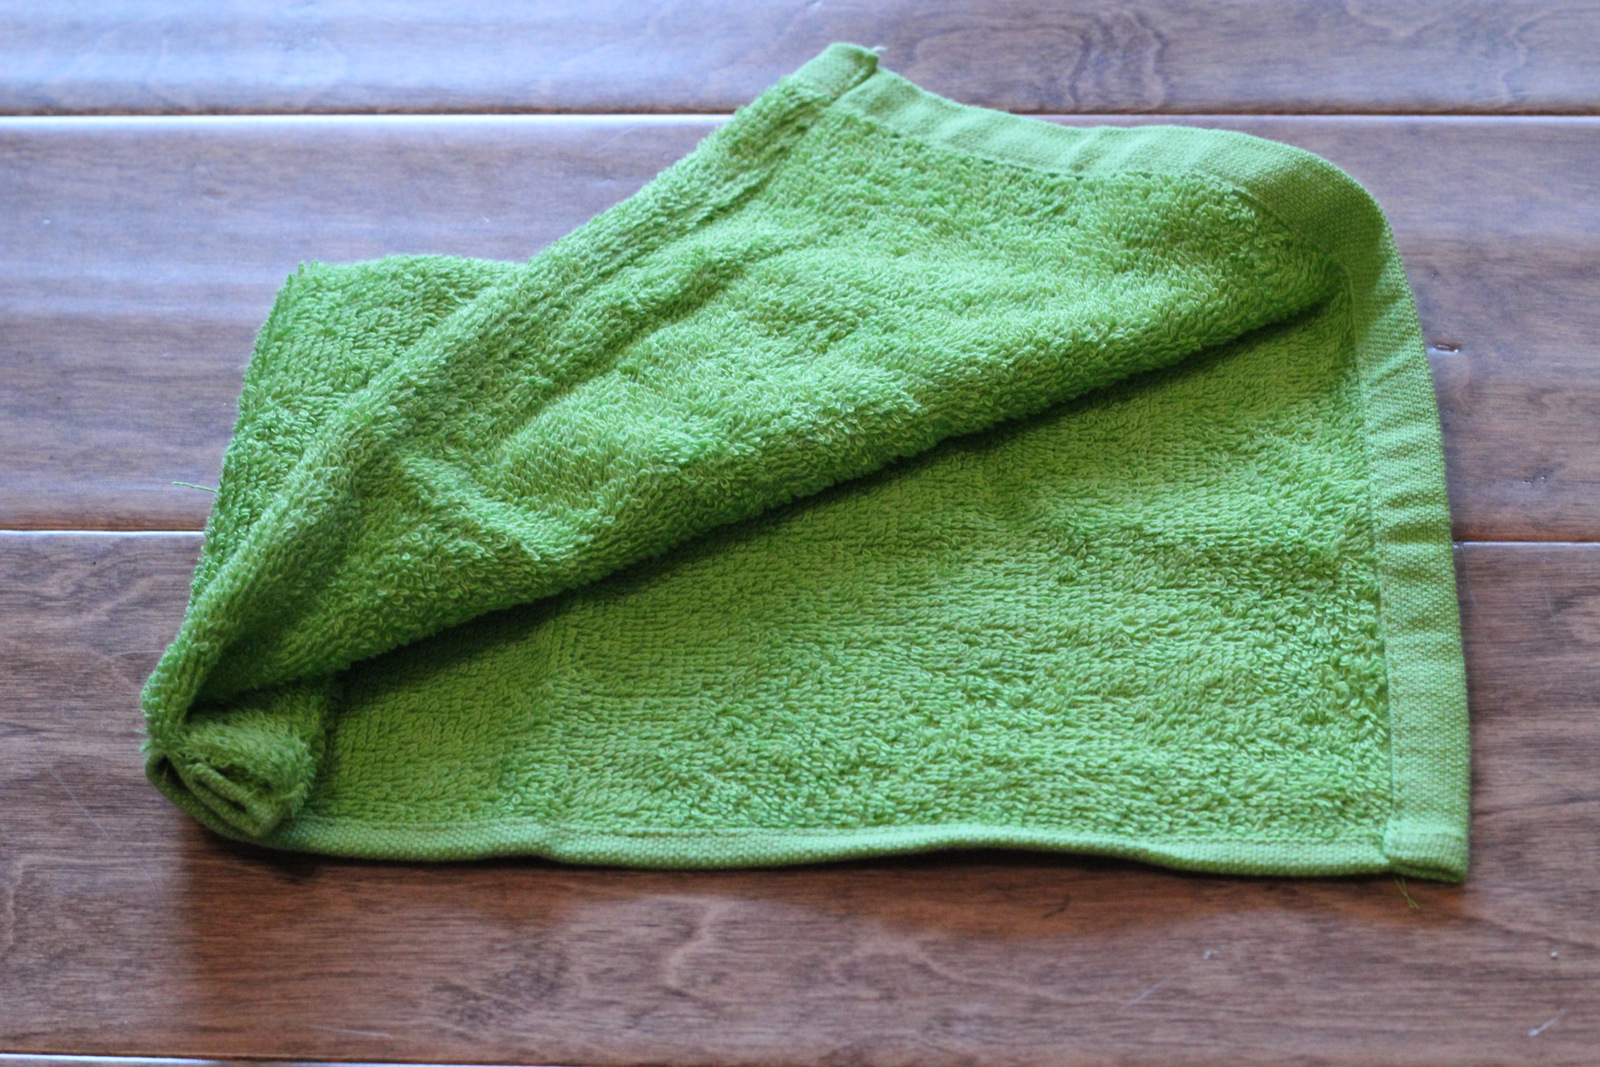
Then I took the standard size towel, folded it in half and I laid out the tail where it would be fastened (at the middle bottom of the towel.)
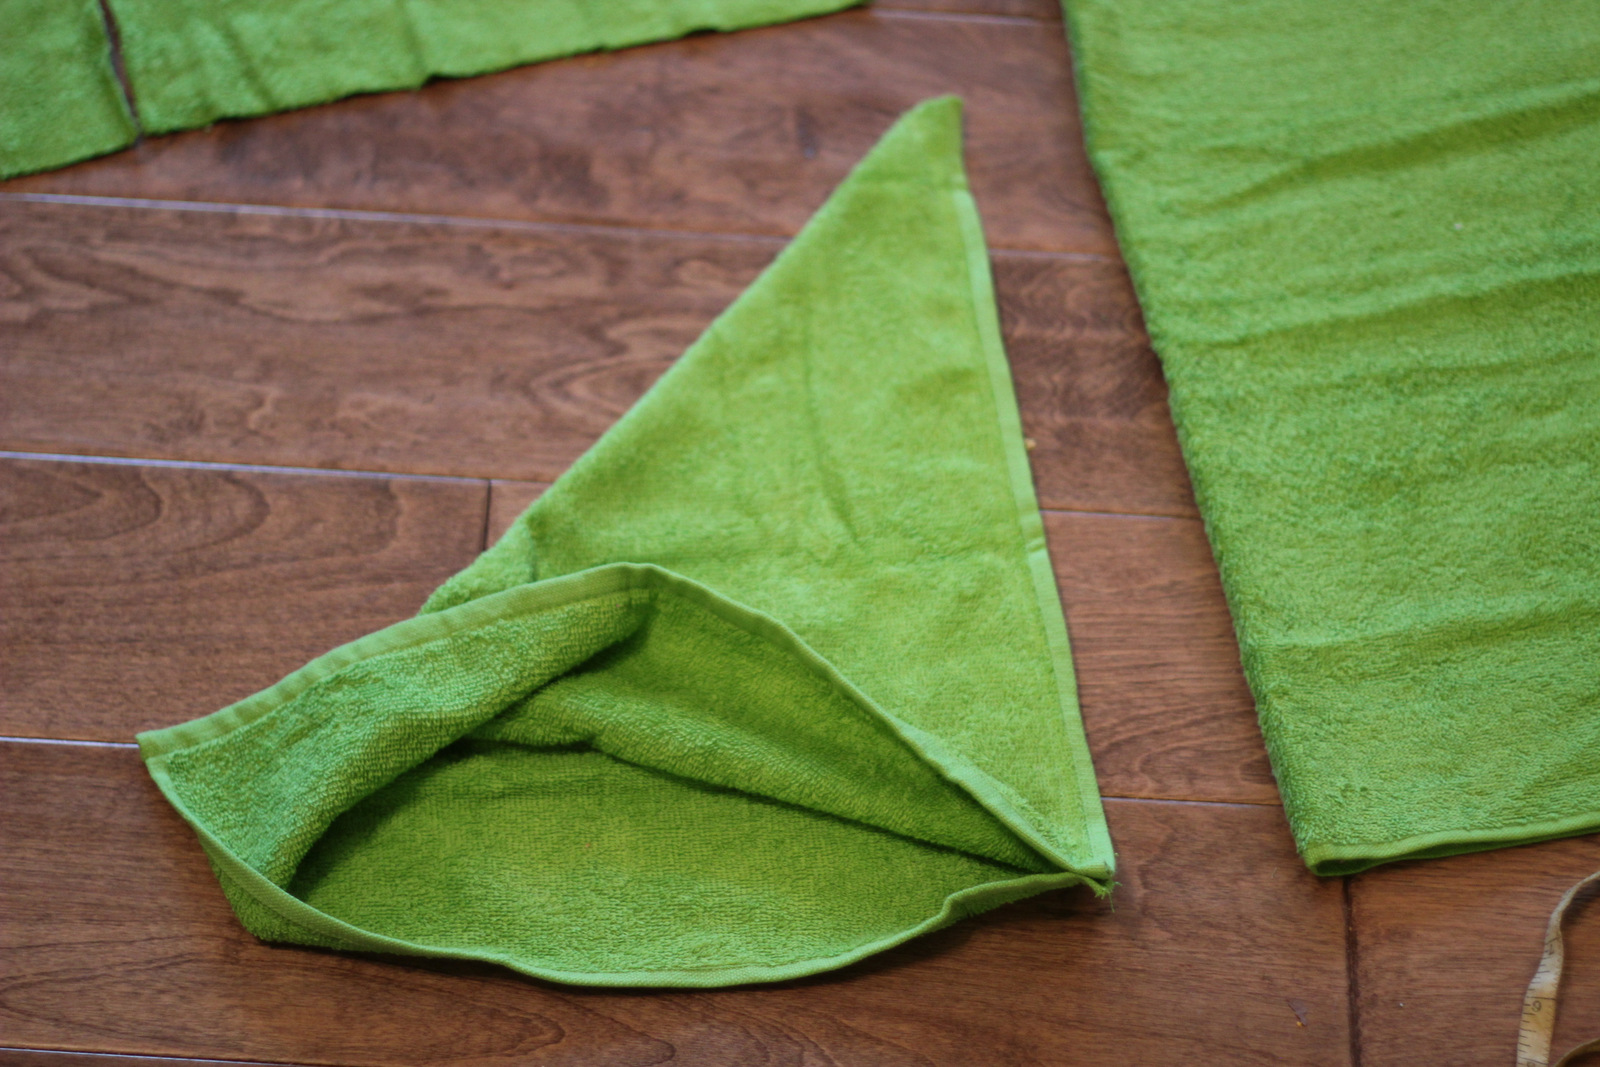
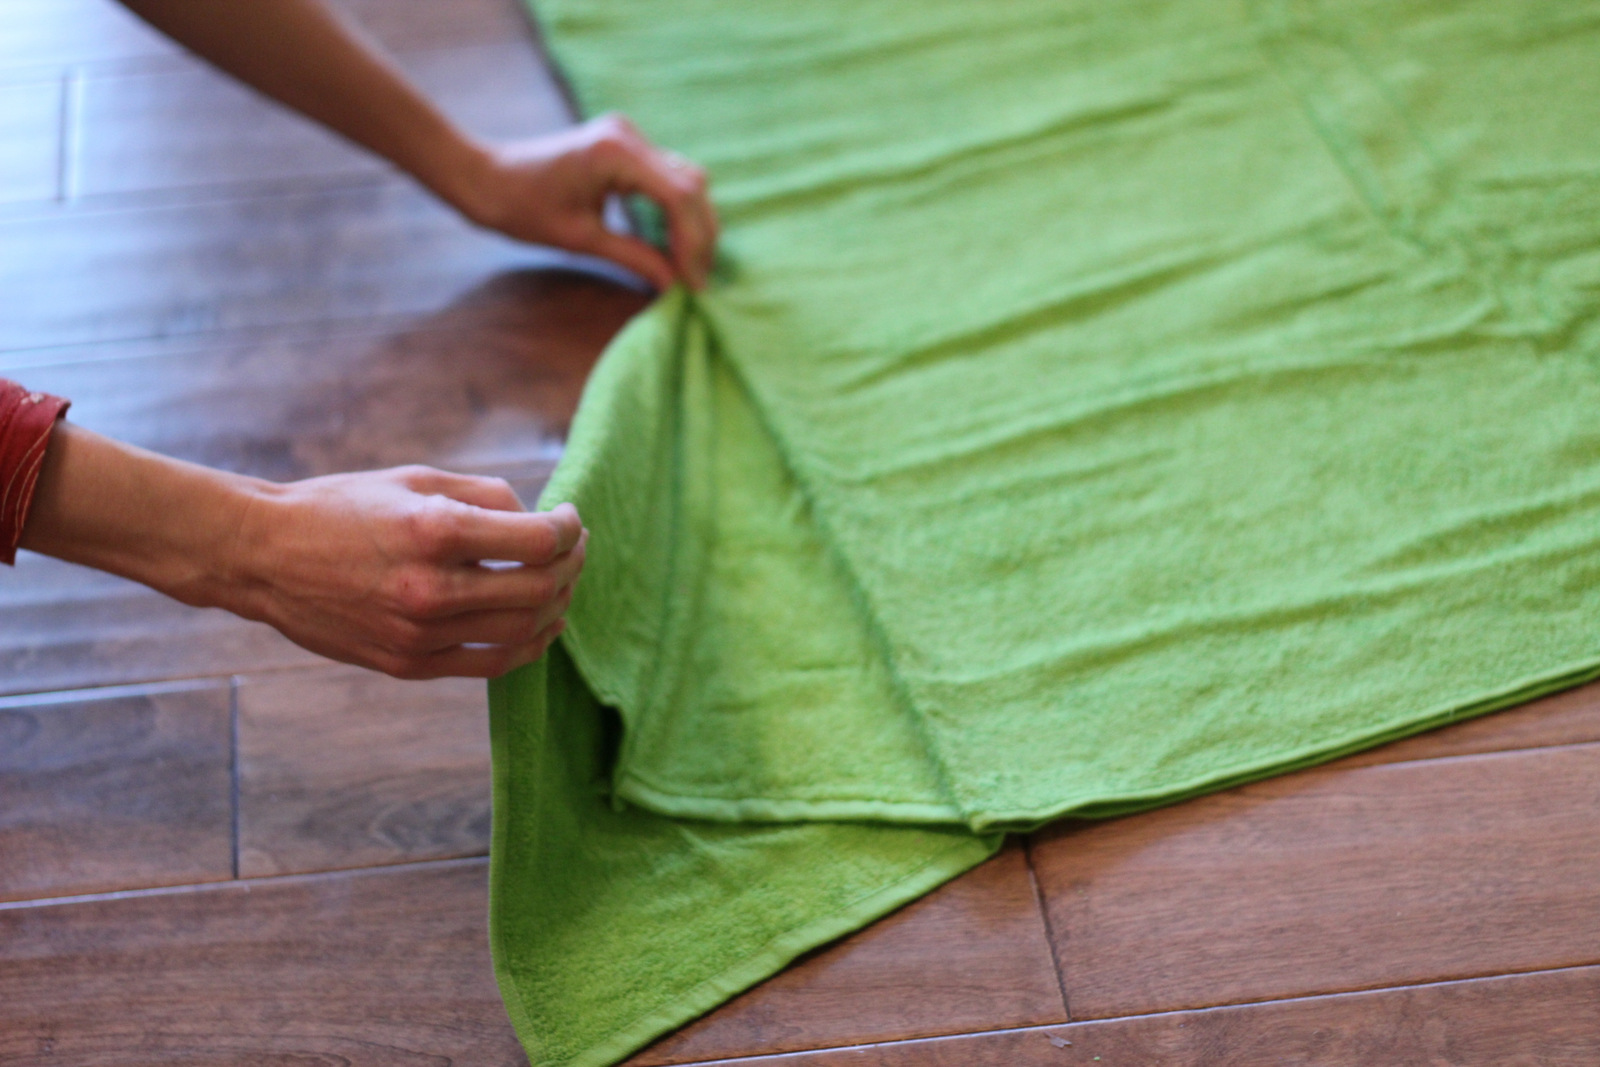
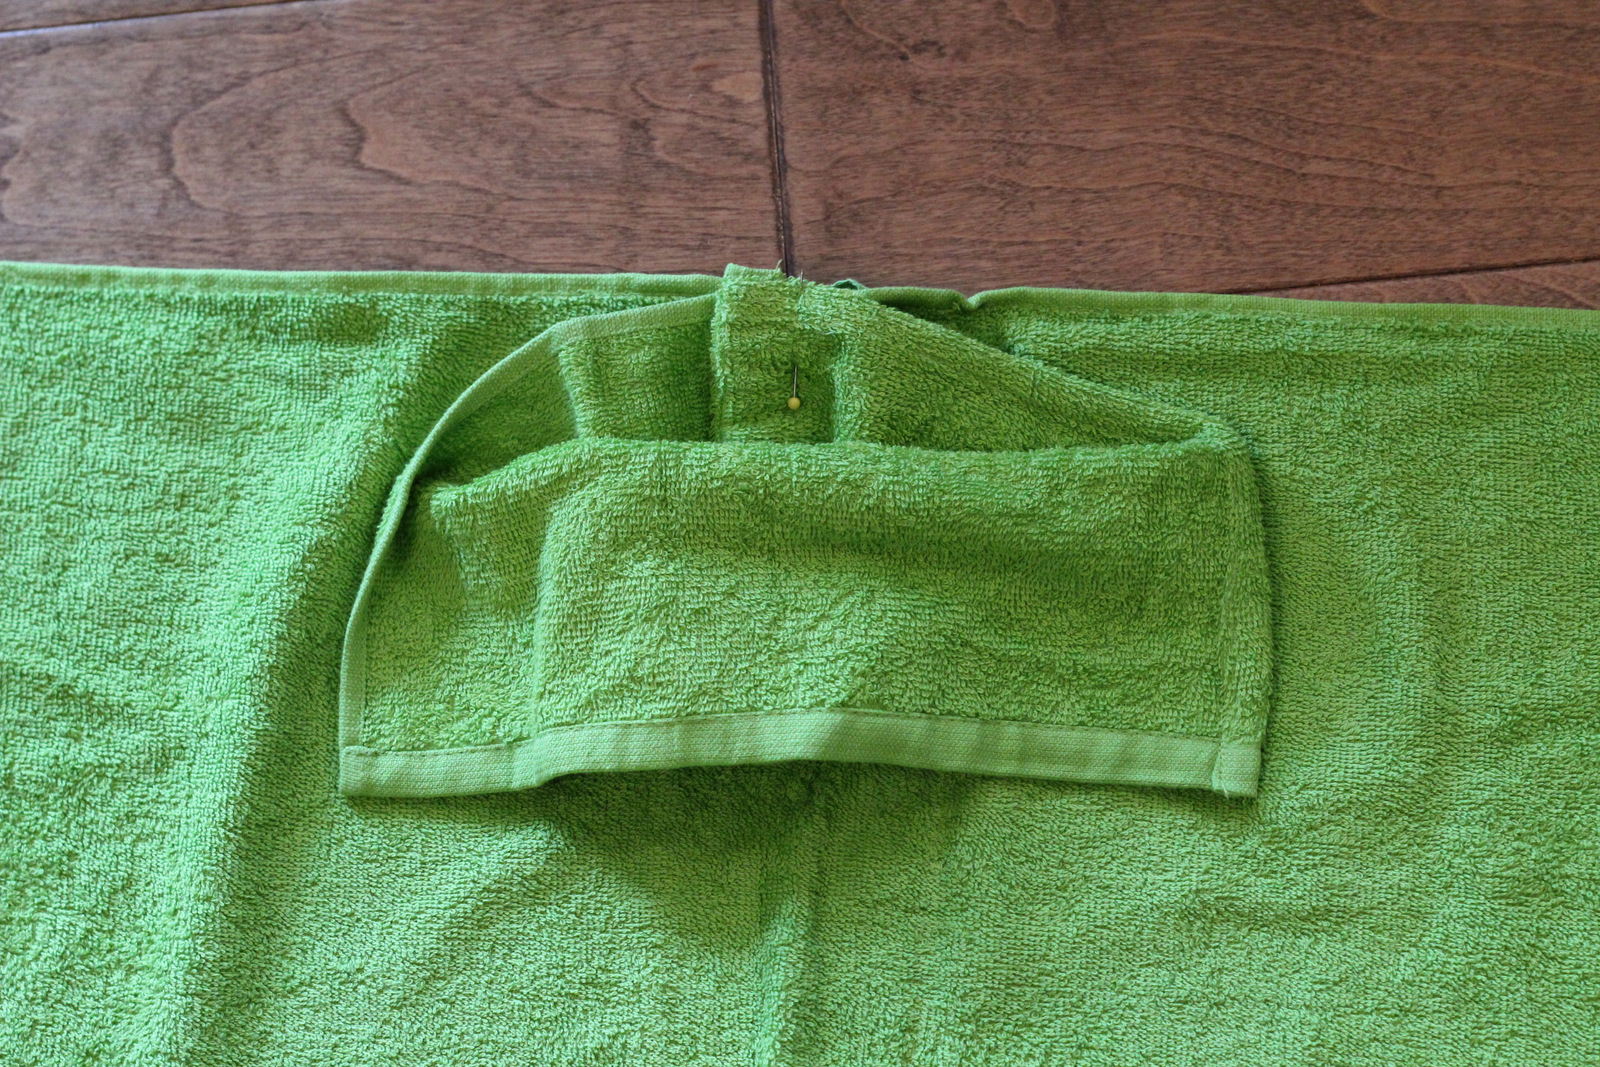
I wanted the tail to hang down a little more than that so I wanted to change my triangle a little. You can leave yours a right angle triangle if you want and just skip to the next step or you can fold in the edge you just sewed some to get a tail that will hang down more. There’s probably some origami name to this fold but I don’t know it. I just opened it up like in the picture and centered the seam…
 |
| opening it… |
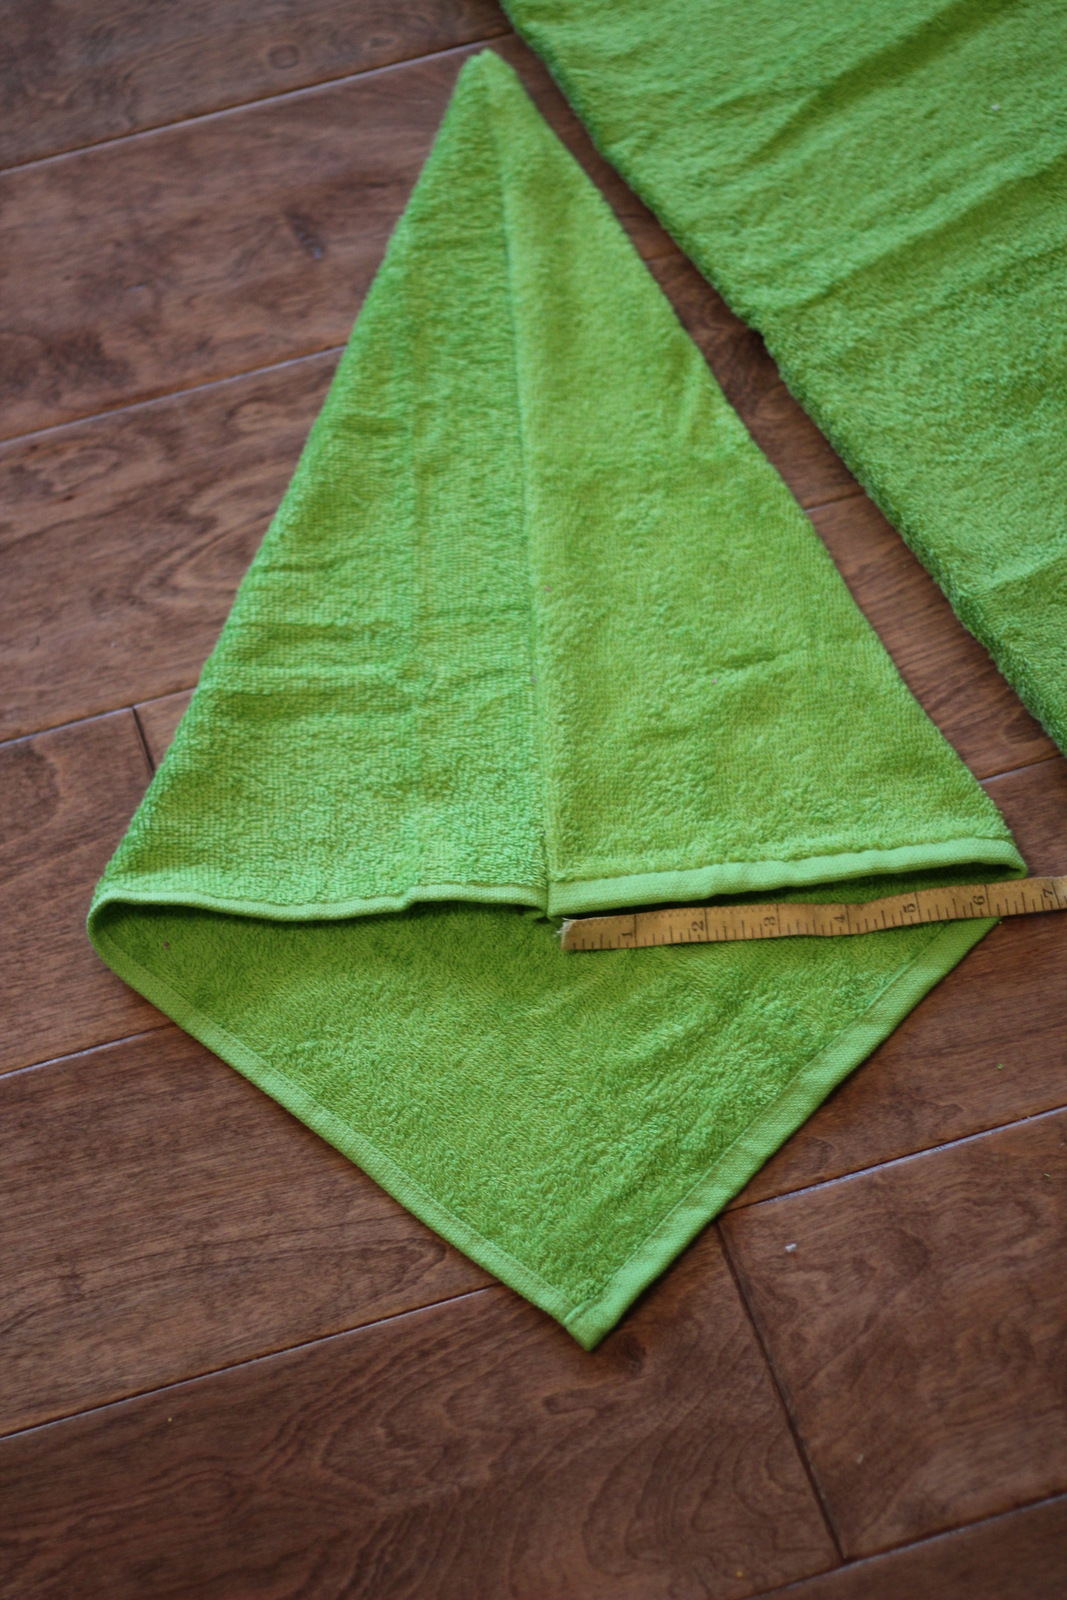
Then I tucked the edge under the edge of the large towel.
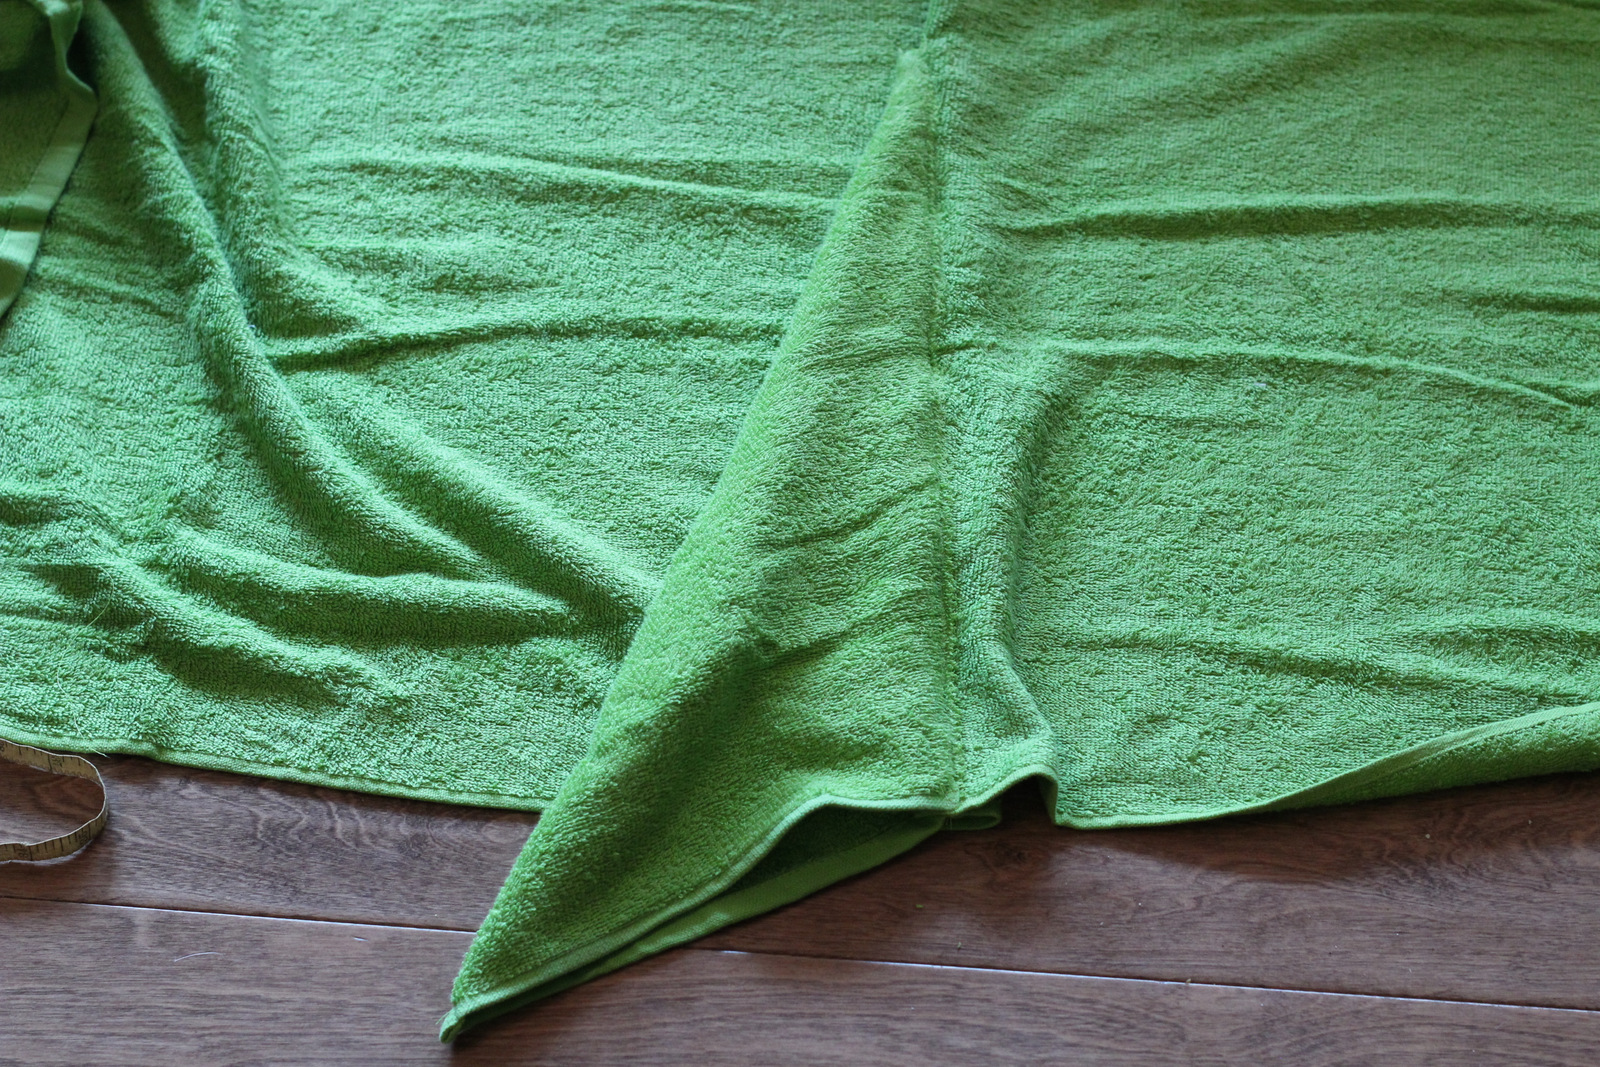
Then I folded it back together again making sure the top edge went over the towel a bit.

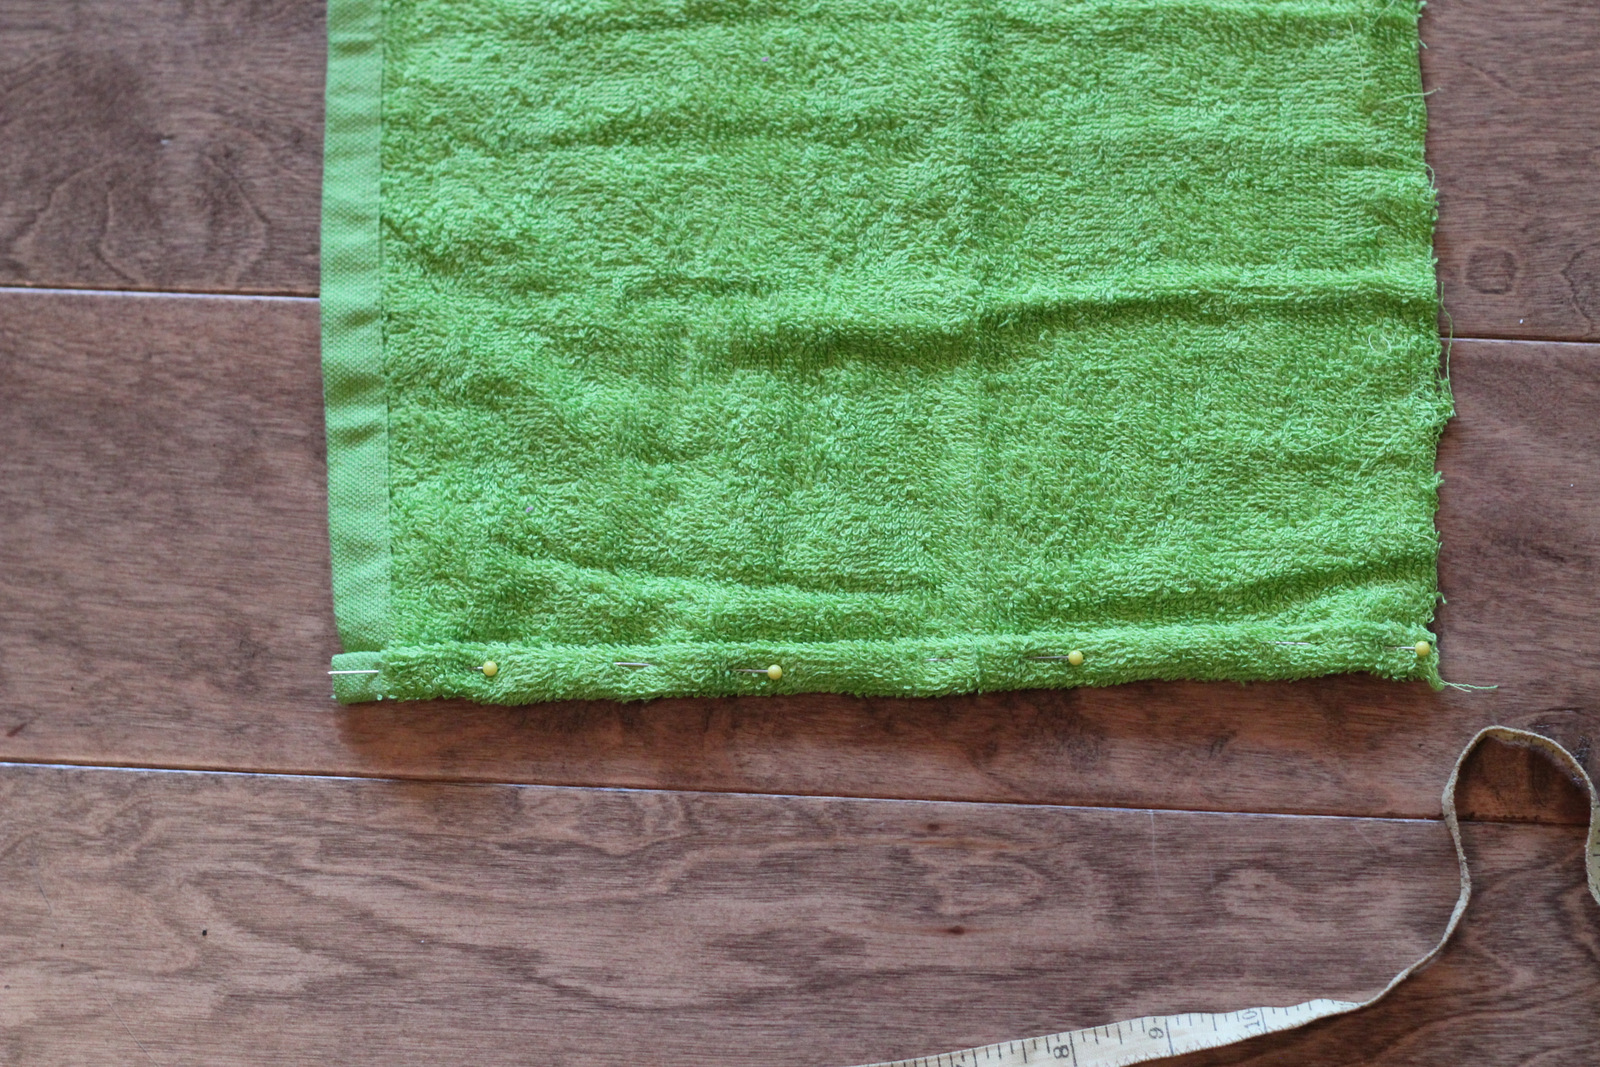
This sandwiched the towel between the two layers of the tail. Then I pinned this all in place and sewed it together. I reinforced it well at the top of the tail.
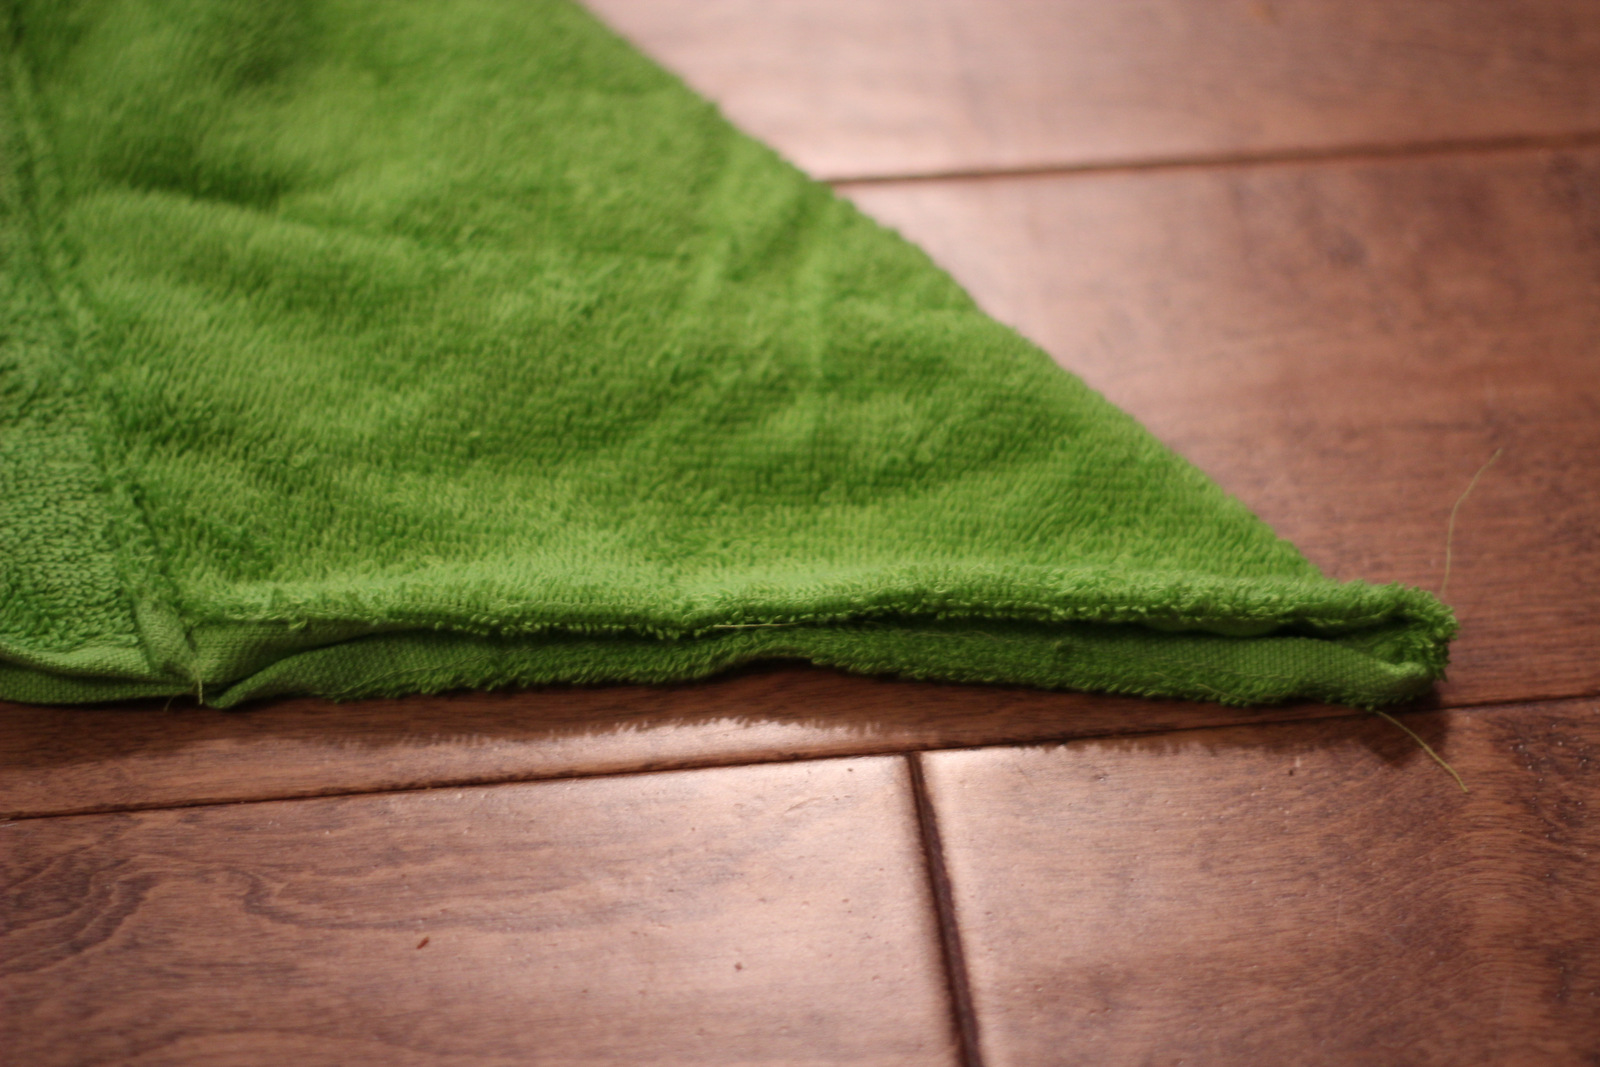
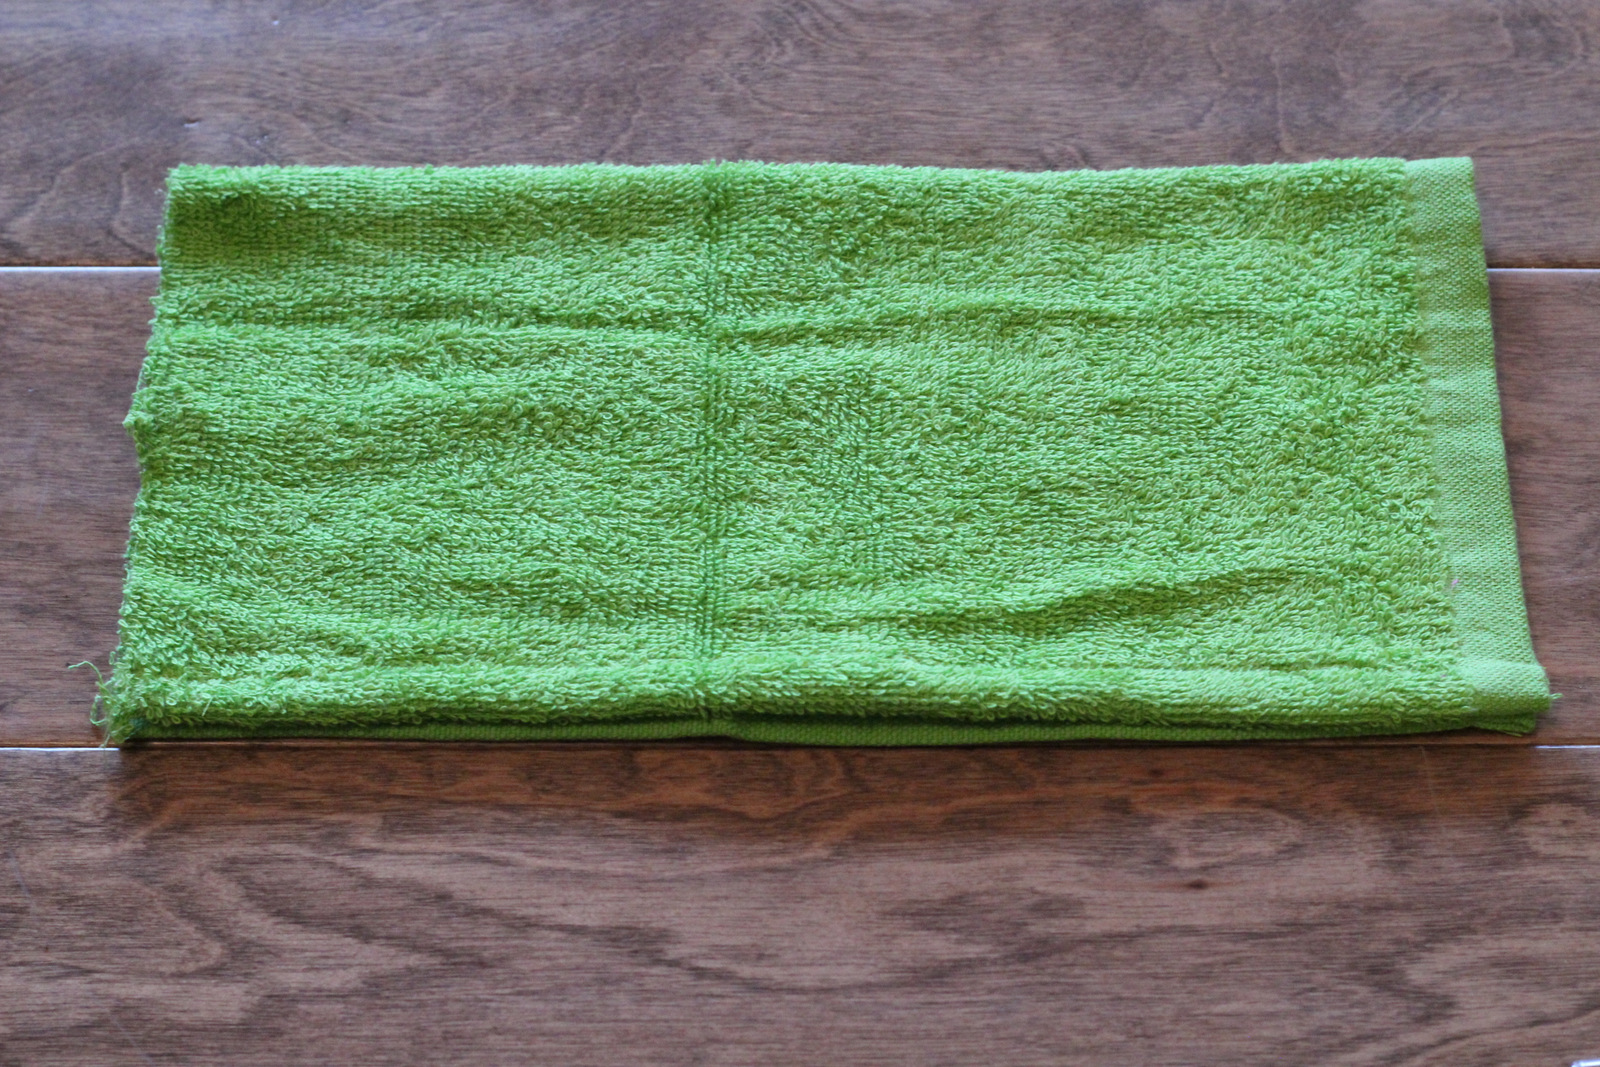
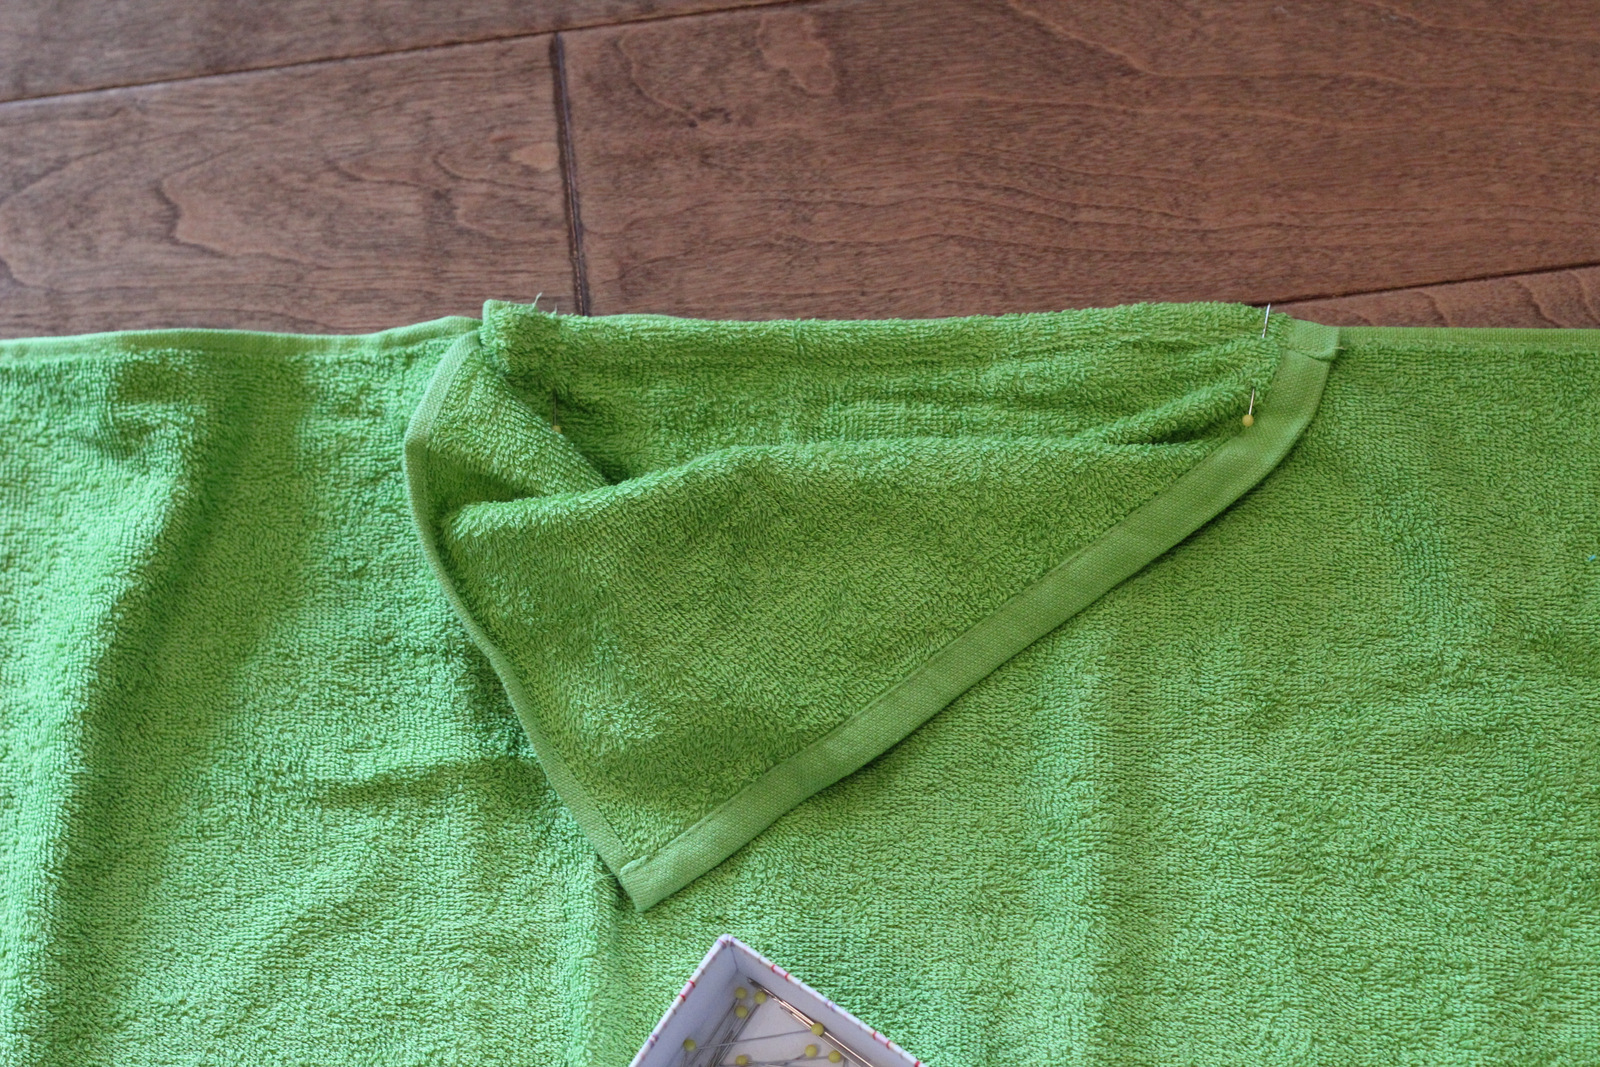
Then I sewed up the bottom of the tail to close it. I turned up the seams to the inside before sewing because I liked that look but you could just sew it together if you want.
The tail was done and it was time to move on to the hood. To make the hood I finished the raw 12 inch side of my rectangle by turning it up twice, pinning, and sewing it.
Then I folded the edge I’d just finished over to fold the washcloth in half. I wanted to cover the raw edges in my next seam so I did a french seam. It sounds fancy but really it’s an easy trick. I folded wrong sides together and pinned and sewed along the short side with unfinished edges.
Then I turned this inside out.
Now the right sides are together and I pinned along the same side again (see below) and sewed it.

When you turn it inside out again you will see that the raw edges are inside the seam now and that it is folded into itself. If you can’t get this, no worries! Just follow the instructions from
my monkey towel on how to make the hood… it’s much less brain melting… but is a little more sewing.
Now, with the right side of the hood to the right side of the towel, I matched the center seam of the hood to the center top of the towel and pinned it.
Then I pinned one side of the base of the hood to the side of the towel.
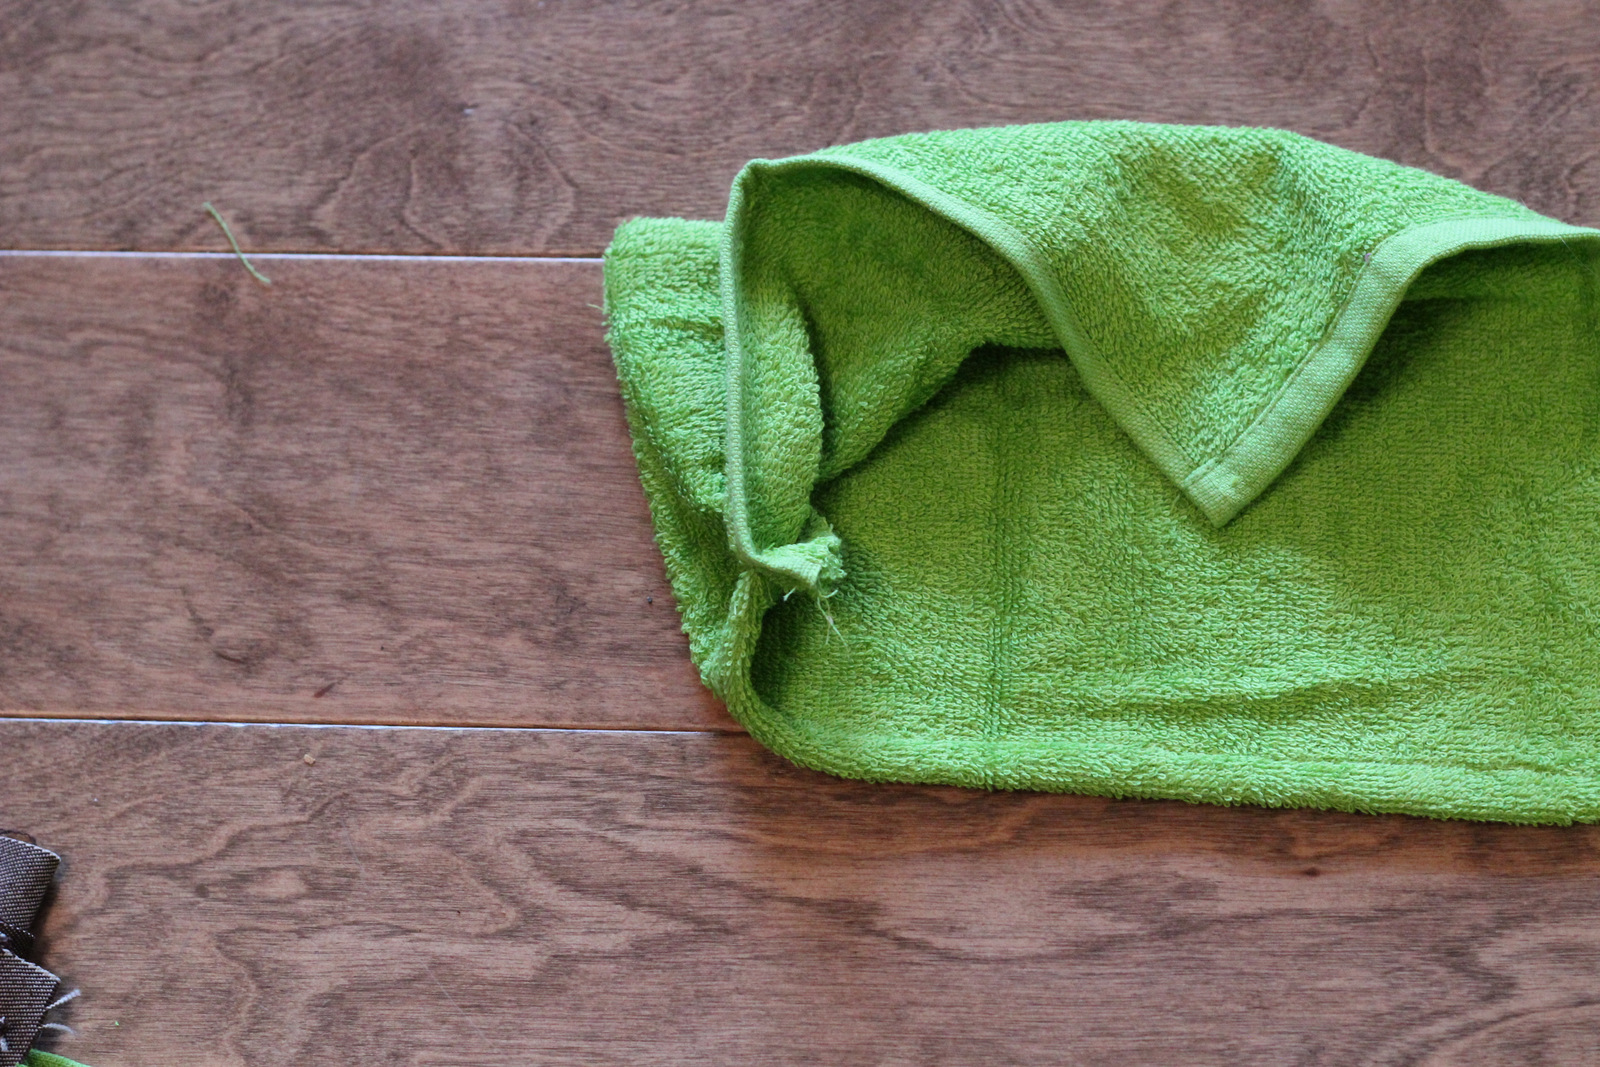
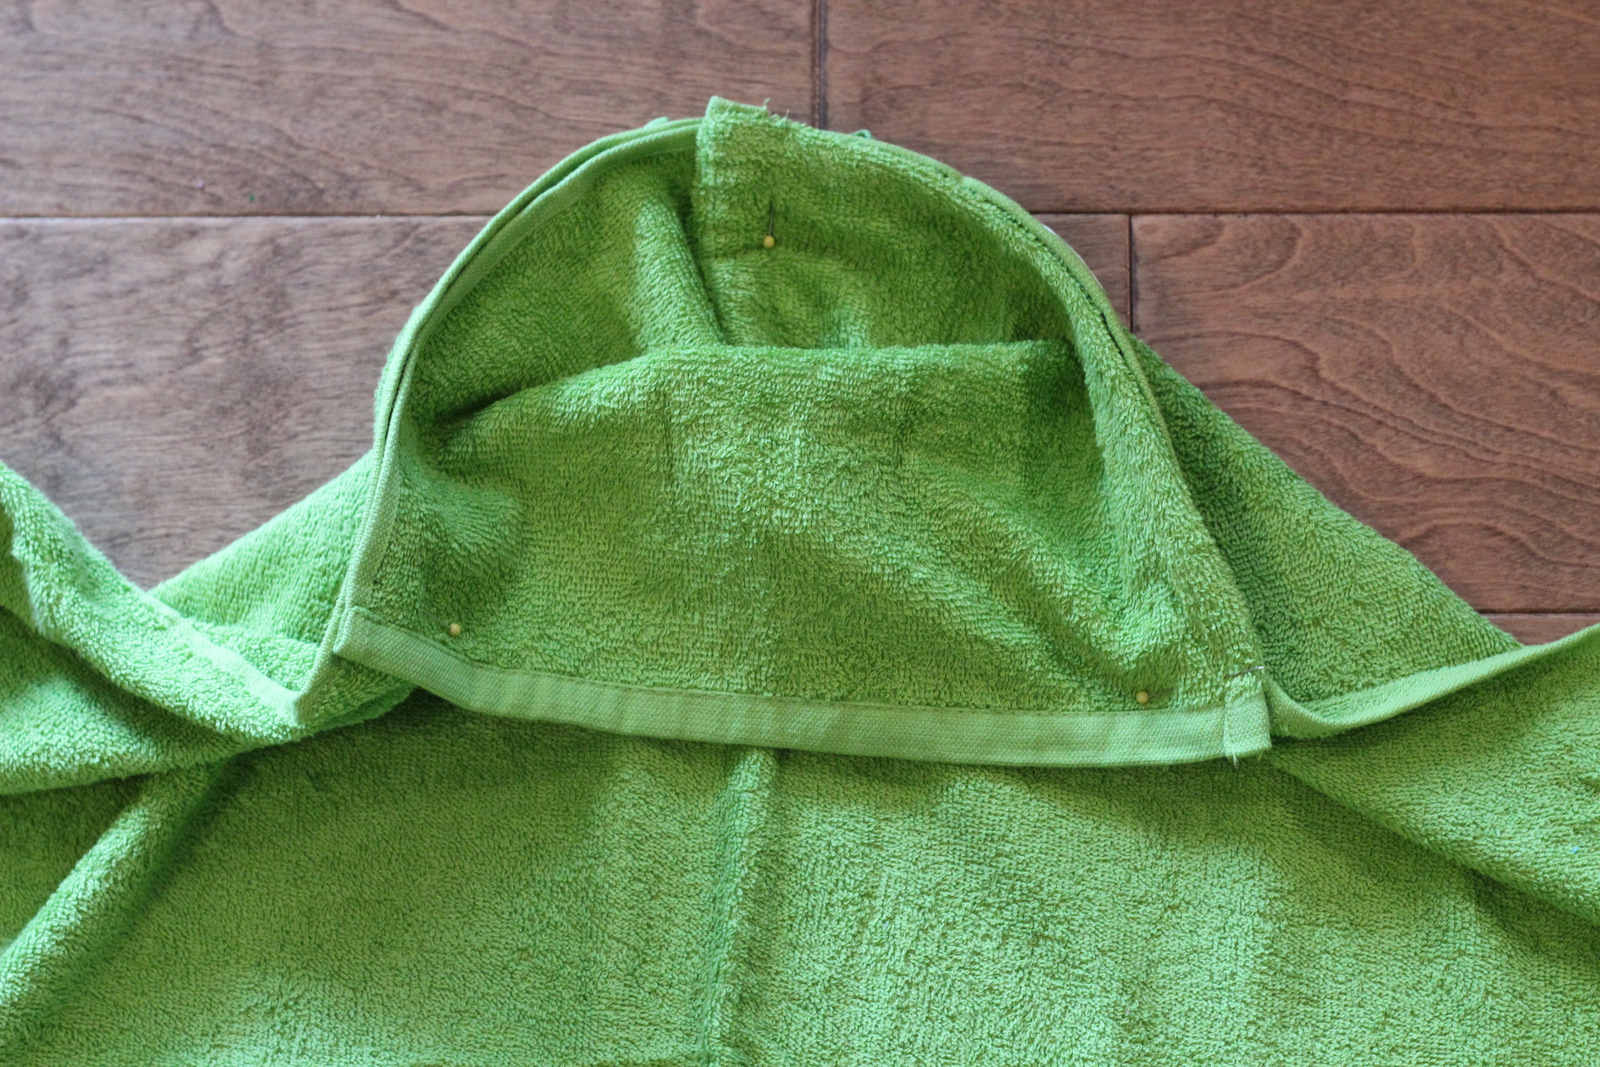
Then the other side. The towel will not lie flat once you do this. It will pull around like in the picture and that is fine.
Next I sewed the hood and towel together as pinned.
The pointy top of the hood annoyed me so while it was inside out I just sewed across the top of it (where the pin is at in the picture below).
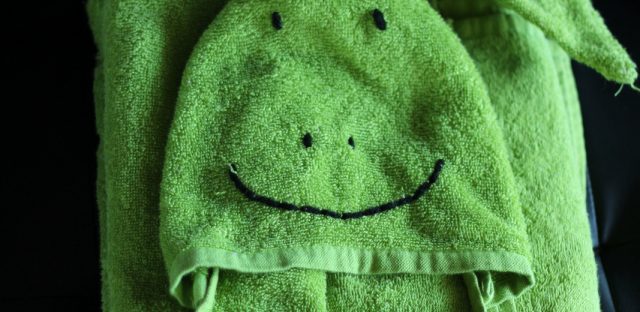
Then I embroidered the face on. I almost sewed some spots or spikes on the back of the dinosaur but decided I liked him as is. And since it was 2 days before Christmas, it was good that he didn’t need a lot more embellishing!