It turns out that one of my favorite kinds of sewing is tweaking an existing garment to make it function or just better. Why do I love it? Let me count the ways. First, no paying for expensive fabrics or patterns. I get my base pieces from our rejects or thrift stores. Next, I tend to prefer the quick fix project to following the long process of making something from scratch. Usually most of the work is done for me as I use some existing hems, seams, and things like waistlines and zippers and buttons. I almost automatically now look at something and re-imagine it and the possibilities are limited only by my imagination. While patching, cutting shorts from pants, or shortening a hem are kinda boring and no brainers, I like to also do things like make a skirt from a sweater, a girl’s dress from a sweater, a cloth diaper cover from a wool sweater, an ottoman from a sweater, a kid’s apron from a grown up’s shirt, a pair of shorts to a bag, or a t-shirt to a skirt.
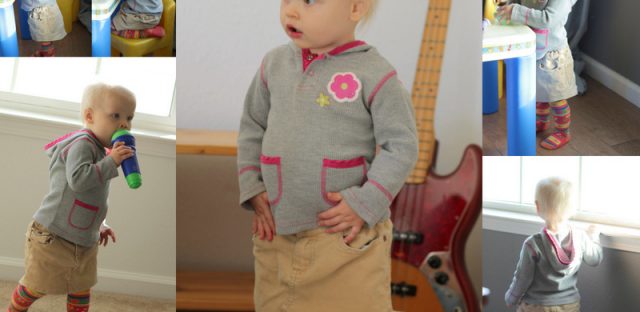
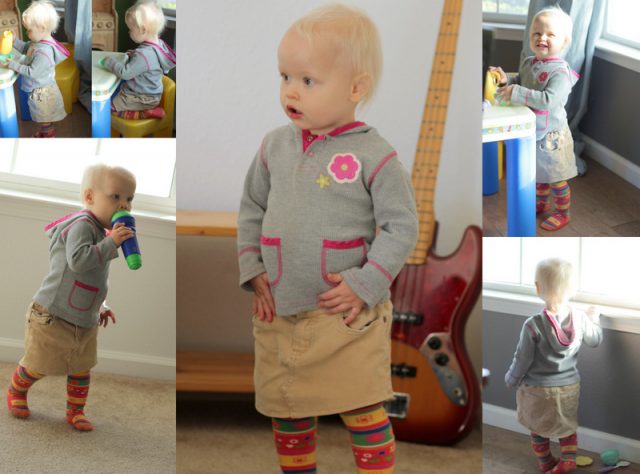
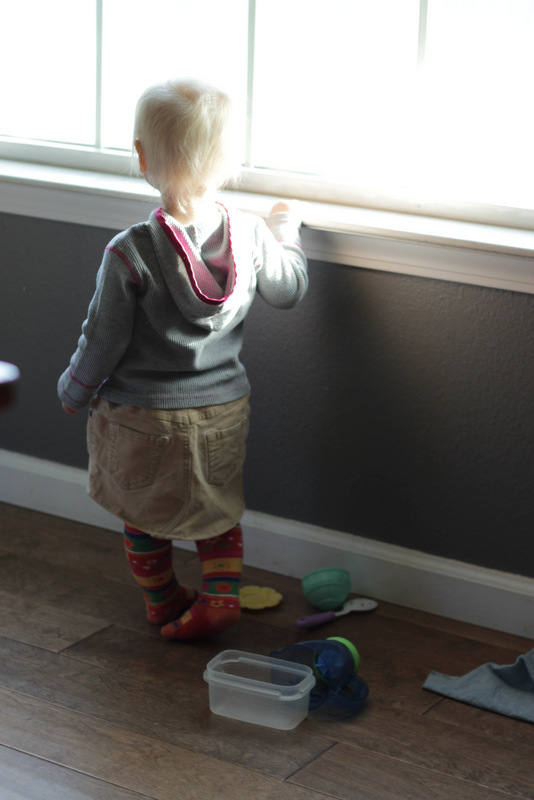
So onto today’s remake. First a sneak peak. I love this age. They are adorable as they toddle about. Oh yeah, the skirt is kinda cute too…
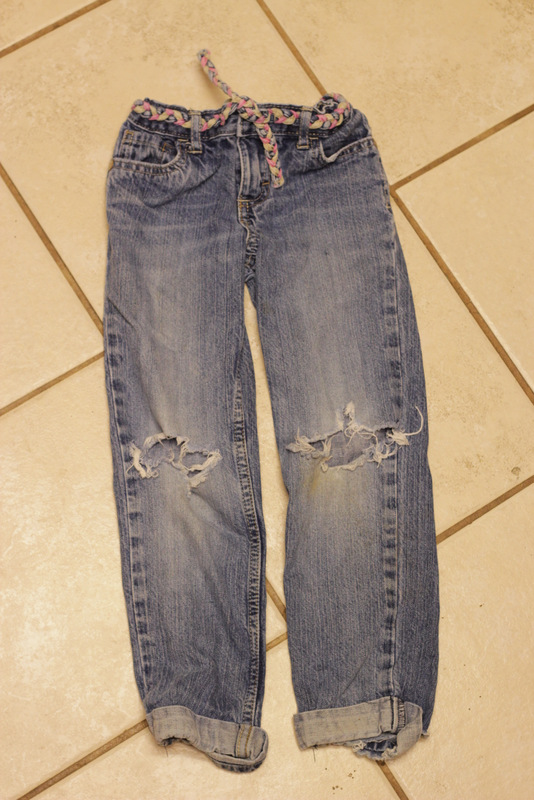
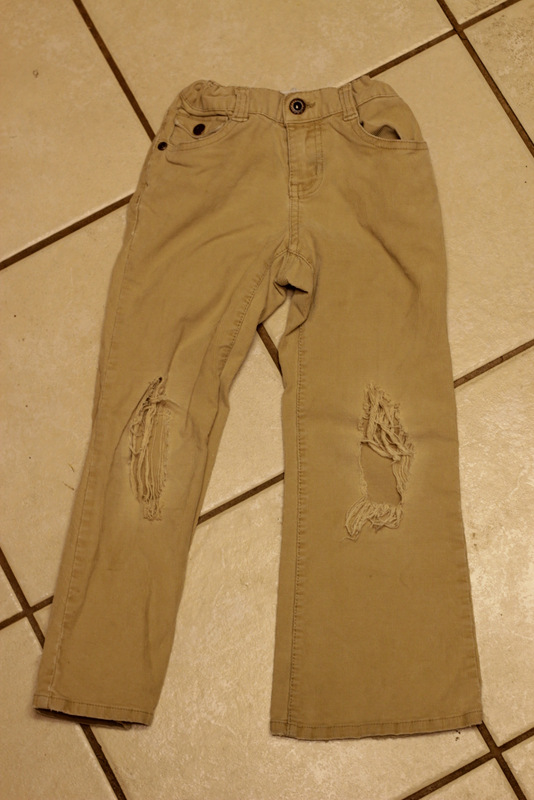
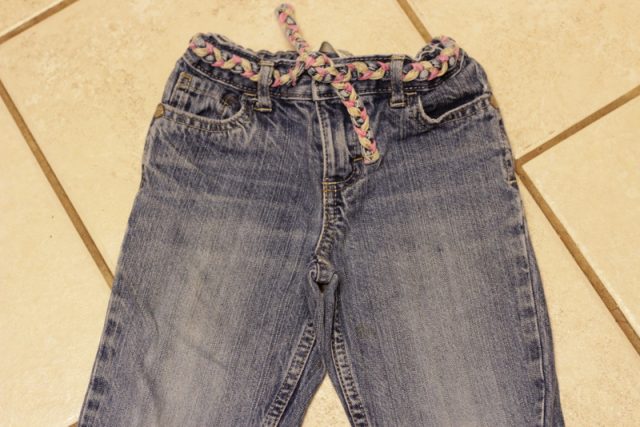
Have you ever let clothes sit so long on your mending pile that the kids outgrow them or the season changes? Well, that’s what happened with these pants. Major knee holes, right?
I had intended to make them into shorts but I could tell they would now be too small to fit my big girl next summer. So instead, I converted them into skirts for my daughters to wear with cute leggings this fall and winter. It was super quick and easy, so I’ll share how I did it in case you all would like to reuse some pants too. I’m thinking I may make a version for myself next.
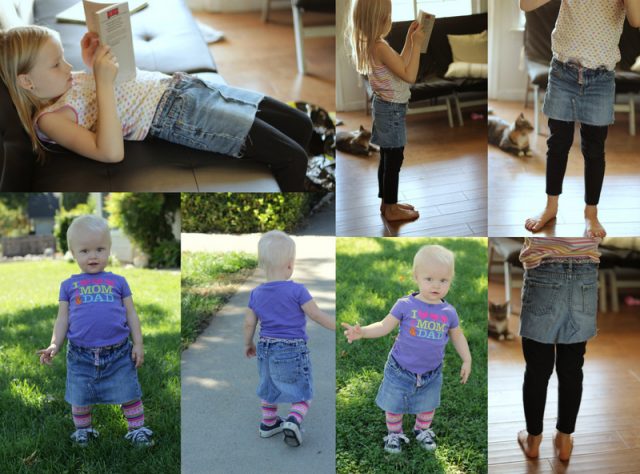
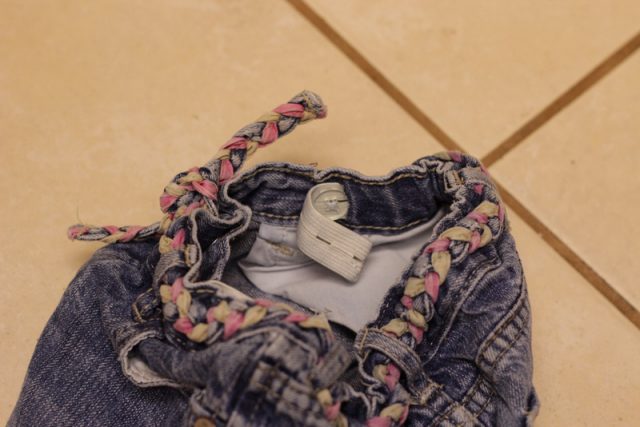
Some days I cannot get that older girl to get her nose out of a book. She consented to pictures, but only while reading. I love her. Even the excitement of sharing clothes with her little sister for the first time didn’t do it… Courtesy of that awesome adjustable elastic like in the picture below, the skirts fit both my 7 year old and my 1 1/2 year old. Crazy, eh?
Pants to Skirts
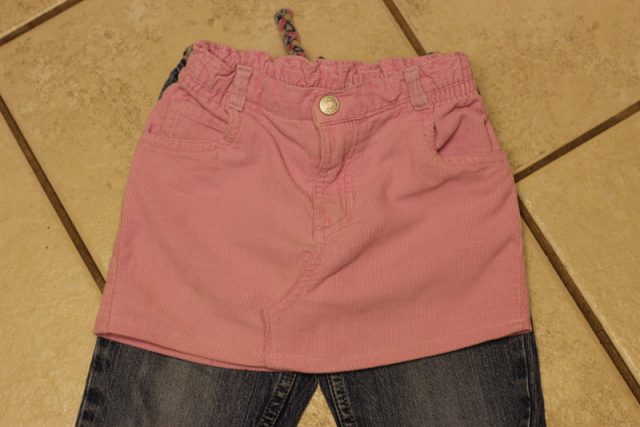
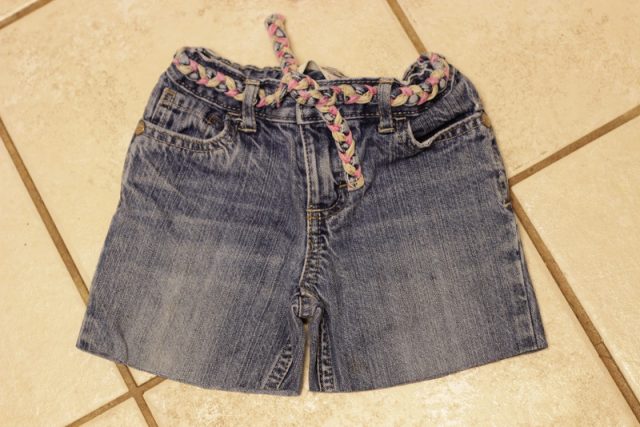
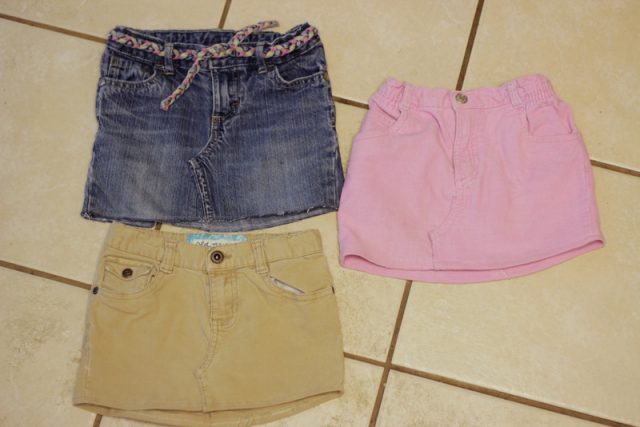
TutorialFirst, I laid out the pants completely straightened and smoothed out. I laid a skirt I already had over them and matched up the waist and side seams.
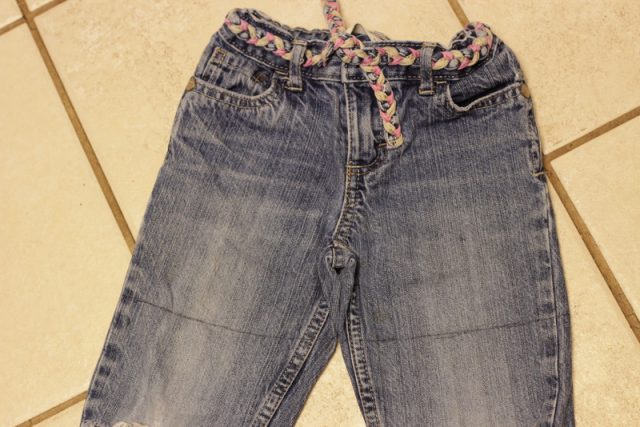
I made sure the two legs were touching or overlapping a little in the middle as low as I needed to cut. Then I used a pen and traced the hem of the skirt and cut.
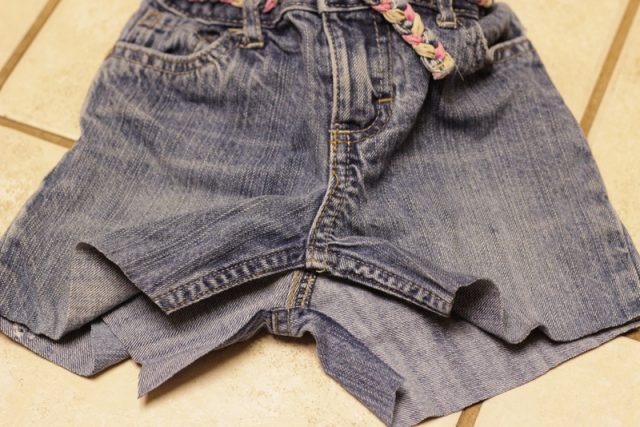
I did not include a seam allowance on this skirt because I wanted the end unfinished, but make yours maybe 1 inch longer than your pattern skirt if you will hem the edge. Next, I cut across the crotch right behind the seam.
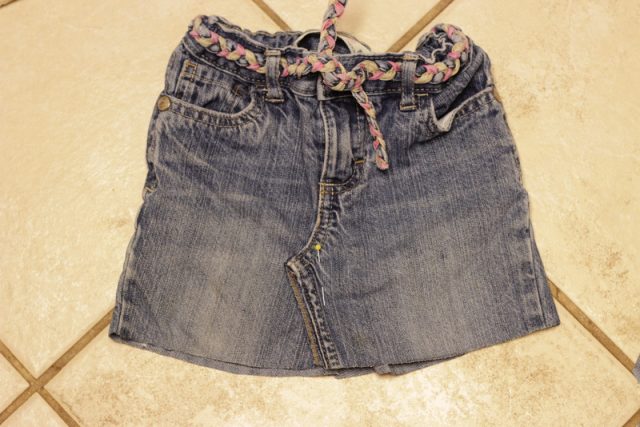
Then I folded and arranged the front until it lied like this, nice and flat and pin it down. Sew in place. You may find a special needle for jeans in your machine will do the trick if your machine balks. Mine is a vintage 50’s all steel old-timer so it handles jean material brilliantly.
Then I did the same for the back. If you have trouble with the folding bit here’s some guidance.
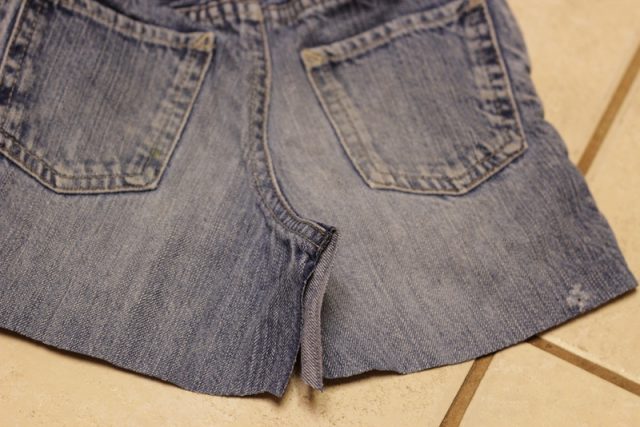 |
| Hold the two cut edges together and out toward you. |
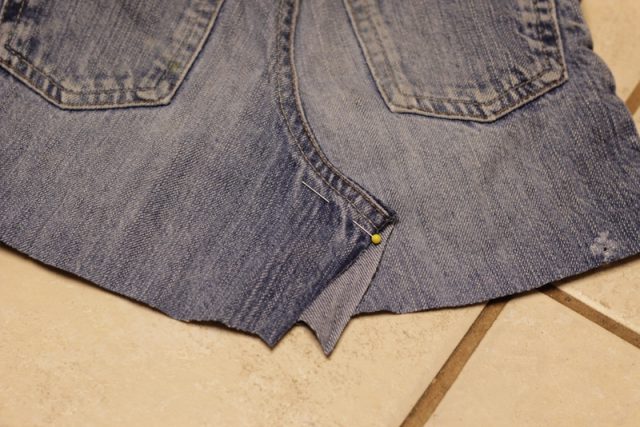 |
| Then fold them to one side and smooth everything completely flat. Pin it in place. |
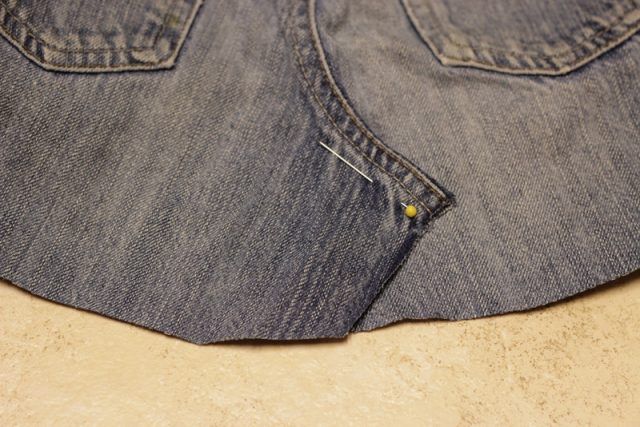 |
| Cut off any extra pieces. |
If you want the casual cut off look, I still recommend sewing a time or two near the raw edge to limit how much it will unravel. After you wash it once you can cut off extra long threads hanging down. If you want to hem it, here is where you can turn it inside out, fold up the edge 3/8 of an inch and press then fold up again at about 1/2 inch and press and sew.
The end.

Hi Beth. Thanks for this great tutorial. I’m a big fan of your Ripple Lace Gloves (I’ve made tons – all appreciated. Do you think I’ve made a pair for myself ever? Not at all!) and tripped over to this post. I rustled up a skirt for my daughter from a pair of her brothers’ wrecked knee jeans following these instructions. The jeans had a really nice detail on the back pockets of which I wasn’t willing to let go just yet! I too had a problem with the folding bit. We lived with it but when I went to make a skirt for myself it was far more pronounced and problematic. The trick is to rip the seams to the end of the curve, up the front seam towards the zip or back seam. Then you can overlap the two sides flat. Hurrah! Have a great weekend.